
 admin
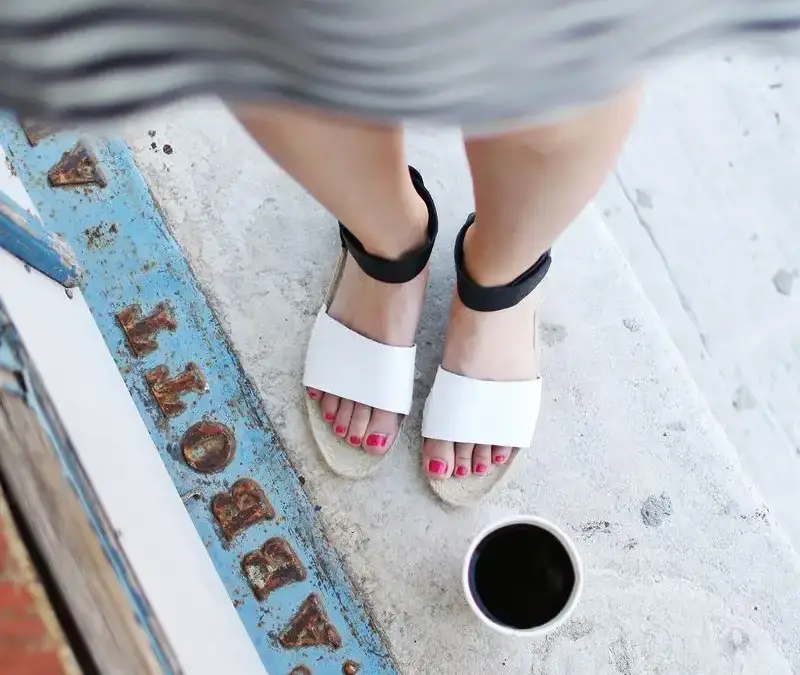
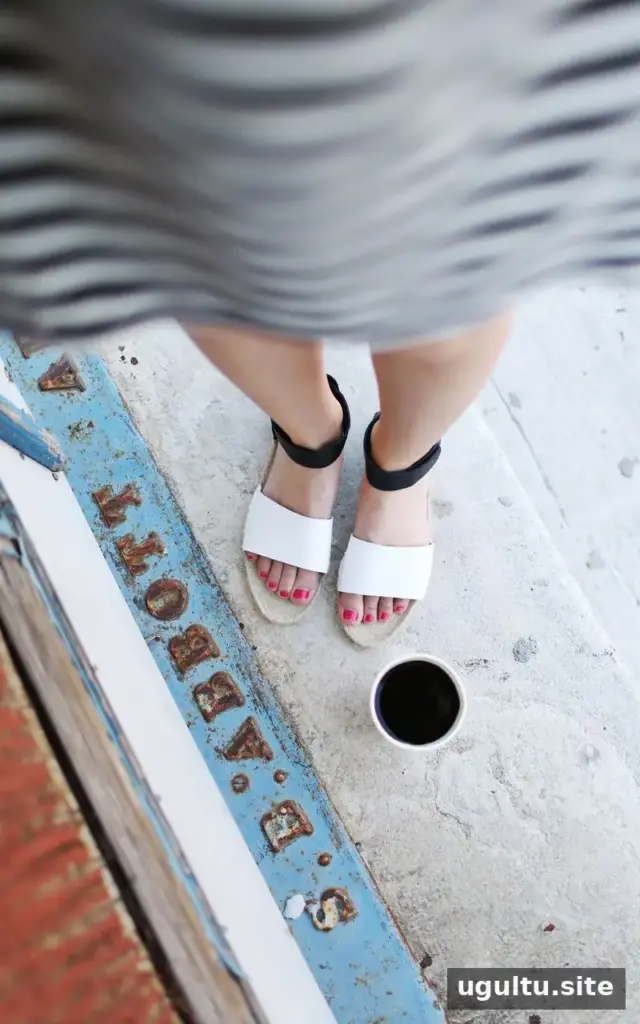
DIY espadrille sandals are a simple way to customize a summer staple with straps that suit your style. This project uses ready-made espadrille soles and small pieces of leather or sturdy fabric, so you can focus on designing and attaching the upper rather than making the soles from scratch. Plan the strap shape carefully and check the fit before cutting your material.
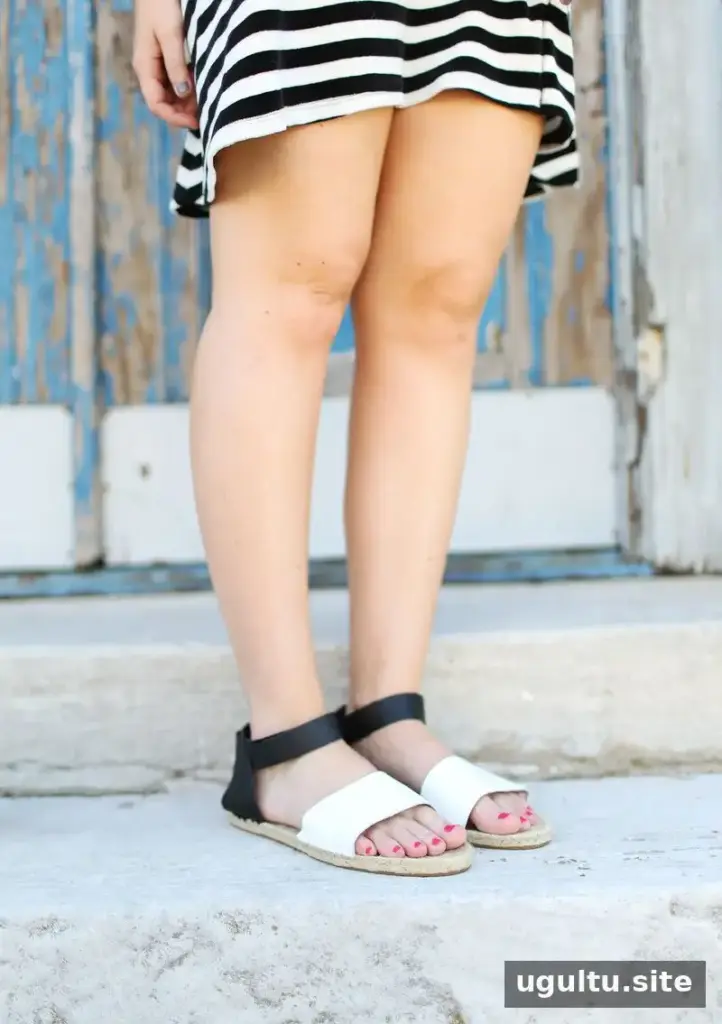
The design can be as simple or detailed as you like. Start with a paper template, then choose a closure such as hook-and-loop fastener or buckles. The original pair cost around $14 to make, not including fabric glue. Since stitching provided a more reliable hold for this project, the instructions below use sewn attachments instead.
Supplies for DIY Espadrille Sandals
Gather your materials before you begin. A needle suitable for leather or tapestry work can make sewing through sturdier materials easier.
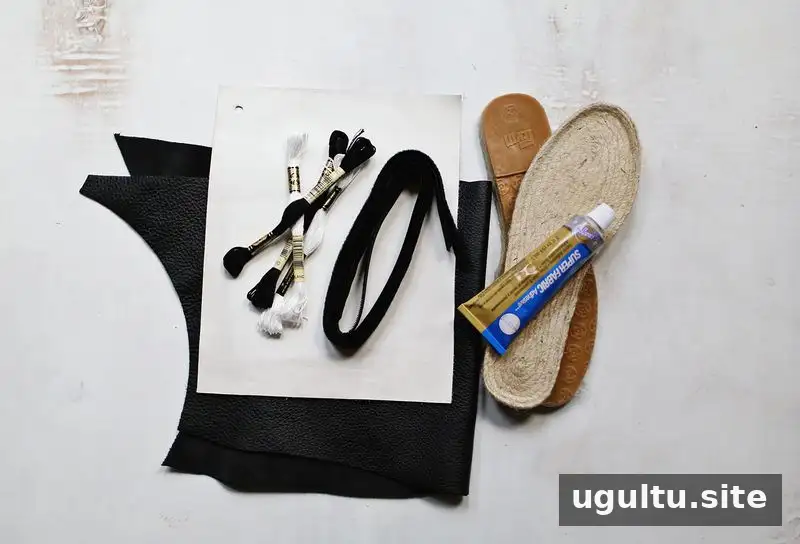
- Espadrille soles
- Scrap paper and a pencil for the pattern
- Scissors
- Scrap leather, faux leather, or another sturdy fabric
- Embroidery thread
- A needle for leather or tapestry
- Hook-and-loop fastener or buckles
Use fabric that feels comfortable against your foot and is strong enough to hold its shape. You do not need a large amount, but the exact quantity depends on the strap design and shoe size.
How to Make Espadrille Sandals
1. Create and test a strap pattern
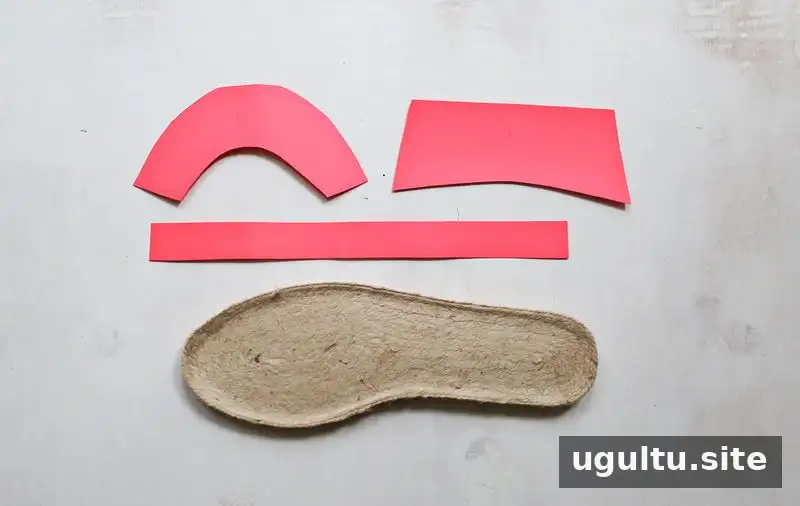
Draw the strap pieces on scrap paper and cut out the templates. Place your foot on the sole and hold the paper pieces in position to check how they sit. Make small adjustments before transferring the shapes to your leather or fabric. It is easier to trim a piece that is slightly too large than to fix one that has been cut too small.
Once the pattern feels right, use it to cut out the strap pieces. Keep the pieces paired and check that both sandals will have matching shapes.
2. Sew the straps and closure to the soles
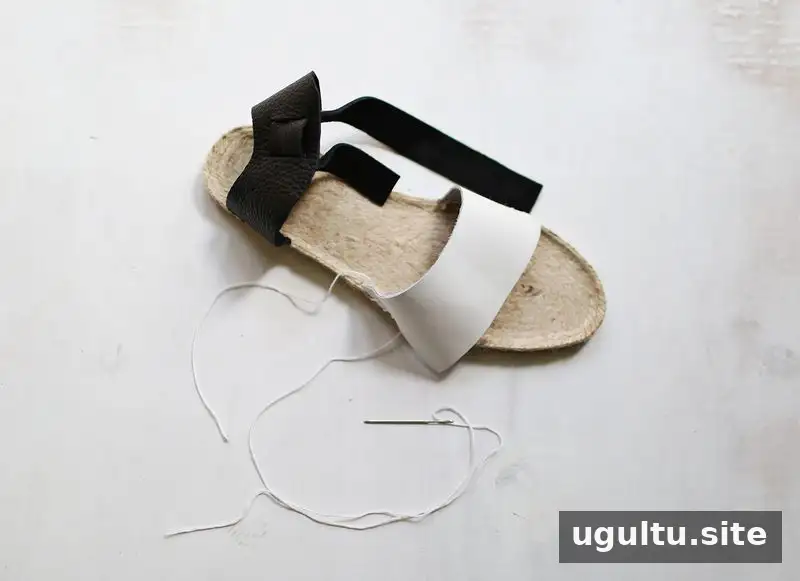
Position the cut pieces on the espadrille soles and stitch them securely in place. The soles are made from plaited fiber, which can be sewn through like a soft rope. Because the sandals will be worn and flexed, use strong, even stitches. For added durability, reinforce the stitching by sewing through each hole twice or doubling the thread.
Sew the hook-and-loop fastener or buckles onto the straps as well. Avoid relying on fabric glue as the only attachment method for this design; stitching was used here because the glue did not provide the desired hold.
3. Check the fit and make adjustments
Wear the sandals briefly and check whether the straps stay comfortably in place. Leather may stretch with use, so if a strap becomes loose, it can be stitched tighter. Make gradual adjustments and try the sandals on again to avoid making the fit too tight.
Finish Your DIY Espadrille Sandals
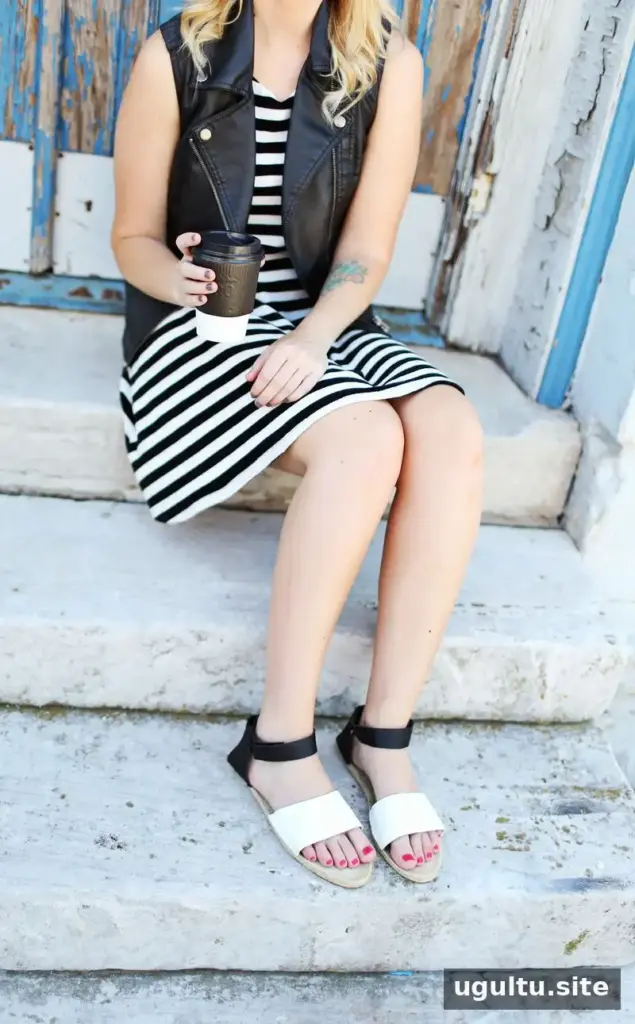
Making DIY espadrille sandals lets you personalize the straps while keeping the project relatively straightforward and inexpensive. For a better result, test the pattern on your foot before cutting, sew the attachments firmly, and check the fit after wearing the sandals. Project by Emma.


