
 admin
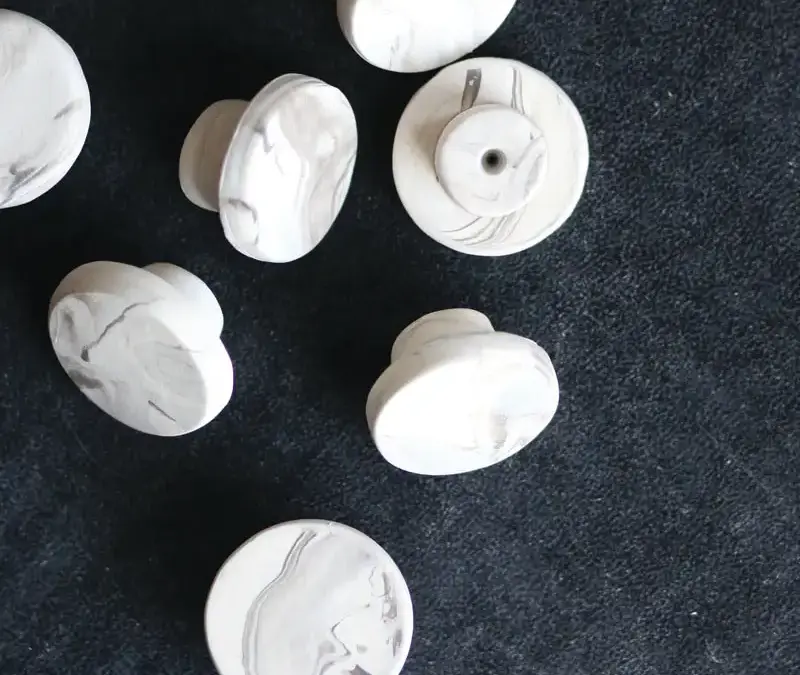
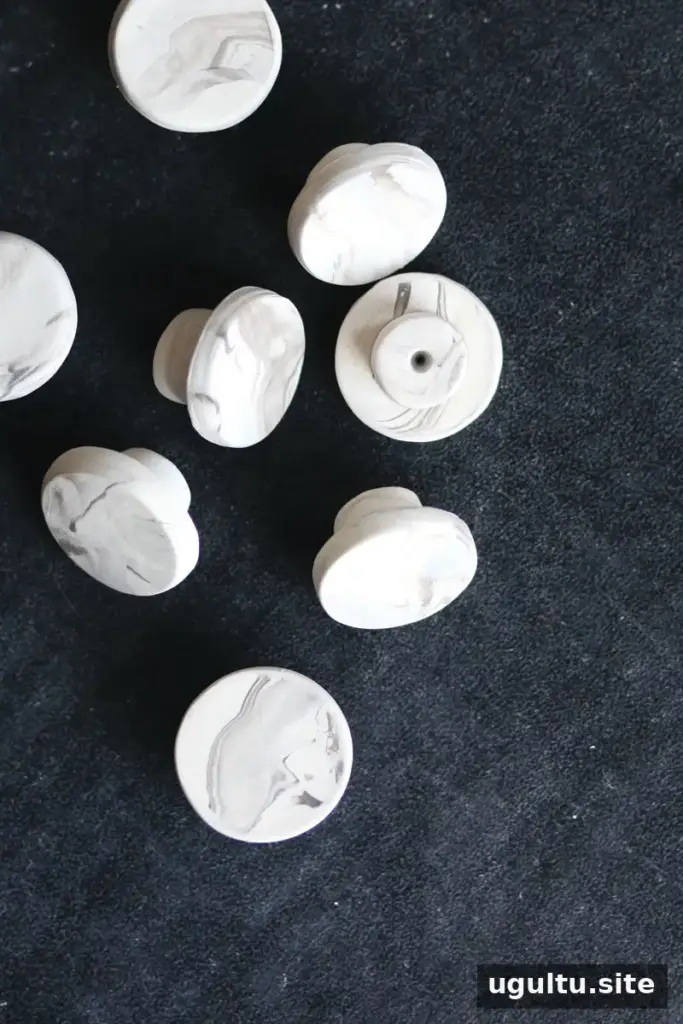
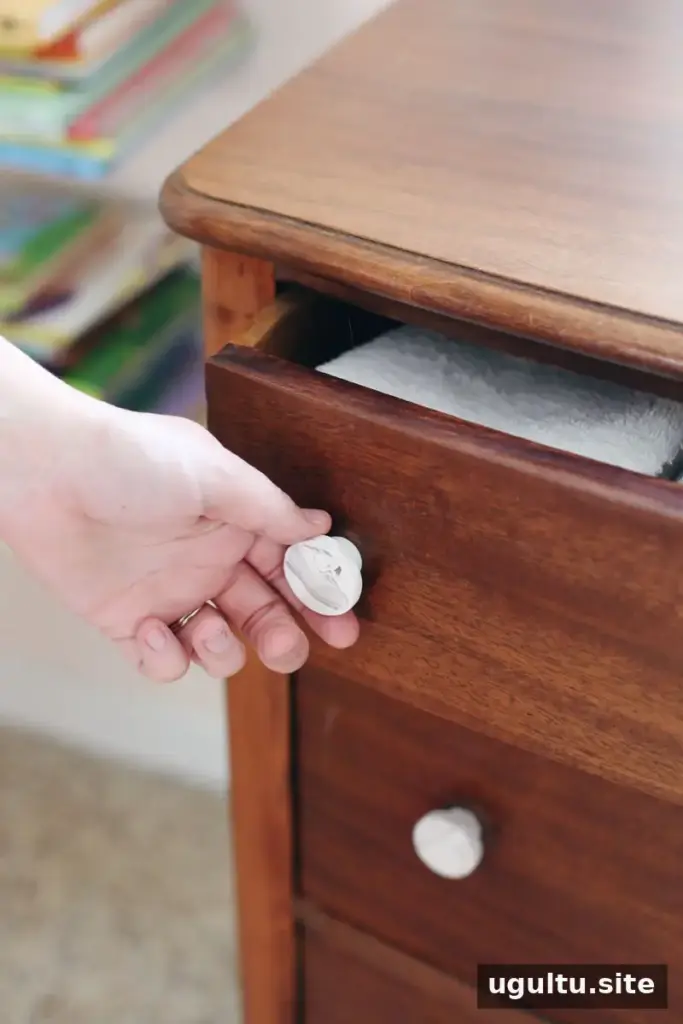
Faux marble drawer knobs are an easy way to refresh a dresser or cabinet with a handmade detail. This project uses white and gray polymer clay to create a veined marble effect, then shapes the clay into knobs that can be fitted with existing screws. The method is adaptable to different furniture, but check the screw size and clay-baking instructions before you begin.
Supplies
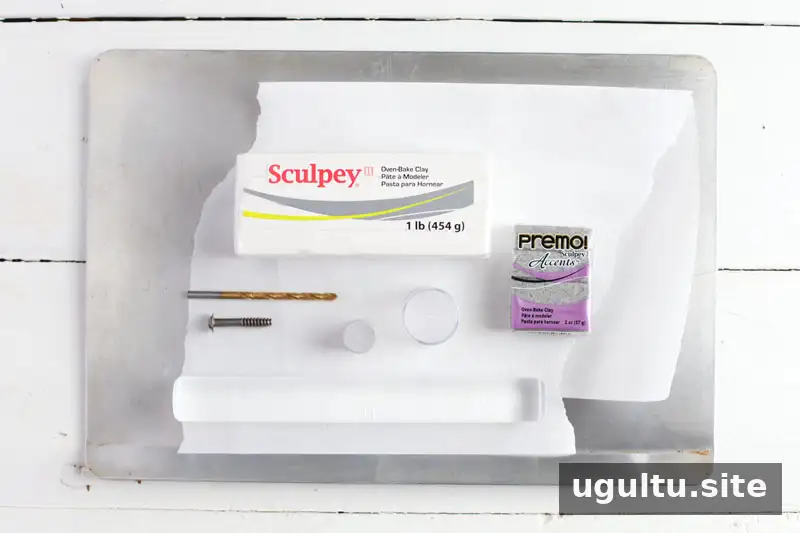
- White polymer clay: $3.50 for two 2 oz packages. About four ounces was enough for eight knobs; a one-pound package is also shown.
- Gray polymer clay: $1.75 for a 2 oz package. About one quarter of the package was used.
- Parchment paper, optional.
Tools
- Baking sheet
- Rolling pin or polymer-clay roller
- Skewer or drill bit with a diameter similar to the knob screws
- Two small round caps for cutting: one 1.25-inch cap and one 0.5-inch cap
Use caps with smooth edges so the clay circles release cleanly. Keep craft tools separate from tools used to prepare food.
How to Make Faux Marble Drawer Knobs
1. Blend the clay to create marble veining
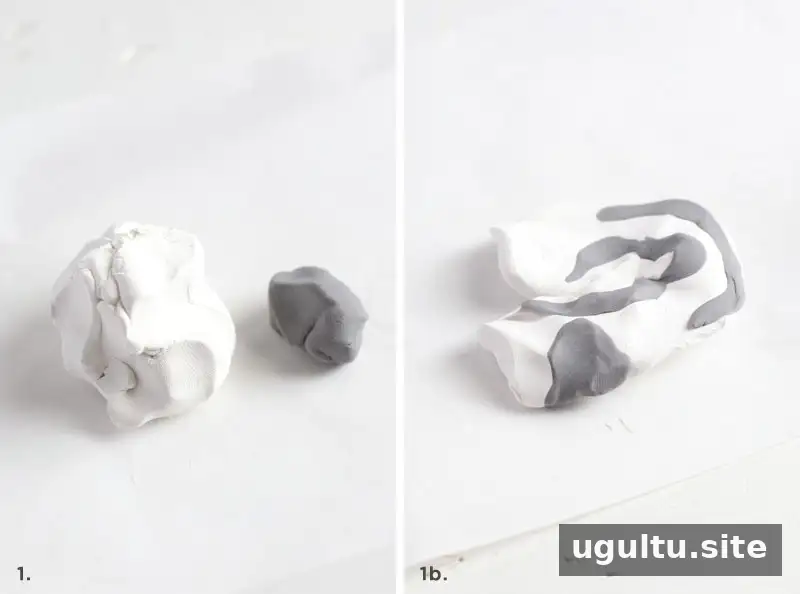
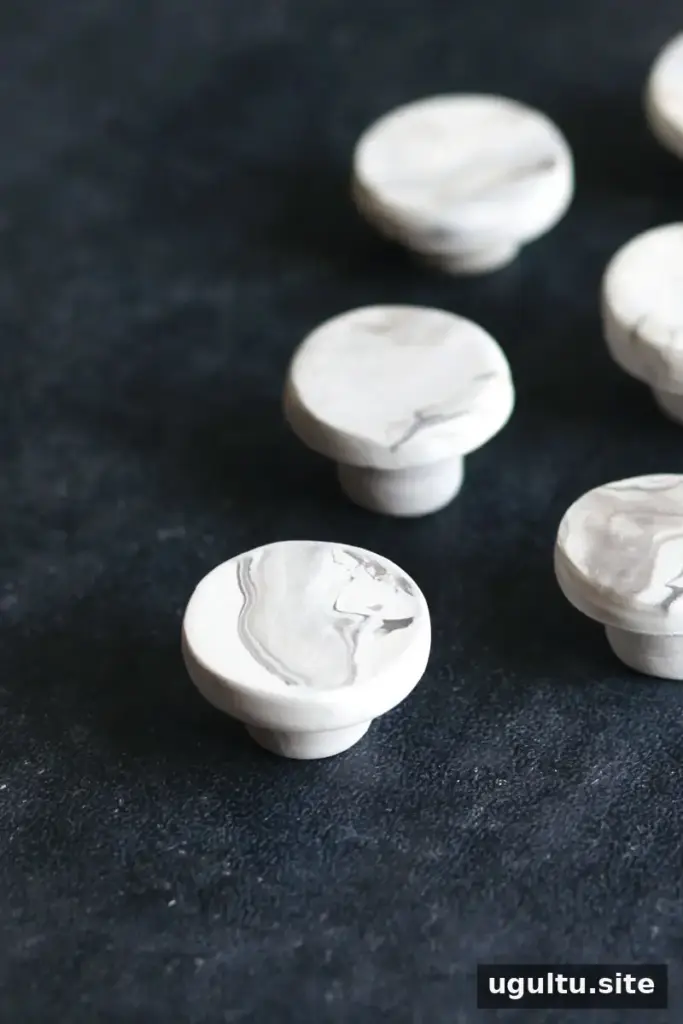
Soften a piece of white clay by kneading it until pliable. Soften a smaller amount of gray clay as well. Add thin strips of gray to the white, then fold, pull, and press the clay gently. Avoid mixing it completely; the goal is to keep visible gray streaks.
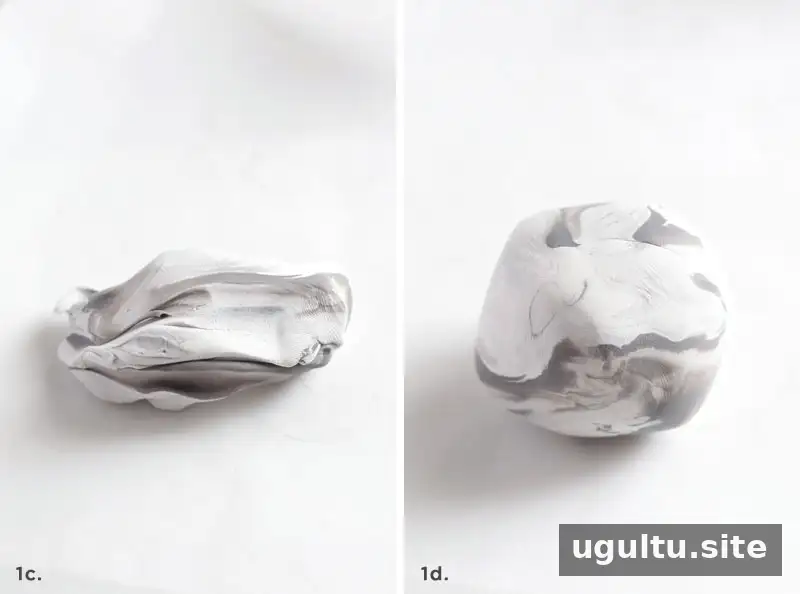
Continue blending until the clay has a mix of narrow and wider veins. Shape it into a ball and position the most appealing pattern on top. This helps the finished knob faces show the marble effect clearly.
2. Roll and cut the knob pieces
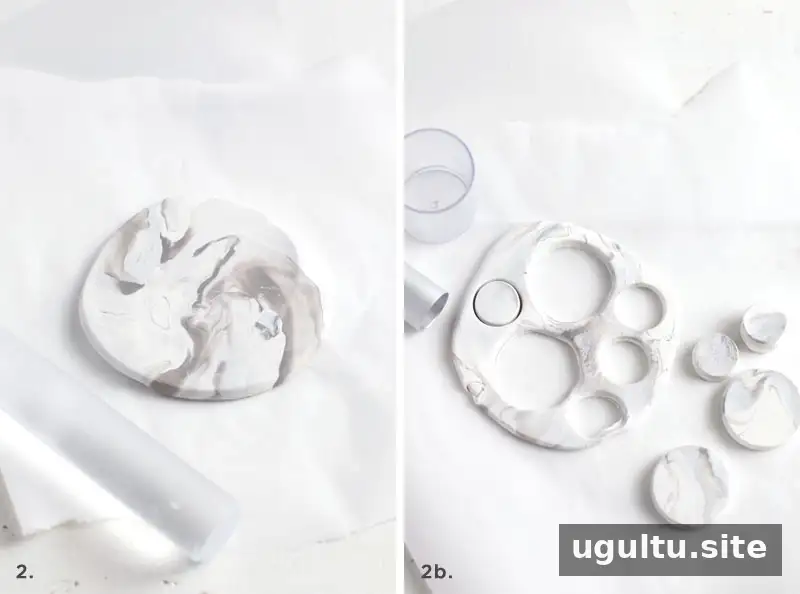
Roll the clay to an even thickness of 1/4 inch. Use the larger cap to cut one circle for each knob and the smaller cap to cut two circles for each knob post. Wiggle each cap slightly as you cut to help loosen the clay and prevent it from sticking inside.
3. Assemble each knob
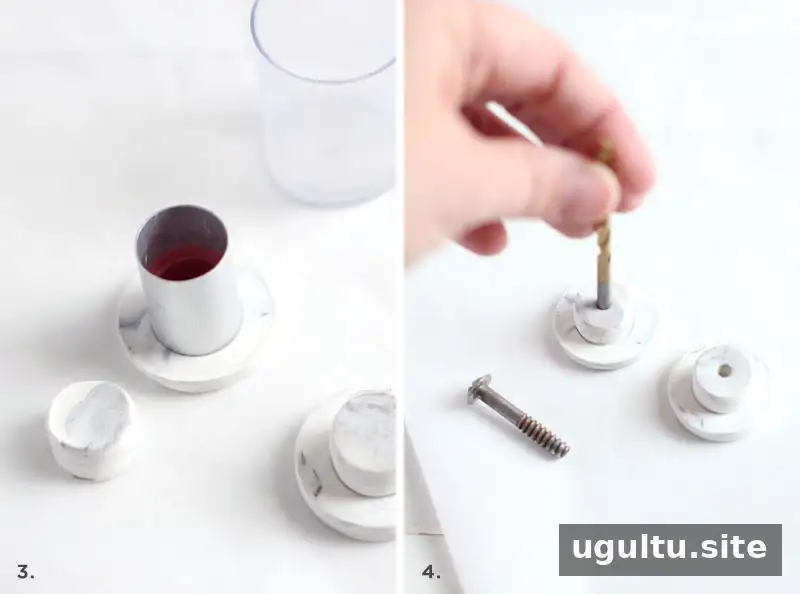
Stack two small circles to form a post, smoothing their edges with a fingertip. Make a shallow indent in the back of a larger circle with the small cap, then press the post into the indent. Check that the post is centered and the joined surface is even.
4. Make the screw holes
Use a drill bit that matches the screw diameter to make a hole in the back of each knob. A skewer of a similar size can also be used. Keep the hole straight and deep enough for the screw to hold securely, without pushing through the front.
5. Bake and install
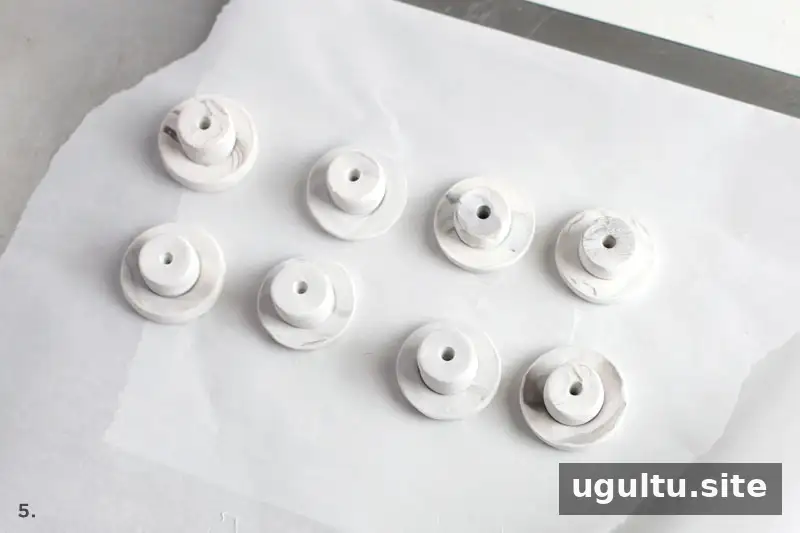
Bake the knobs at 275°F for 15 minutes per 1/4 inch of clay. The original project baked its knobs for one hour. Baking times can vary by clay and piece size, so follow the instructions on your clay packaging and use an oven thermometer if available.
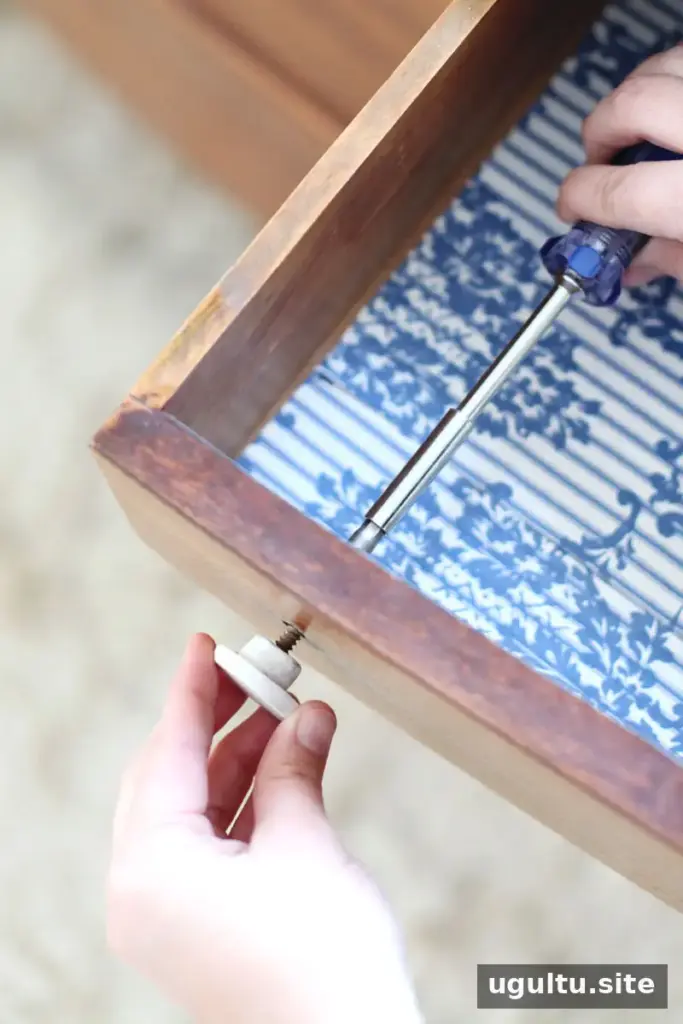
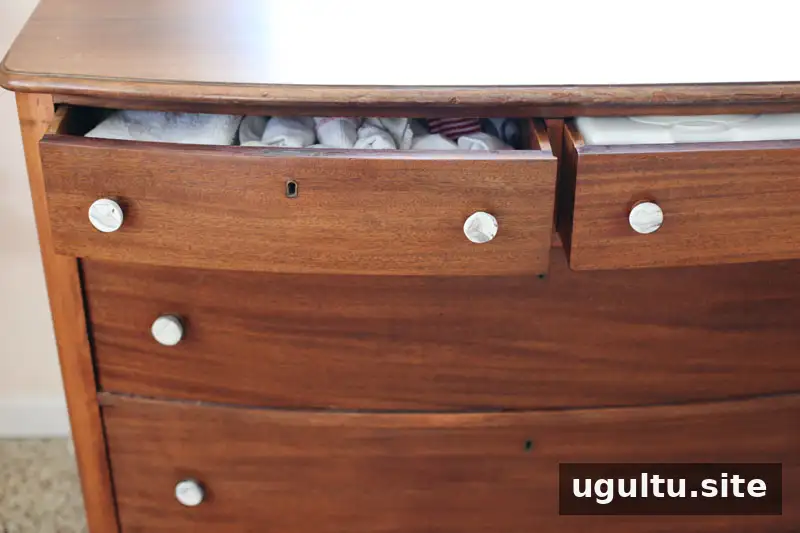
After the knobs have cooled, install them with the dresser’s original screws if they fit. A screwdriver can help turn each knob into place. If a hole is too narrow or shallow, enlarge it carefully with a drill and a correctly sized bit. Narrower screws are another option when they fit the furniture hardware. If a post separates from its knob face, the pieces can be reattached with super glue; a properly sized, deep screw hole can help reduce strain on the join.
Finishing and Care
For knobs used in a kitchen or another area that needs frequent cleaning, apply a varnish labeled as suitable for polymer clay. Follow the varnish directions and allow it to cure fully before installation. Clean finished knobs with a damp cloth rather than soaking them.
These faux marble drawer knobs offer a simple furniture update with a custom pattern. Before making a full set, test one knob for fit, screw depth, and the appearance of the clay after baking. –Mandi


