
 admin

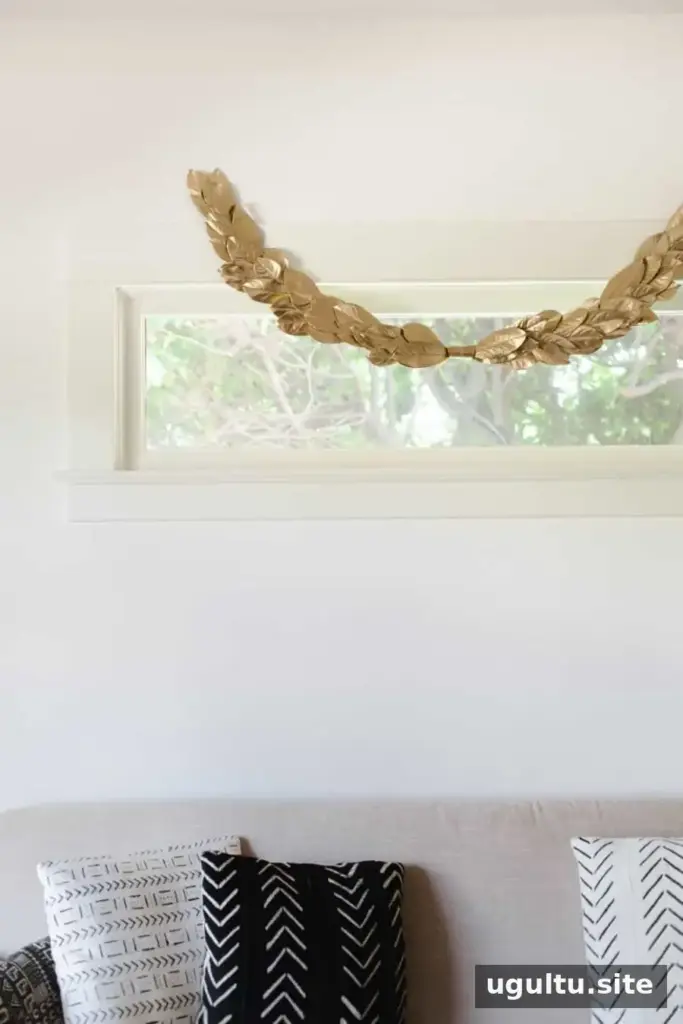
A laurel garland is a versatile way to bring a festive touch to your home without relying on decorations used for only one holiday. Its leafy shape and gold finish suit early autumn and Thanksgiving, while the metallic color also works through winter without feeling strongly tied to Christmas. Make a long version for a wall or mantel, or shape the wire frame into a semicircle for a door or window.
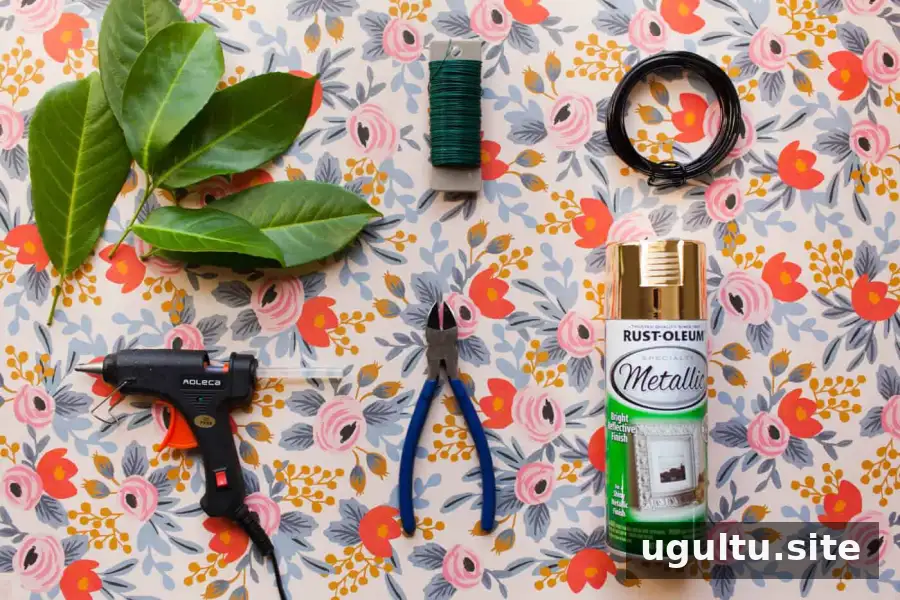
Materials for a Laurel Garland
Gather your supplies before starting. Working with dry, clean leaves and preparing the frame first makes assembly easier.
- A few dozen laurel leaves with their stems attached, or another thick, glossy leaf that will not crumble when dry
- Thick floral wire, approximately 12 gauge
- Thin floral wire, approximately 22 gauge
- A hot glue gun
- Wire-cutting pliers
- Gold spray paint; a couple of cans may be needed
Use spray paint according to the product label and work in a suitable, well-ventilated area. Keep the leaves and painted pieces away from flames and other heat sources.
How to Make a Laurel Garland
1. Paint the leaves and shape the frame

Check that the leaves are dry and free of debris, then spray-paint them and leave them to dry completely. While they dry, cut the thick floral wire to twice the length you want for the finished garland. Fold the wire in half and twist the ends together a couple of times to secure them.
Shape the wire into a garland or wreath frame. Aim for a flat shape, with the two sides roughly parallel and about 1/2 inch apart. Adjust the frame before attaching any leaves; it is easier to correct the outline at this stage.
2. Make small leaf bundles
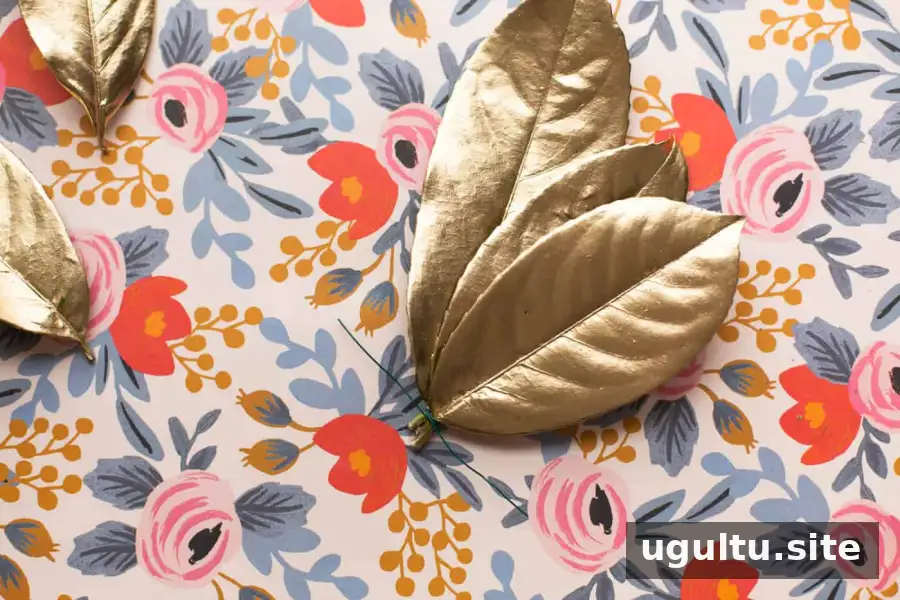
Group two or three leaves together to make each bundle. Cut the thin floral wire into 4-inch lengths, then wrap one piece tightly around each group of stems. Leave the wire ends sticking out so you can use them to attach the bundle to the frame.
3. Attach the bundles to the frame
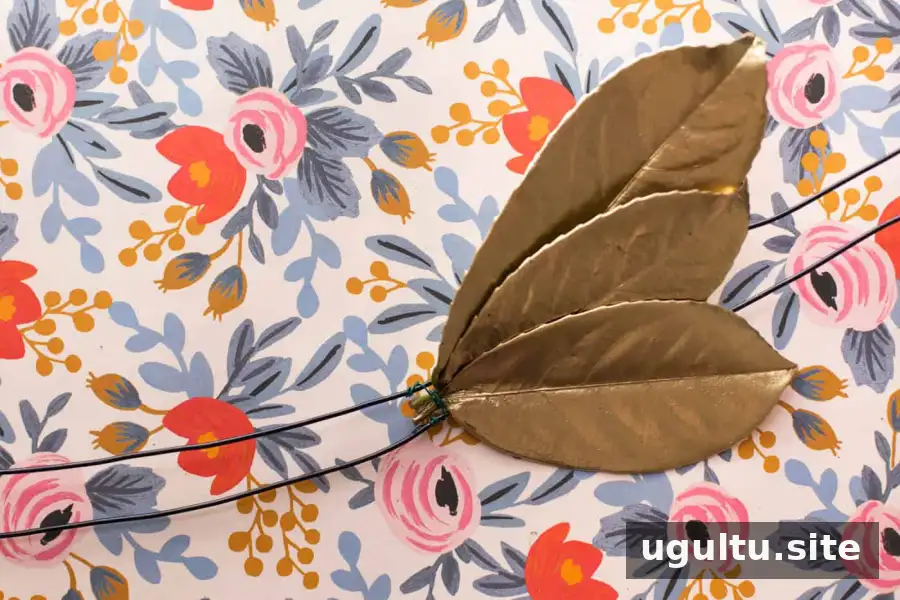
Begin at the middle of the frame. Wrap the wire ends from a leaf bundle around the frame to secure it, then continue adding bundles along one half. Repeat on the other half, leaving a 1-inch gap between the two sides at the center.
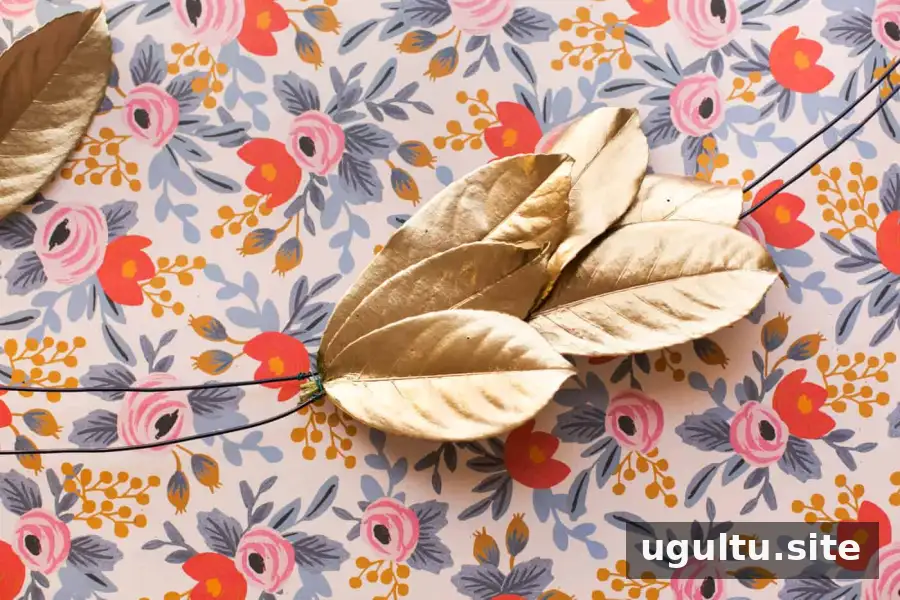
For a full, layered look, overlap each bundle so the leaves in front cover about one-third to one-half of the bundle behind them. Keep checking the overall shape as you work, and reposition any bundles that look uneven before moving on.
4. Finish the center and secure loose leaves

Cover the center gap by wrapping a leaf around the frame and securing it with hot glue. Trim away the excess leaf. Use a small amount of glue to hold any leaves that do not sit as desired.
If the garland will be displayed outdoors, turn it over and apply additional glue to reinforce the thin-wire attachments. Touch up any areas where the paint needs it, following the paint label’s instructions, and let everything dry before hanging. For indoor display, hang the frame securely from suitable nails or hooks.

Display Ideas and Care
A long garland can decorate a mantel or wall, while a semicircular version can add a seasonal accent to a door or window. Before hanging, check that the support can hold the frame securely and that the leaves are not blocking a doorway or other frequently used area. Keep the finished decoration away from open flames and heat.
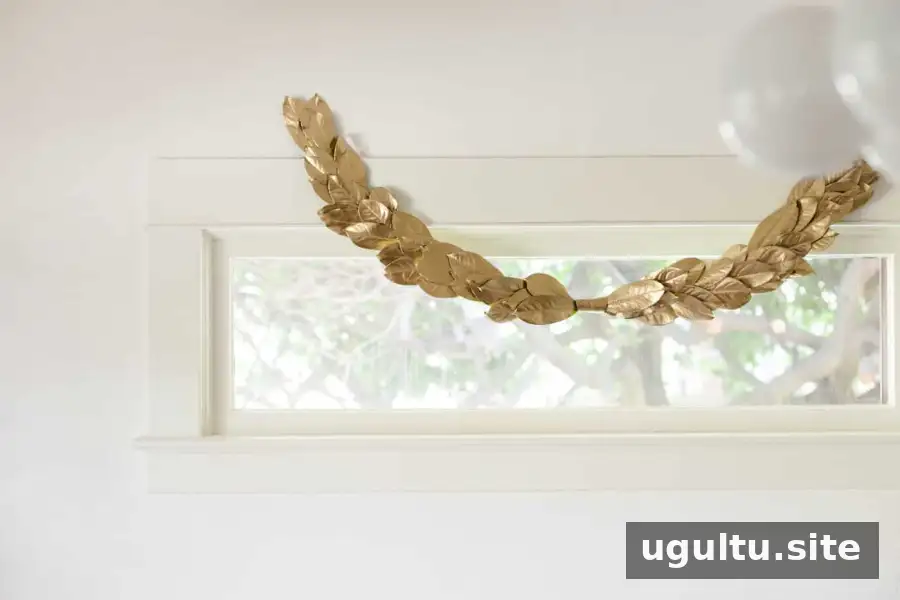
This gold laurel garland offers a warm, holiday-neutral accent that can suit several parts of the fall and winter season. Project credit: Kayleigh.
Conclusion
With laurel leaves, two types of floral wire, and a simple frame, a laurel garland can be shaped to fit a mantel, wall, door, or window. Overlap the leaf bundles for an even finish, secure the center carefully, and choose a sturdy hanging point so the decoration is ready to display.


