
 admin
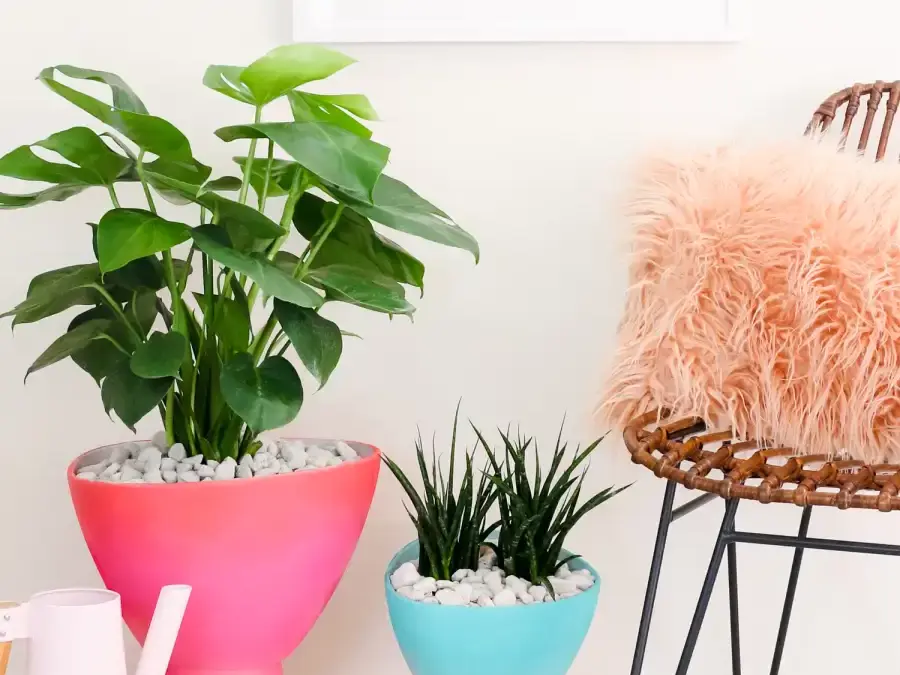
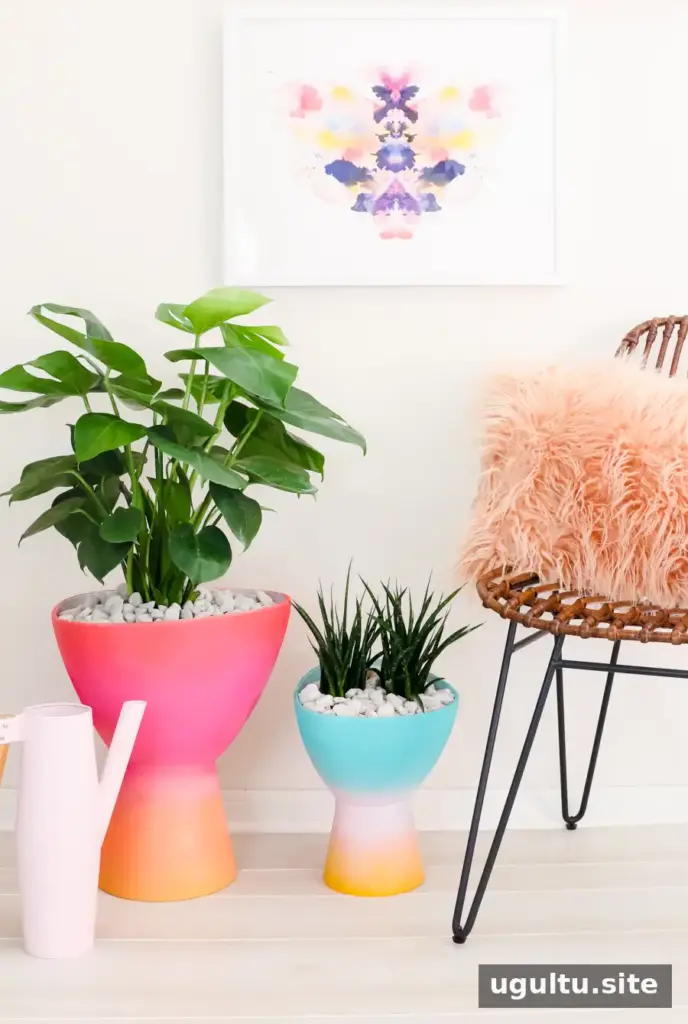
Adding greenery to a room can make the space feel fresher, and a handmade planter gives it a personal touch. These DIY gradient planters combine two pots to create a distinctive shape, with bands of spray paint that blend into a colorful finish. Choose shades that suit your decor, and follow the steps below to assemble and plant your pair. Project by Kara.
Supplies for DIY gradient planters
Before you begin, check that the two pots can sit together securely. Their bases should be roughly the same size so the smaller pot can be turned upside down and joined to the larger one.
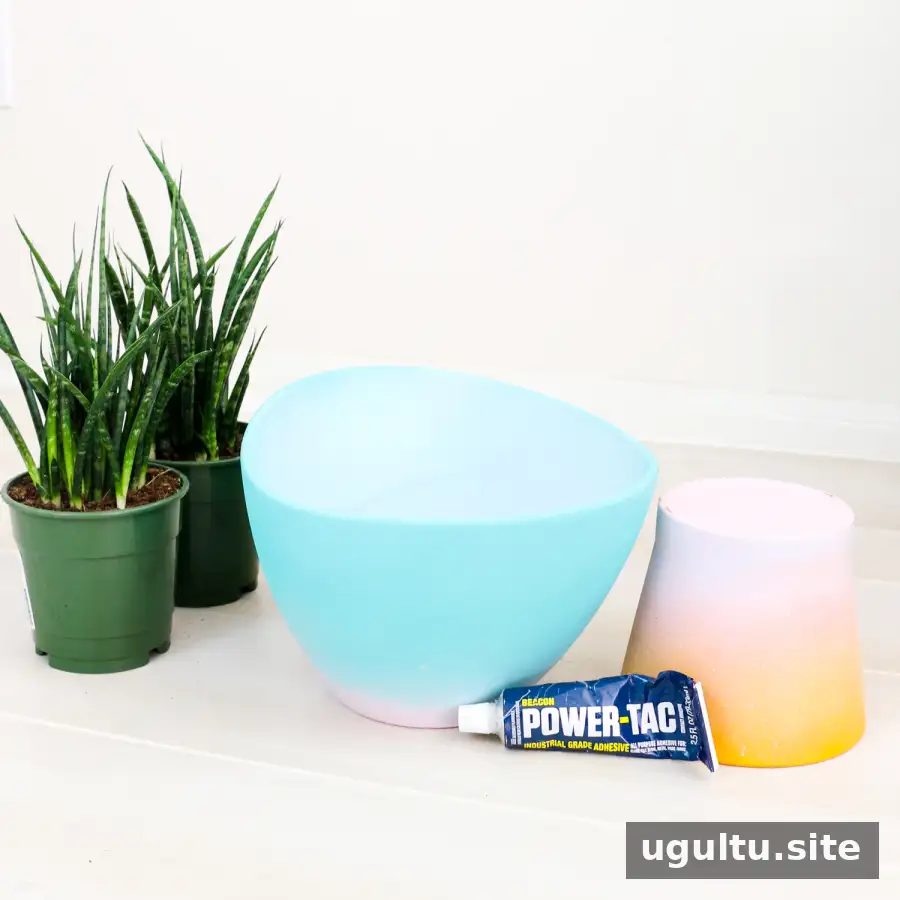
- One large planter
- One small planter, with a base roughly the same size as the large planter’s base
- Spray paint in several colors for the gradient
- Industrial-strength adhesive
- Plants and potting soil
- White rocks for decoration
How to make gradient planters
1. Paint the pots
Take the planters outdoors and apply bands of spray paint around each one. Follow the paint label for application and drying directions, and use a well-ventilated area. Plan the color placement with the smaller pot upside down: its painted bands will be oriented differently once the two pots are joined.
Let the paint dry for an hour or two, as described in the project instructions. If the color transitions need more definition, add another pass over selected bands. Allow any additional paint to dry before assembly, and check the product label for its recommended conditions.
2. Join the planters
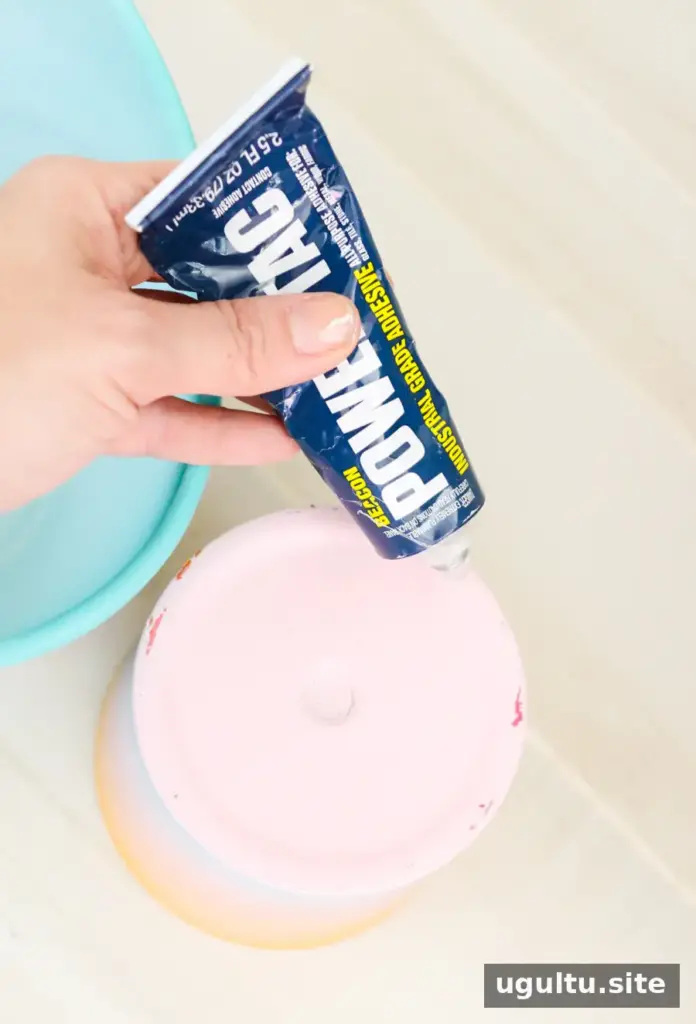
Apply a line of industrial-strength adhesive around the bottom rim of the smaller planter. Set the larger planter on top, then leave the joined pots undisturbed while the adhesive cures for 24 hours. Adhesives can vary, so check the package to confirm that it is suitable for the planter materials and follow its curing instructions.
3. Add plants and finish the display
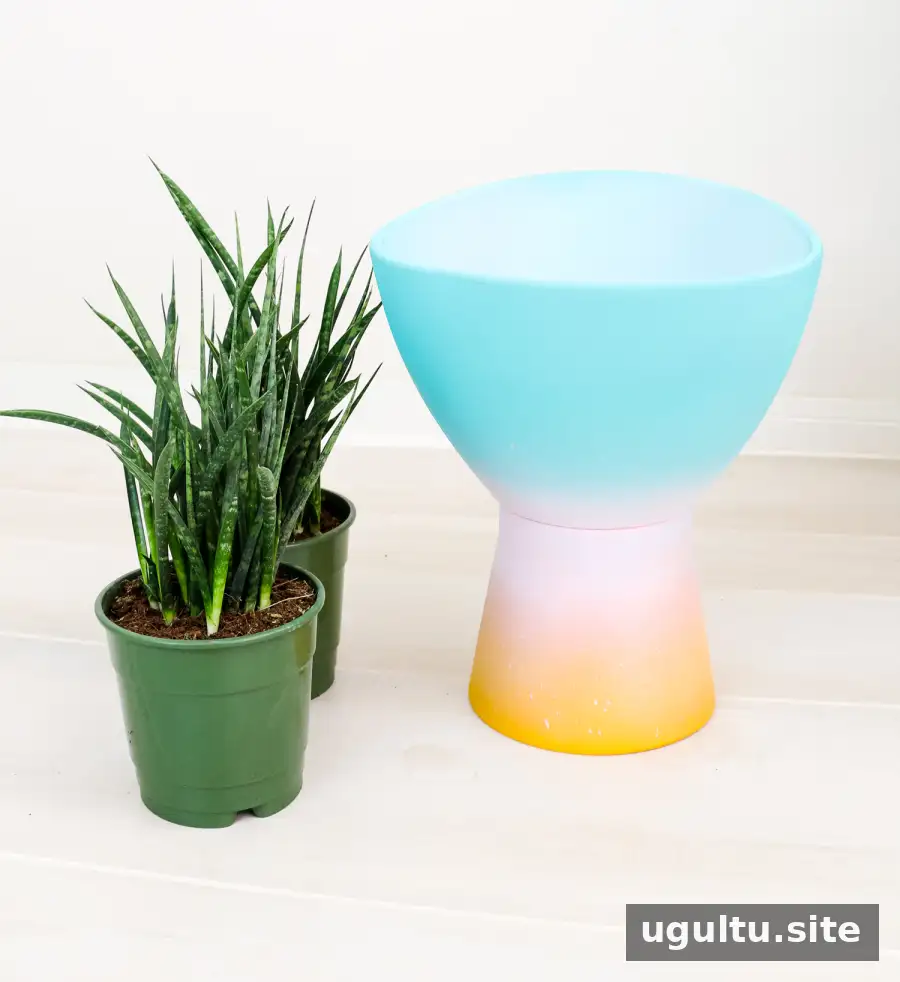
Once the adhesive has cured, add soil and plants. If the assembled planter has an open drainage hole, place a drip tray underneath to protect the surface below. Alternatively, the hole can be sealed with plumber’s putty, but a sealed planter will not drain excess water.
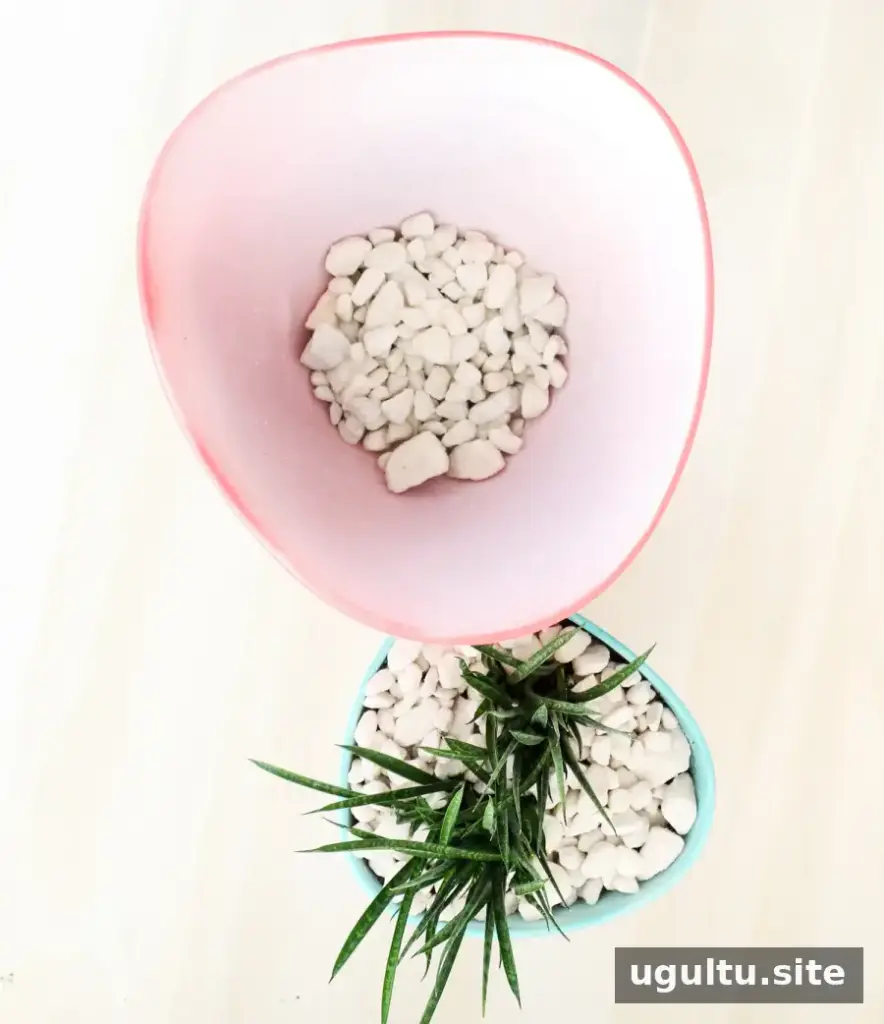
The original project suggests placing a few rocks at the bottom if the drainage hole is sealed. For plant health, avoid overwatering and choose plants suited to the container’s drainage setup; decorative rocks on the soil can help conceal it, but do not replace careful watering.
Position the finished planter near a bright window or use it outdoors where appropriate. If placing it outside, make sure the paint, adhesive, and planter materials are suitable for the conditions in that location.
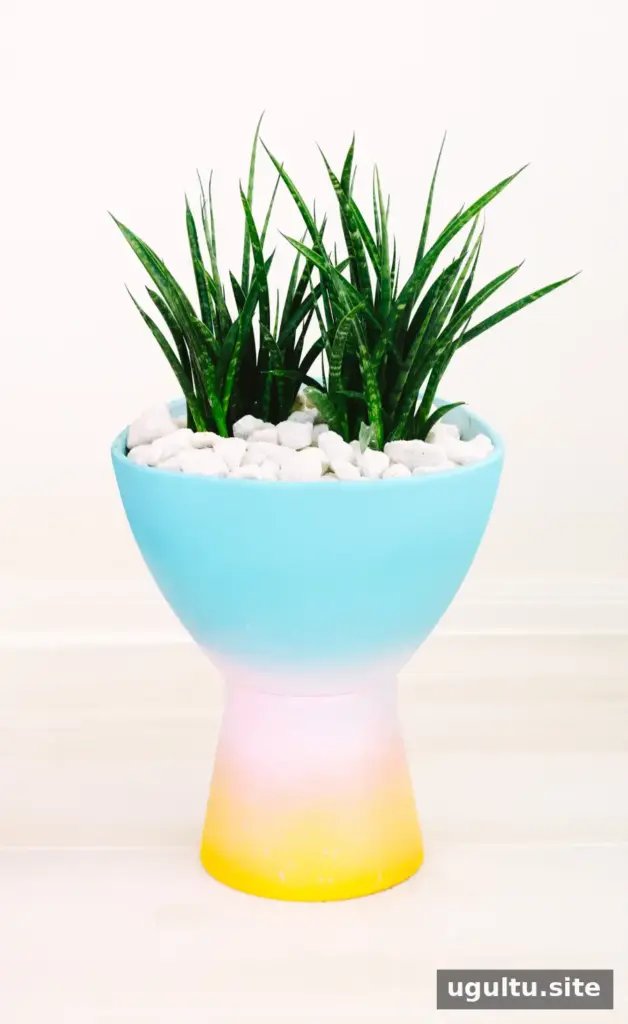
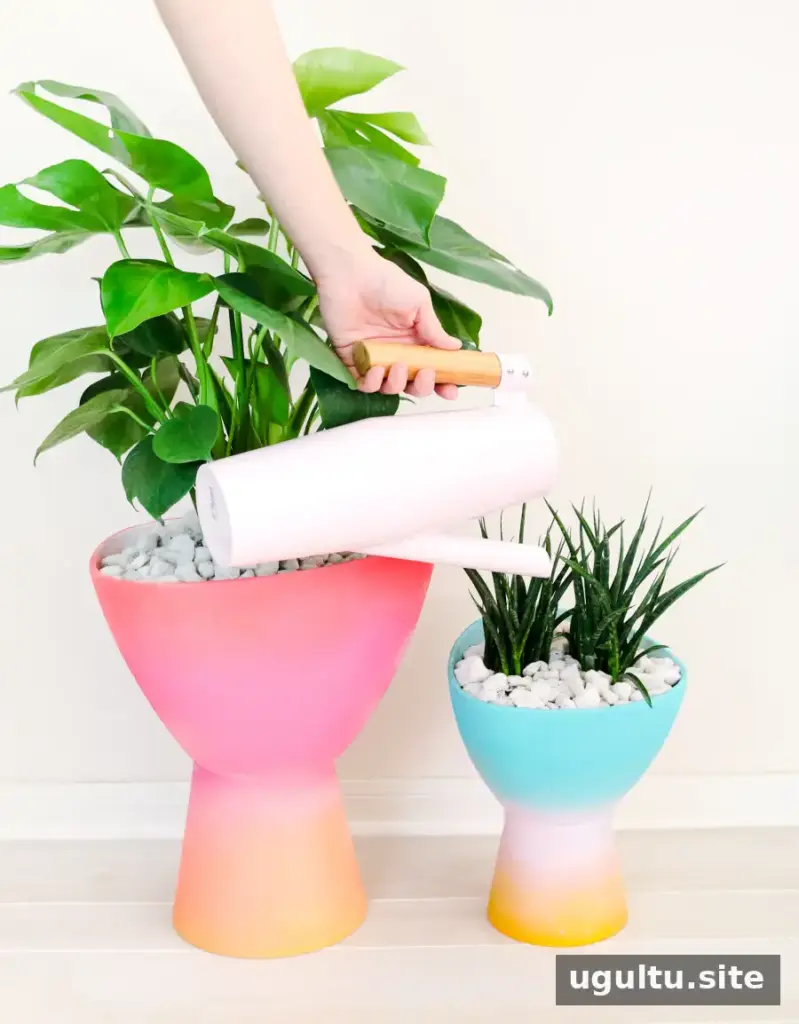
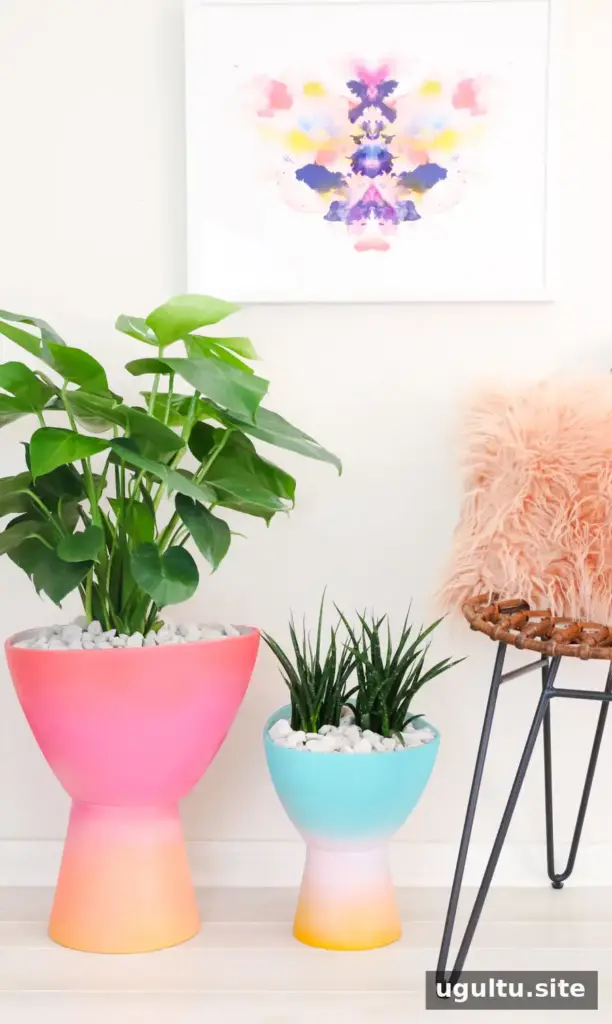
These gradient planters can be customized with colors that complement a room or outdoor space. Before planting, make sure the pots are securely bonded and decide how excess water will be managed. With those details in place, your gradient planters are ready to add a bright, handmade accent to your home.


