
 admin
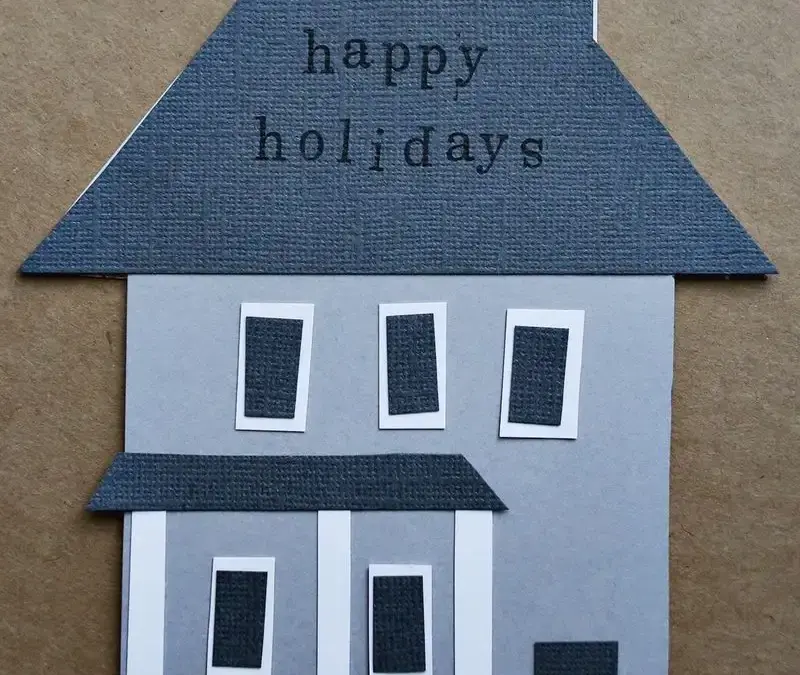
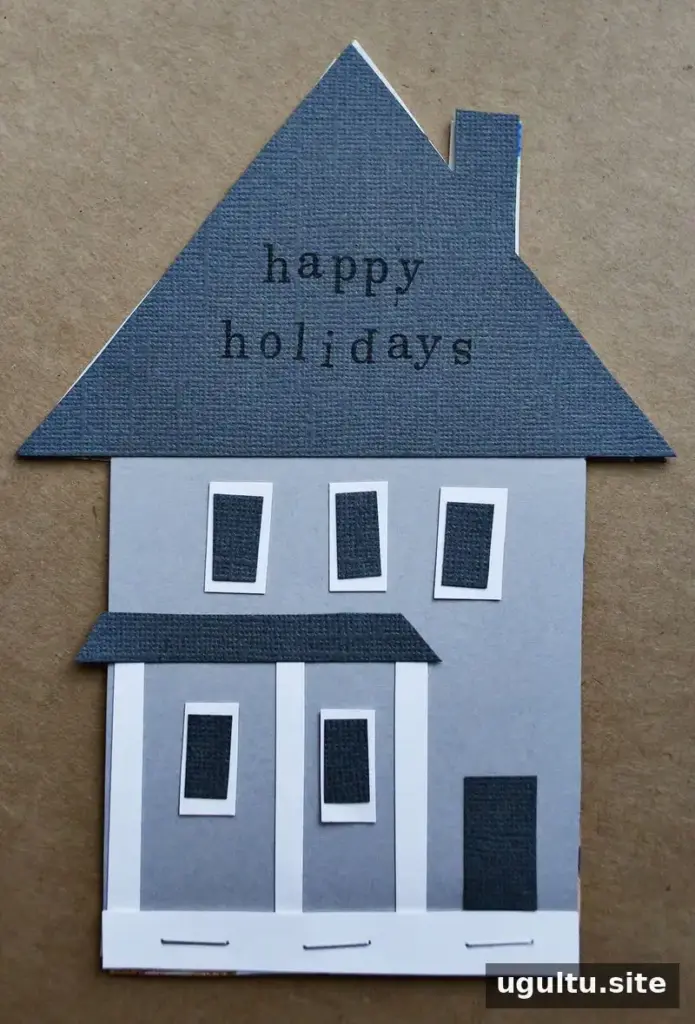
A DIY holiday card shaped like a home is a thoughtful way to share seasonal greetings and favorite memories. With a printable house template, a few photos, and basic craft supplies, you can create a keepsake that feels personal without requiring complicated tools.
Materials for a House-Shaped DIY Holiday Card
Gather the following supplies before you begin. Preparing everything in advance makes cutting and assembly easier, especially when making several cards.
- A printable house-shaped template
- Two 5×7-inch photos, or a photo collage for one of the images
- Scrapbook paper
- Scissors
- Rubber stamps and other decorations
- A stapler or sewing machine for securing the pages
- 5×7-inch envelopes
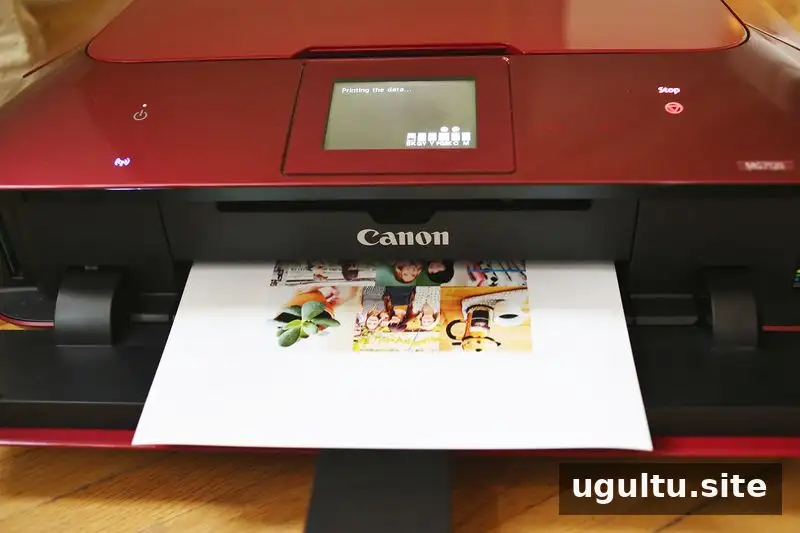
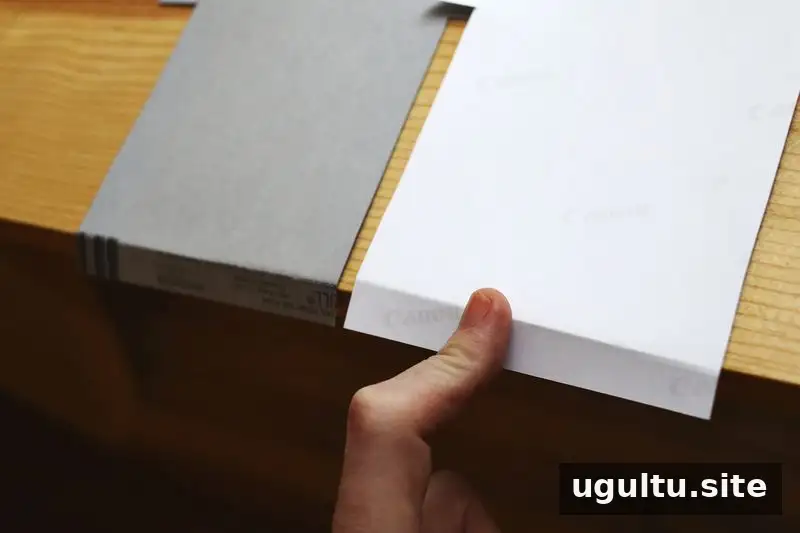
Photos can be printed on 8.5×11-inch semi-gloss photo paper and trimmed to size. If you use a printer with a specific paper-size setting, check the print preview first to ensure the images are not cropped unexpectedly.
How to Make a DIY Holiday Card
1. Print the template and photos
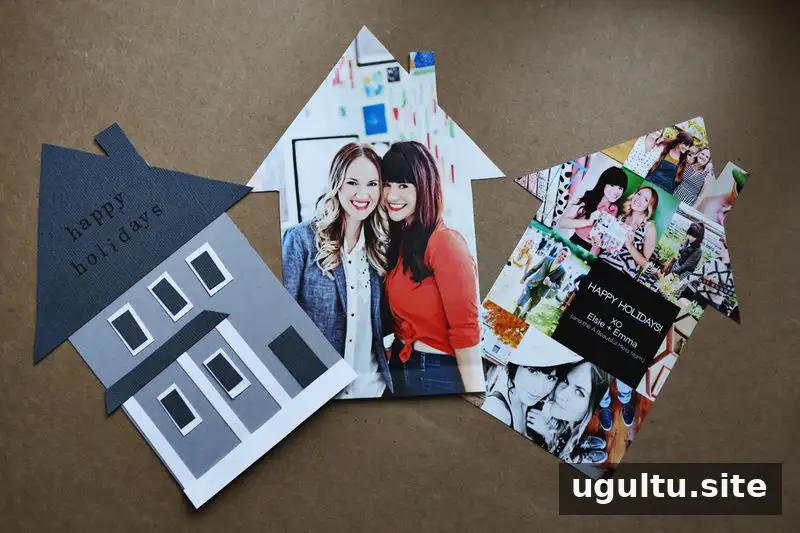
Print the house template at 100% scale so the pieces will align properly. Print two 5×7-inch photos from the year; a collage of smaller memories is another option for one image.
2. Cut the house shapes
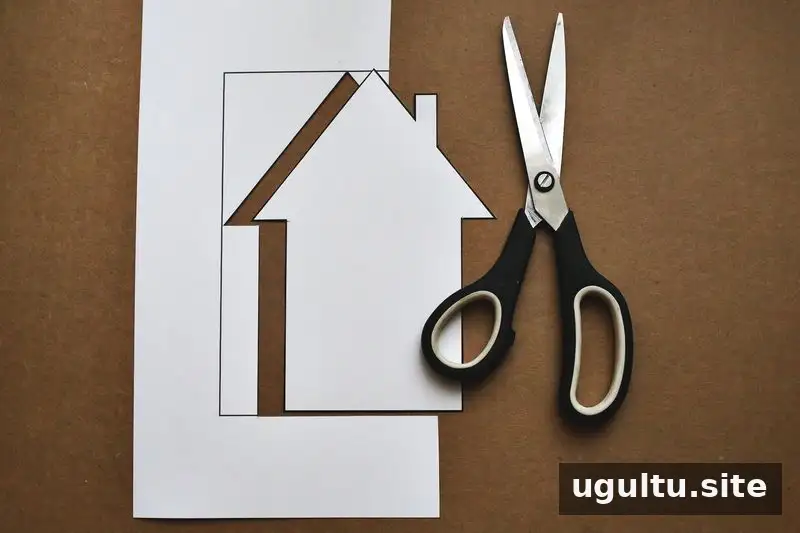
Cut out the template and use it as a guide to cut a cover from scrapbook paper. Use the same outline to trim the photos into matching house shapes. Keep the template pieces nearby as you work so you can check that the roof, walls, and bottom edges line up.
3. Decorate the cover
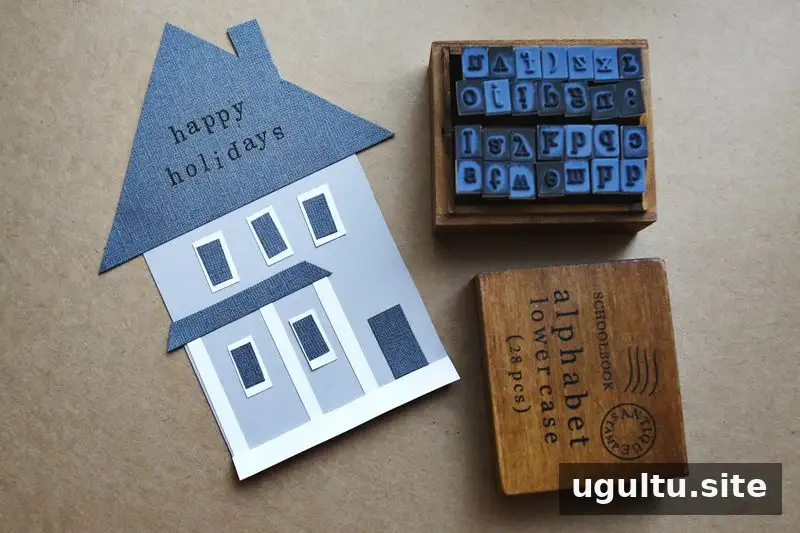
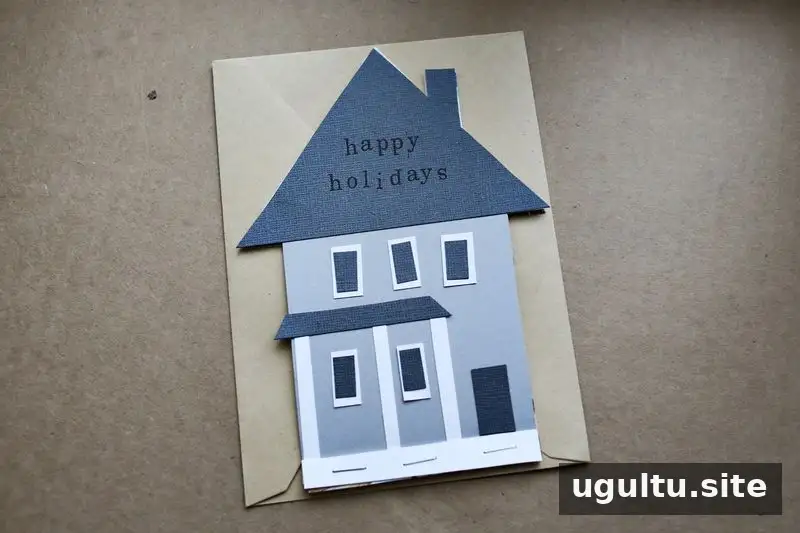
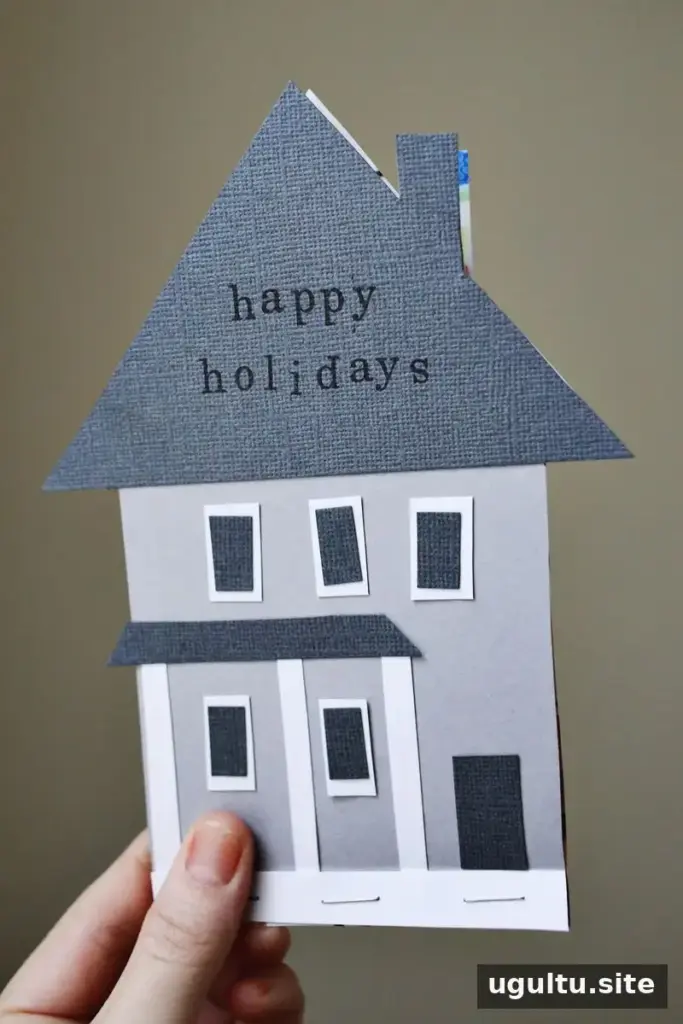
Layer scrapbook-paper details onto the front and add stamped designs or a handwritten greeting. For a cover that resembles a particular home, refer to a clear phone photo and focus on recognizable features such as the door, windows, roof, or pillars. Choose paper colors that echo those details, while keeping decorations flat enough to fit inside an envelope.
4. Arrange the photo pages
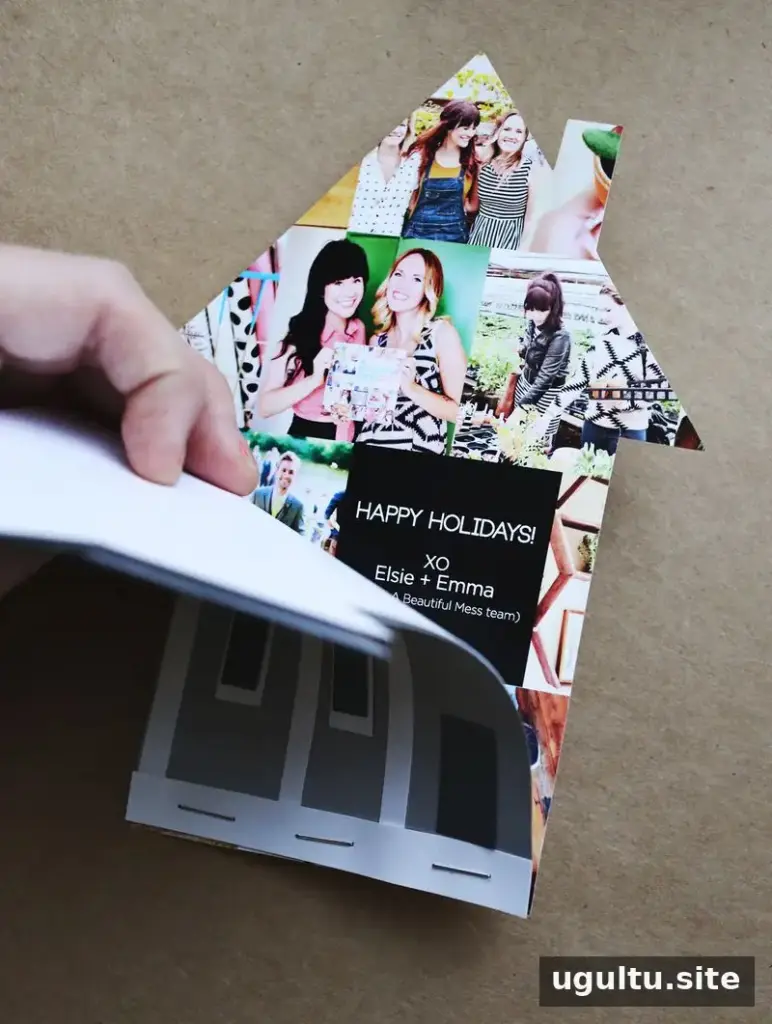
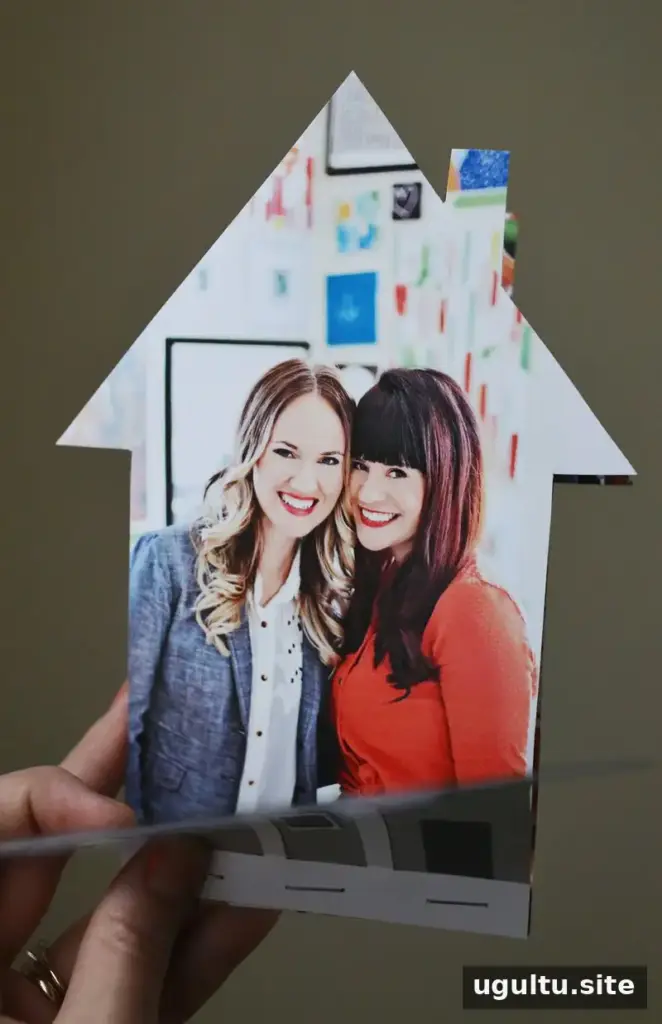
Cut two to four photos or photo panels into the house shape. Stack them beneath the cover and check that the edges line up before attaching anything. A quick test fit helps prevent uneven pages and makes the card easier to flip through.
5. Add a fold and secure the card
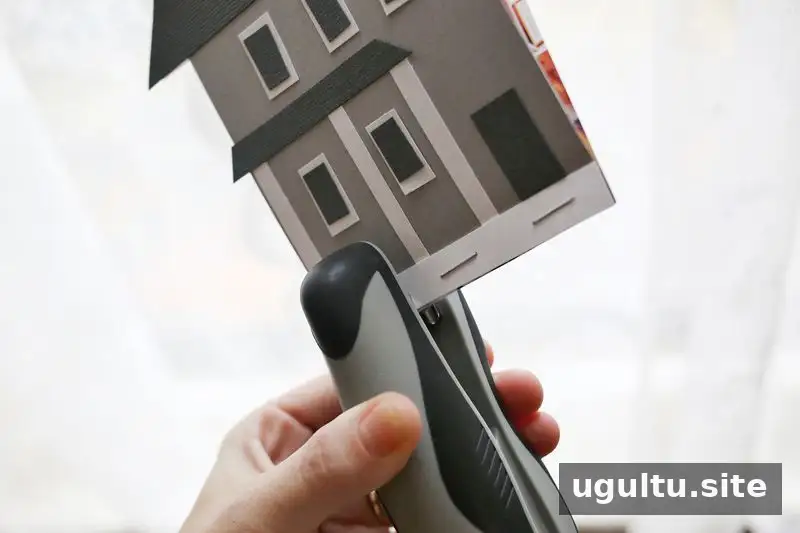
Make a crease about half an inch from the bottom of the pages to create a hinge. Add this crease to every page except the last one, which helps the pages turn more smoothly. Secure the bottom edge with staples or sewing-machine stitches. Keep the fasteners close to the edge while leaving enough room for the pages to move.
Finishing and Mailing Your Card
Once the pages are attached, check the card for loose pieces and write a personal message inside. The house-shaped design is now ready to send.
If you are making a larger batch, work in stages: prepare all the covers first, then print and cut the photos, and assemble and address the cards last. This workflow helps keep the process organized and makes it easier to spot missing pieces. Use 5×7-inch envelopes for mailing.
By Elsie


