
 admin
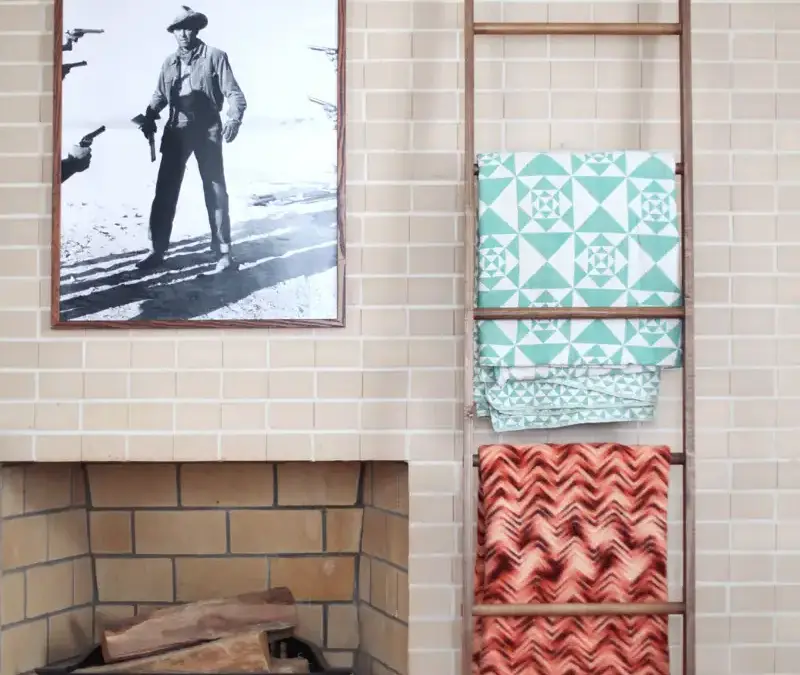
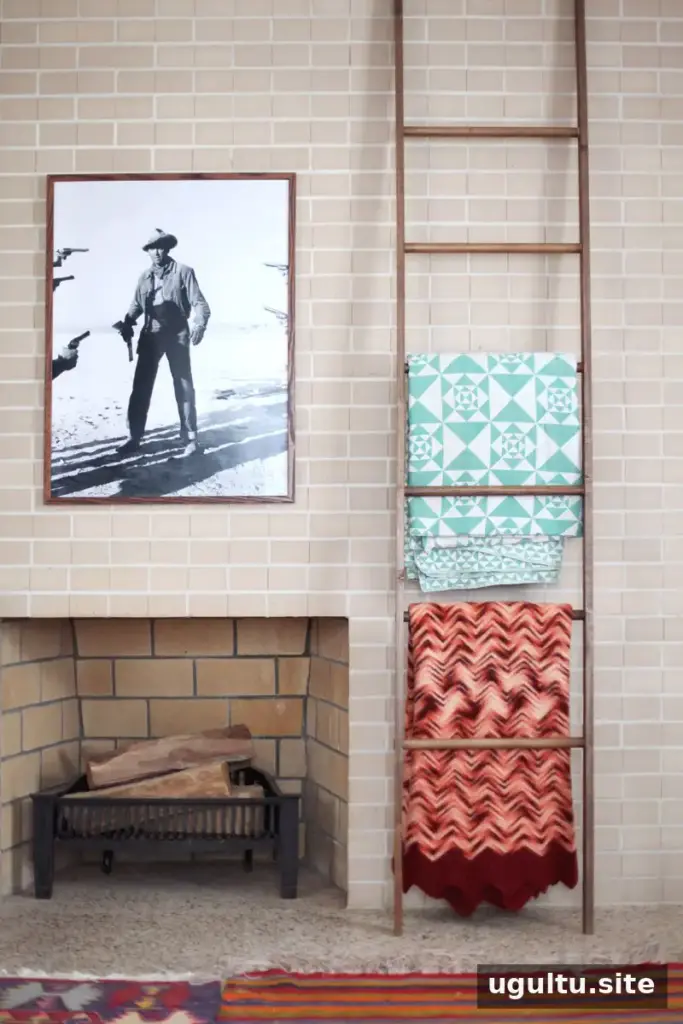
A DIY leaning blanket ladder is a practical way to display throws while adding vertical interest to a room. This project uses two wooden side rails and six dowel rungs, with angled cuts that let the finished ladder rest against a wall. Before buying lumber, measure the wall height and choose a ladder length that fits the space. The ladder is intended for blankets and decor, not for climbing.
Materials and tools
- Two 8-foot pieces of 3/4-by-2-inch wood. Poplar was used for this project; maple is another option.
- One 10-foot, 1-inch dowel, cut into six 19-inch sections.
- Power drill or drill press and a 1-inch circular drill bit, such as a Forstner bit.
- Orbital power sander.
- Stain, or primer and paint.
- Paintbrush and mineral spirits for cleaning the brush if using oil-based paint or stain.
- Protractor, pencil, T-square, tape measure, and chop saw.
- Scrap wood to support the pieces while drilling and to protect the ladder when tapping parts together.
- Wood glue (optional).
Prepare the wood for your DIY leaning blanket ladder
Measure the wall where the ladder will stand. The side rails should be no longer than the wall height plus one inch. For example, the project used 8-foot boards for walls measuring 7 feet 11 inches. Lumber yards may sell boards by the foot, so you can round up when purchasing and ask for the boards to be cut to your required length.
The 10-foot dowel was cut into six 19-inch sections. Allow for the material removed by the saw blade when planning dowel cuts; six pieces of 20 inches will not necessarily fit into a 10-foot length. Check the cut lengths before assembly so the rungs are consistent.
How to make a leaning blanket ladder
1. Mark the angles on the side rails
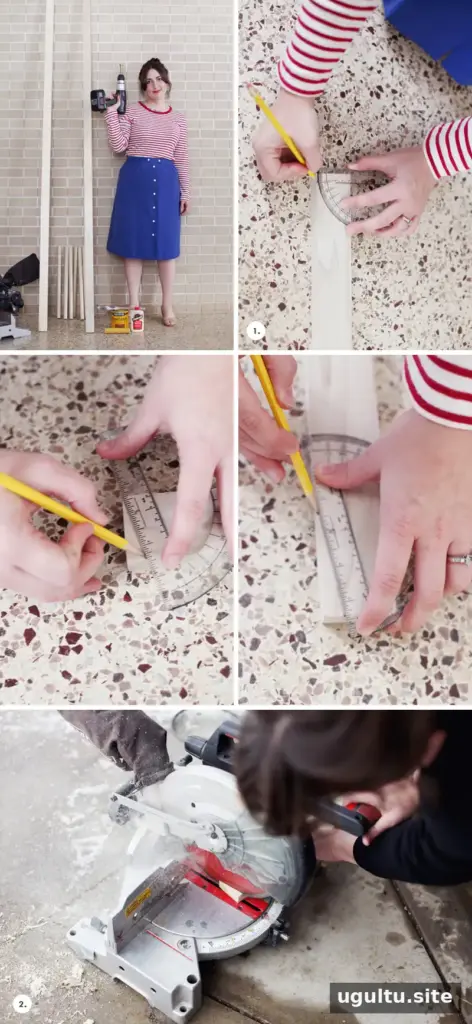
Use a protractor to mark a 10-degree angle horizontally across the bottom of each side rail. At the higher end of that angled mark, measure and draw another 10-degree angle vertically across the height of the board. These angled cuts help the ladder sit against the floor and wall. Mark both rails carefully and ensure their finished cuts will mirror one another.
2. Cut the rails
Use a chop saw to cut along the marked lines. Keep hands clear of the blade and support the board securely while cutting. Once both rails are cut, compare them before moving on to confirm the angles face in the correct directions.
3. Mark the rung holes
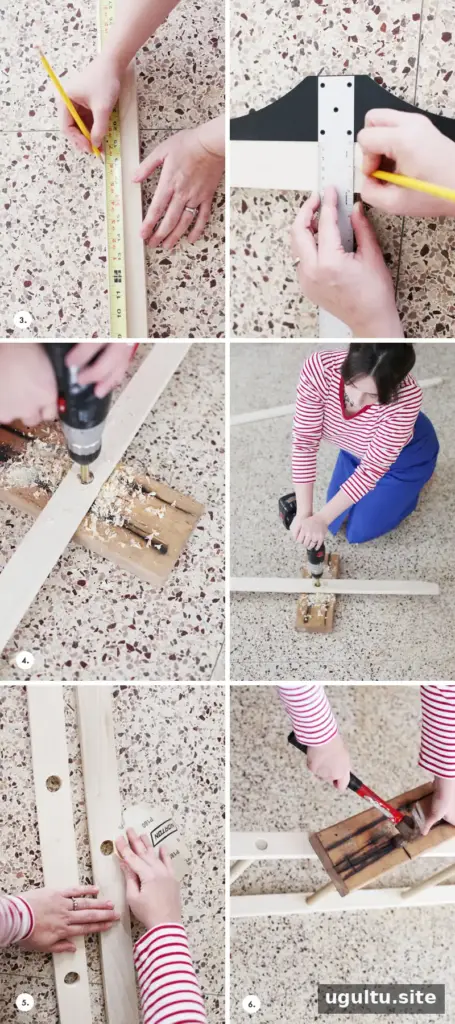
Lay the rails on their sides and mark the rung positions along each one. In this project, the first hole was placed 18 inches from the bottom, with the next five holes spaced 12 inches apart. Use a tape measure, then use a T-square to locate the exact center of each rail and adjust the marks as needed. Accurate, matching hole positions help the ladder assemble evenly.
4. Drill the holes
Place a rail on scrap wood and drill a 1-inch hole at each mark. Keep the drill perpendicular to the board so the holes are straight. A drill press can help with accuracy when the rail is level and properly supported. A Forstner bit can make clean holes with less splintering. Check the fit of a rung before drilling the remaining holes if you are unsure about the fit.
5. Sand the pieces
Sand away splinters around the holes and soften sharp edges on the rails. Wipe the wood with a barely damp cloth to remove dust, then let it dry before assembly or finishing.
6. Assemble the ladder
Fit the dowel rungs into the holes, keeping the two rails aligned so their angled cuts mirror each other. If the fit is tight, tap the rail gently using a scrap piece of wood between the hammer and the ladder to prevent marks. If a hole is slightly loose, spread wood glue around its inside before inserting the rung, then wipe away excess glue. Allow the glue to dry according to its product instructions.
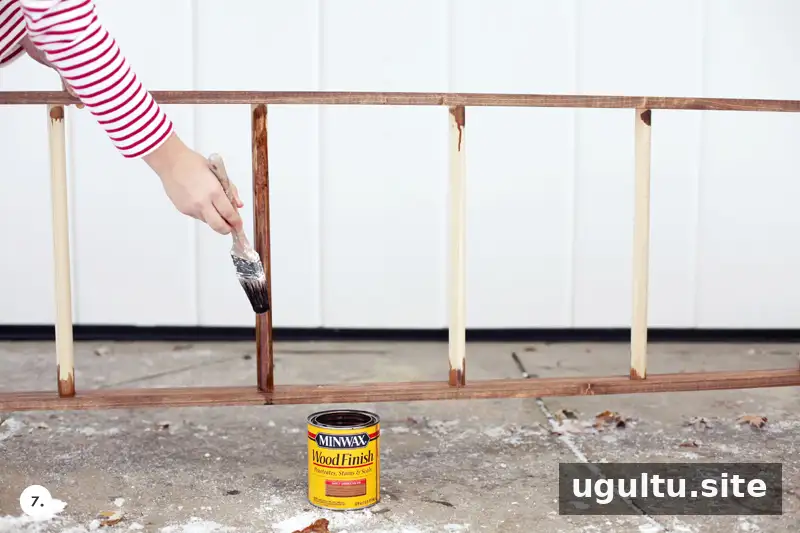
7. Apply stain or paint
Once the glue is dry, stain the wood or apply primer and paint. Test the finish on an offcut first, especially when working with poplar: stain may absorb unevenly, and the appearance can vary with the grain. Choosing boards with complementary grain patterns can help create a more consistent look. Follow the finish label for application, drying, and ventilation guidance. If the finish has a strong odor, let the ladder air out in a suitable, well-ventilated area before bringing it indoors.
A clear protective finish, such as wax or polyurethane, is optional. Consider the look you want and follow the product directions if you decide to use one.
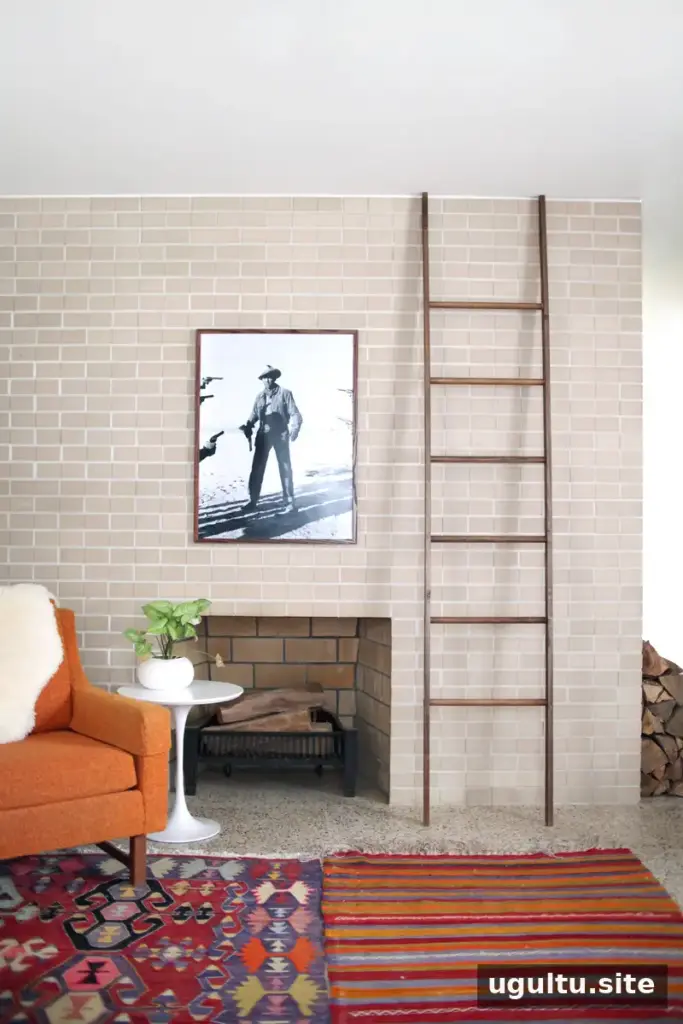
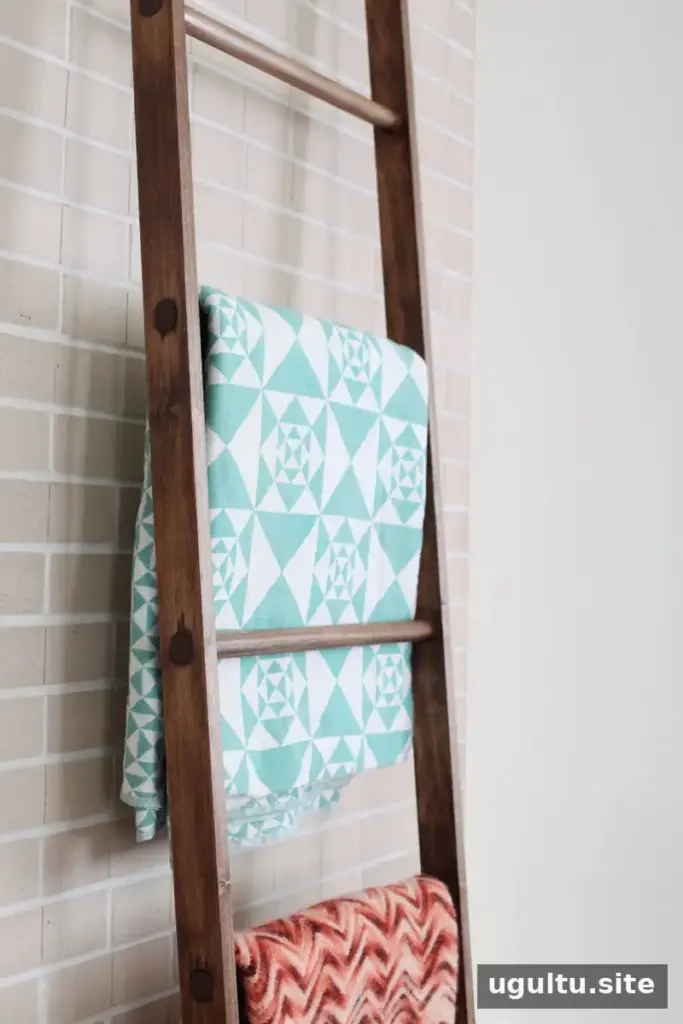
The completed ladder can keep favorite blankets visible and easy to reach in colder months, or serve as a simple decorative feature when the blankets are put away. Place it on a stable, level floor and check that it rests securely against the wall before adding textiles. This DIY leaning blanket ladder is a useful project for making display space without taking up much floor area.
— Mandi


