
 admin
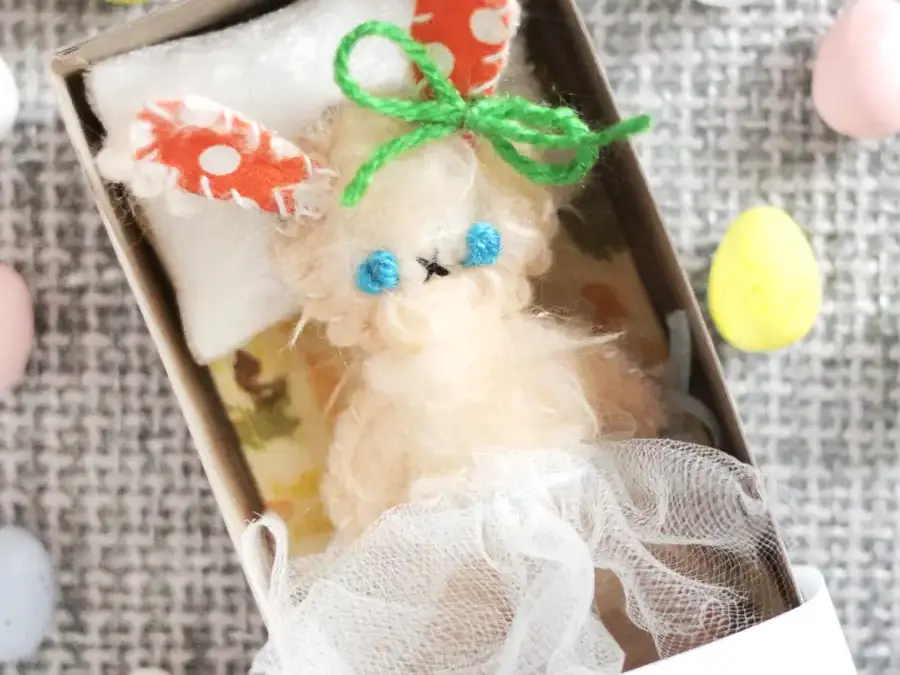
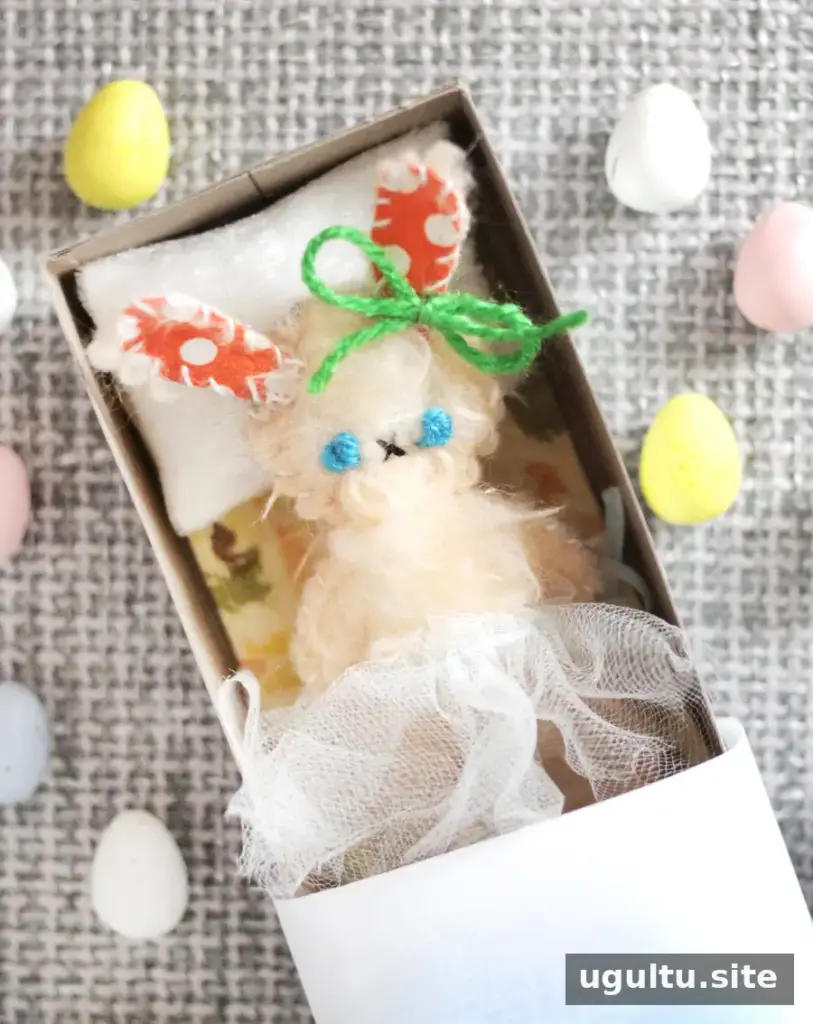
A matchbox doll is a small handmade toy that fits inside a decorated matchbox, complete with a cozy fabric bed and pillow. This bunny version makes a thoughtful little gift and is a straightforward sewing project. Gather the materials before you begin, and allow extra time for glue to dry and for careful stitching.
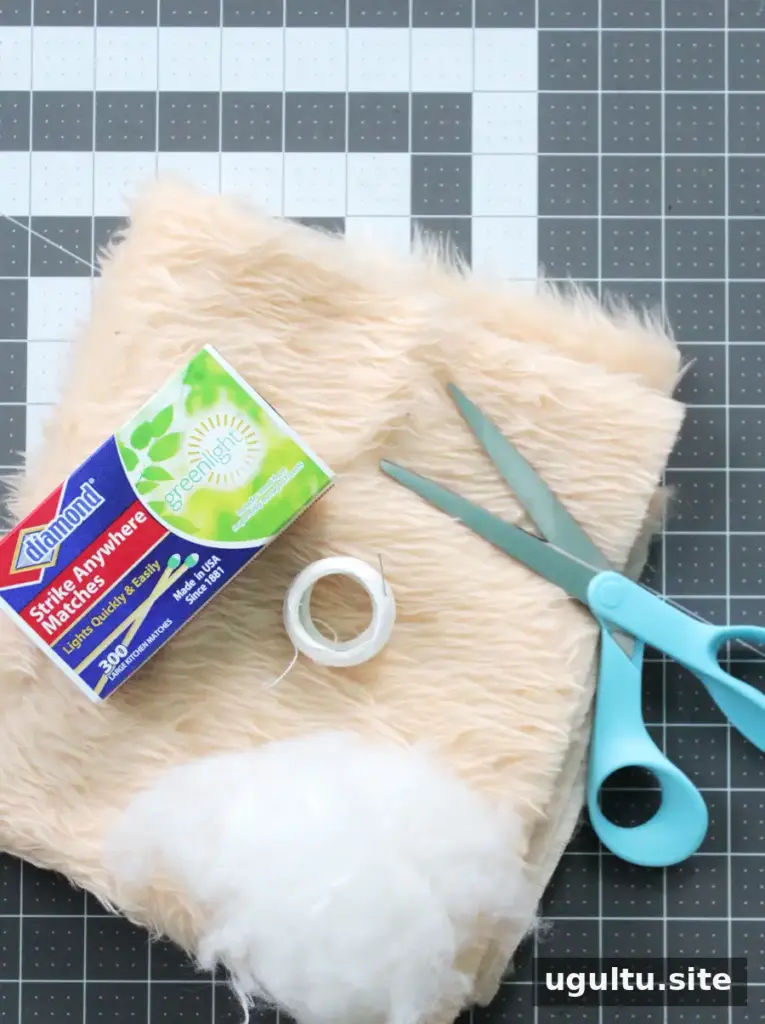
Materials:
- Three or four fabrics for the doll’s body, inner ears, sleeping bag, and pillow
- Poly-fil or cotton stuffing
- Needle and thread
- A chopstick for pushing stuffing into the doll
- A matchbox
- Scissors
- Craft glue or tape
- A doll pattern, such as the referenced Matchbox Bunny Template
- Decorative paper for covering the outside of the matchbox
Choose lightweight fabric that is easy to sew by hand. Keep scissors, needles, and small craft pieces away from young children, and supervise children during the project.
How to Make a Matchbox Doll
1. Cut and sew the doll
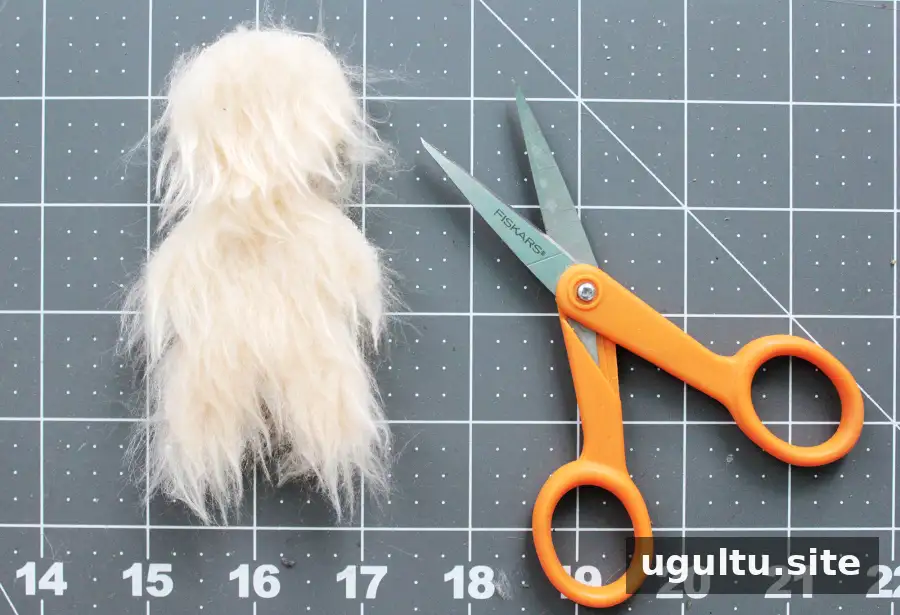
Print the doll pattern and use it to cut two matching pieces of fabric for the body. Place the pieces together and begin whipstitching around the outer edge. Keep the stitches close enough to hold the fabric securely, but leave a small opening for stuffing.
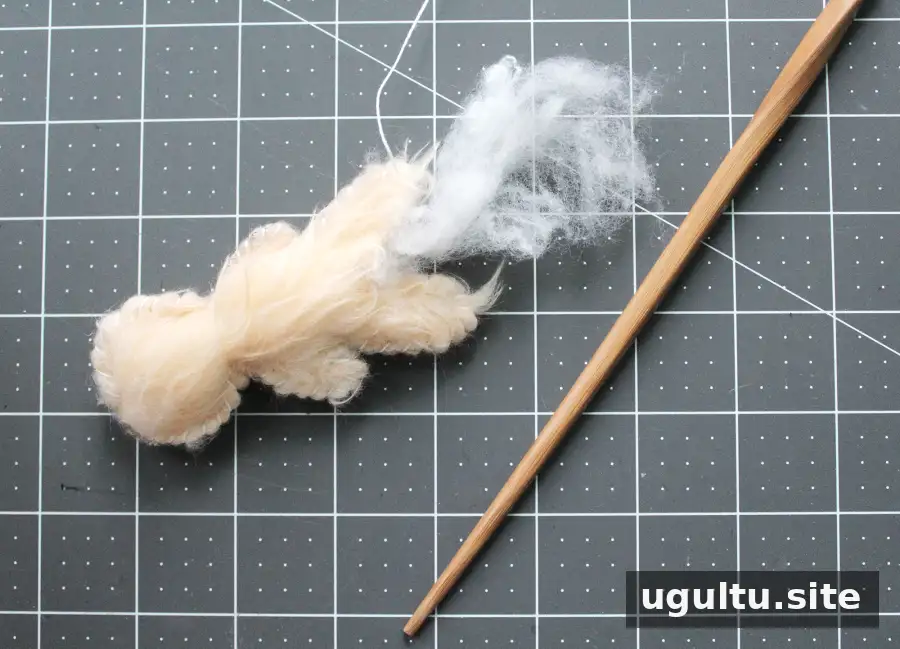
Use a chopstick to gently push the stuffing into the body through the opening. Add small amounts at a time so the shape fills evenly without stretching the seams. Finish stitching the opening closed.
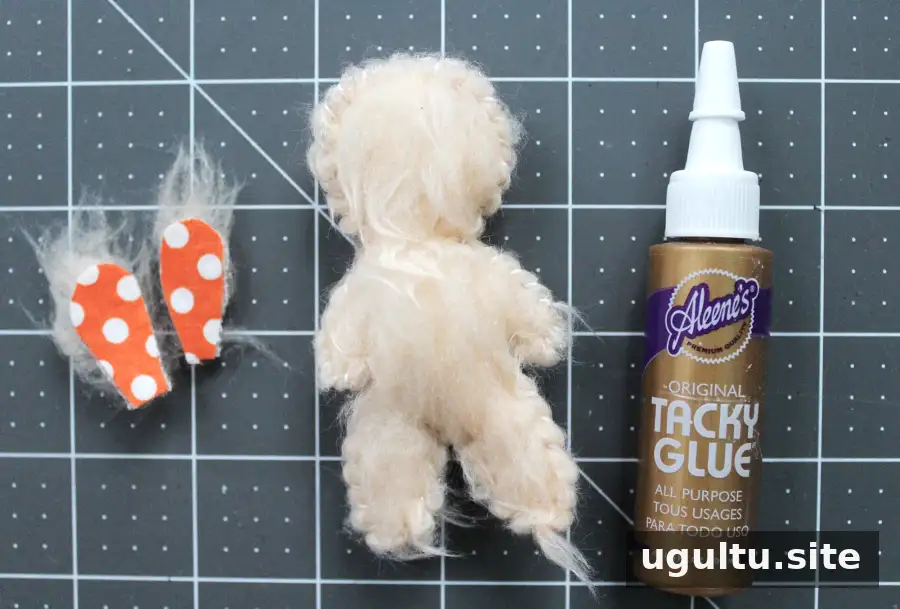
2. Add the bunny ears
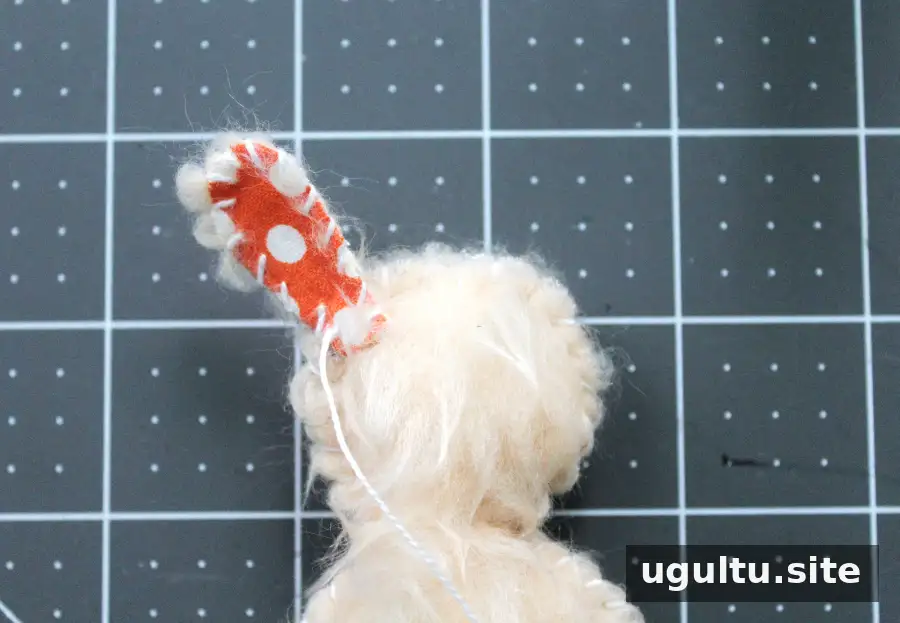
Cut two ears from the body fabric, then cut two smaller or matching pieces from a contrasting fabric for the inner ears. Place each contrast piece on top of an outer ear. A small amount of craft glue can help hold the layers in place while you sew; let it dry first. Whipstitch around each ear, then sew the ears to the front of the doll as shown. Repeat for the second ear.
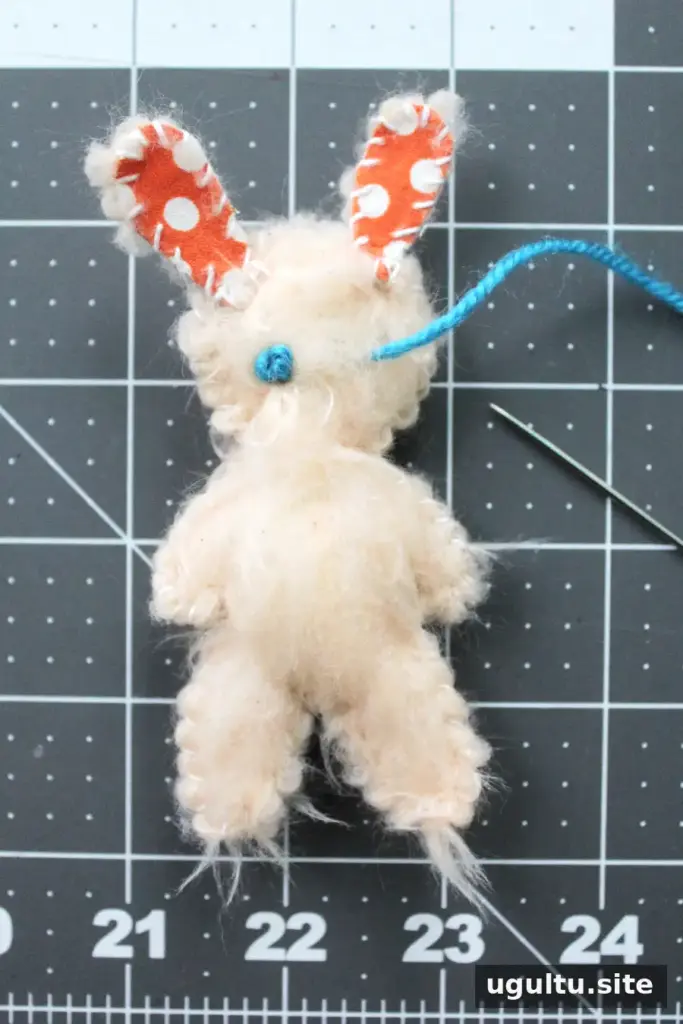
3. Stitch on the face
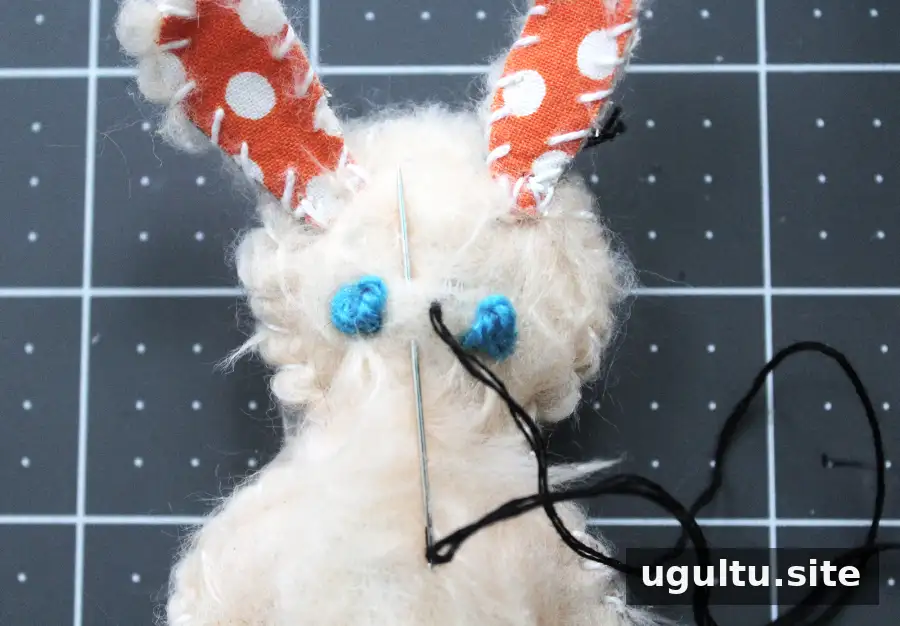
Use embroidery floss or yarn to sew the eyes onto the doll. French knots are one option; simple stitched eyes work too. Add a small contrasting “x” beneath them for the nose and mouth. Make the facial details secure, especially if the finished toy will be handled by a young child.
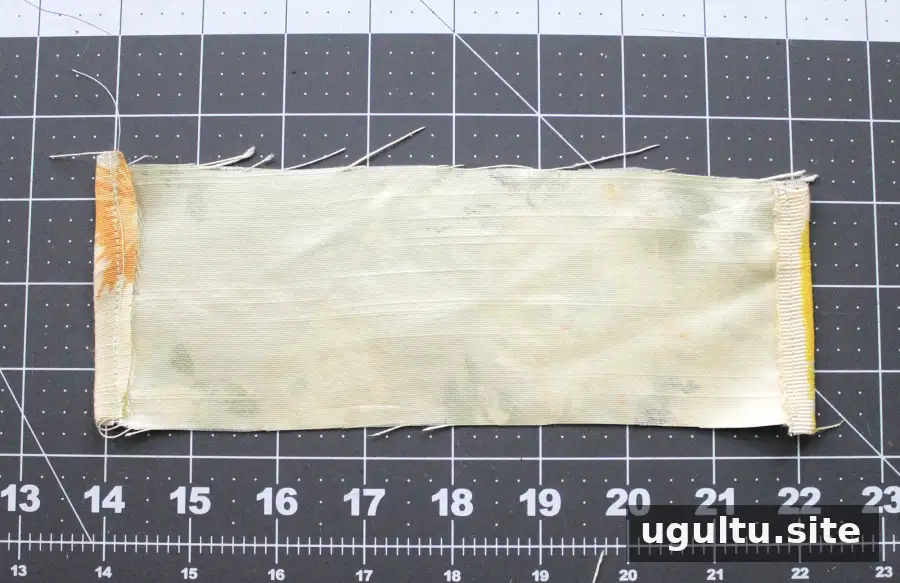
4. Sew a sleeping bag
Cut the sleeping-bag fabric using the pattern. Fold the outside edges toward the wrong side of the fabric and stitch them down to create neat hems. Check that the patterned side faces down while you work on the wrong side.
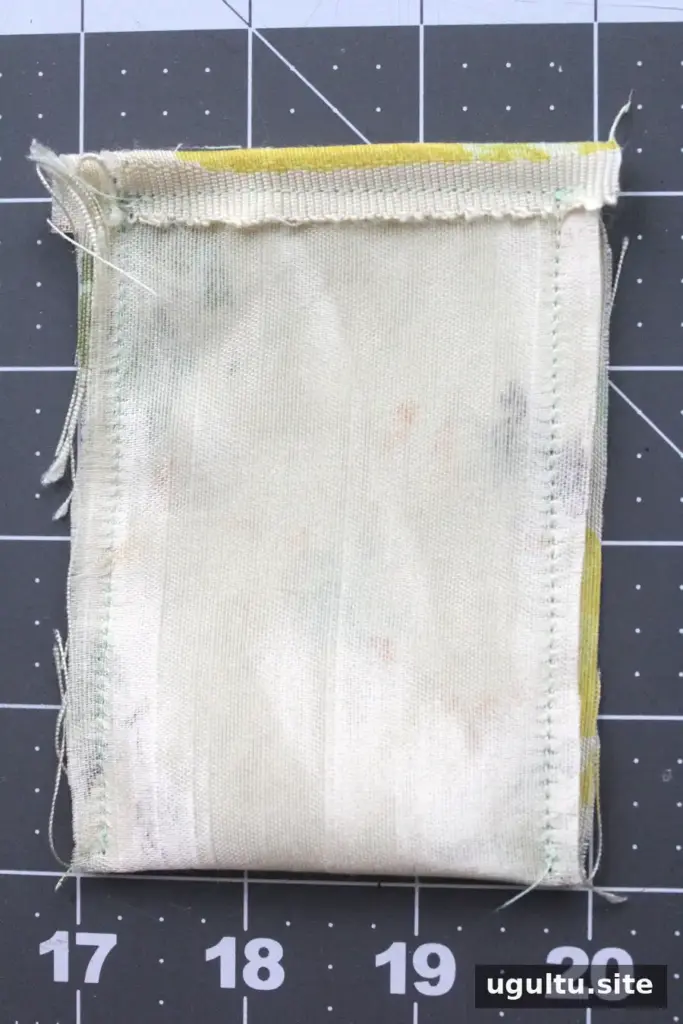
Fold the hemmed piece in half with the wrong side facing out. Sew the edges together, leaving the top open. Turn the fabric right-side out to complete the sleeping bag.
5. Make a small pillow
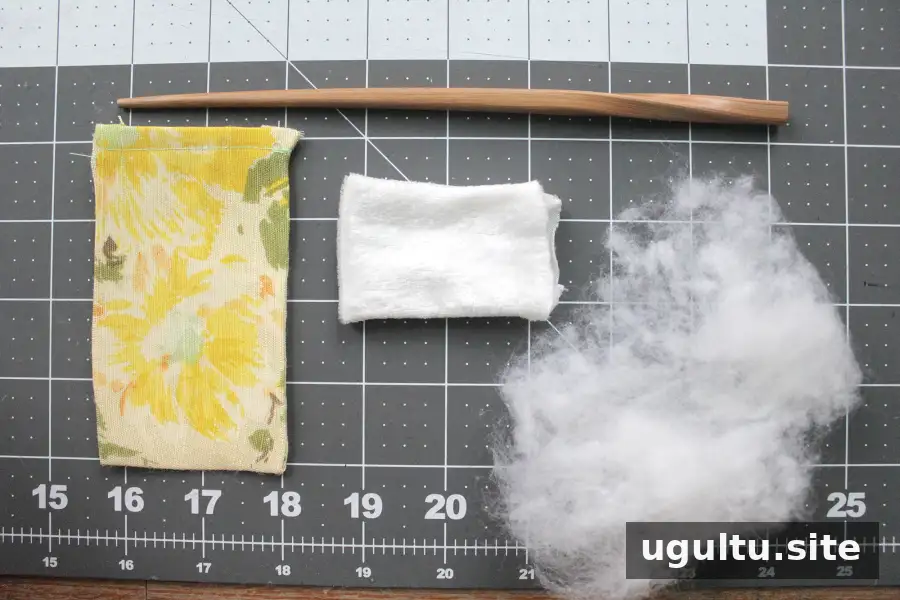
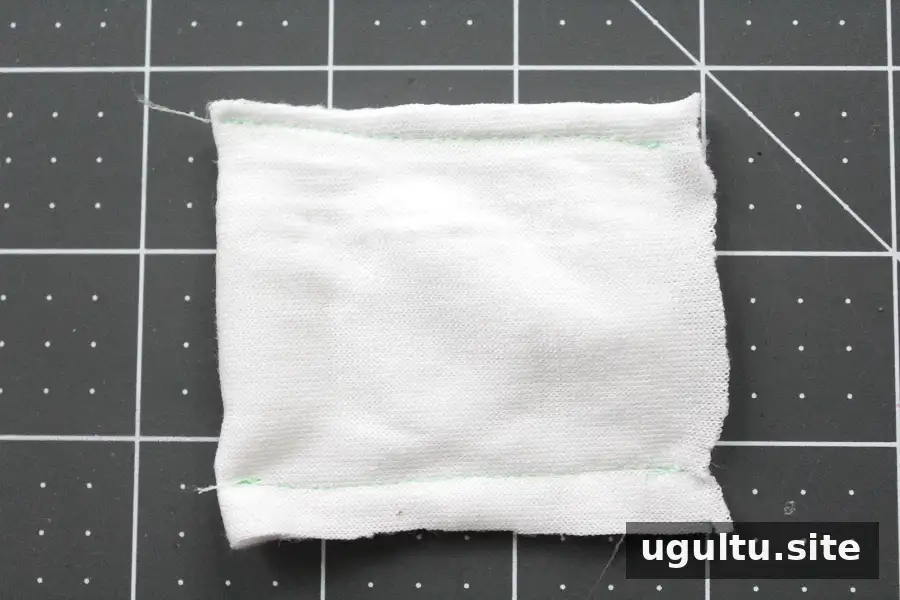
Cut the pillow fabric, fold it in half with the right sides together, and sew the top and bottom edges, leaving one side open. Turn it right-side out, fill it with stuffing, then hand-stitch the opening closed. Use a small amount of stuffing so the pillow can fit neatly in the matchbox.
6. Decorate the matchbox and assemble
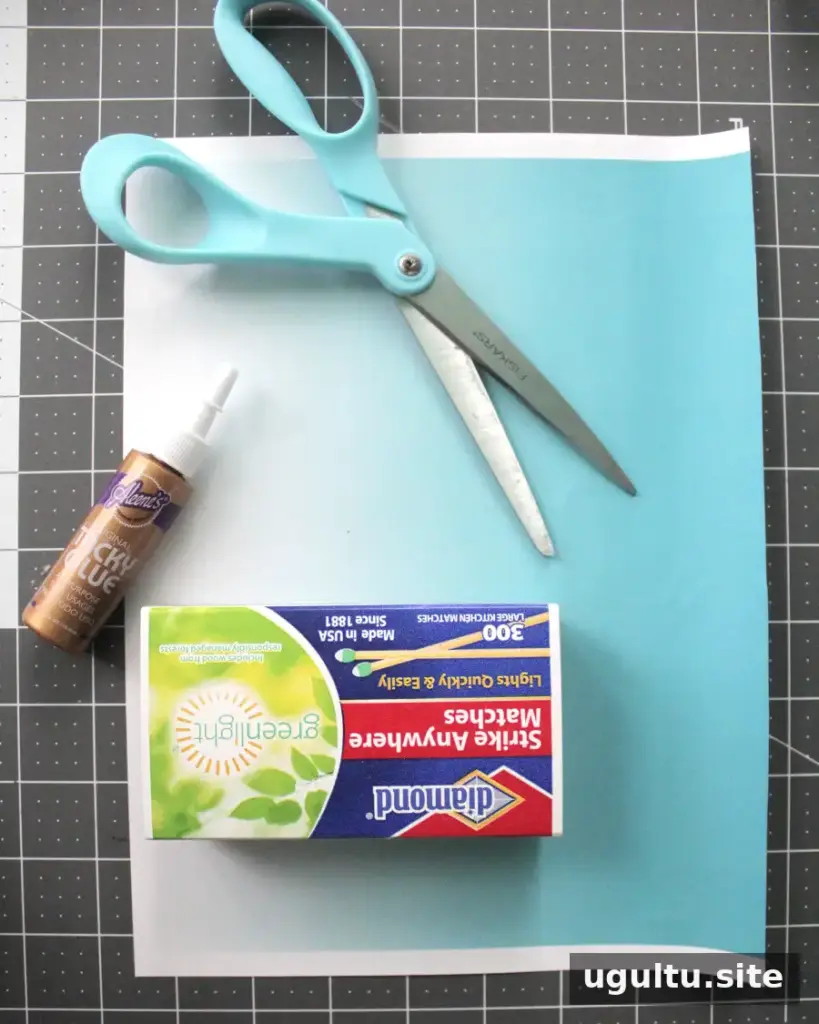
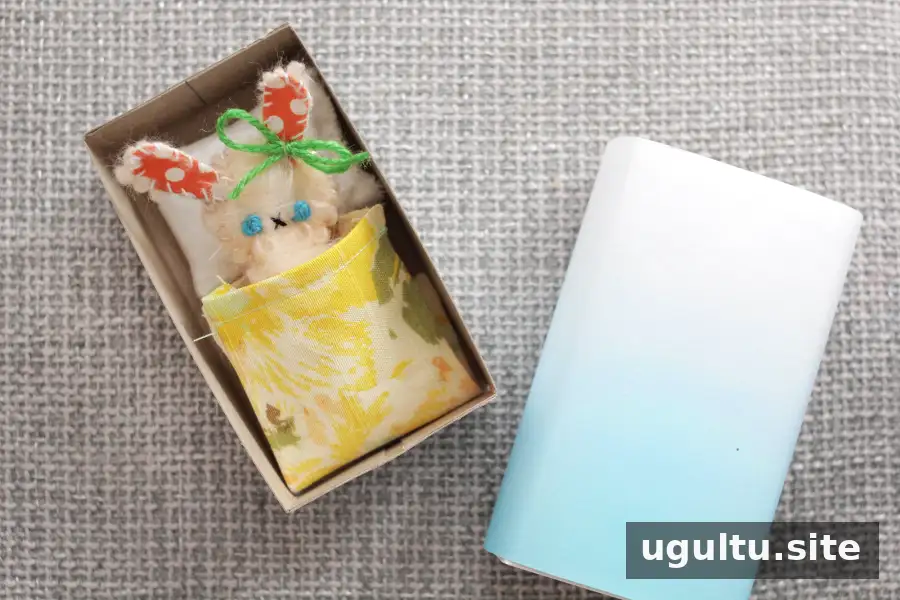
Cover the outside of the matchbox with decorative paper, attaching it with craft glue or tape. Let glue dry before putting the pieces inside. Arrange the doll, sleeping bag, and pillow in the box, checking that the drawer still slides smoothly.
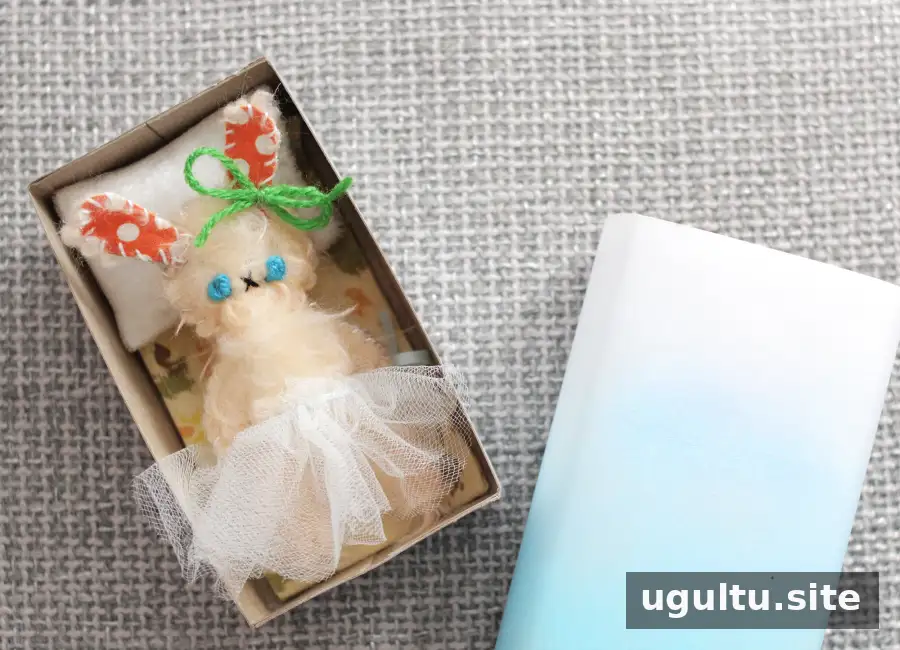
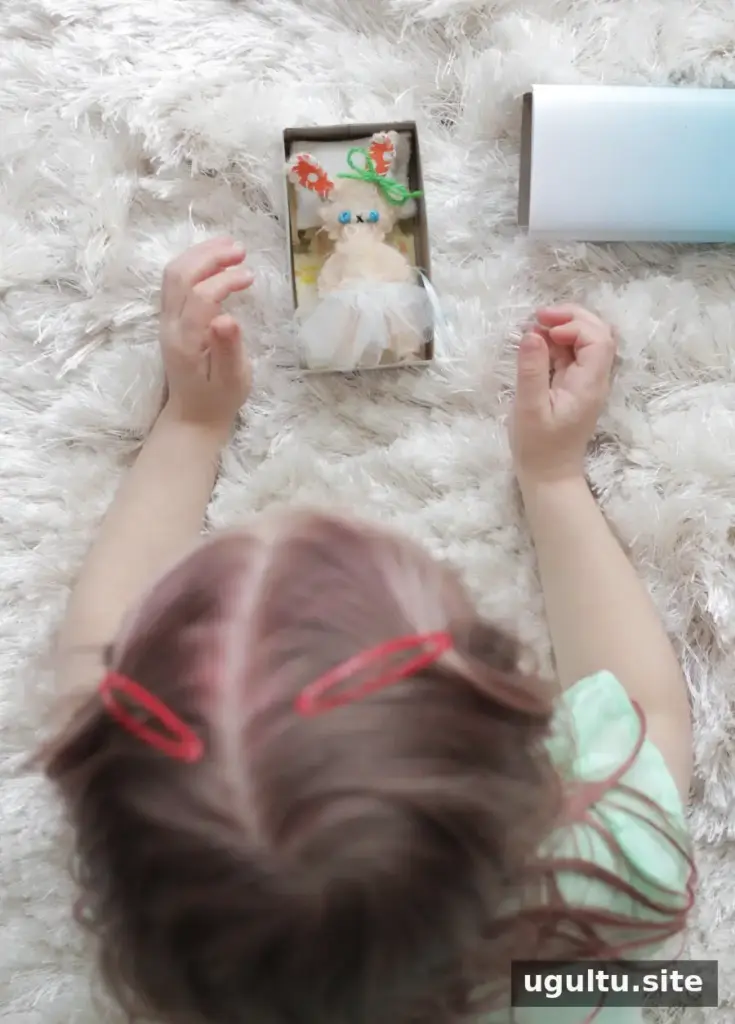
Customize Your Matchbox Doll
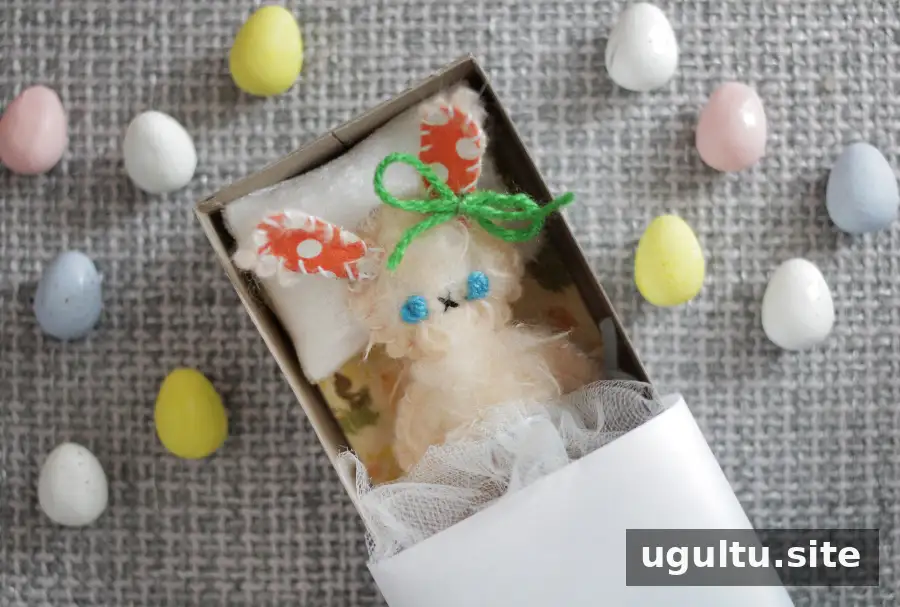
Personalize the matchbox doll with fabric choices and small sewn-on details, such as a skirt, bow tie, or tiny shoes. To create a different character, adapt the pattern by changing the ears or leaving them off. Make sure any added pieces are firmly attached, and keep the finished matchbox dry to help protect the fabric and paper. Project instructions by Katie.


