admin
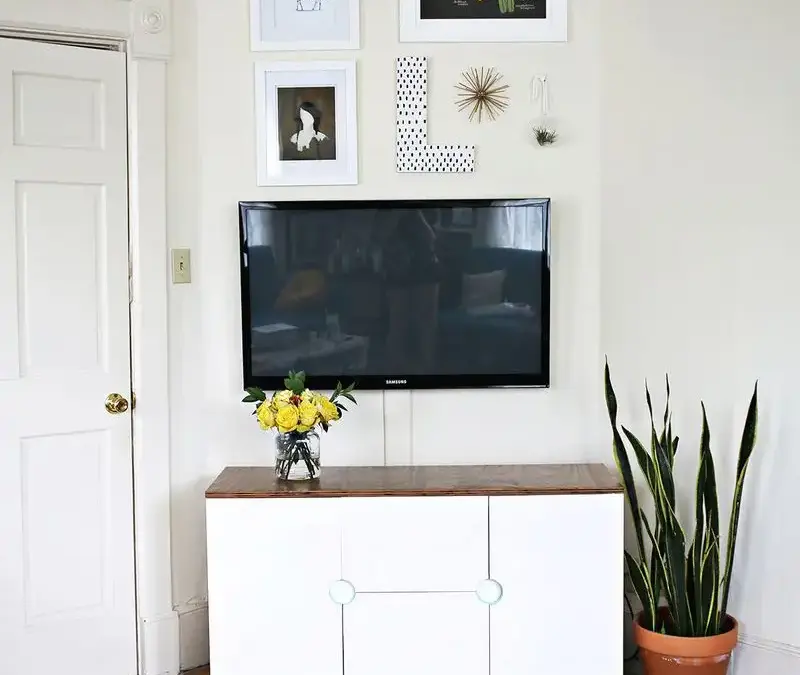
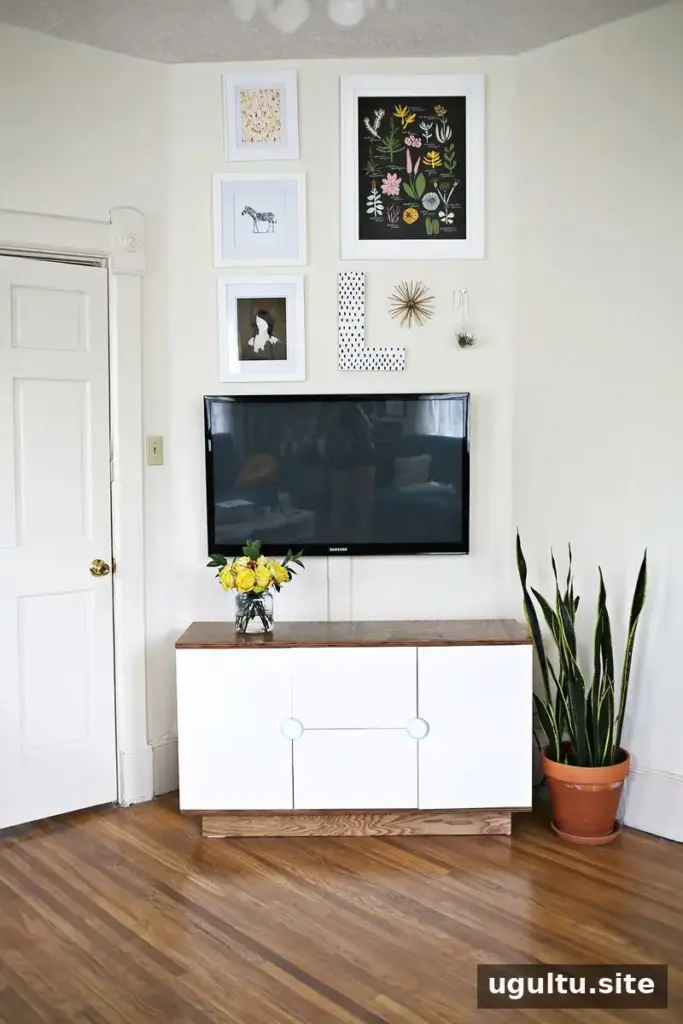
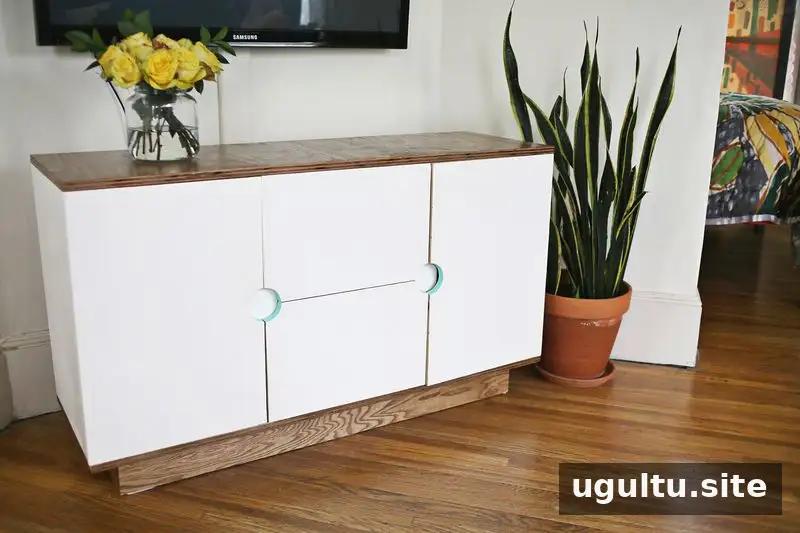
A DIY media cabinet can be a rewarding project for woodworkers who have the right tools, workspace, and patience. This design creates a custom piece for beneath a television, with doors, drawers, and a painted-and-stained finish. The measurements and assembly require careful planning, so review the cut list and each step before beginning.
Cabinetmaking can involve more measuring and calculation than expected. Work steadily rather than rushing, and remember that small measurement differences can affect how the drawers and doors fit. Even if you decide not to build this cabinet, taking on a manageable new project can be a useful way to develop your skills.
Materials and tools for the DIY media cabinet
Gather all supplies before cutting. Confirm that you have a suitable work area and the tools needed to make accurate cuts and assemble the cabinet.
Supplies
- 2 sheets of 4″ by 8″ 3/4″ hardwood plywood
- 2 sets of 14″ ball-bearing drawer slides
- 4 surface cabinet hinges
- Screws, including 1 1/4″ pocket-hole screws
- Paint and stain
Tools
- Miter saw, table saw, and jigsaw
- Paintbrush and sander
- Pocket-hole jig
- Measuring tape and pencil
Before cutting, check the plywood dimensions and make sure the selected drawer slides and hinges suit the planned construction.
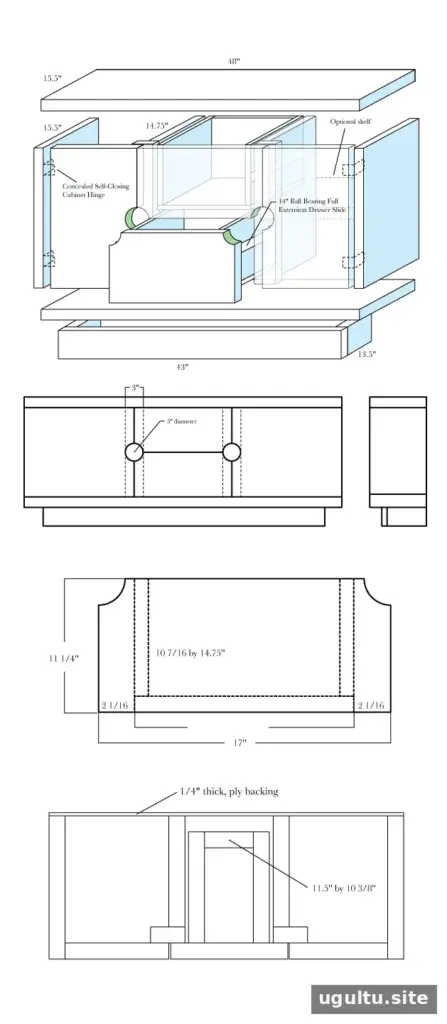
Step 1: Cut and sand the cabinet pieces
Cut the plywood into the following pieces. Label each part as you go to make assembly easier and reduce the chance of mixing up similar panels.
- 48″ by 15.5″ (2): top and bottom
- 22.5″ by 14.75″ (2): outer side pieces
- 22.5″ by 13.25″ (2): inner side pieces
- 15.5″ by 22 7/16″ (2): doors
- 22.5″ by 3 1/8″ (2): door backings
- 4″ by 43″ (1): base front
- 4″ by 12.5″ (2): base sides
Drawer pieces:
- 17″ by 11 3/16″ (2): drawer fronts
- 10 7/16″ by 14.75″ (4): drawer sides
- 13″ by 14.75″ (2): drawer bottoms
- 11.5″ by 10 3/8″ (2): drawer backs
After cutting, sand the edges of every piece. Smooth edges are easier to handle and help prepare the parts for finishing.
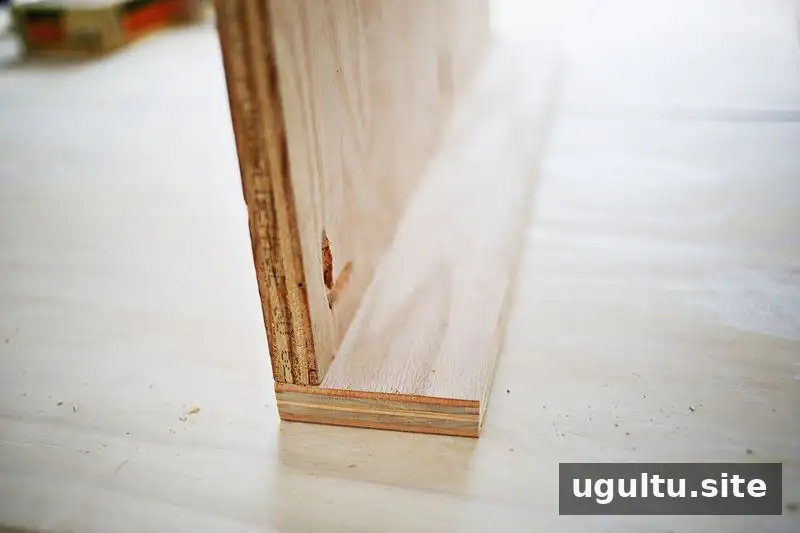
Step 2: Assemble the cabinet frame
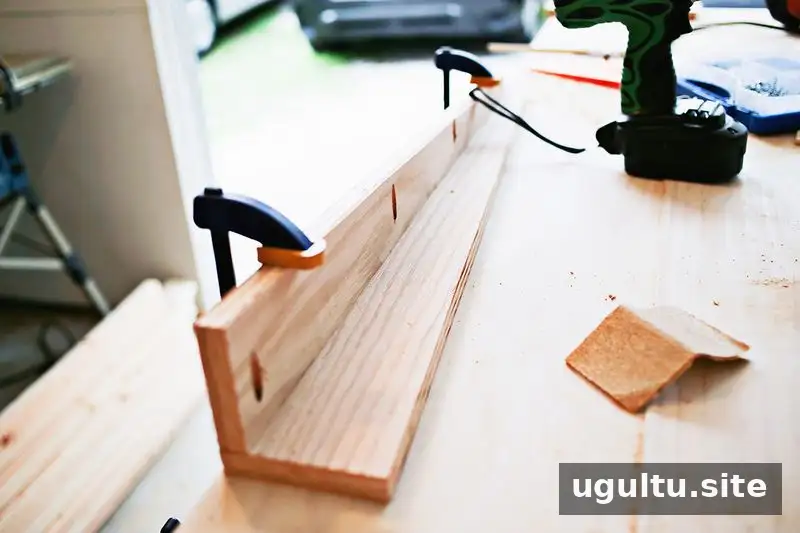
Position and assemble the cabinet parts according to the diagram. Aim for accurate, square construction: a difference of 1/16″ can affect the fit of other components. The drawer slides require 1/2″ of space on each side of the drawers. Measure the openings and drawer parts carefully before fastening them together.
Test the fit as you work. If the drawers are too snug, correcting the issue after assembly can require extra cutting. Taking measurements twice and considering how each stage affects the next can prevent avoidable adjustments.
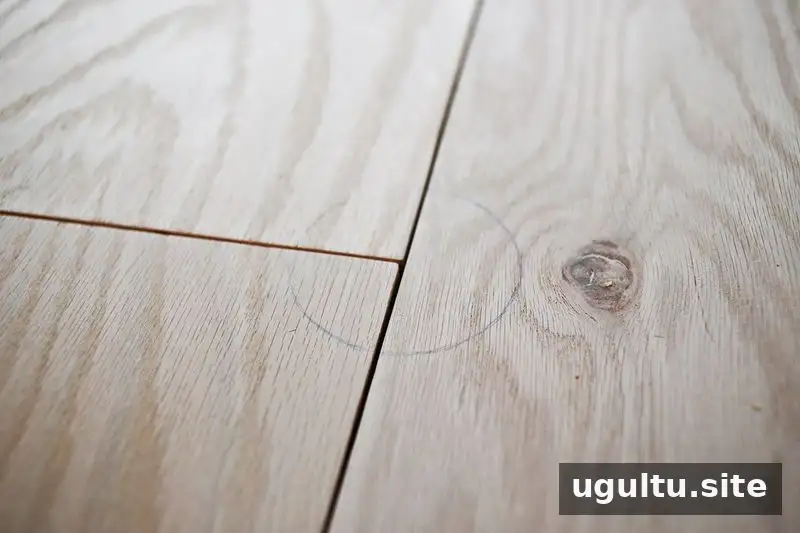
Step 3: Make the finger-pull openings
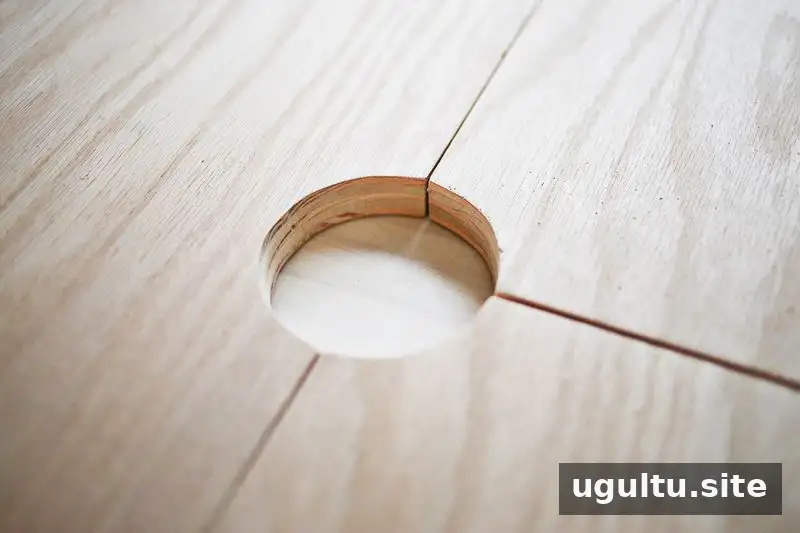
Lay all four front panels on a flat surface, leaving about 1/8″ between them. Use a circle guide to mark the finger-pull openings, then trace the shapes onto the panels. Cut along the marks with a jigsaw and sand the edges smooth. Check that the panels stay aligned while marking so the openings look consistent.
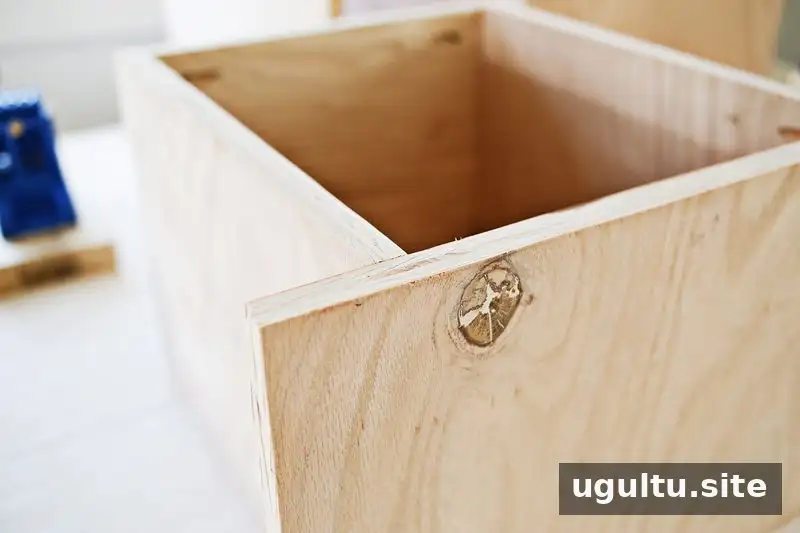
Step 4: Build and fit the drawers
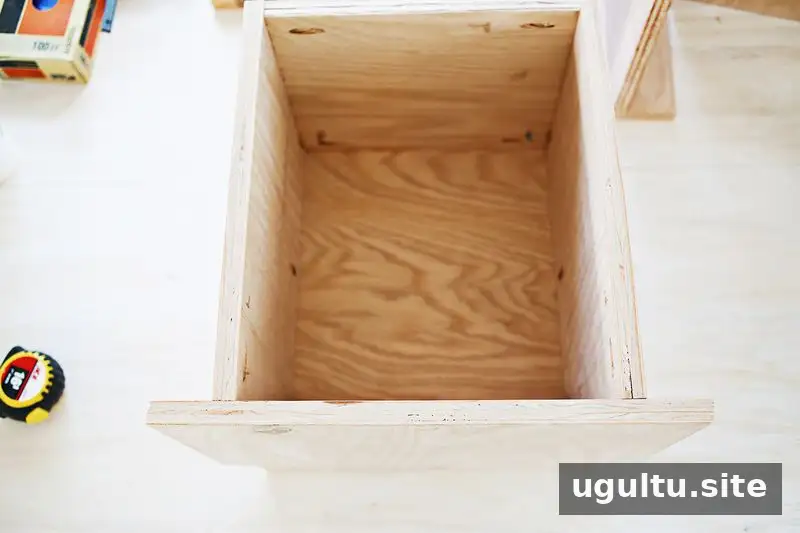
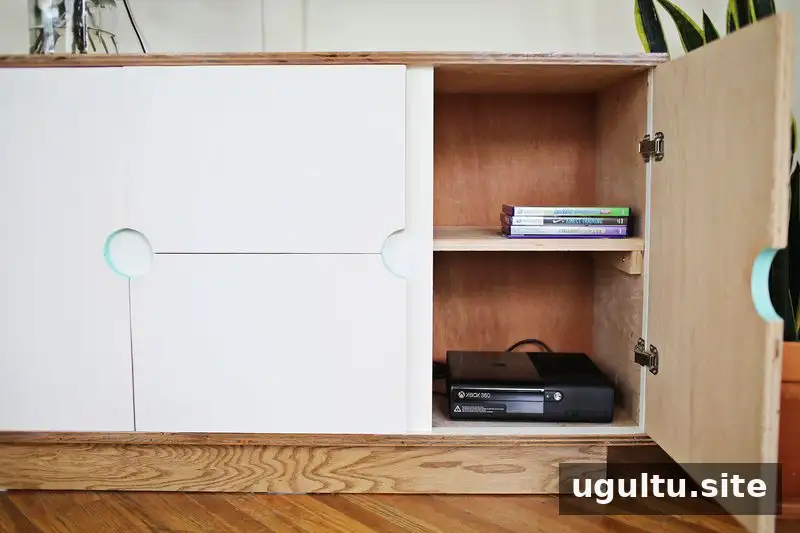
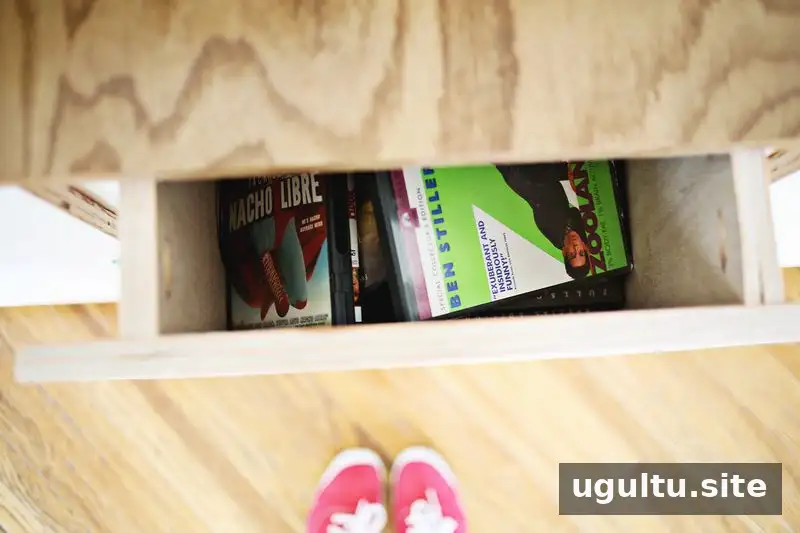
Assemble the drawers according to the diagram. Pocket-hole joinery was used for this project. Once assembled, check that each drawer fits in its opening with 1/2″ of clearance on either side. Install the drawer slides only after confirming the fit; this helps avoid having to adjust the drawer sides later.
Step 5: Paint and stain the parts
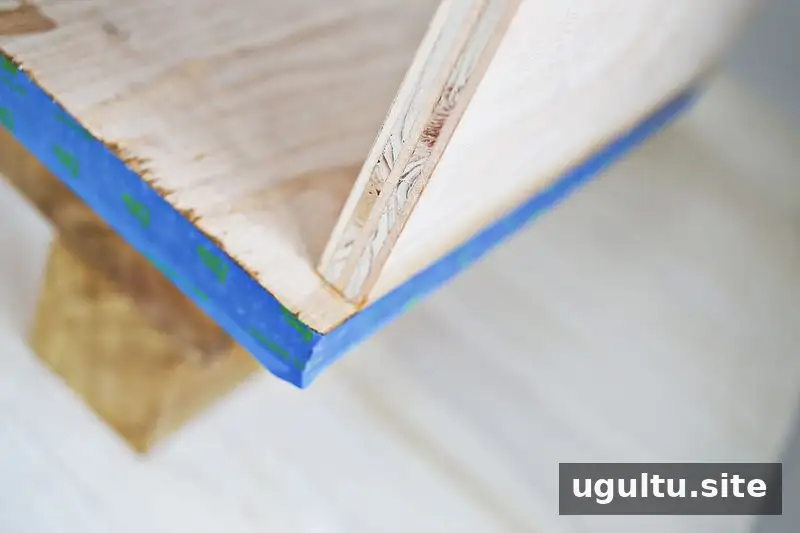
Remove the drawers before painting. For a stained top-and-bottom finish, stain those pieces first and apply a couple of coats of polyurethane. Let the finish dry, mask the stained areas, and then paint the remaining surfaces. The base pieces can also be stained at this stage. Follow the finish product’s drying instructions before handling or assembling coated parts.
Step 6: Attach the base and doors
Refer to the diagram when attaching the base pieces. Turning the cabinet upside down can make the base easier to install. Attach the doors last, adjusting them so the gaps around the edges are even. Before placing the cabinet in use, check that the doors open and close smoothly and that the drawers slide freely.
Finishing your DIY media cabinet
This build takes careful measuring and several stages of assembly and finishing, but working methodically makes the process easier to manage. Check every opening and moving part before the final installation, and allow painted or stained surfaces to dry fully. A DIY media cabinet can be a useful custom project—and a chance to practice new woodworking skills.
Happy building! — Josh