
 admin
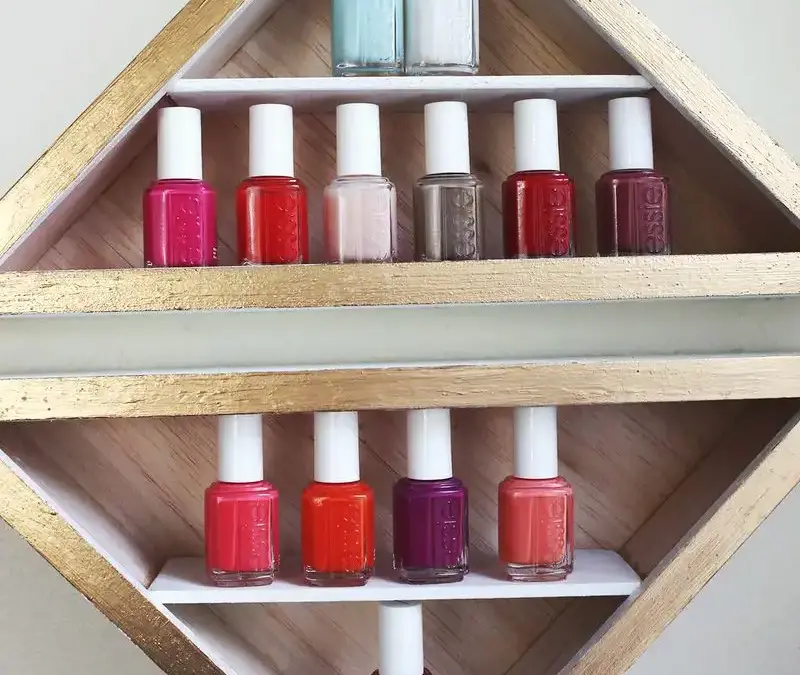
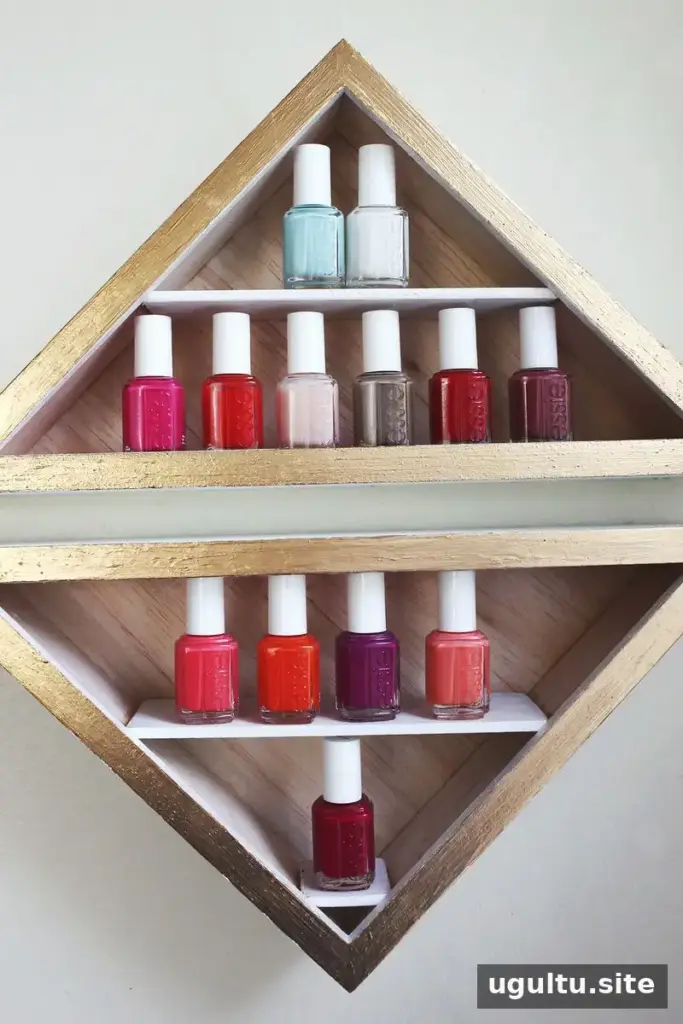
Nail polish shelves offer a simple way to keep a collection visible, organized, and easy to browse. This DIY project turns triangle-shaped flag shadow boxes into a decorative display, with custom-fit wooden shelves sized around the bottles you own. It can also help make use of wall space while keeping polish off a nightstand or makeup table.
Materials for DIY Nail Polish Shelves
Gather the following materials before starting. Check the shadow box dimensions first so you can confirm that the finished shelves will fit your space and collection.
- Triangle-shaped flag shadow boxes
- A small wooden board, about 3 inches wide and 1/4 inch thick
- Balsa wood
- Primer and paint
- Wood glue or another adhesive suitable for the materials
You will also need a measuring tool and a saw, such as a jigsaw or circular saw. Wear suitable protective gear when cutting wood, and follow the tool manufacturer’s safety instructions.
How to Make Nail Polish Shelves
1. Prepare the shadow box
Remove the back, inner lining, and front glass from the shadow box. Handle the glass carefully to avoid cuts, and dispose of it safely. If you are unsure how to remove or discard the glass, ask for help rather than forcing it.
2. Measure and cut the shelves
Measure the inside of the box, then cut the wooden board into shelf pieces that fit. Use your nail polish bottles to decide how much vertical space to leave between shelves. Bottle heights can vary, so measure the tallest bottle in your collection before cutting. A little extra clearance can make bottles easier to place and remove.
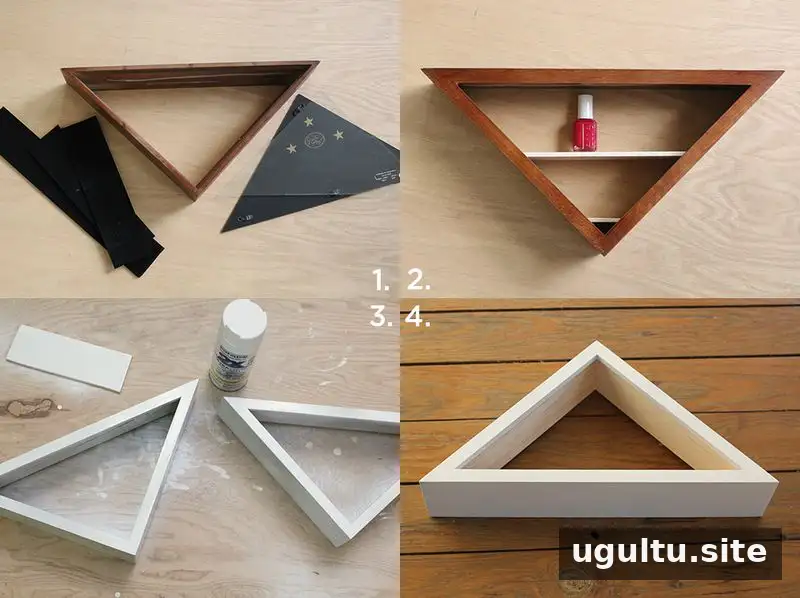
The board used for this project is about 3 inches wide and 1/4 inch thick. Cut the pieces with a jigsaw or circular saw, following safe cutting practices. Dry-fit each shelf inside the box before applying glue to check that it sits level and fits as intended.
3. Prime, line, and assemble
Prime the box and shelf pieces, then let the primer dry according to its instructions. Line the box and back panel with balsa wood. Add any painted accents you want, and glue the shelf pieces into position. Check the spacing and alignment before the adhesive sets, then allow everything to dry fully.
4. Hang and arrange the display
Once the shelves are dry, mount the finished display using hardware appropriate for the wall and the weight of the filled shelf. Follow the hardware instructions, and make sure the display is securely attached before adding bottles. Keep the collection within the shelf’s capacity and arrange bottles so they are easy to reach.
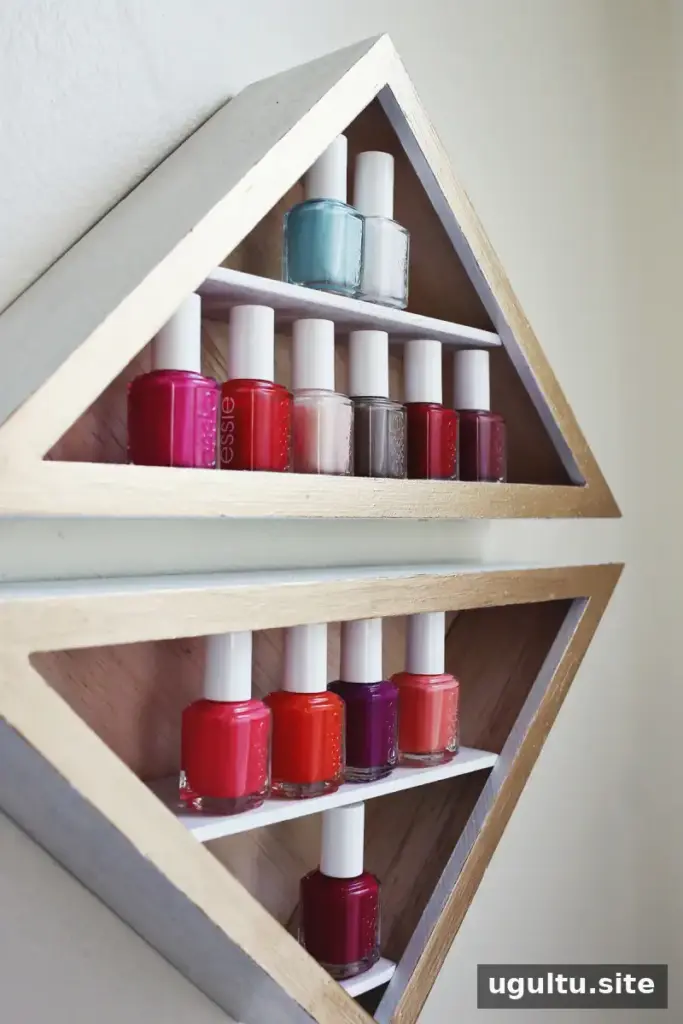
Customize the Size and Shape
Multiple triangle shadow boxes can create a larger display for a bigger collection. A square shadow box is another option and may provide room for more bottles, depending on its dimensions. Before buying or modifying a box, measure the available wall space and compare it with the height and depth of the bottles you plan to store.
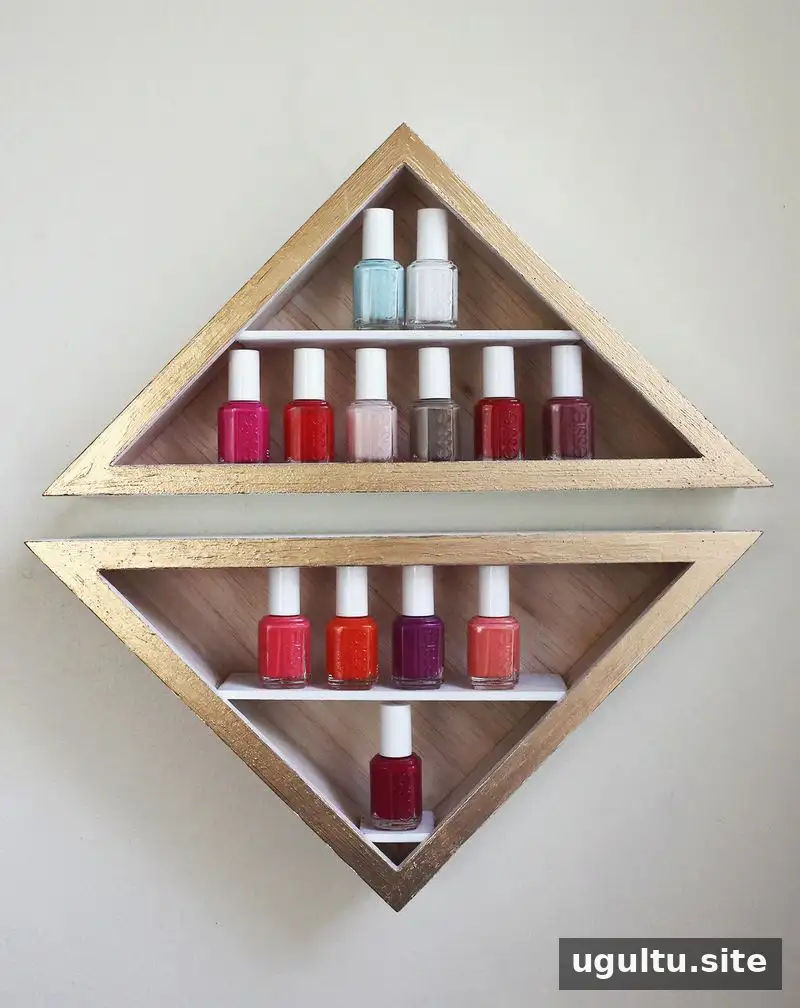
This project can be adapted to suit different rooms and collections. Choose a box shape and shelf spacing that work for your space, and allow the paint and adhesive to dry completely before hanging or loading the display.
— Elsie


