
 admin
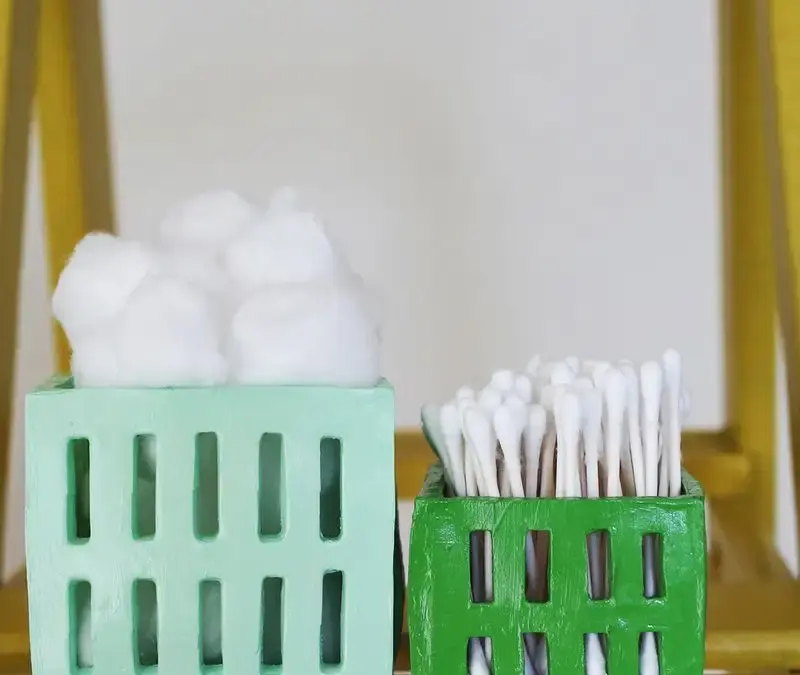
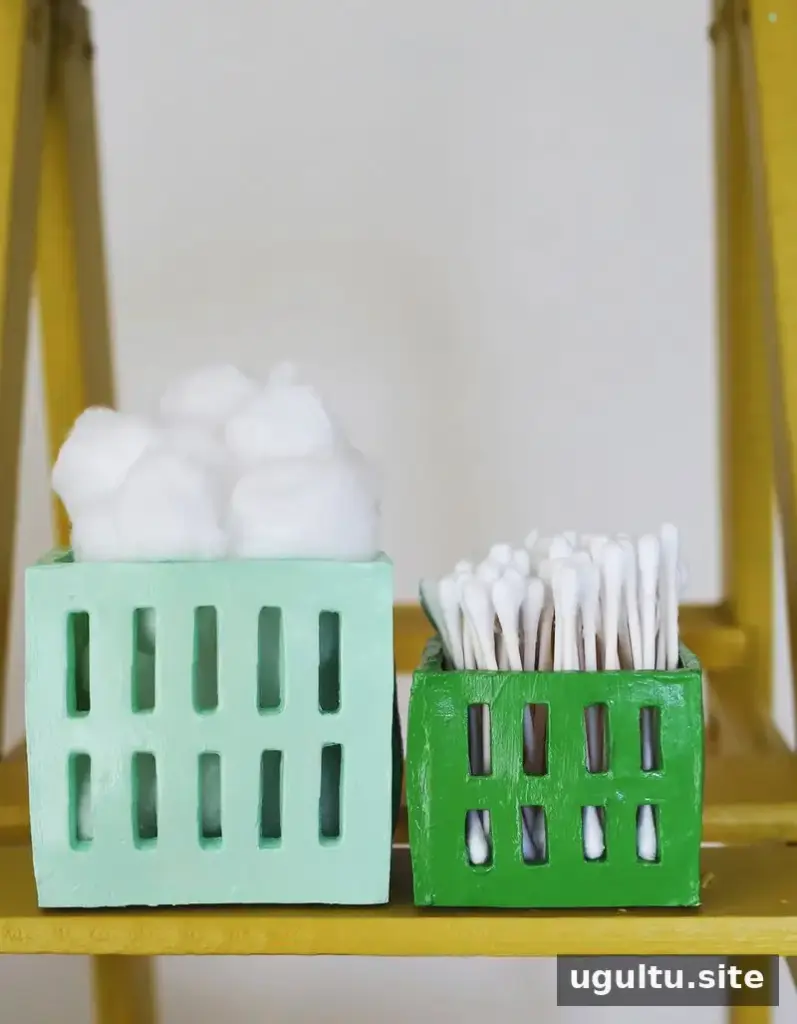
DIY berry baskets are a practical way to organize small household items while adding a handmade touch to a desk, bathroom, or dressing table. These small clay containers can hold office supplies, toiletries, nail polish, or accessories. Make two different sizes to create a coordinated set, then paint them to suit your space.
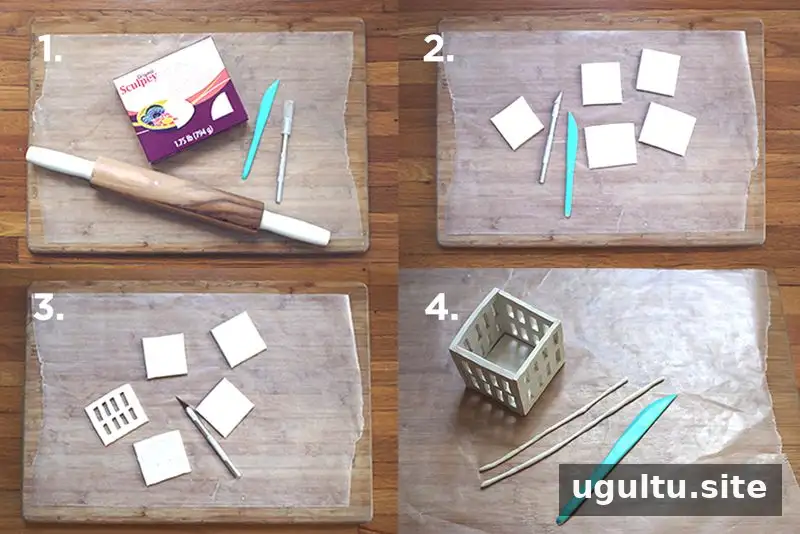
Supplies for DIY Berry Baskets
Gather the following materials before you begin:
- Oven-bake polymer clay
- A craft knife and a clay-cutting tool
- Wax paper
- A rolling pin
- A flat work surface, such as a cutting board
- Acrylic paint for decorating
Check the clay packaging for handling and baking instructions before starting. Use a protected, flat work surface, and keep sharp tools away from children.
How to Make DIY Berry Baskets
1. Roll out the clay
Lay wax paper over your work surface and roll the clay to an even thickness of about ¼ inch. Keeping the sheet consistent helps the basket pieces bake more evenly and makes the walls easier to assemble.
2. Cut the base and sides
Each basket uses five square pieces: one for the base and four for the walls. For the larger basket, cut a base measuring 3 × 3 inches. For the smaller one, use a 2 × 2-inch base. Cut four matching squares for the sides of each basket. A ruler can help you keep the pieces even.
3. Add the berry-basket openings
On each of the four wall pieces, cut two rows of tall rectangular openings. Leave enough clay around the edges so the walls remain sturdy and can be joined securely. Work slowly with the craft knife, making sure the cutouts do not reach the outer edges.
4. Assemble and bake
Arrange the four walls around the base. Roll small pieces of clay into thin snakes and press them along the inside joints where the pieces meet. Smooth the clay with the curved end of a clay tool to seal the joins. Bake the assembled basket according to the instructions on the clay package; baking times and temperatures can vary by product. Let it cool completely before handling or painting.
5. Paint and care for the baskets
Once cool, decorate the baskets with acrylic paint and allow the paint to dry fully. These are decorative craft containers, so do not assume that non-toxic paint or clay is suitable for direct food contact. Use them for household items unless every material is specifically labeled as food-contact safe. Wash by hand only, and never put the baskets in a dishwasher.
Using and Sizing Your Finished Baskets
Place the smaller basket inside the larger one for storage when their finished dimensions allow, or use them side by side to sort small items. Since clay thickness and assembly can affect the final size, check the fit before baking if nesting is important. For everyday use, keep the baskets on a dry, stable surface and avoid overfilling them or placing heavy objects in the walls.
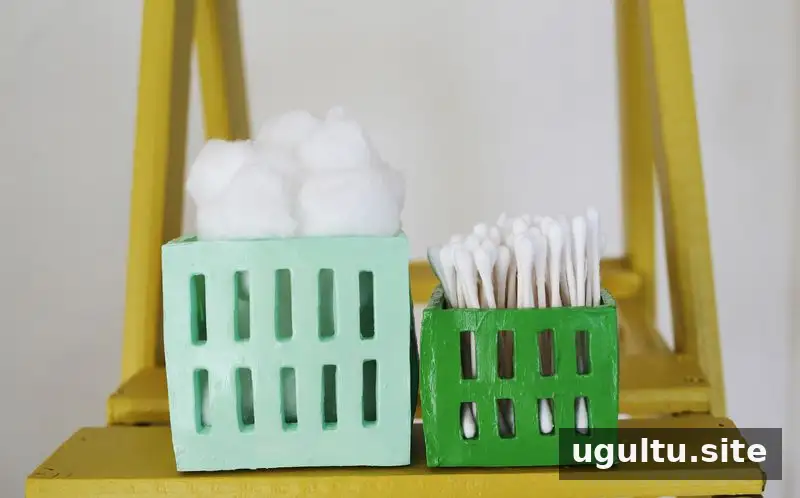
With a few basic tools and careful assembly, DIY berry baskets can become useful organizers for small accessories and supplies. Choose a simple paint color for a coordinated look, or use different colors to make each basket easy to identify.
Project by Elsie.


