admin
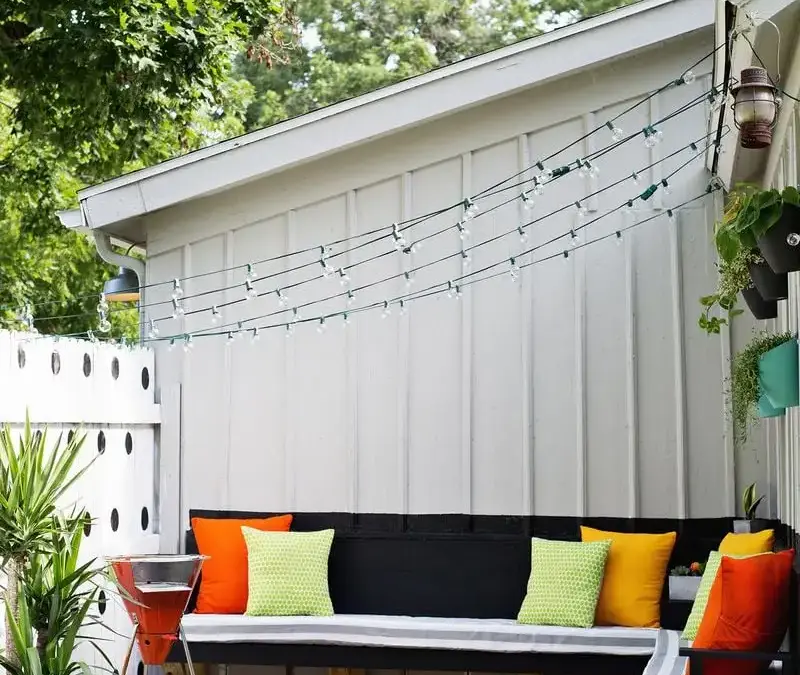
Well-fitted outdoor cushions can make a bench or patio seating area more comfortable and give it a finished look. This step-by-step guide explains how to measure your seats, sew a removable cushion cover with a zipper, and prepare the filling. The instructions can also be adapted for other seating shapes by measuring each piece carefully.
Supplies:
- Canvas twill or outdoor fabric
- Outdoor cushion filling
- A zipper the width of your cushion
- Waterproofing spray
- A standard sewing machine with a zipper foot
- Fabric scissors, sewing pins, a ruler, and a marker
How to Make Outdoor Cushions
1. Measure the seats and plan the panels
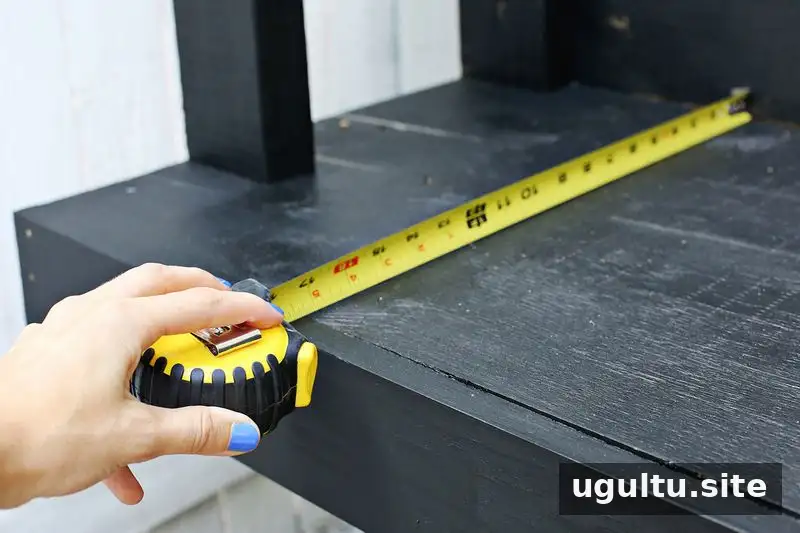
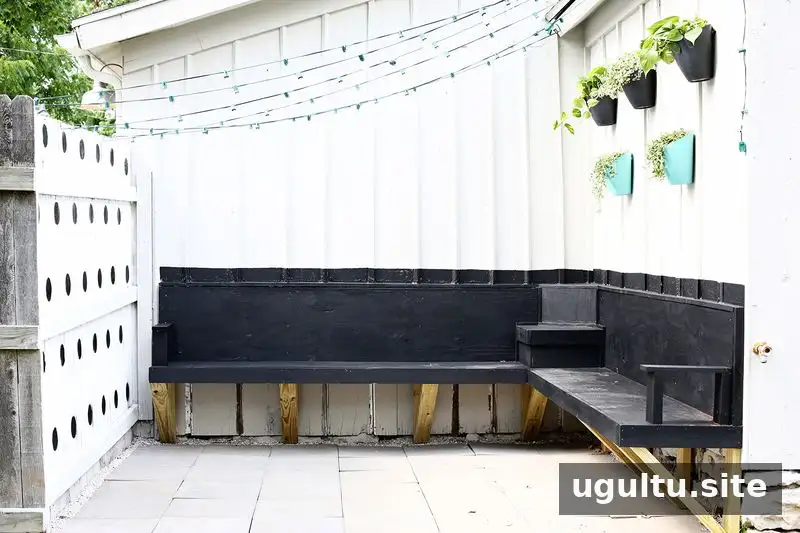
Measure the width and depth of each seat. The filling used for this project is 4 inches tall, so the finished cushion is planned to match that height. If your filling is a different thickness, use its height when working out the side panel dimensions.
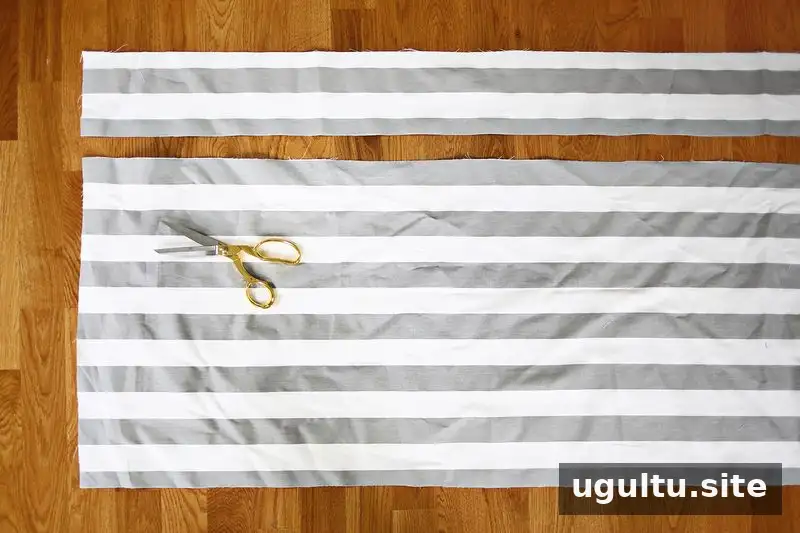
For the top and bottom panels, add 1 inch to both the seat width and depth. This provides a 1/2-inch seam allowance on every side. For example, if a seat measures 20 inches by 18 inches, cut the top and bottom panels to 21 inches by 19 inches.
Work out the side strip length by adding the original width and depth measurements for all four sides of the seat. Add 1 inch to the total for the seam allowance where the strip ends are joined. The strip’s height should be the filling height plus 1 inch, allowing a 1/2-inch seam allowance along both edges. Measure twice before cutting, as accurate dimensions help the cover fit neatly.
Cut two large panels and one long side strip using these measurements.
2. Sew the top panel and side strip
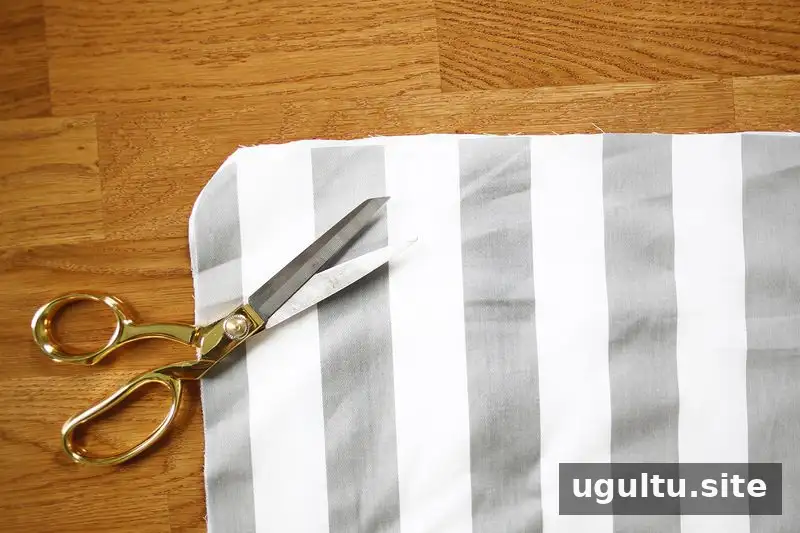
Use fabric scissors to slightly round the corners of both large panels. Fold the ends of the side strip together with the fabric’s right sides facing inward, then sew 1/2 inch from the edge to form a continuous loop.
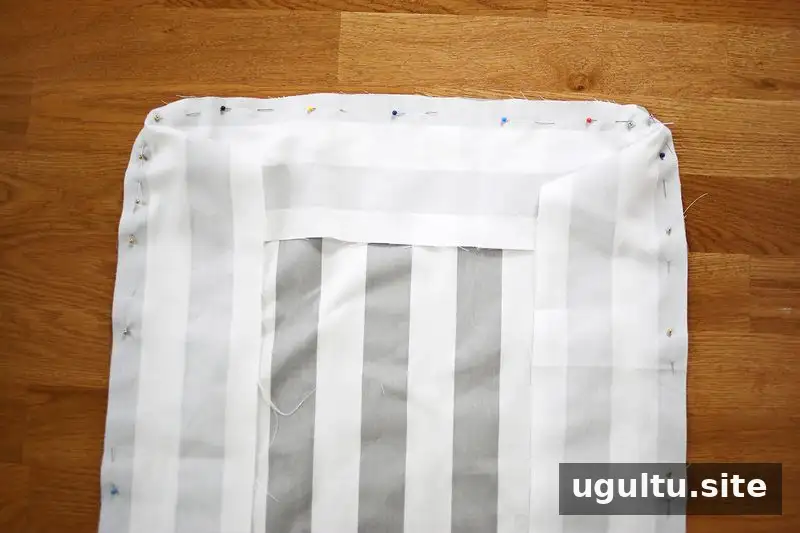
Place the side loop around the top panel with the right sides of the fabric together. Match the edges and pin the pieces in place. At each corner, cut small V-shaped notches into the seam allowance. These help the fabric ease around the corners; take care not to cut through the stitching line.
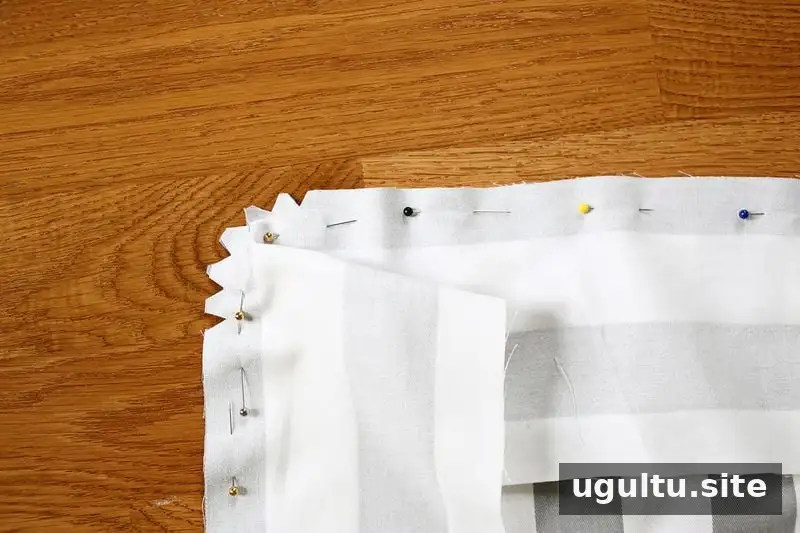

Sew around the pinned edges with a 1/2-inch seam allowance. Keep the fabric edges aligned as you work, and remove pins before they reach the needle.
3. Attach the bottom panel and zipper
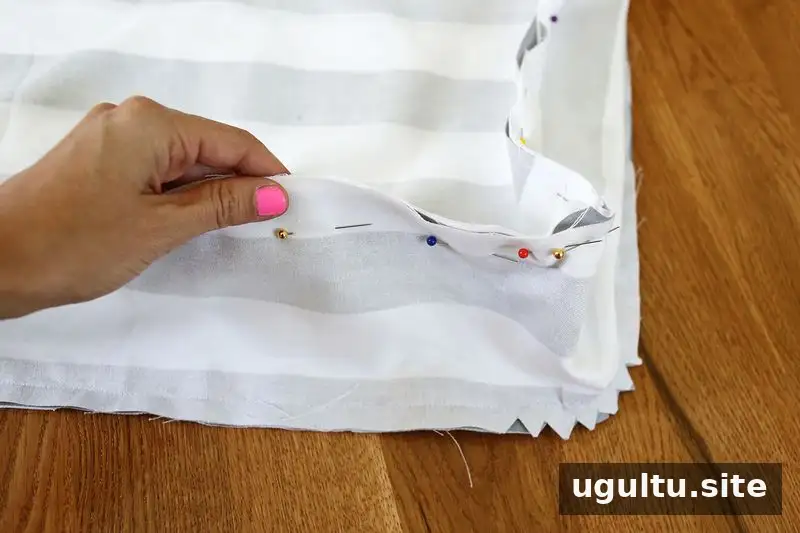
Pin the bottom panel to the remaining edge of the side strip, keeping the right sides together. Add V-shaped notches at the corners as you did for the top panel.
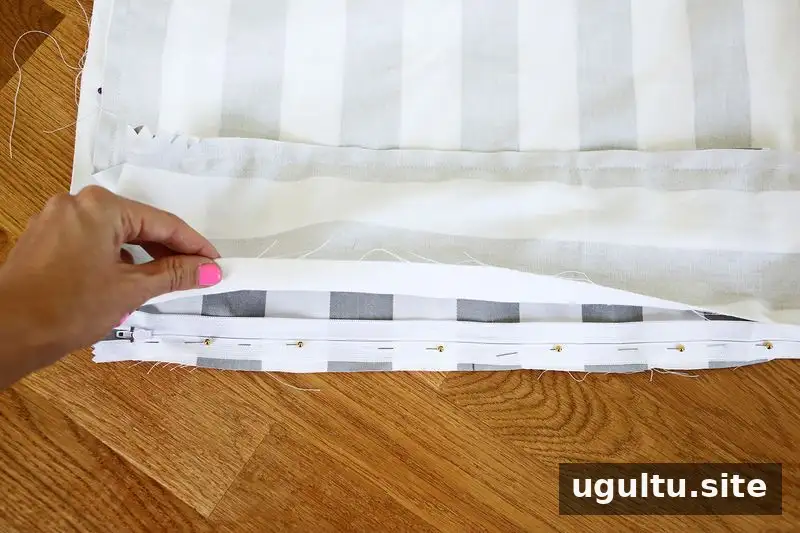
Before closing the bottom, install the zipper along the designated opening edge so the filling can be inserted and removed. Place the zipper face down against the right side of the fabric and pin it so it sits 1/2 inch from the edge.
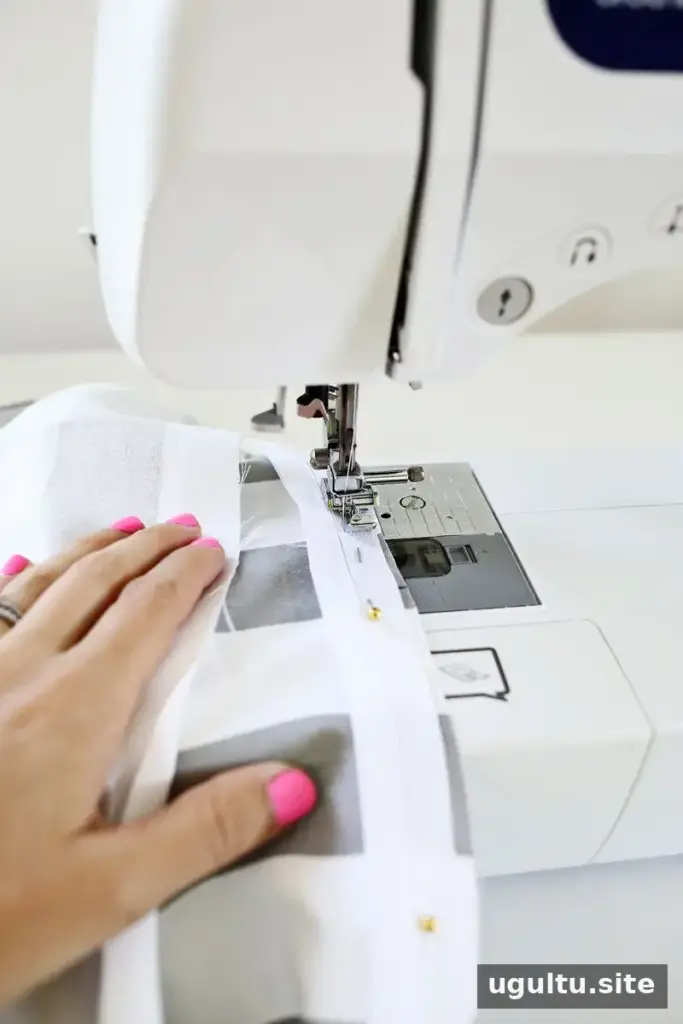
Use a zipper foot to stitch one side of the zipper in place. Pin and sew the other side in the same way, checking that the zipper opens and closes smoothly before continuing.
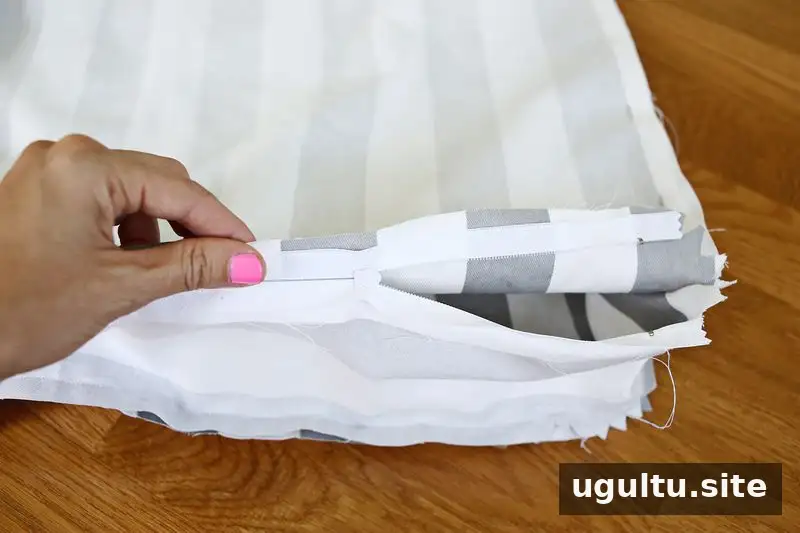
Sew the remaining bottom-panel edges, beginning at one end of the zipper and stopping at the other. Leave the zipper open a few inches so the cover can be turned right side out. After turning it, check the seams and zipper before adding the filling.
4. Cut and insert the filling
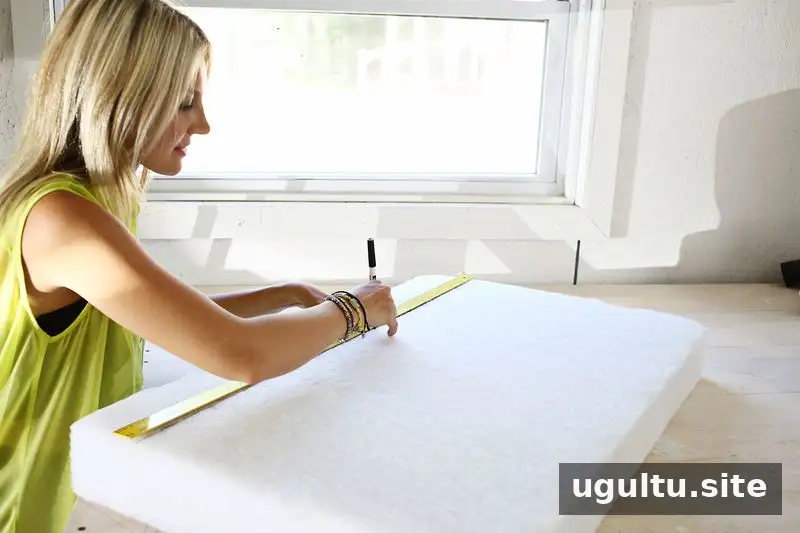
Measure the filling against the inside of the cover and mark the required dimensions. If a single piece is not long enough, use multiple pieces to fill the cushion. For a plump fit, the original instructions suggest making the insert about 1 inch larger in both width and length than the cover’s corresponding dimensions.
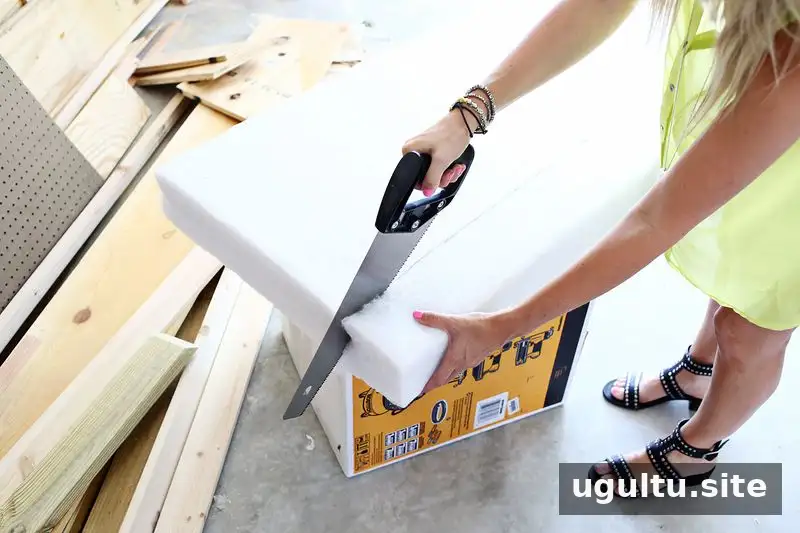
Cut the filling carefully to size. A handsaw was used for the foam in this project, with fabric scissors to tidy the edges. Cutting methods can vary depending on the filling material, so work slowly and use a tool suitable for the material. Fold the filling in half to guide it through the zipper opening, then let it expand inside the cover.
Apply waterproofing spray to the fabric according to the product directions. A treated cover can be more suitable for outdoor use, but follow the spray label and care instructions for the fabric. Allow the cushion to dry as directed before placing it outside.
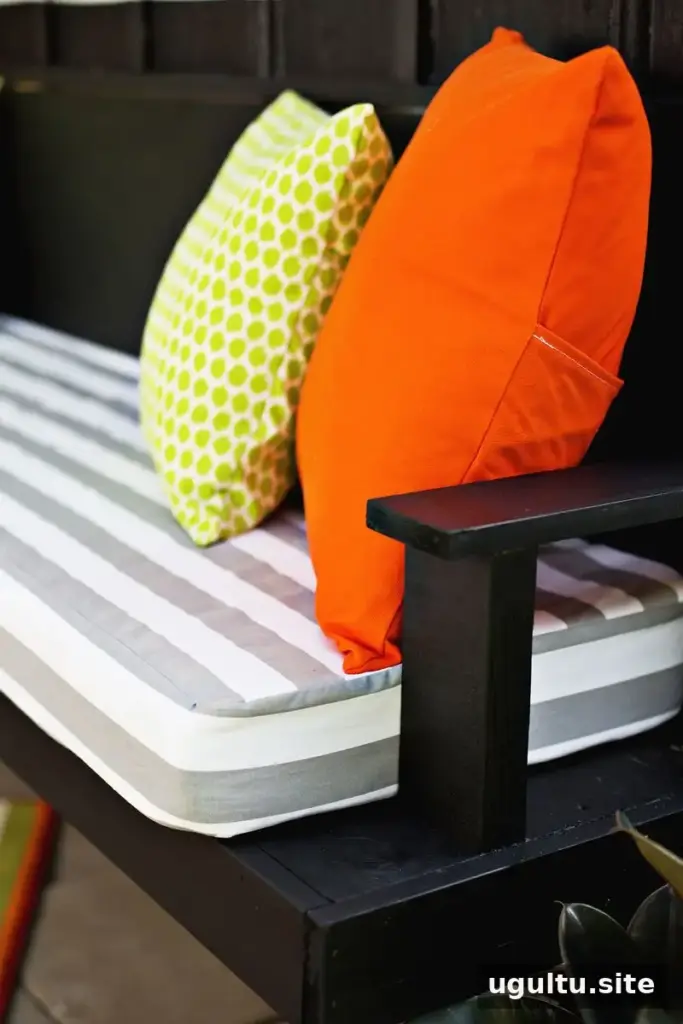
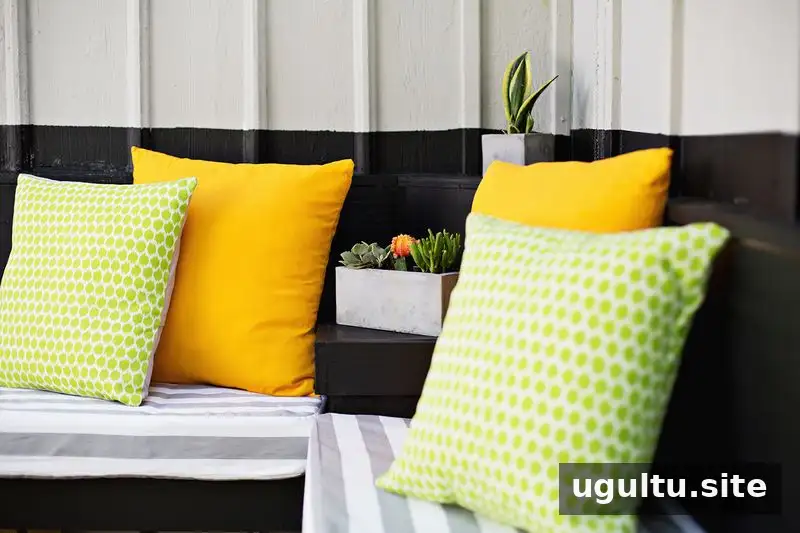
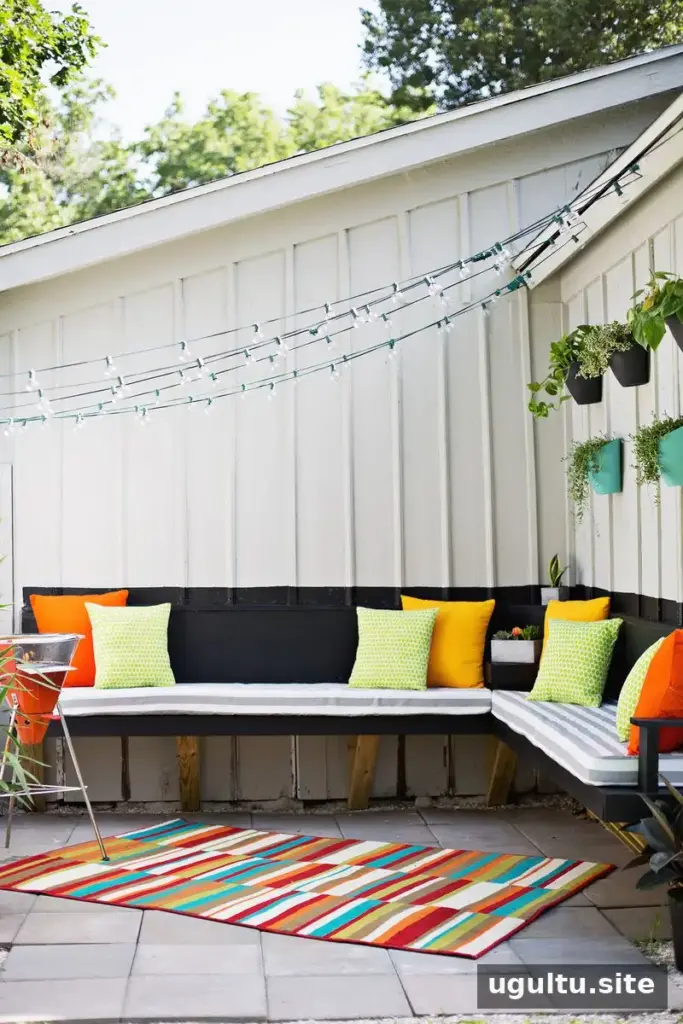
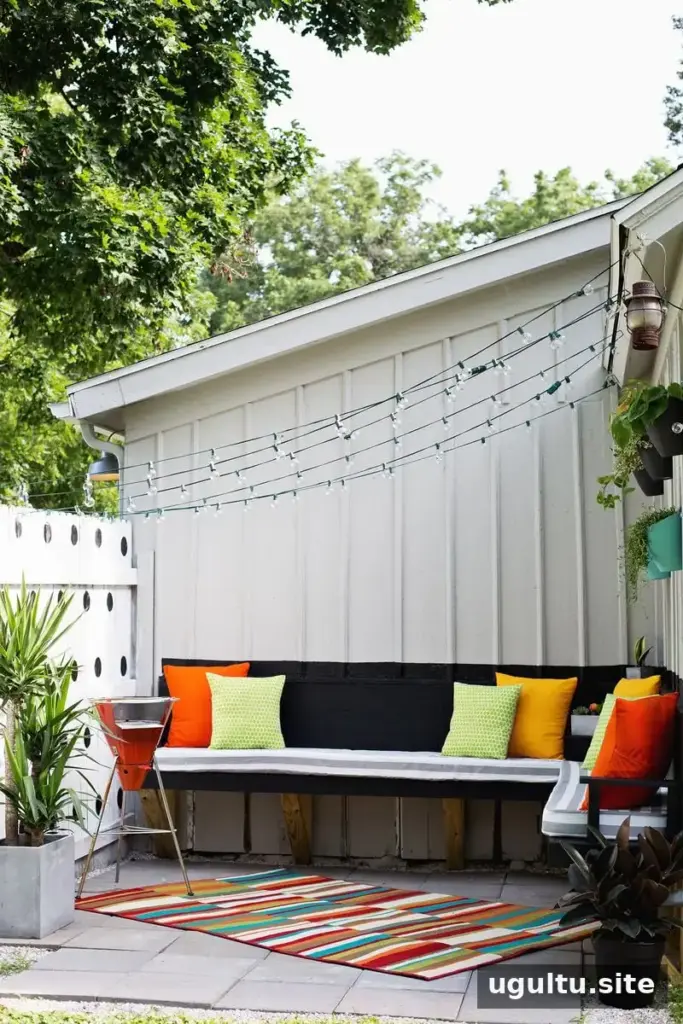
Finish the seating area with outdoor pillows, concrete planters, or an outdoor rug if they suit your space. Keep removable covers easy to access so they can be cleaned or stored when needed.
Make Outdoor Cushions That Fit Your Space
Once you understand the measurements and basic construction, you can use the same approach to make outdoor cushions for other seating. Measure each seat individually, allow for the 1/2-inch seam allowances, and test the cover’s fit before treating the fabric. These details help create cushions that look neat and feel comfortably full.
Project instructions by Laura.