
 admin
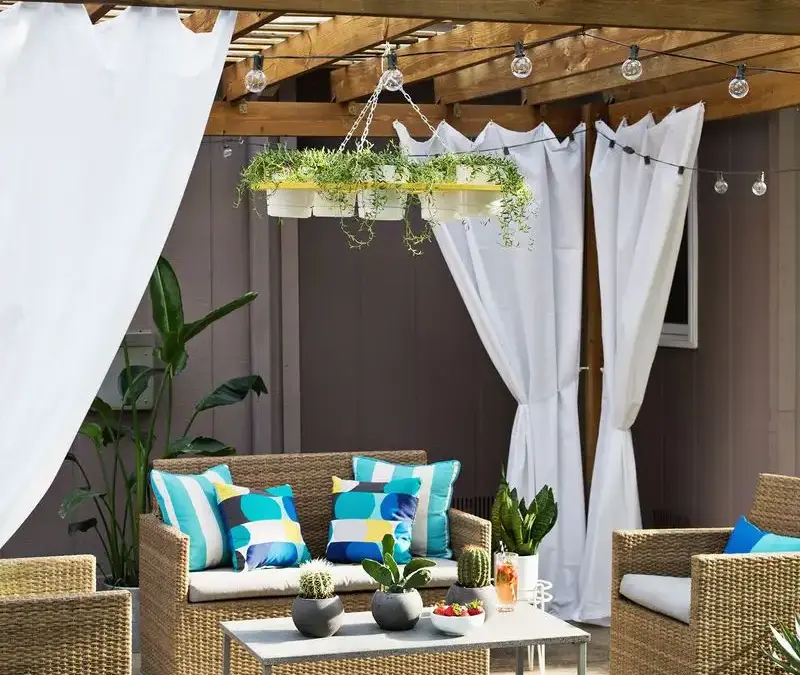
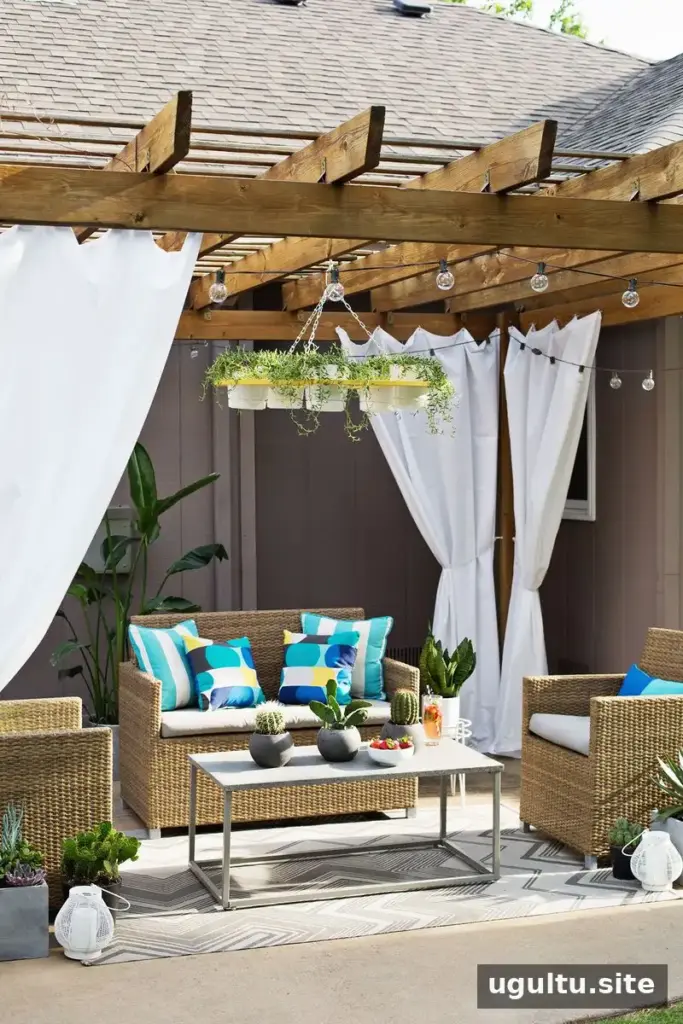
A DIY outdoor plant chandelier adds greenery above a patio seating area without taking up floor space. This project uses a painted plywood ring, five lightweight plastic pots, and chains attached to a pergola beam. Before starting, check that the intended beam and hanging hardware are suitable for the combined weight of the planter, soil, plants, and water.
Supplies:
- 1/2-inch plywood sheet
- Exterior paint; the example uses Pantone Primrose Yellow
- Jigsaw and drill
- Five 6-inch plastic pots, which help keep the overall weight lighter
- Medium-grit sandpaper
- Three 1/2-inch x 2-inch eye bolts with washers and nuts
- One 5/16-inch x 4-inch screw eye
- Six small 3/16-inch quick links
- One large 5/16-inch quick link
- Double-loop chain
- Measuring string, marker, scrap paper, and suitable eye protection
How to Make a DIY Outdoor Plant Chandelier
Cut the wooden ring
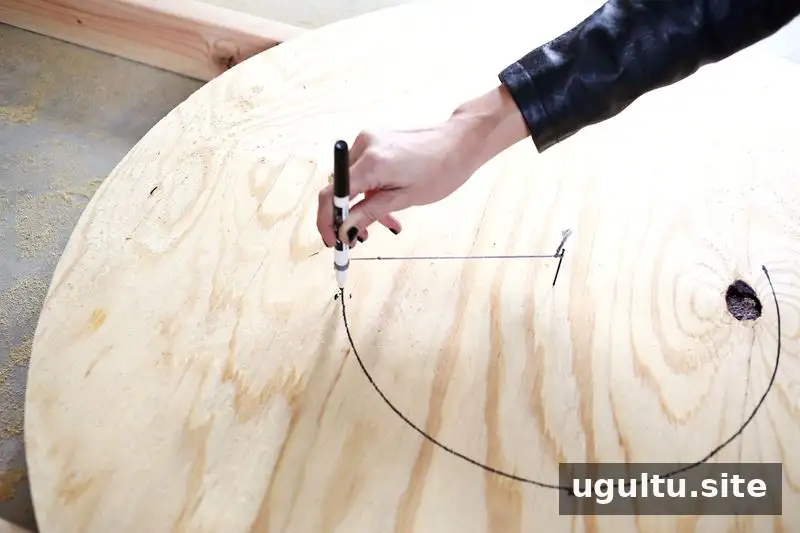
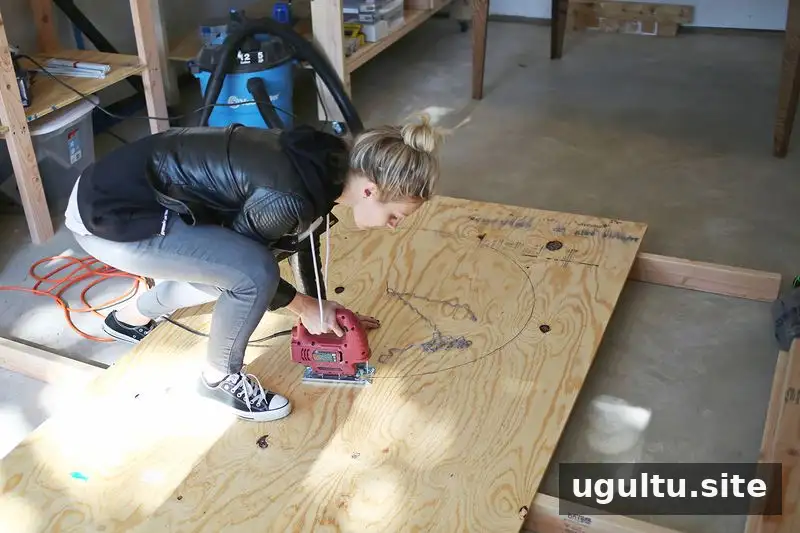
Draw a 36-inch circle on the plywood. To make a steady guide, place a nail at the center, tie a string to it, and attach a marker 18 inches away. Keep the string taut as you move the marker around the nail, then cut along the line with a jigsaw. Raise the board on scrap planks so the blade has clearance beneath it, and secure the workpiece before cutting.
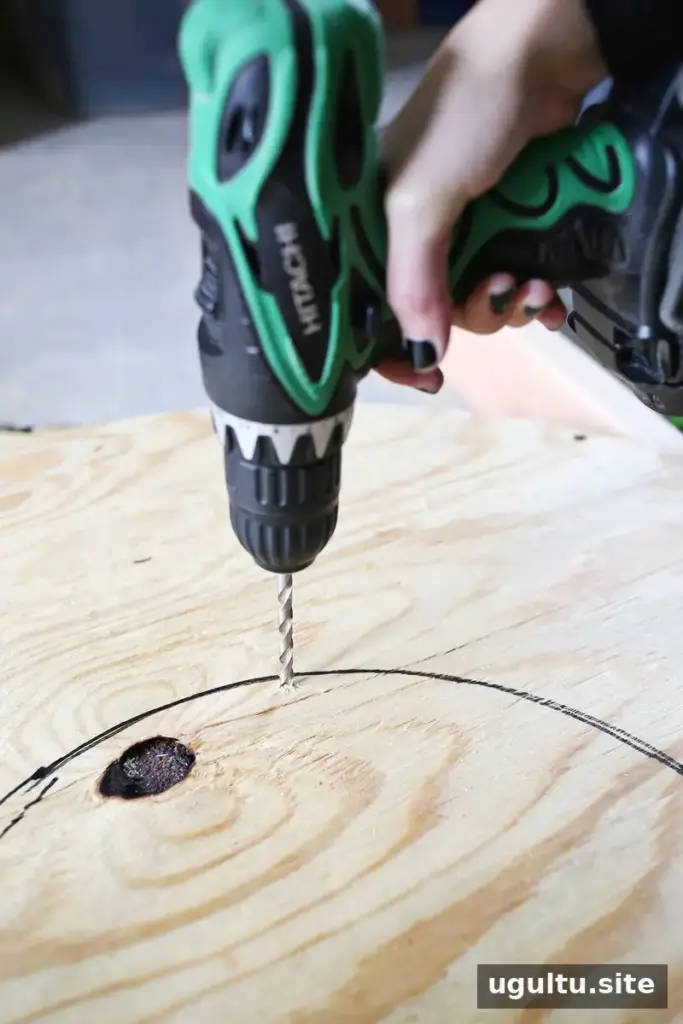
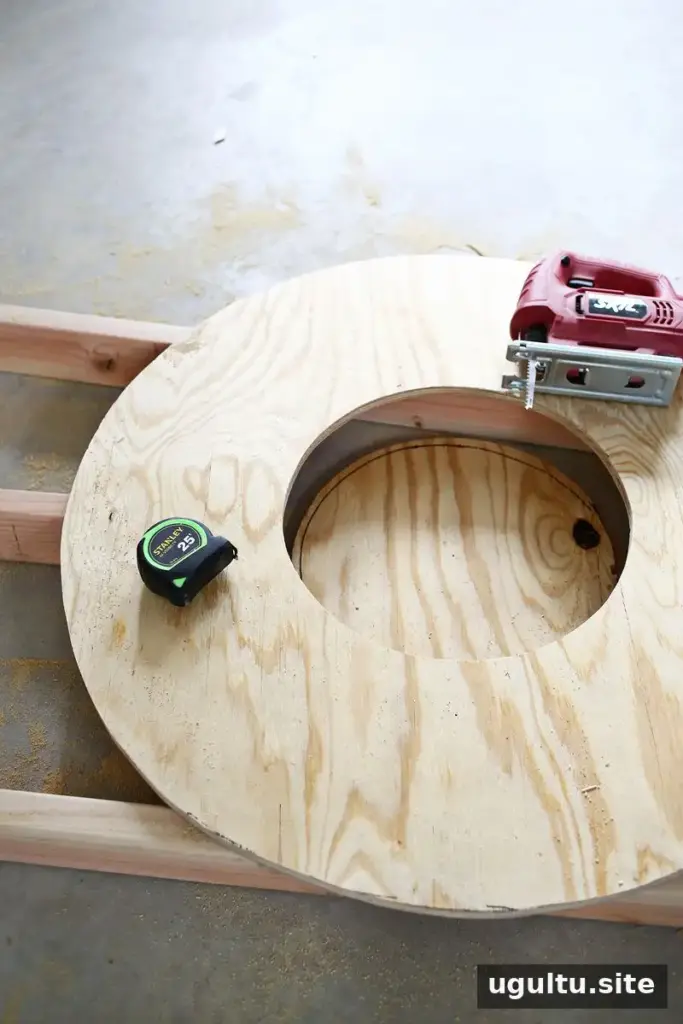
Draw a second, 14-inch circle at the center of the larger one, using a 7-inch string from the center point. Drill a starter hole just inside this line, large enough for the jigsaw blade to fit. Cut out the center to create a wooden ring.
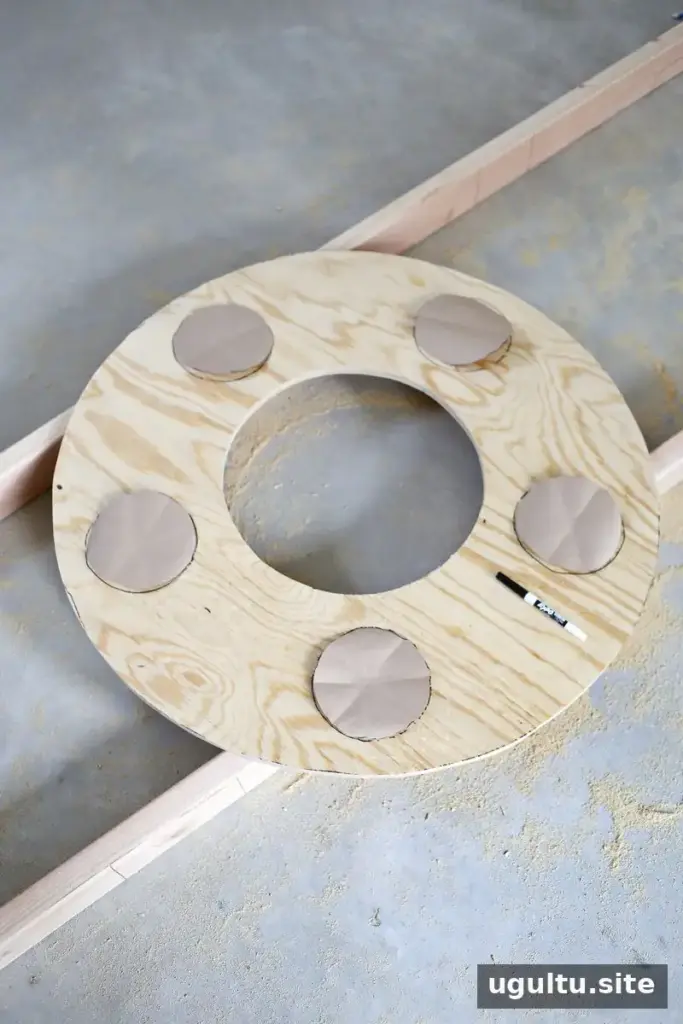
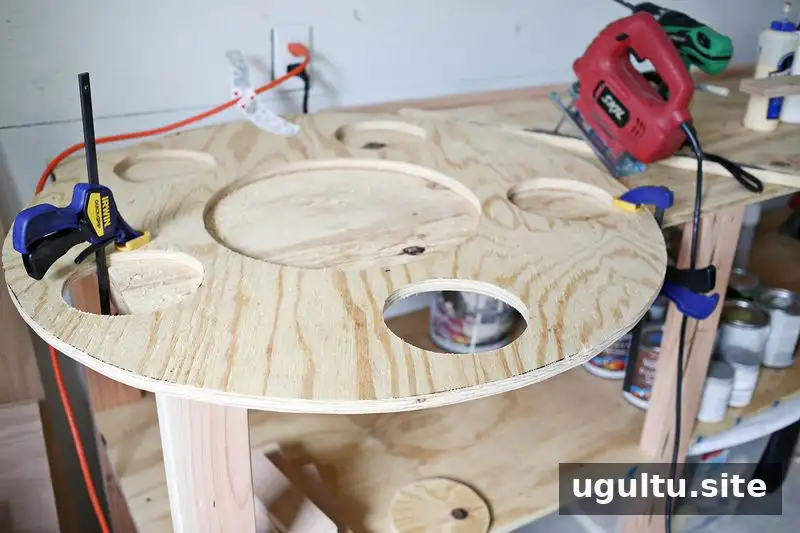
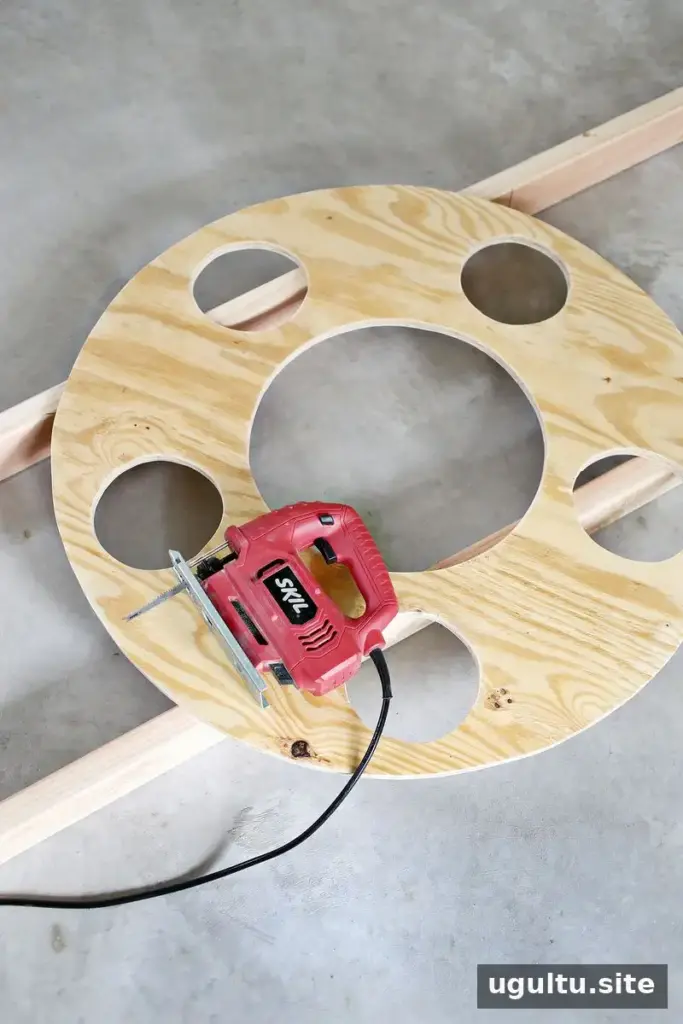
Make five 6-inch circle templates from scrap paper. Space them evenly around the ring and trace them to mark the pot openings. Drill a starter hole inside each outline, then cut out the circles with the jigsaw. Clamp the plywood securely if working alone, keeping the section being cut clear of the table edge.
Sand, paint, and add hanging hardware
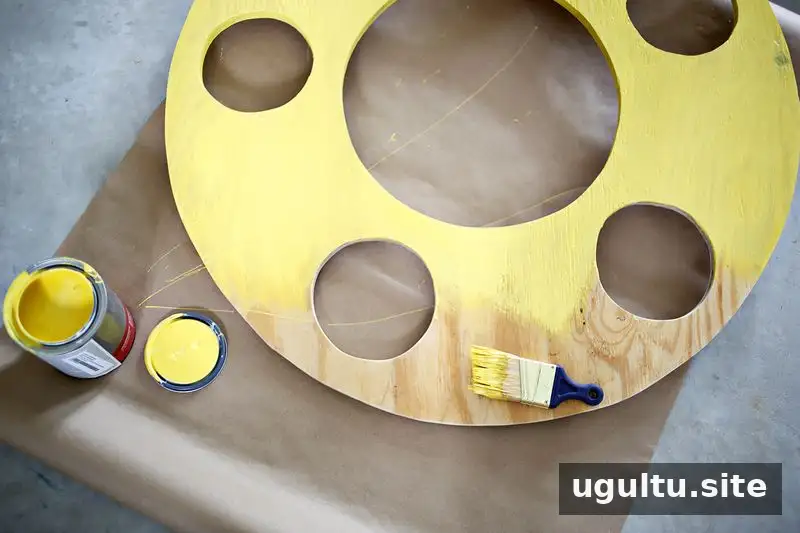
Sand the cut edges lightly with medium-grit sandpaper and apply exterior paint. Let the paint dry according to its instructions before attaching hardware; a fully dry finish is easier to handle and less likely to be marked during assembly.
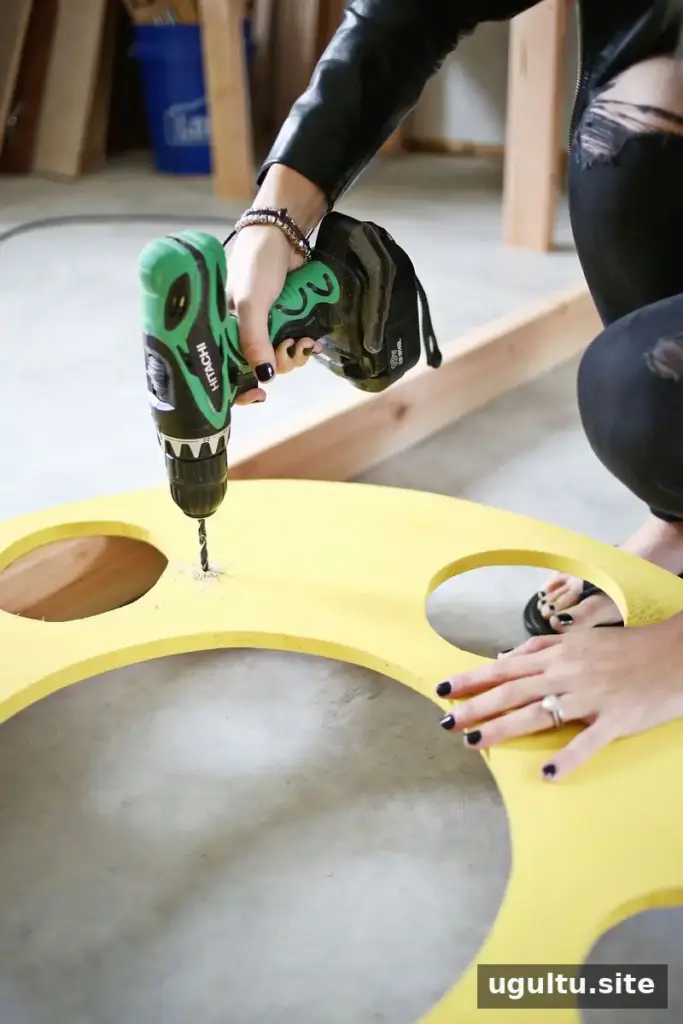
Mark three hanging points about 3 inches from the edge of the center opening, spacing them as evenly as possible to form a triangle. Drill a 3/16-inch hole at each mark.
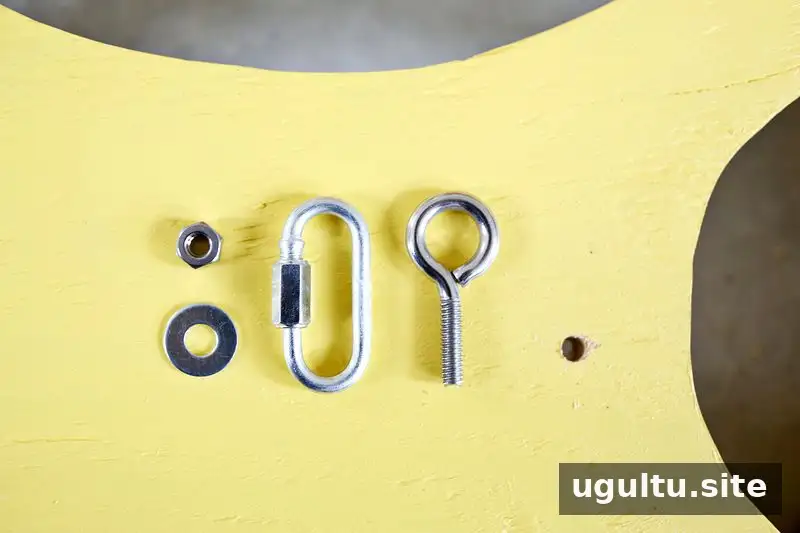
Fit an eye bolt through each hole, placing a washer and nut on the opposite side of the plywood. Attach a small quick link to each eye bolt. The supply list specifies 1/2-inch x 2-inch eye bolts, while the assembly instructions refer to a 1/4-inch eye-bolt screw. Confirm the appropriate hardware size and fit before drilling or assembling.
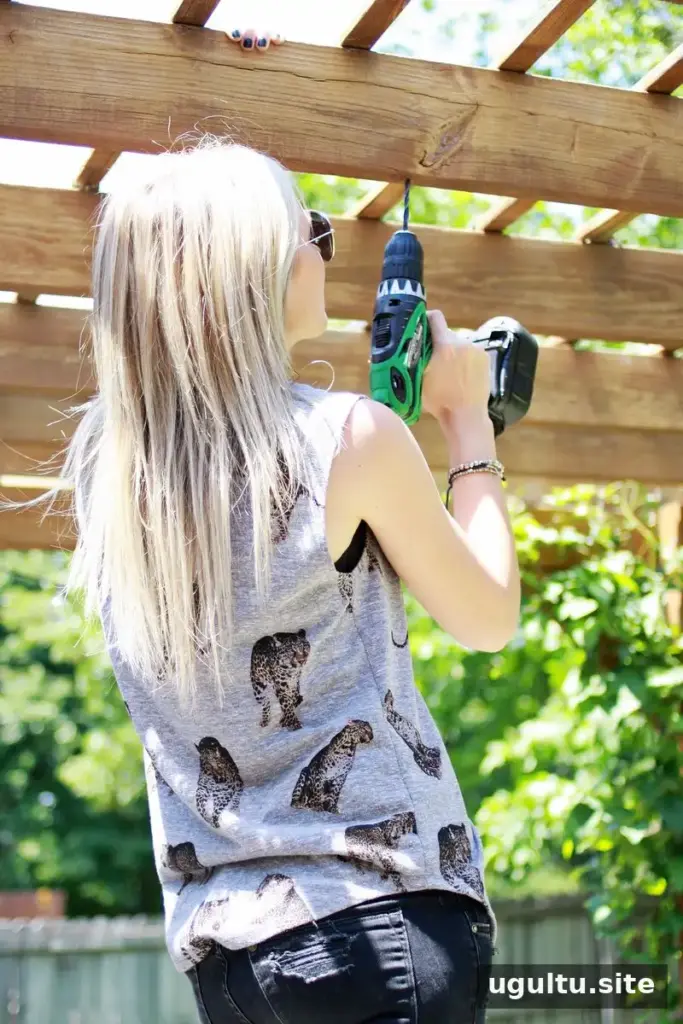
Drill a 5/16-inch hole in a pergola beam and install the 5/16-inch screw eye. Cut three chain lengths to suit the height of the structure; the example uses chains that are 13 inches long. Check the planned hanging height so the chandelier clears people and furniture.
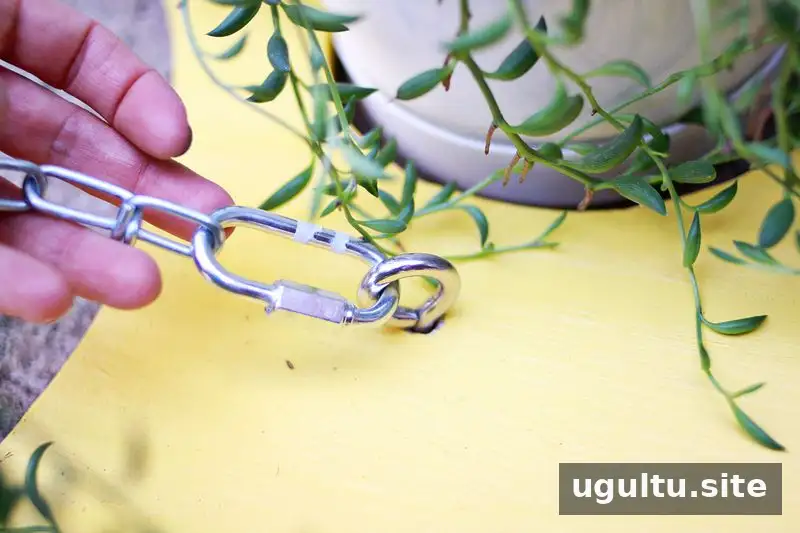
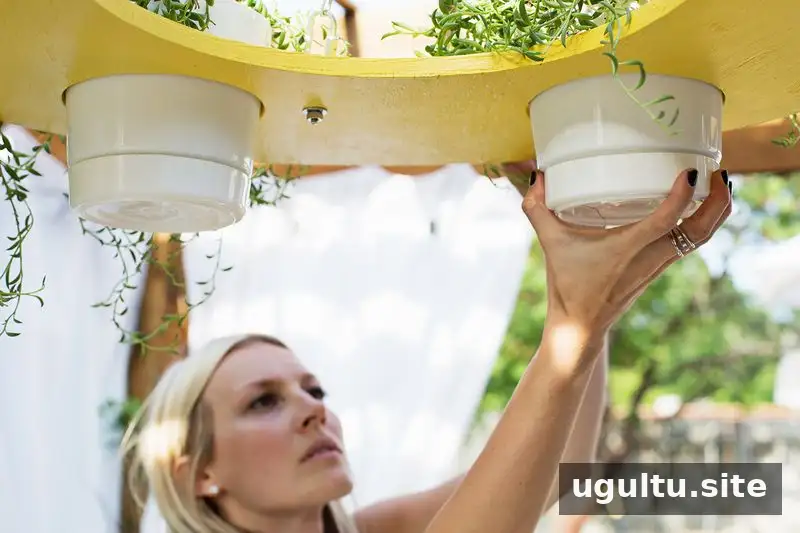
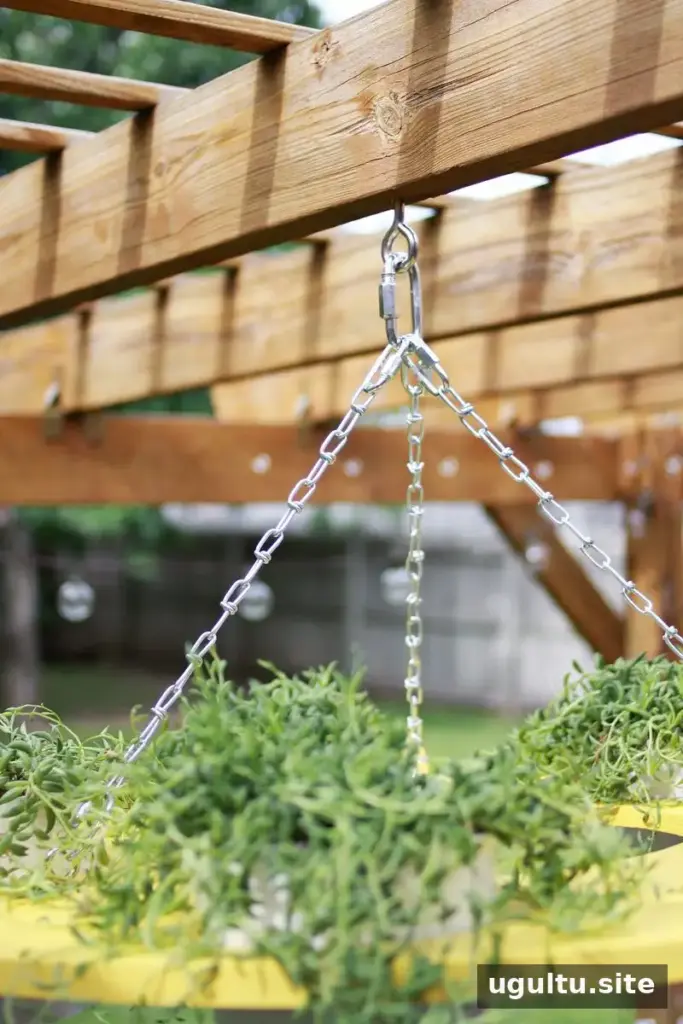
Connect a small quick link to the top of each chain and attach the lower ends to the links on the wooden ring. Join the upper chain links with the large 5/16-inch quick link, then connect it to the screw eye in the beam and close it securely. Place the plants in their pots, then set the pots into the five openings.
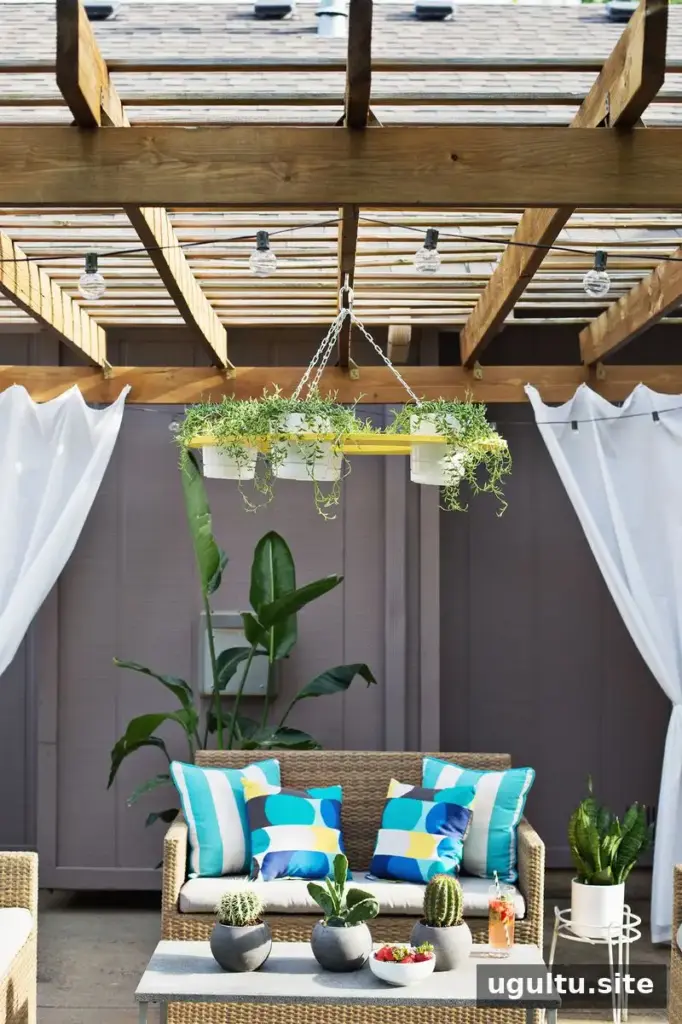
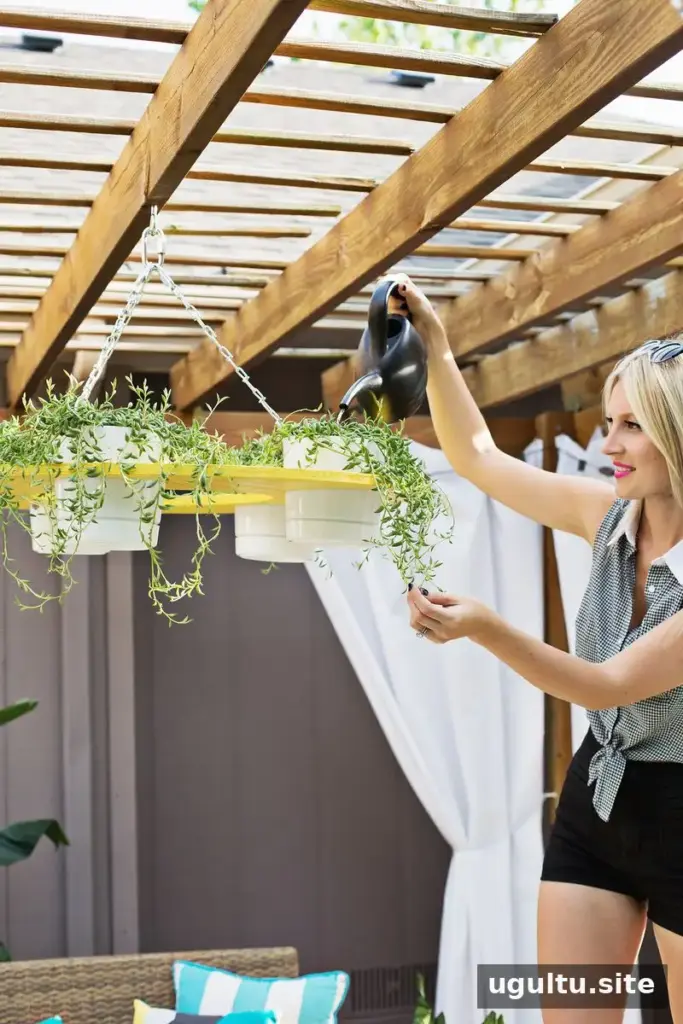
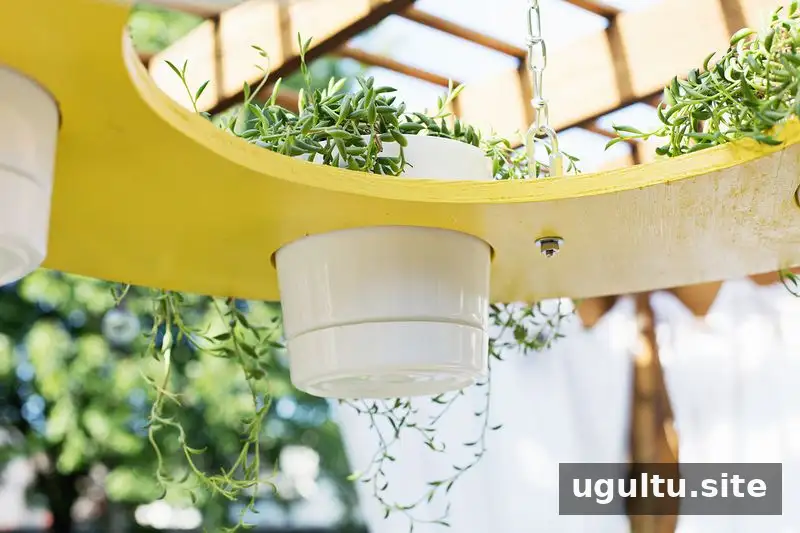
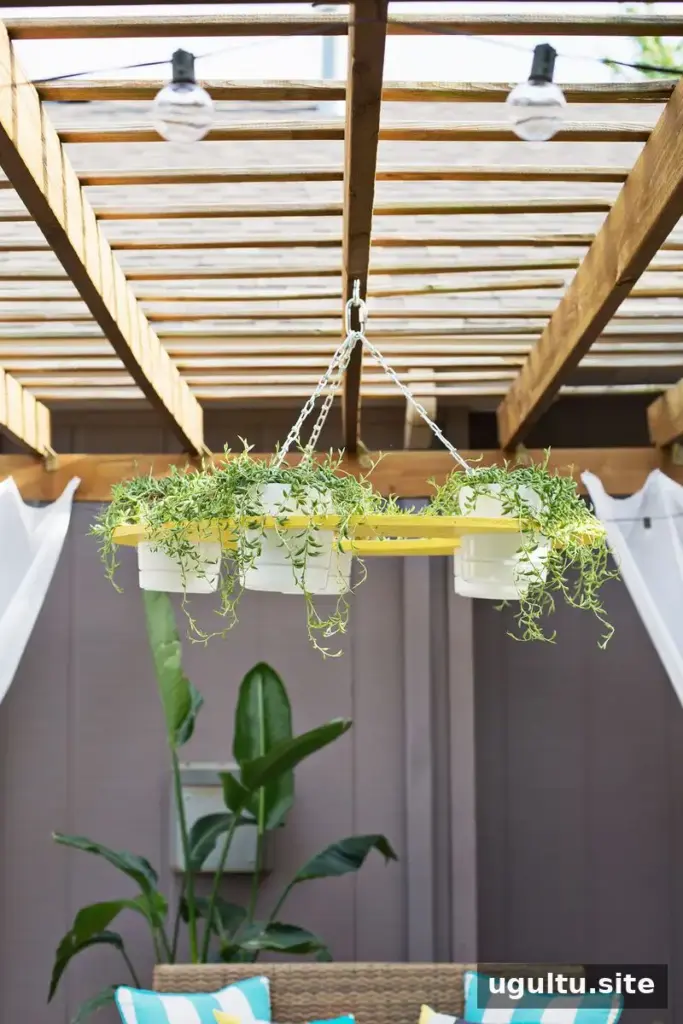
Pots with built-in drain trays can help prevent water from dripping onto furniture below. Choose plants suited to the light, temperature, and exposure in your outdoor space, and check the pots regularly for drainage and moisture. Plastic pots also help limit the weight compared with heavier alternatives.
Finishing Tips for Your Outdoor Plant Chandelier
This hanging planter can be updated with trailing plants, flowers, or succulents, depending on the growing conditions and the look you want. Before placing the chandelier over a seating area, inspect the connections and beam, and avoid exceeding the capacity of the support hardware. The completed DIY outdoor plant chandelier brings vertical greenery to a patio while keeping the floor clear. Project instructions by Laura.


