
 admin
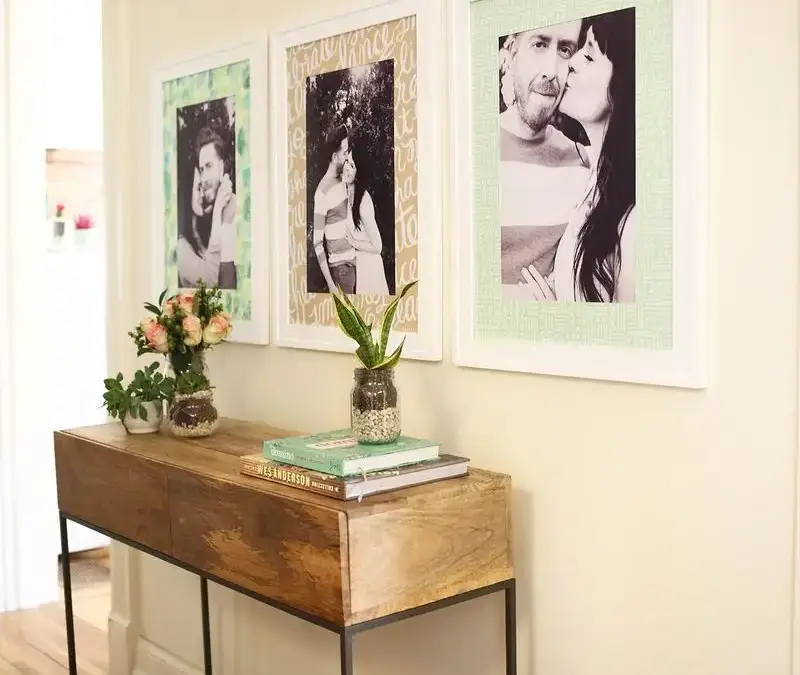
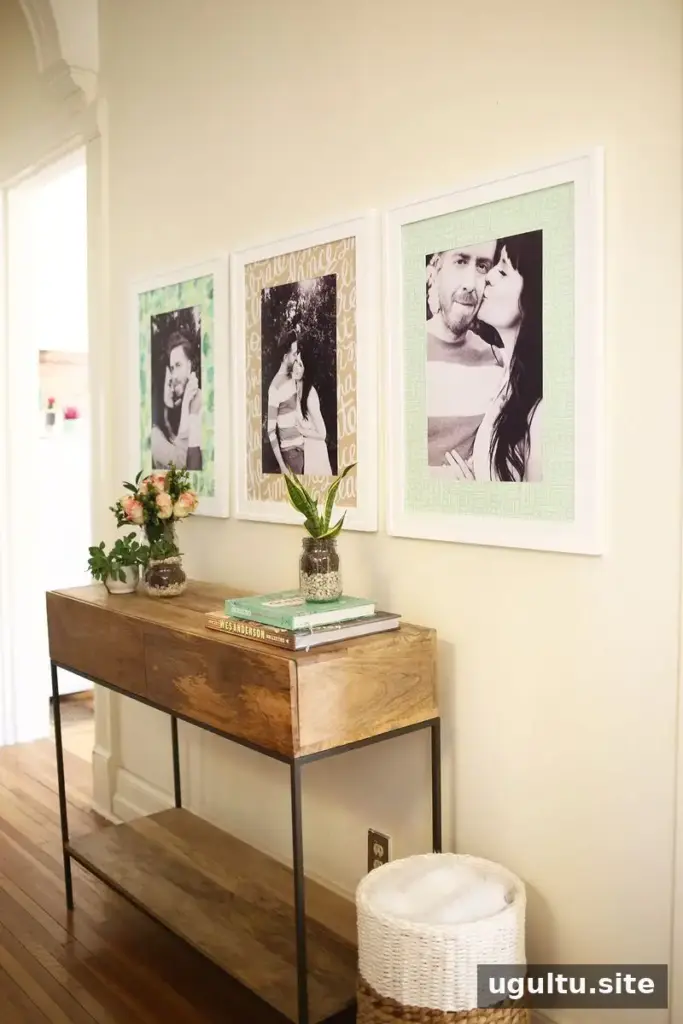
Patterned photo mats are a simple way to make framed photographs feel more personal and add color to an entryway or living space. With mat board, decorative paper, and a few basic tools, you can create a custom look that suits your photo and frame. Black-and-white prints pair especially well with colorful patterns when you want the mat to stand out without making the overall display feel too busy.
Supplies for patterned photo mats
Gather your materials before measuring and cutting. A clear work surface and sharp cutting blade help make the process more controlled.
- Mat board
- Patterned paper, such as gift wrap, or art paper decorated with watercolor paint
- Spray adhesive or rubber cement
- Craft knife
- Metal ruler
- Cutting mat
- Photograph and frame
Print and plan your photo display
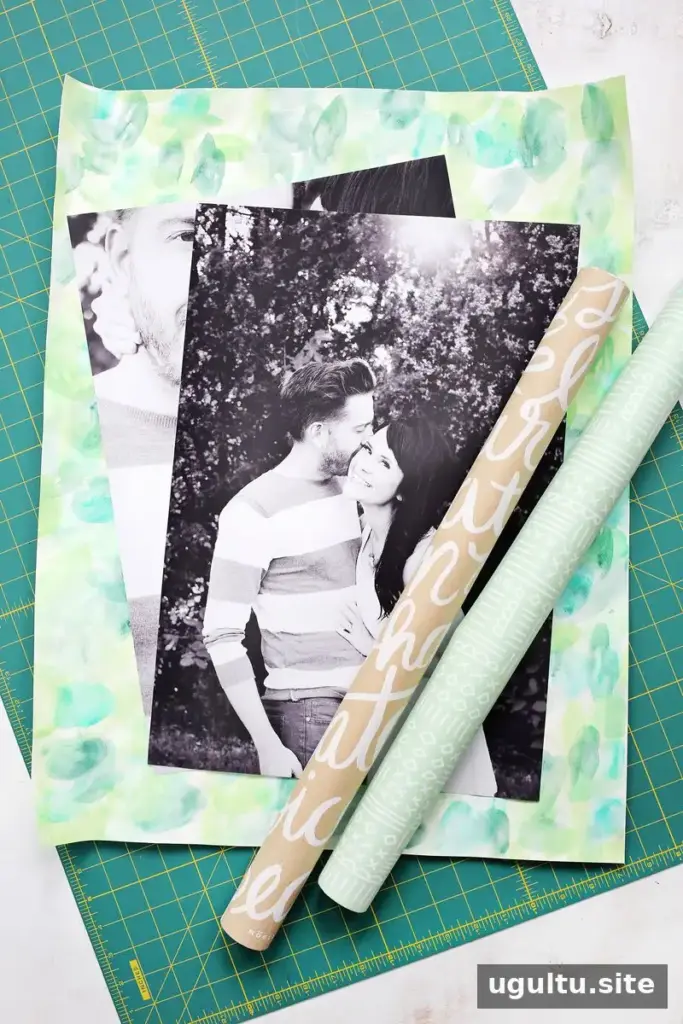
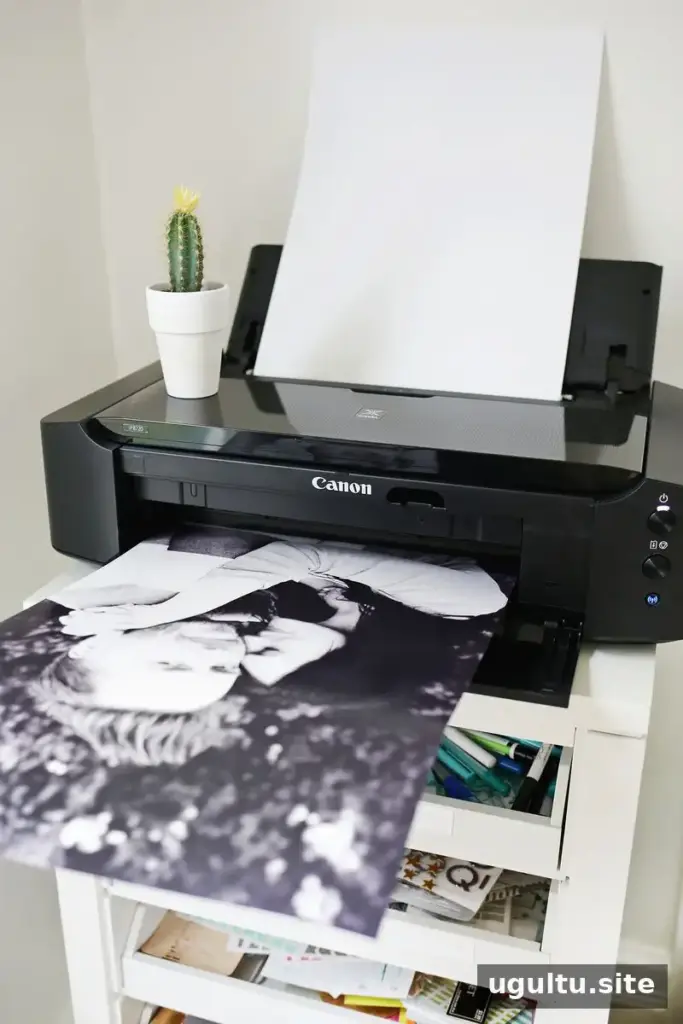
Print the photograph before cutting the mat so you can check how the image and paper pattern work together. Black-and-white photos can balance colorful mats, while a quieter paper design may suit a photograph that already contains many colors. In this project, the photos were printed at 13×19 inches.
Choose paper that is large enough to cover the mat board, and check that its pattern will sit the way you want once framed. If you are unsure about a bold design, place the paper beside the photo and frame before attaching it.
Measure and cut the mat board
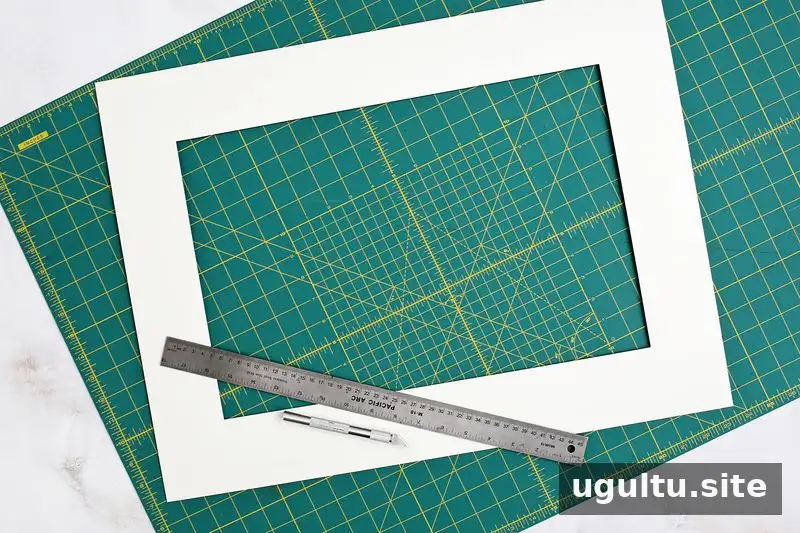
Use a craft knife and metal ruler to cut the mat board to fit the frame. Measure the frame’s inside dimensions carefully; a mat that is too large may not fit, while one that is too small can shift inside the frame.
Decide how wide you want the border to be. For this project, the mat border was 3 inches wide. Measure the same distance inward from each edge and mark a smaller rectangle in the center. Check that the opening will reveal the desired area of the photo, then cut out the inner rectangle on a cutting mat. Keep fingers clear of the blade and make controlled cuts along the ruler.
Cover the mat with decorative paper
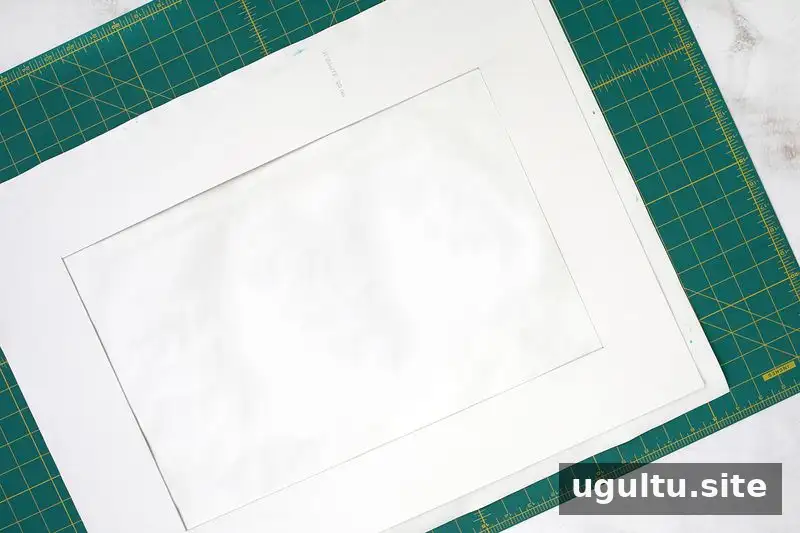
Apply spray adhesive or rubber cement according to the product directions. Position the patterned paper over the front of the mat board and smooth it carefully from the center outward to reduce bubbles and wrinkles. Take a moment to align the pattern before pressing the surfaces together, as repositioning may be difficult once the adhesive bonds.
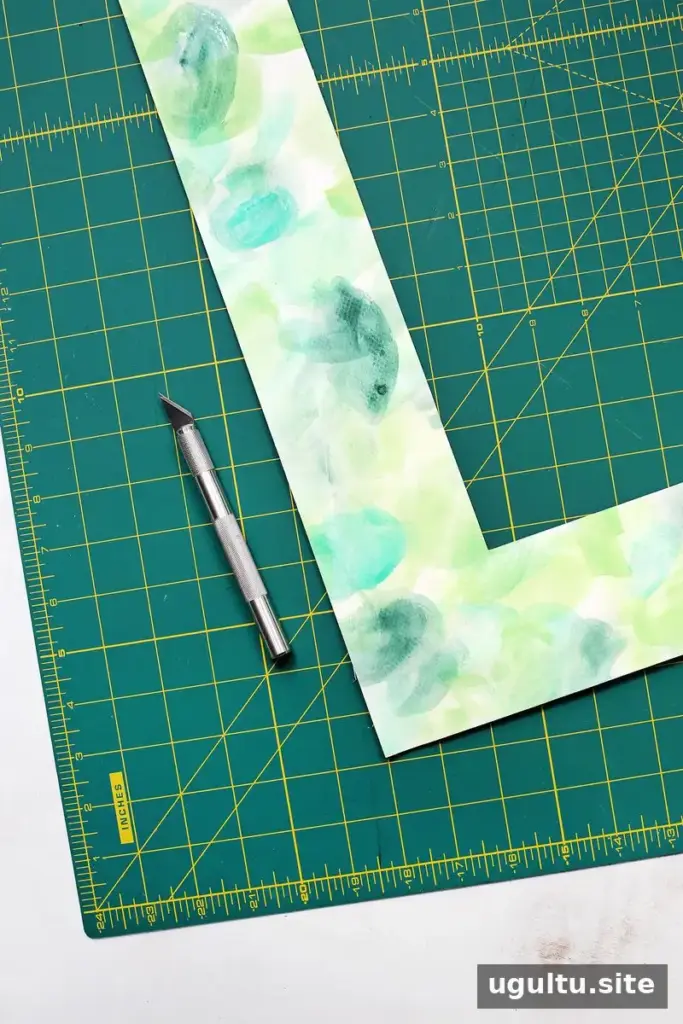
Trim away excess paper with the craft knife and ruler. Work slowly around the edges for a neat finish. Attach the photo behind the mat with tape, place both inside the frame, and check that the picture is centered before hanging it.
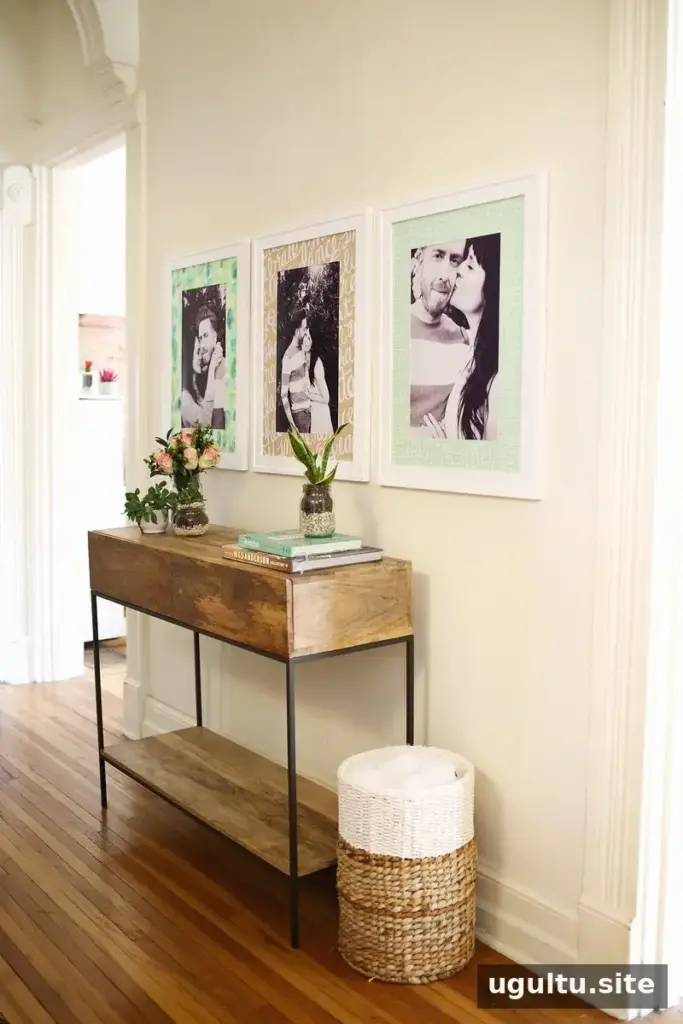
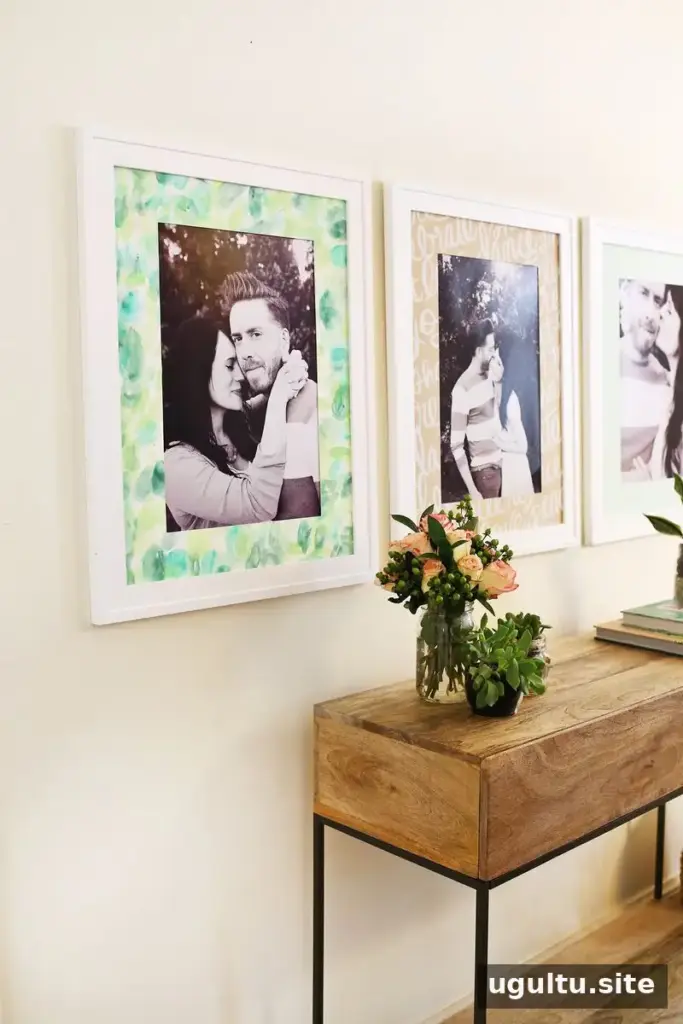
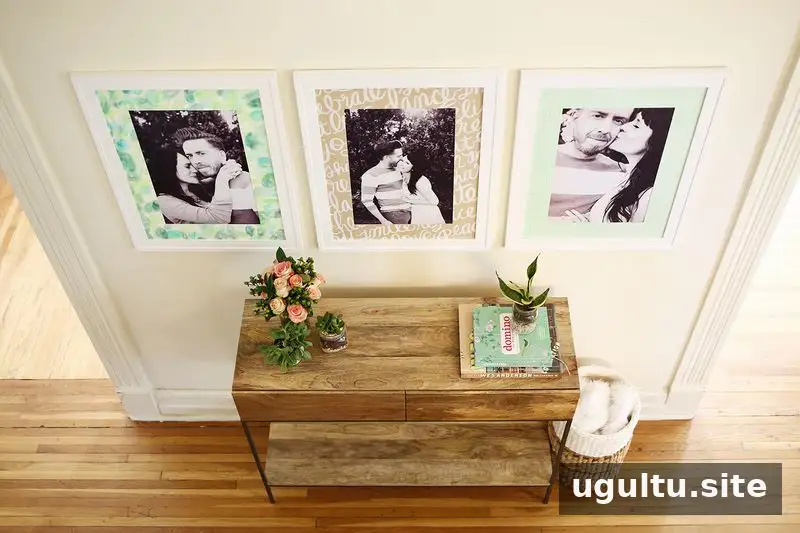
Finish and display your patterned photo mats
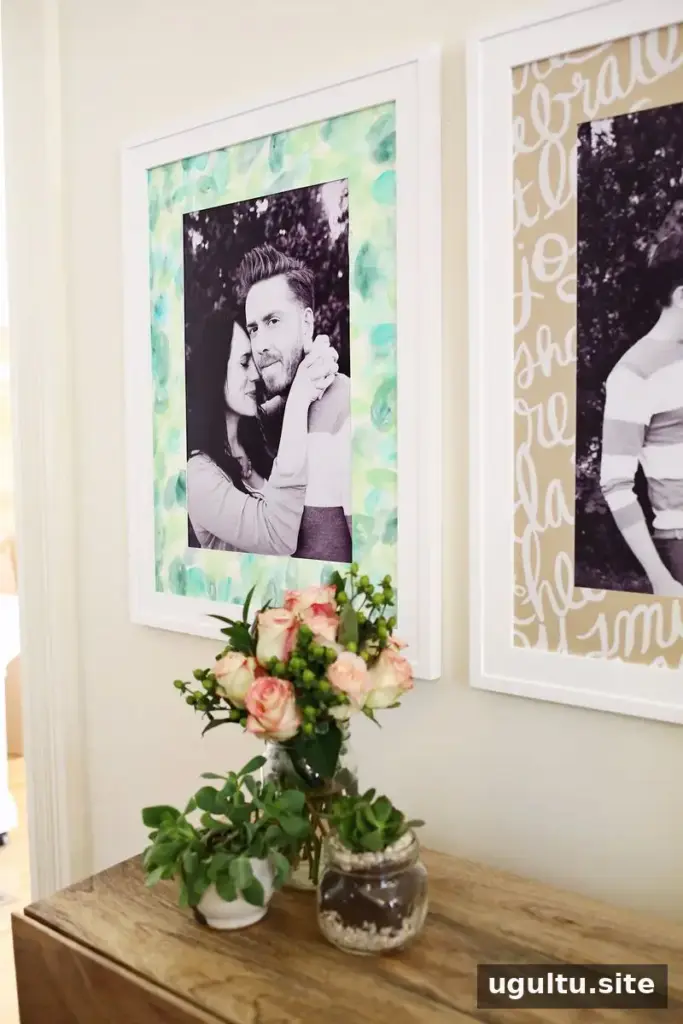
A handmade mat can bring new color and texture to a familiar room. Try coordinating the paper with nearby decor, or use a few different patterns for a collected look. Before hanging the frame, make sure the photo and mat sit evenly and that no adhesive or loose paper is visible from the front.
Patterned photo mats offer a straightforward way to refresh framed pictures without changing the photographs themselves. Adjust the border width to suit your frame, choose paper that complements the image, and measure twice before cutting. — Elsie


