
 admin
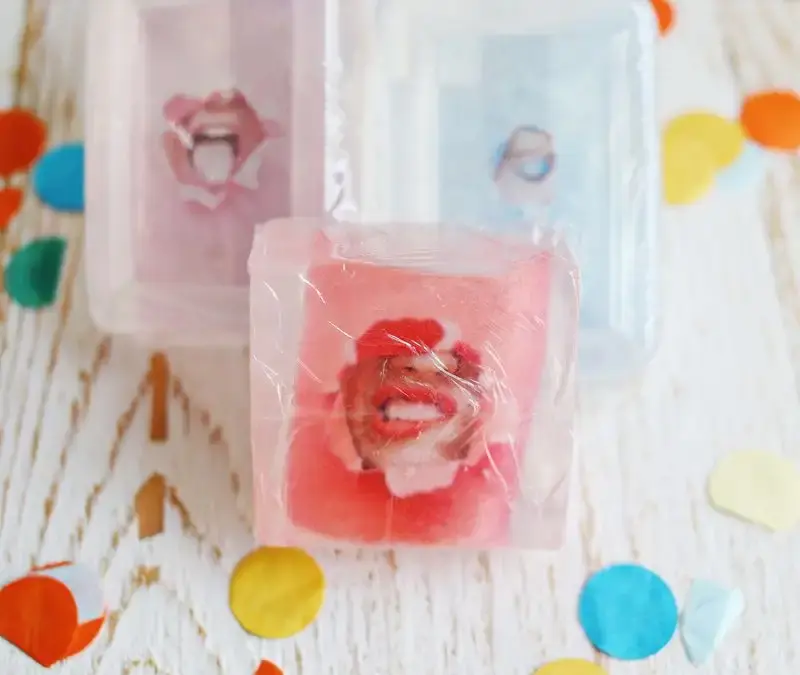
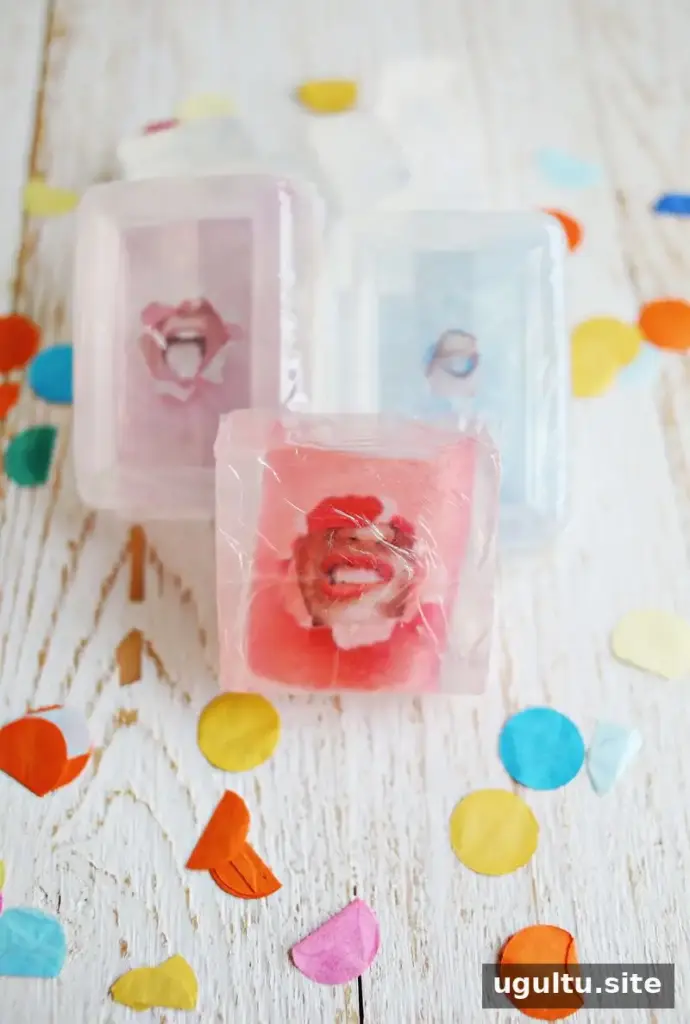
DIY photo soap is a simple way to turn clear glycerin soap into a personalized gift or a colorful accent for a guest bathroom. You can use a printed photo to add a design inside the soap, and choose either plain white paper or transparency film depending on the look you want.
Transparency film can create a see-through effect, but the ink may run when it touches melted soap unless it is protected. The steps below cover both paper options and explain how to avoid that problem.
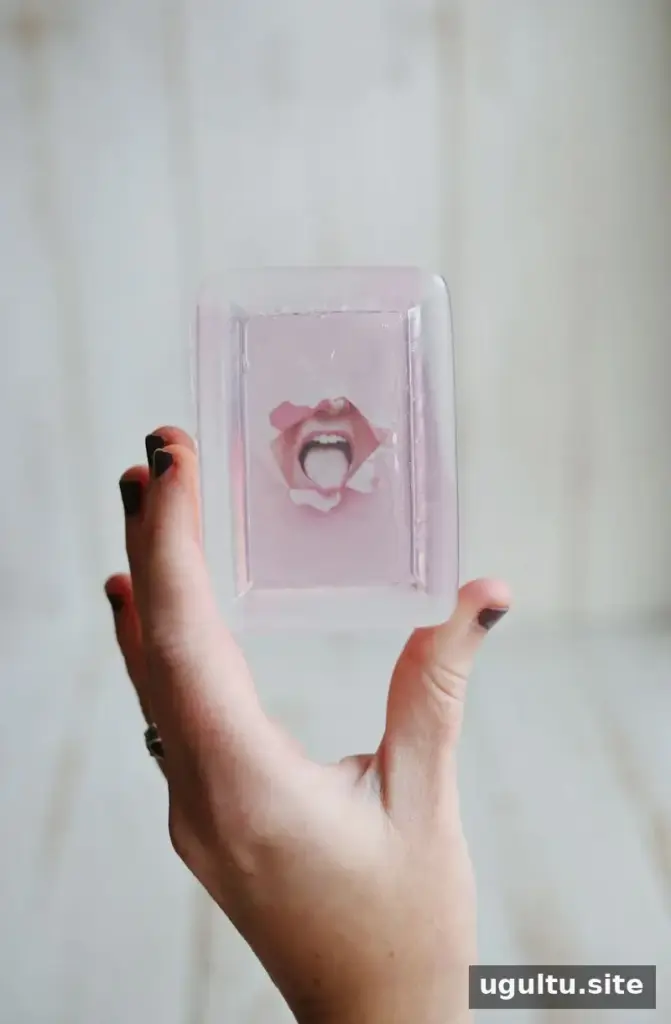
Choose a photo with a clear subject and strong colors so it remains easy to see once it is surrounded by soap. Before starting, check that your printer supports the transparency film you plan to use.
Supplies for DIY photo soap
Gather everything before melting the soap. Melted glycerin begins to cool as you work, so having your images cut and ready makes it easier to position them neatly.
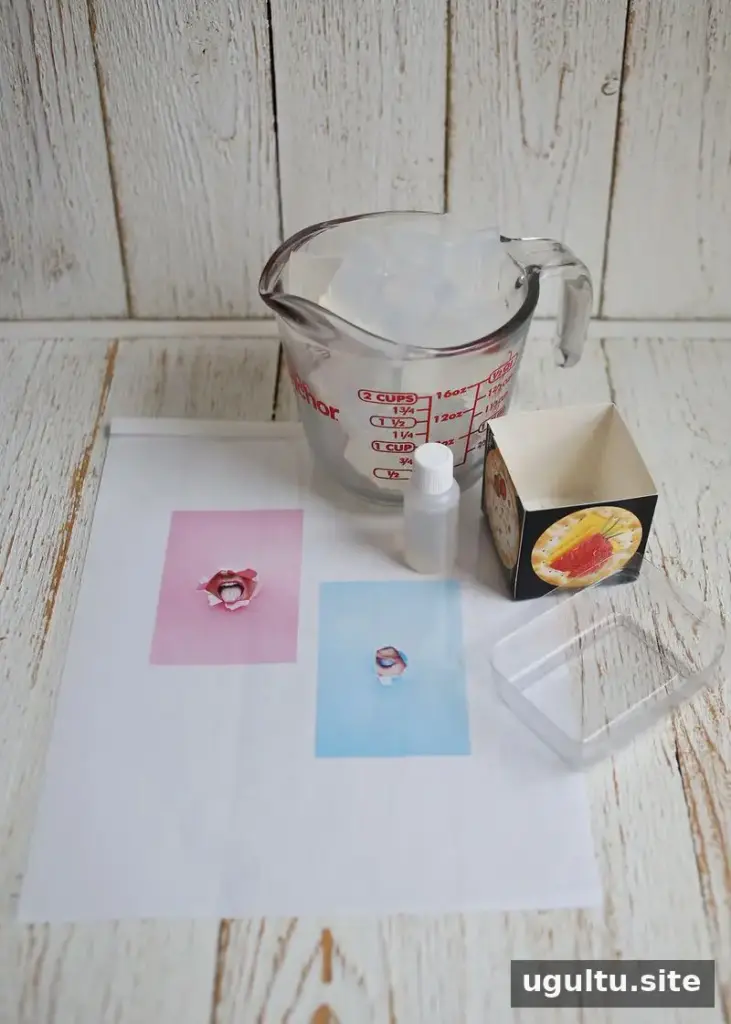
- Clear glycerin soap
- Essential oil, if desired
- Soap molds or small cardboard containers, such as the bottom of a milk carton
- Printed photos on transparency film or plain white paper, sized to fit the molds
- Packing tape, if using transparency film
- A microwave-safe bowl
- Scissors
- A spoon or toothpick for positioning the photo
Print and prepare the photos
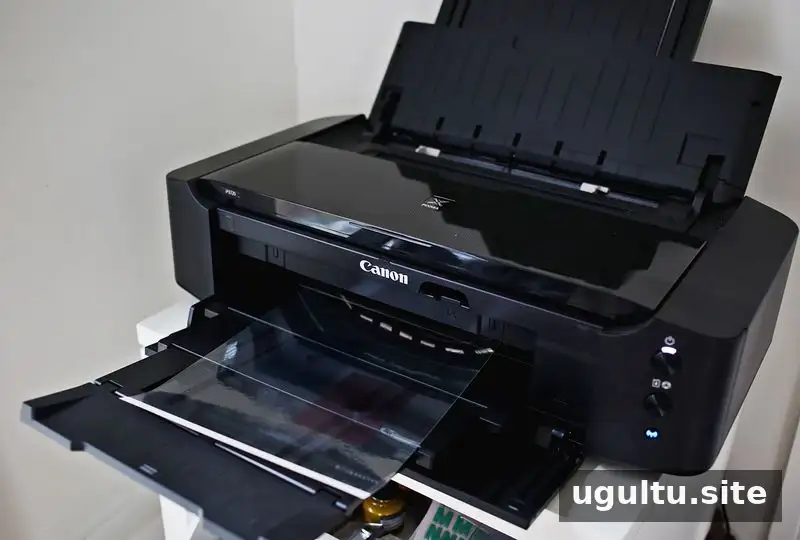
Print the images at a size that will fit inside your molds. Transparency film can produce a vivid, floating image, while white paper gives the soap a more opaque appearance. Use film designed for your printer, and follow its instructions for printing and handling.
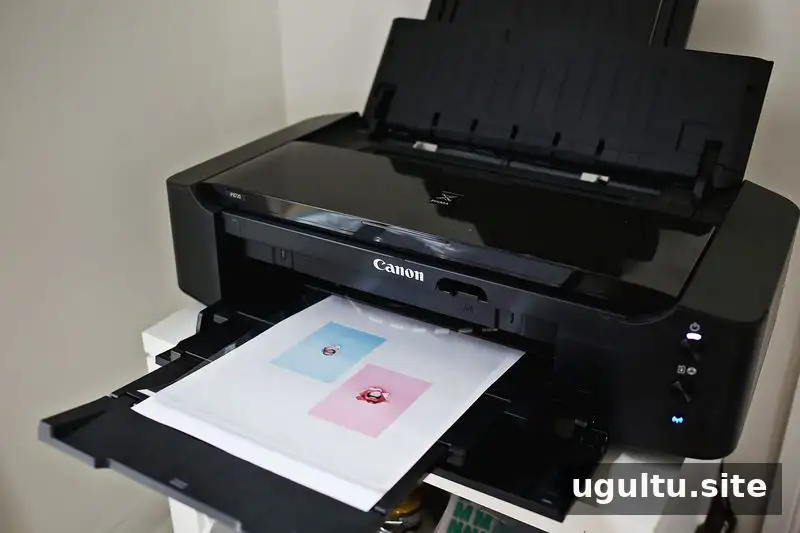
If you are using transparency film, place a sheet of white paper behind the printed image to check its colors and crop before cutting. The colors may look less obvious when viewed against a clear background, so this quick check can help you choose an image that will read well in the finished soap.
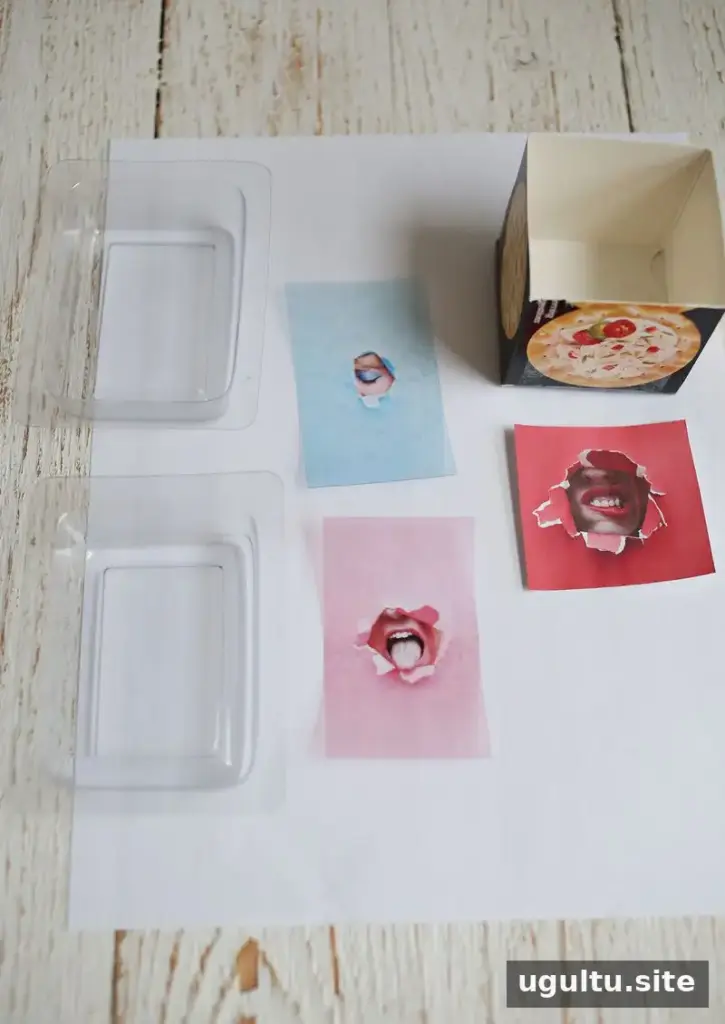
Cut each photo slightly smaller than the mold so soap can surround its edges. For a transparency, apply packing tape over the printed, inked side to help protect the image from the melted soap. Avoid covering more of the film than necessary, and make sure the tape does not extend beyond the photo.
Melt, pour, and position the image
Follow the soap package directions to melt the glycerin; many bases can be melted in a microwave-safe bowl. Handle the bowl and liquid carefully, as melted soap can be hot. Pour soap into the mold, then place the photo in the center with the printed side oriented as you want it to appear.
Use a spoon or toothpick to adjust the photo without putting your fingers into the hot soap. Transparency film generally stays flatter, while plain paper may curl when it meets the liquid. If the paper curls, gently ease it flat with the toothpick while the soap is still workable.
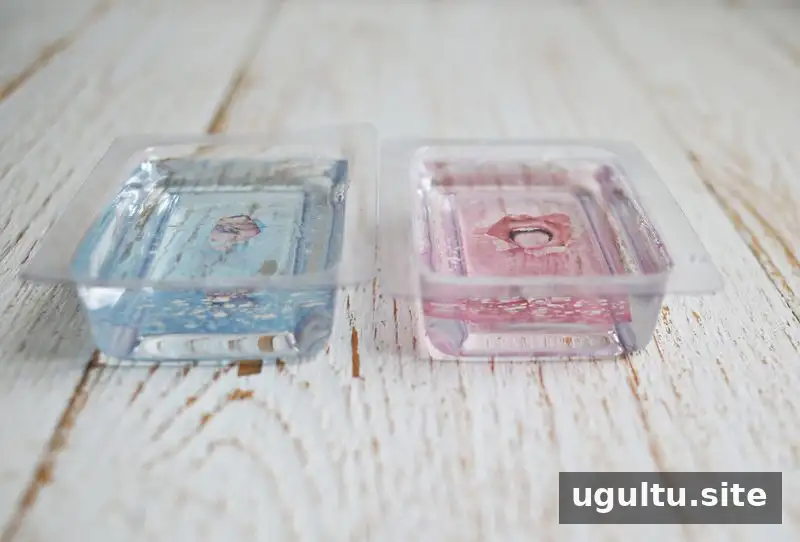
Let the soap set for about 30 minutes, or for the time recommended on the package. Press the set soap out of a flexible plastic mold. If you used a cardboard container, peel or tear the cardboard away after the soap has hardened.
What to expect from each photo material
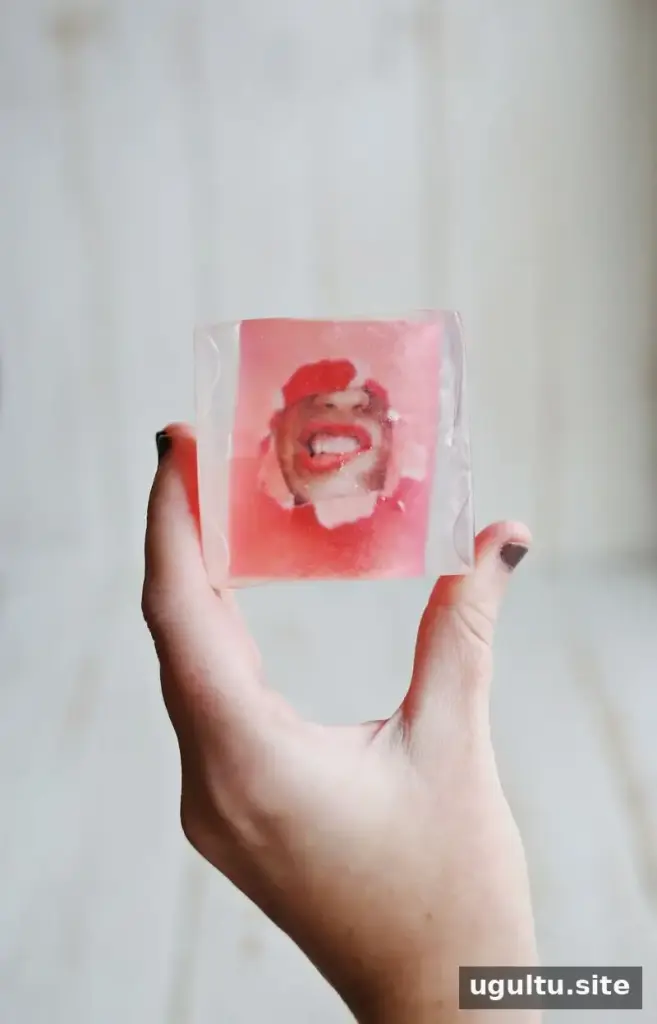
A photo printed on white paper can show bright colors through the soap, but its edges may curl as the soap sets. Positioning the paper promptly and carefully can help it lie flatter.
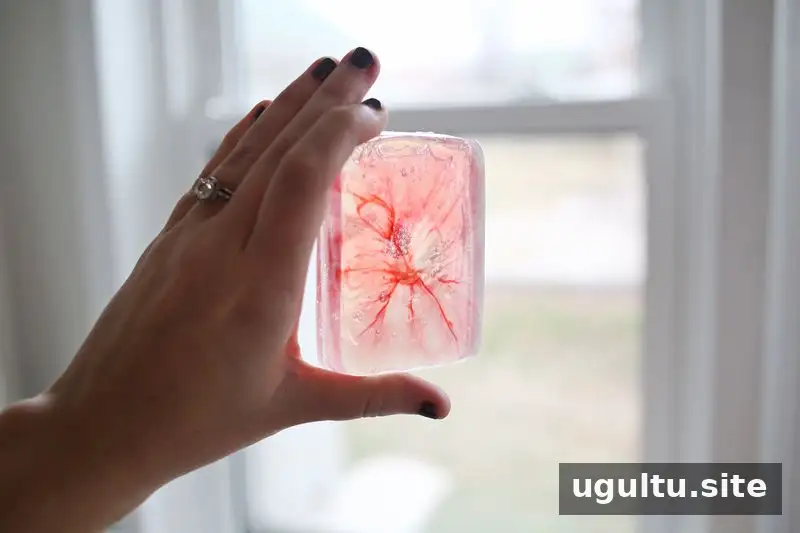
An unprotected transparency may lose its image when the ink meets the melted soap. Packing tape over the inked side helps prevent the color from washing away. The result without tape may look swirled, but it will not preserve the intended photo clearly.
Finishing and gifting your photo soap
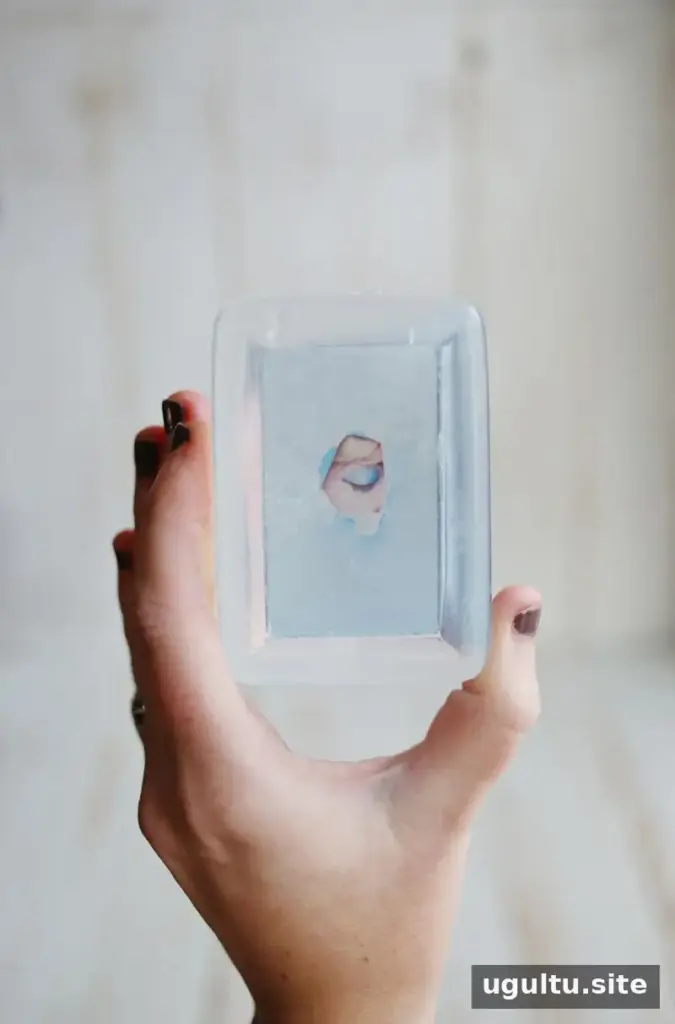
Once fully set, the clear bar displays the image inside and can be used as a decorative soap or given as a handmade gift. Choose a photo you have permission to use, and make a small test bar if you are unsure how a particular paper or transparency will behave.
DIY photo soap is easy to customize with different pictures and molds. For the clearest image, protect transparency ink with tape; for a brighter, softer look, try a photo printed on white paper. — Emma


