
 admin
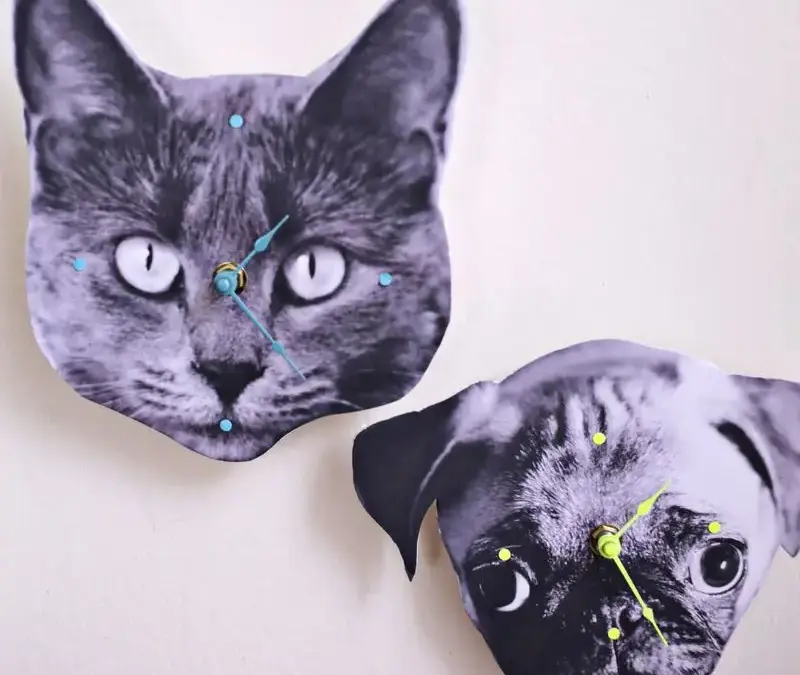
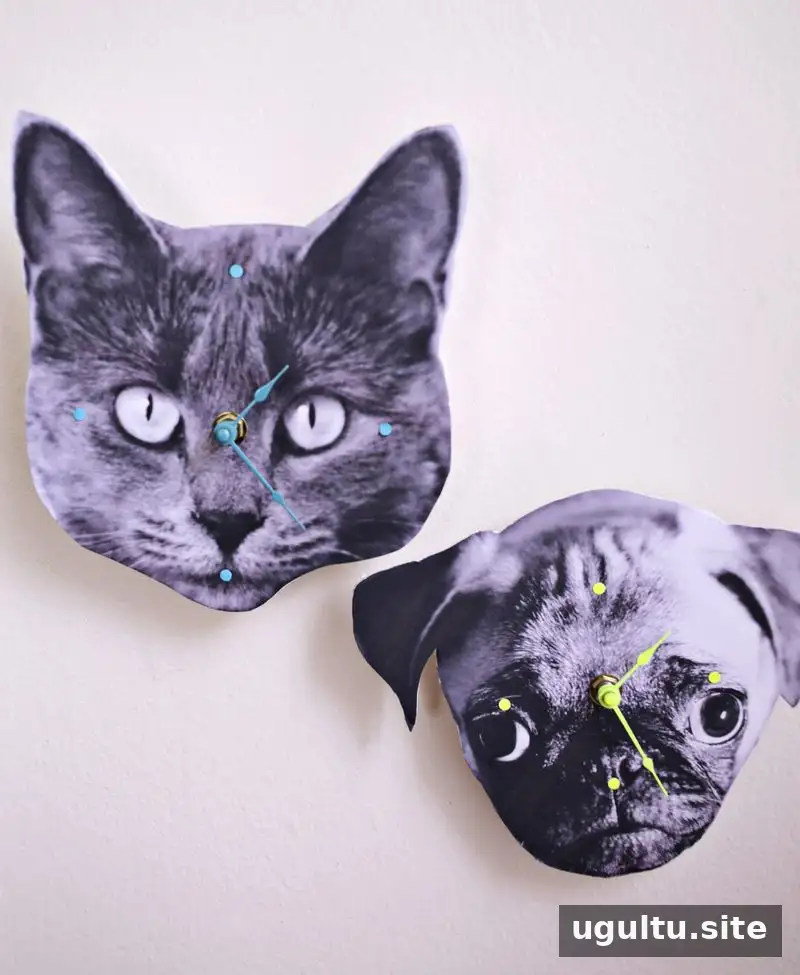
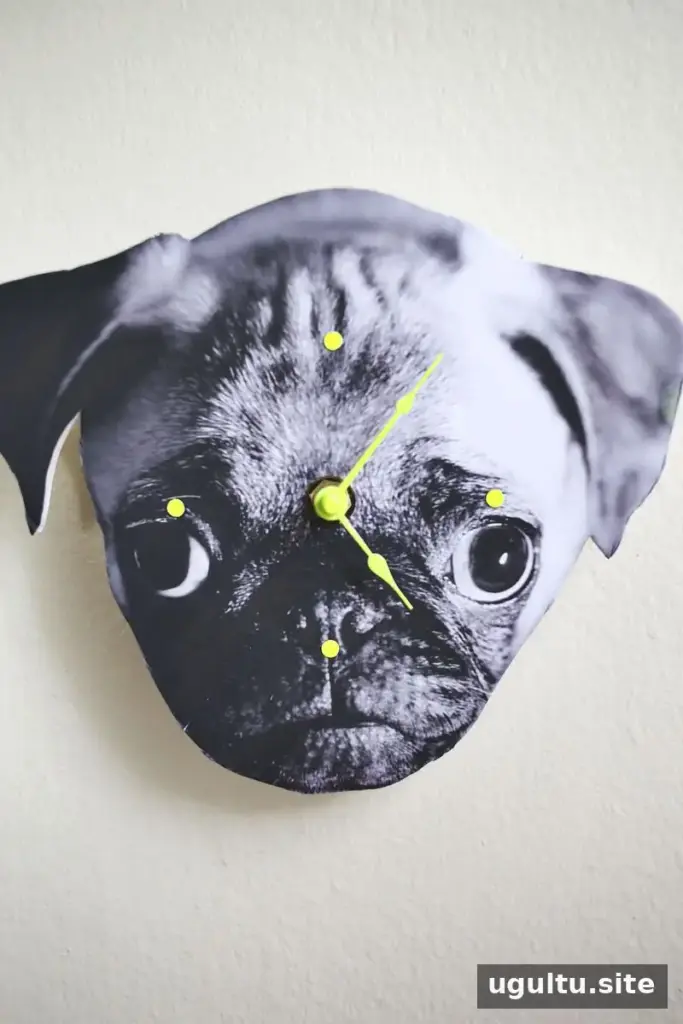
A DIY photo wall clock is a simple way to turn a favorite picture into a useful piece of personalized décor. With a printed photo, foam board, and a clock kit, you can create a custom design in about an hour. Choose a clear, front-facing image—such as a portrait of a pet—and follow the steps below to make a clock that also works as a thoughtful handmade gift.
Materials for a DIY Photo Wall Clock
Gather the supplies before you begin so you can work through the project without interruption:
- Semi-gloss photo paper
- Glue
- A clock kit
- Nail polish for decorating the clock hands
- An X-Acto knife
- Foam board at least 1/8 inch thick
- Scrap paper for the hour markers
Use a clock kit that includes assembly instructions, and check that its parts suit the design you are making. Work on a protected cutting surface when using the knife.
How to Make Your DIY Photo Wall Clock
1. Choose and print a photo
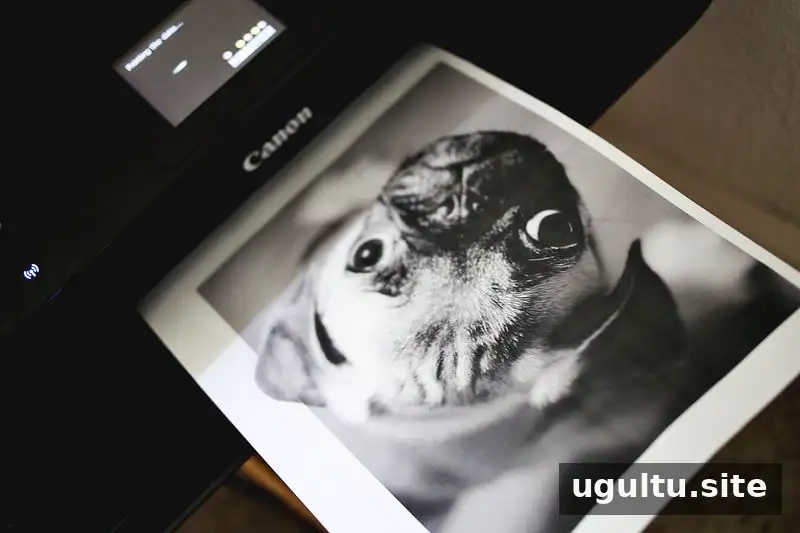
Select a front-facing photo that will still be easy to recognize when cut into a silhouette. Plan for the finished photo shape to be about 6–8 inches wide. A clear subject against a simple background can make cutting and reading the clock easier.
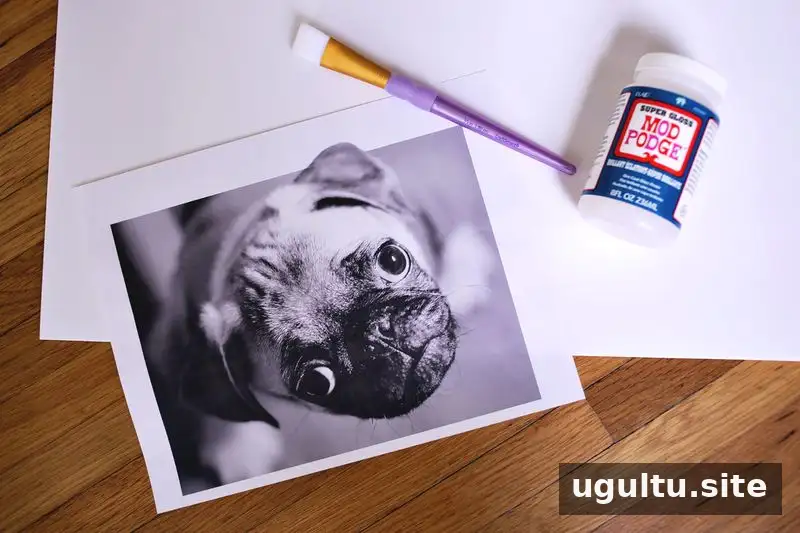
2. Attach the photo to foam board
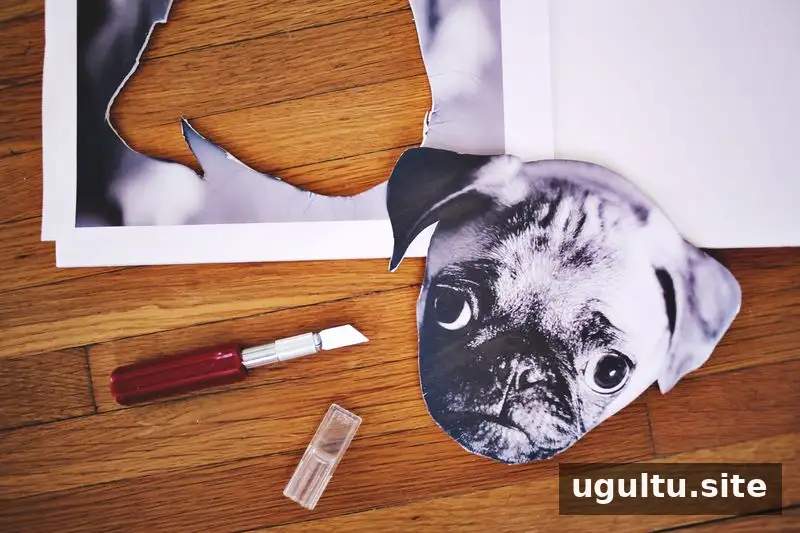
After printing, glue the photo onto foam board that is at least 1/8 inch thick. Smooth the paper gently to help it lie flat, then let the glue set as directed on its packaging. Carefully cut around the subject with an X-Acto knife. Make several controlled cuts rather than forcing the blade through the board.
3. Decorate the clock hands
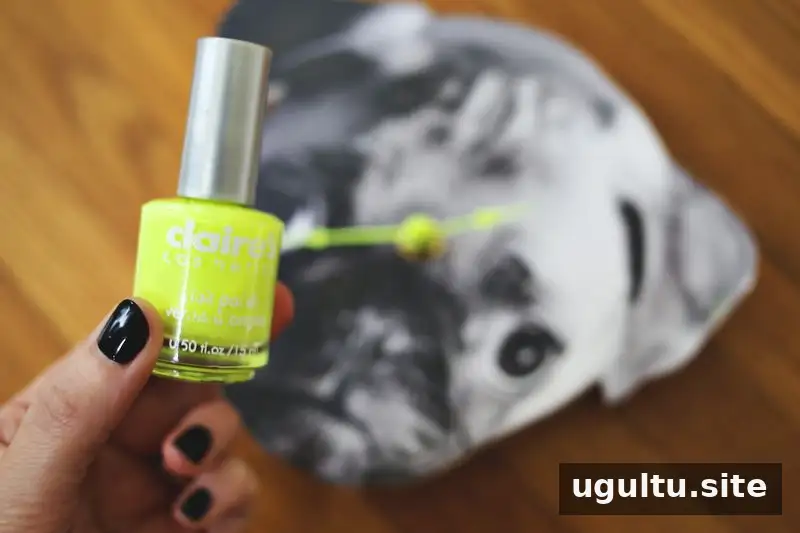
Add color to the clock hands with nail polish. Keep the hands separate from the photo while decorating, and allow them to dry completely before assembly. A contrasting color can make the hands easier to see against the picture.
4. Assemble the clock and add markers
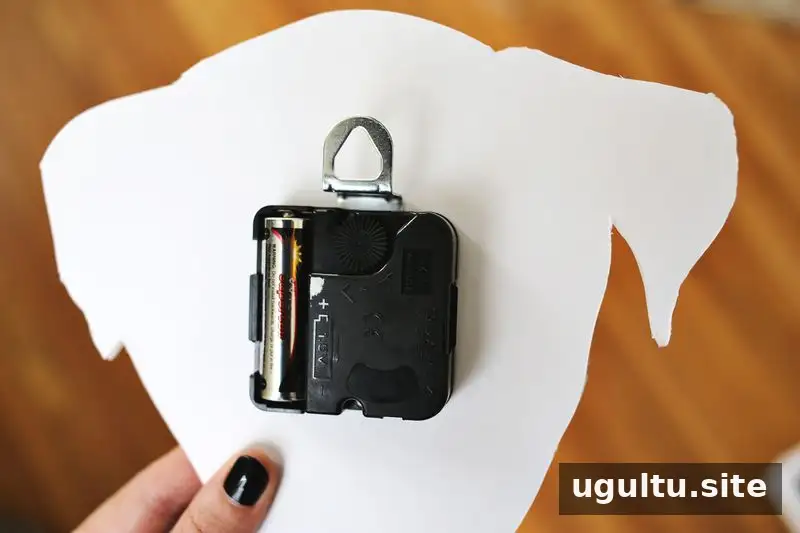
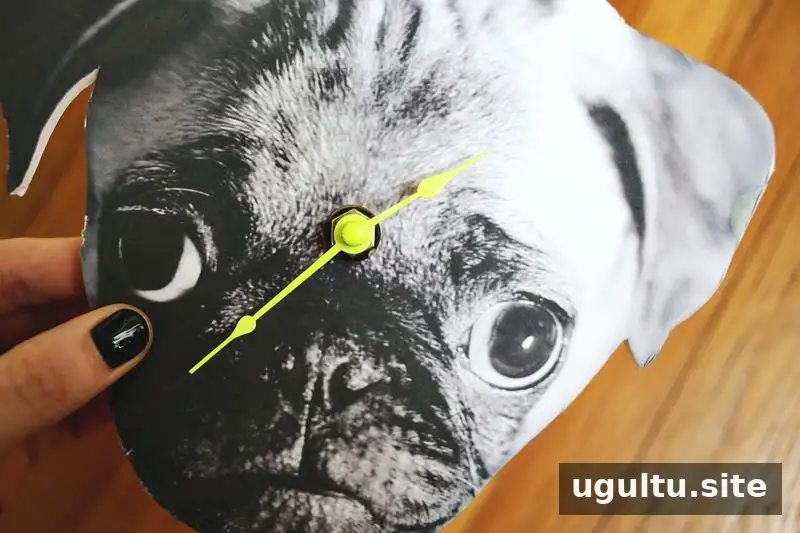
Follow the clock kit instructions to assemble the mechanism. Cut a small hole in the center of the photo shape and fit the clock parts through it, using the photo in place of a conventional clock face. Cut four small paper dots and glue them at the noon, three, six, and nine o’clock positions. These markers help make the time easier to read.
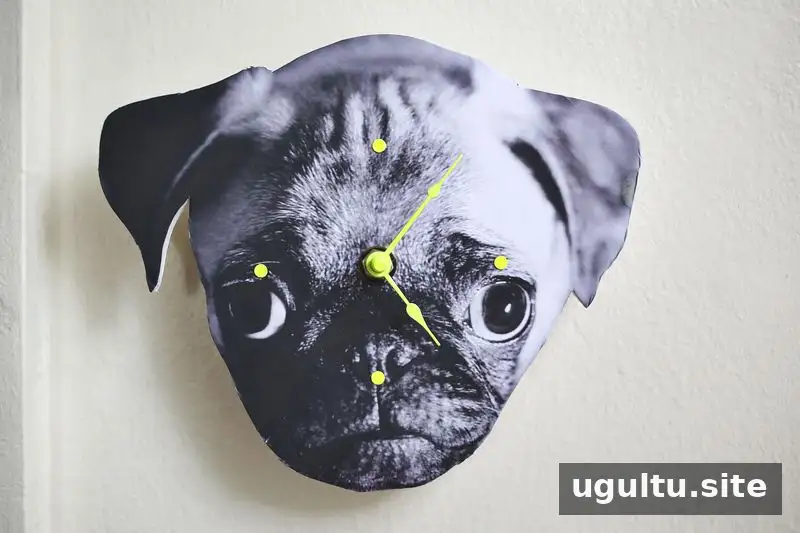
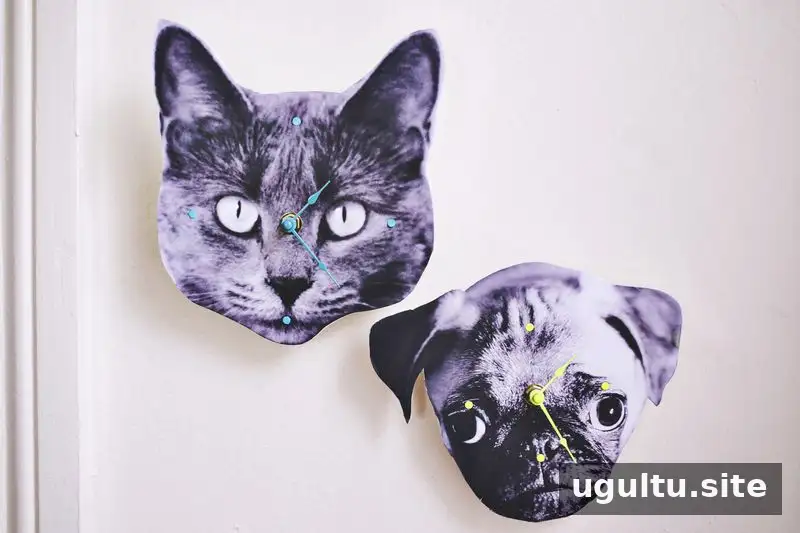
Before displaying the clock, check that the hands can move freely and do not catch on the photo or one another. If needed, adjust the assembly according to the kit instructions.
Display or Give Your Finished Photo Clock
Your personalized clock is ready to display or give as a handmade present. The same method can be used with different kinds of photographs, provided the chosen image can be cut into a clear shape. For the best result, keep the clock markers visible and choose a photo with enough open space around its main subject.
This DIY photo wall clock combines a favorite picture with a practical clock mechanism, making it a customizable project for home décor or gifting.
Project credit: Elsie + Emma


