
 admin
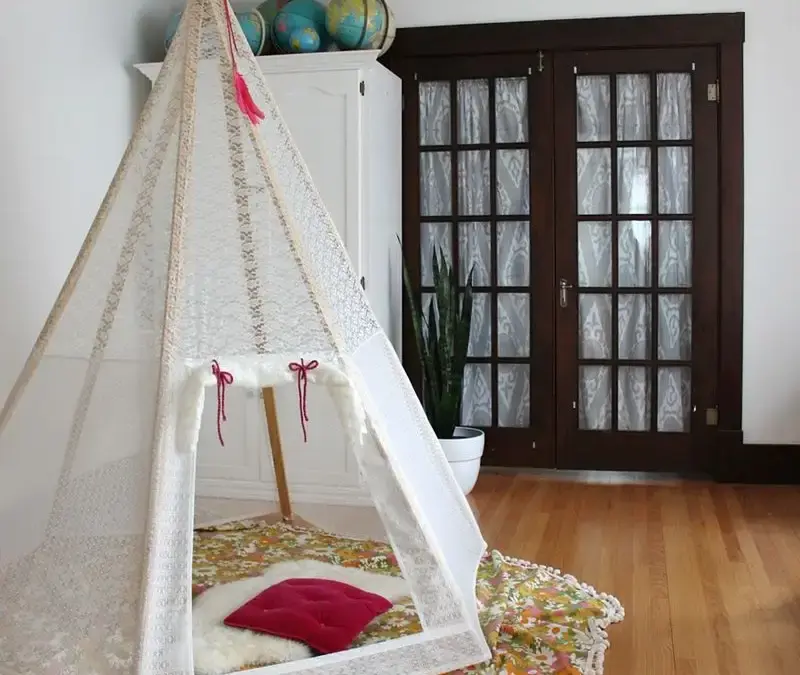
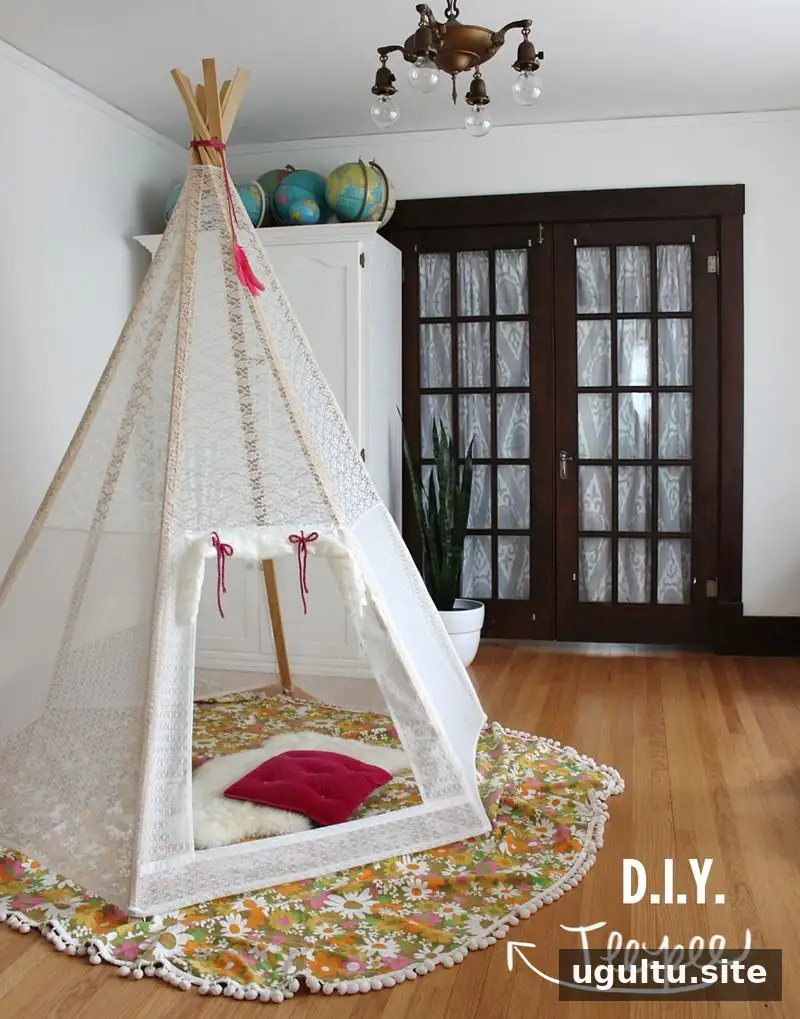
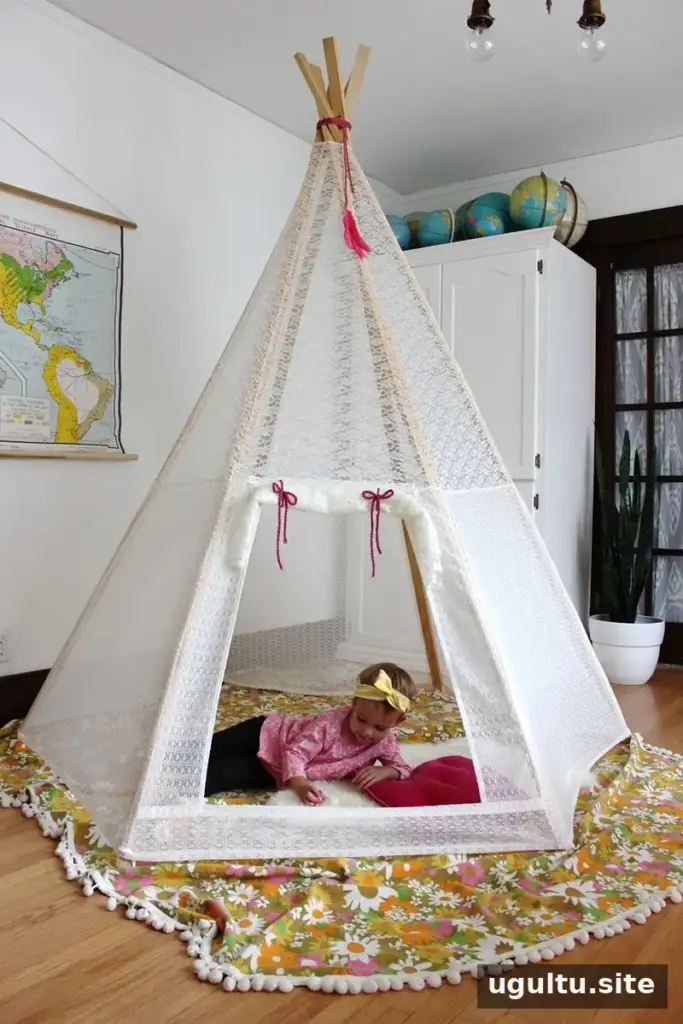
A DIY play teepee can create a cozy hideout for children while remaining easy to fold away when it is not in use. This lace version uses a six-pole frame and a roomy fabric cover, with an opening flap that can be rolled up and tied. The design is large enough for children to play or rest inside, and its sheer material helps it feel open rather than blocking the room.
The project involves several fabric panels and careful measuring, so set aside plenty of time. Before cutting, check that you have enough fabric and that your poles are sturdy enough to support the finished cover.
DIY Play Teepee: Materials and Frame
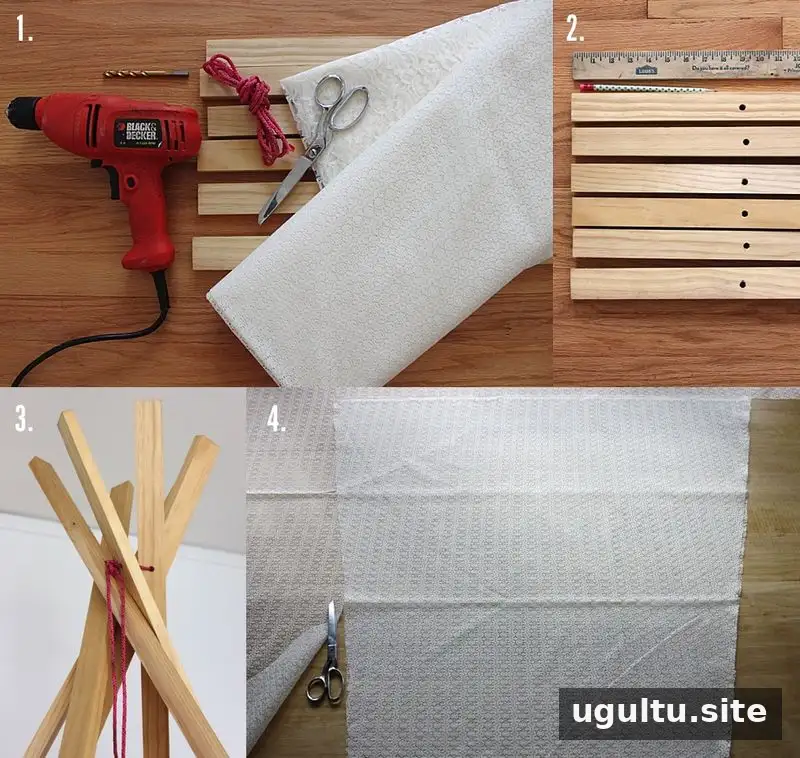
Gather these supplies before starting:
- Four yards of lace for the lower fabric, in a smaller print
- Three yards of lace for the upper fabric and flap, in a larger print
- Six 1×2-inch by 8-foot poles; a stronger material than pine is suggested because pine may sag beneath the cover over time
- Drill and 3/8-inch drill bit
- Six to nine feet of 1/2-inch woven rope
- One yard of 1/2-inch elastic and two yards of yarn or ribbon
- Scissors, ruler, pencil, sewing machine, thread, iron, and ironing board
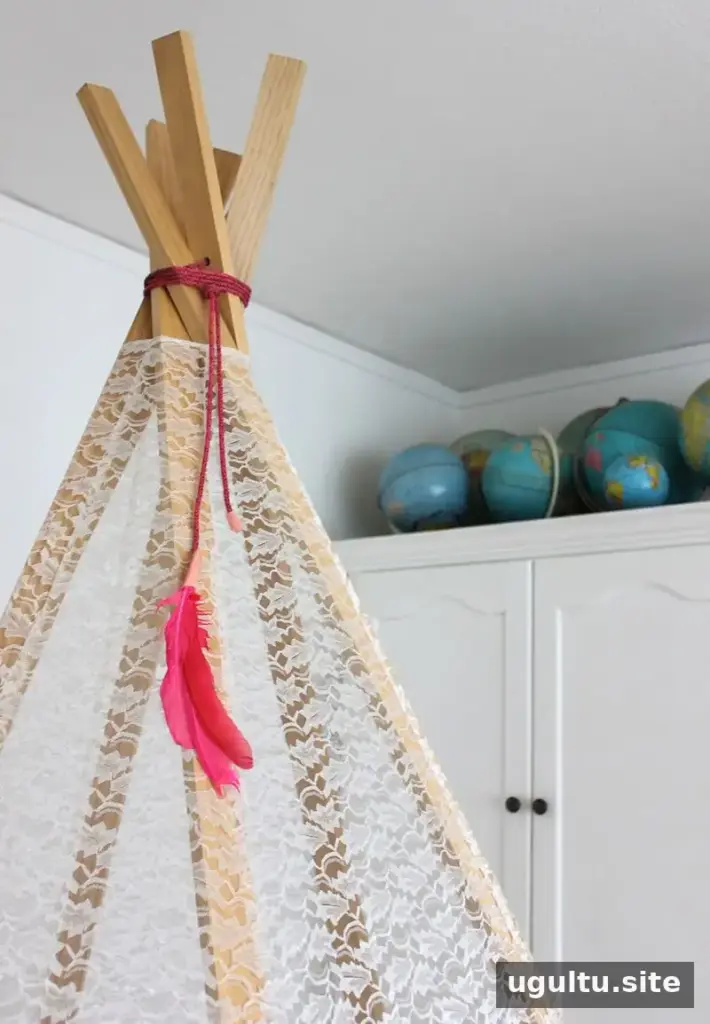
Measure 9 inches down from one end of each pole and mark the center. Drill through each pole at the mark. Thread the rope through all six holes and tie a loose knot. Stand the poles upright, twist them slightly, and spread their lower ends apart to form the frame. Tighten the knot until the poles hold together securely; the rope will be wrapped around the top later.
Cut the Teepee Fabric Panels
Lay the three-yard upper fabric lengthwise. Measure 23 inches in from one end to mark the bottom of a triangle panel. Find the center of that 23-inch edge and mark a centered 3-inch top, measuring 1.5 inches to each side. Use a yardstick to draw straight angled lines between the top and bottom marks, then cut the panel. Use it as a template to cut five more, flipping the template to help use the fabric efficiently.
For the lower panels, place the 42-inch edge of the fabric nearest you. Find its center and measure 38 inches up. Mark 12 inches to either side to create a 24-inch top, then draw straight edges with a yardstick. Cut five panels in total. Accurate measuring now will make it easier to line up seams later.
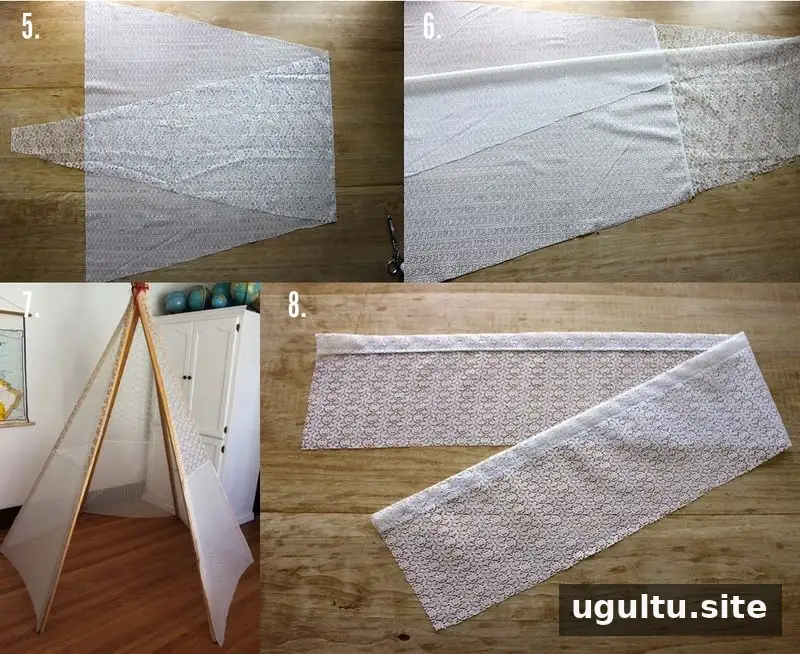
To make each full body panel, center the bottom of an upper triangle over the top of a lower panel and pin the pieces together. With lace, the fabric sides do not need special matching; with cotton prints, place the right sides together. Sew about 1/4 inch from the edge, open the seam, and press it flat. Topstitching is optional, but can add support to lace. Repeat for all five panels.
Pin the long edges of two panels together, matching their seams. Continue joining the panels, then use thumb tacks to temporarily attach the cover to the frame and check the fit before completing the opening.
Make the Opening and Flap
Cut a piece about 42 inches long by 6.5 inches wide for the bottom of the opening. Fold one long edge over 1/2 inch, then fold it over another 1/2 inch. Press, pin, and stitch the hem. Pin this piece along the bottom of the opening with its ends overlapping slightly and the hem facing up. Attach the final upper panel to the frame as well. If an unfinished lower edge has no selvage, fold it over 1/4 inch, press, fold again, and stitch.
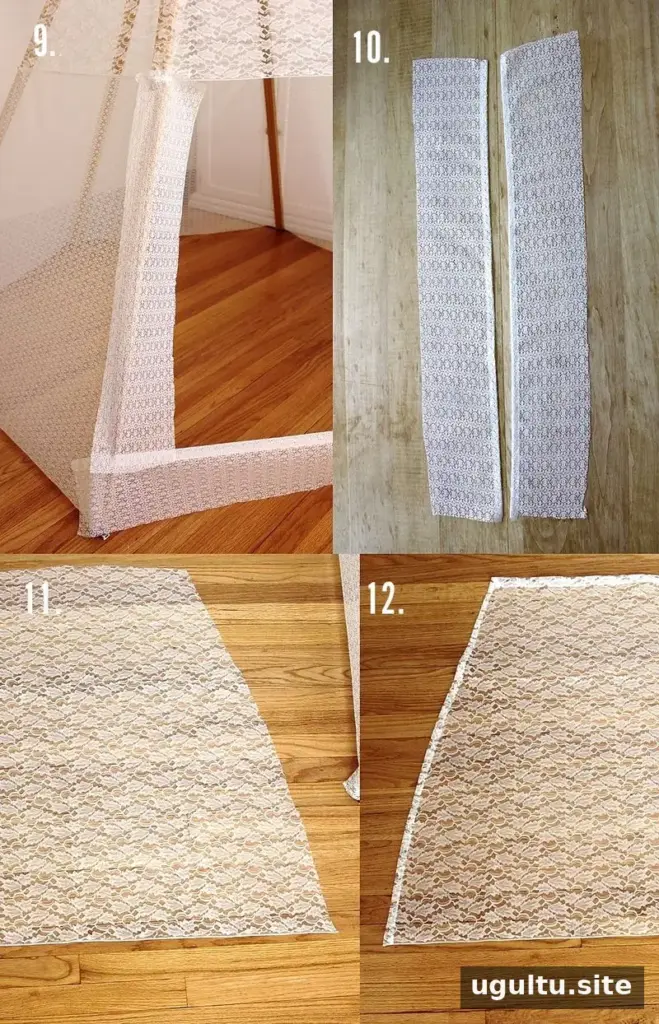
Cut two lower-fabric strips about 6 by 34 inches. Check their fit against the opening, then hem one long edge of each by folding it over 1/2 inch twice, pressing, pinning, and stitching. Set them aside. For the front flap, cut a trapezoid about 35 inches tall, 32 inches wide at the bottom, and 19 inches wide at the top. Fold each angled edge over 1/2 inch twice, press, pin, and stitch. Finish the top and, if it is not a selvage, the bottom edge in the same way.
Assemble and Finish the Cover
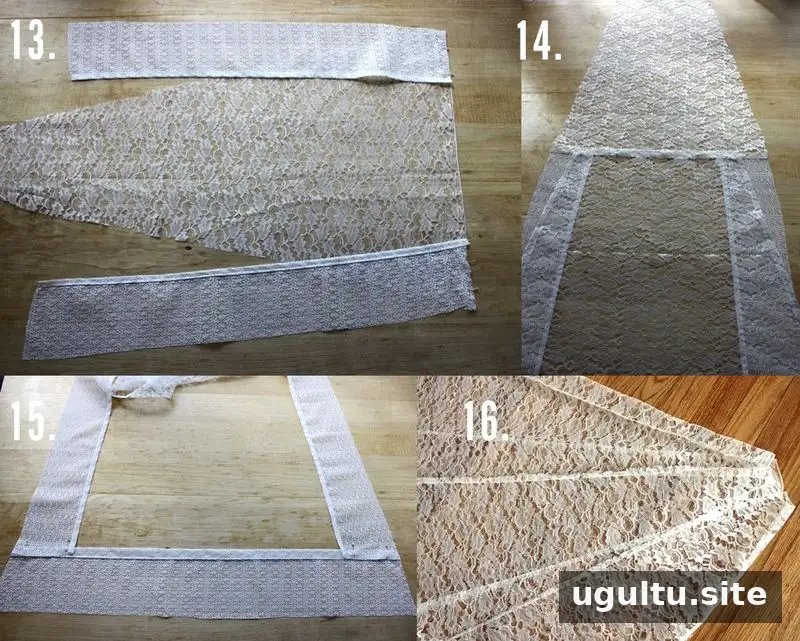
Place an upper triangle on your work surface. Position one hemmed side strip at each end of its bottom edge, with the right sides facing together and the hems toward the inside. Pin, sew across, open the seam, and press it flat. Center the flap so its top slightly overlaps the opening, then pin and stitch across the top seam.
Turn the piece wrong side up and move the flap aside. Attach the bottom opening panel so the short ends of the side strips overlap the wrong side of its hem. Pin and stitch across. Match the completed opening panel to the remaining teepee edges and sew the cover closed.
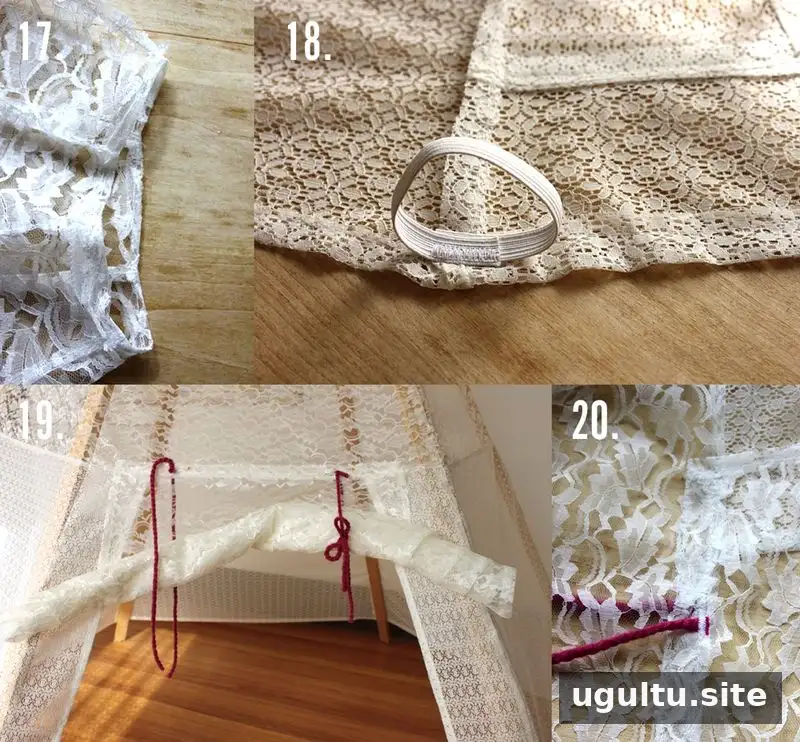
Fold the cover’s top edge over 1/4 inch, press, and stitch a hem. At the bottom, fold the edge over 1/4 inch twice, press, pin, and stitch. Cut six 6-inch elastic strips. Form each into a loop with about 1 inch of overlap, then pin one loop at each seam along the bottom edge and stitch it down, using a zigzag stitch if desired. The loops fit around the pole ends to help keep the cover in place.
Cut four pieces of yarn or ribbon about 18 inches long. Pin two to the front and two to the back at the top of the flap, then stitch them securely. Once the cover is on the frame, roll up the flap and tie it with the ribbons. Wrap the loose rope ends around the top of the teepee and tie them. A decorative feather can be added to the rope ends if desired.
Practical Tips for Your DIY Play Teepee
This is a straightforward sewing project, but cutting and assembling the panels takes time. Work slowly, and check the cover’s fit on the frame before sewing the final seams. Lace can be costly when purchased new; look for curtain panels or tablecloths at thrift shops, or compare fabric prices before buying. Vintage sheets or a drop cloth can also be used instead of lace. If you mix secondhand fabrics, choosing similar shades can help the finished teepee look coordinated.
Before each use, check that the poles and rope remain secure and that the elastic loops are holding the cover in place. Keep the teepee away from heat sources and supervise young children during play.
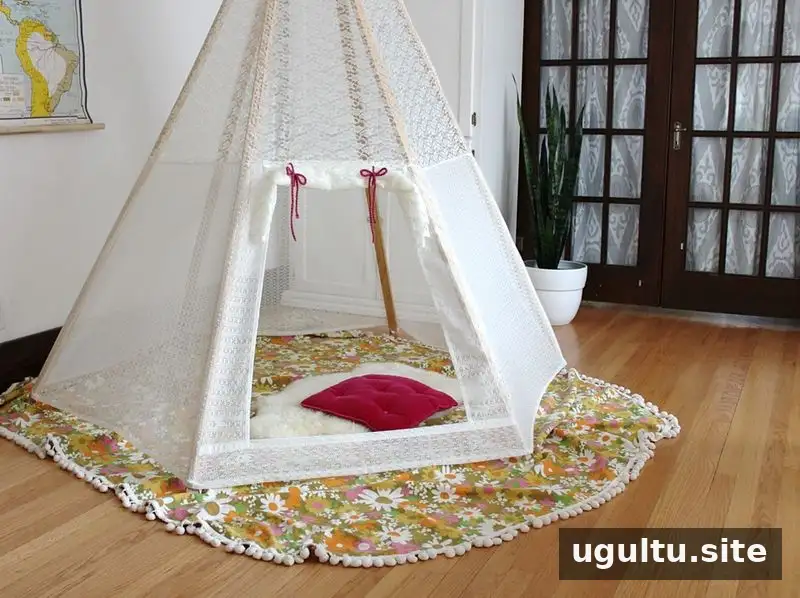
With patient measuring, a sturdy frame, and a little sewing time, this DIY play teepee becomes a foldable hideout that can be stored under a bed or in a closet. Enjoy the finished hideaway! —Rachel


