
 admin
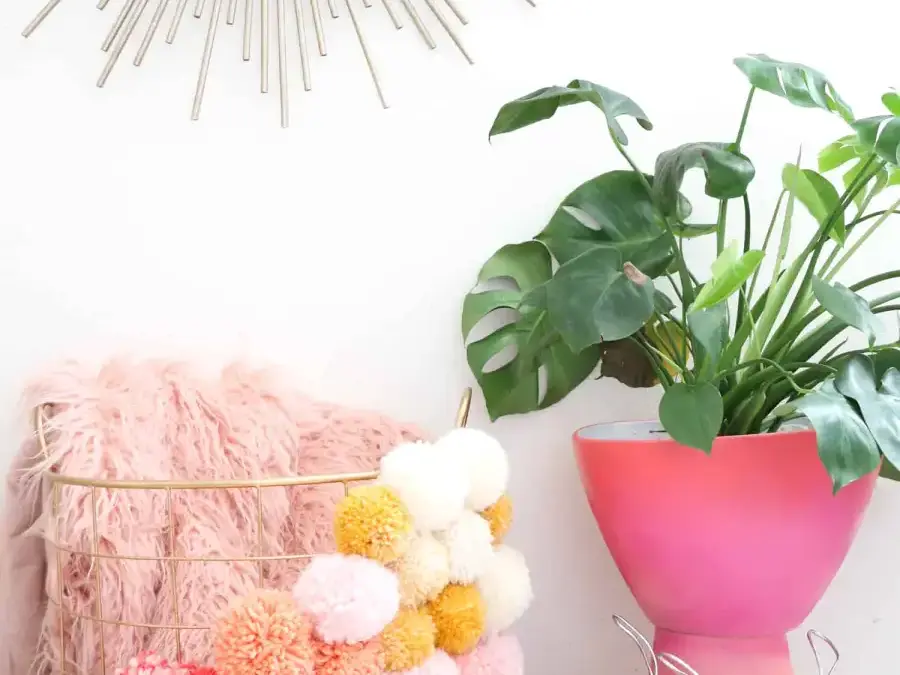
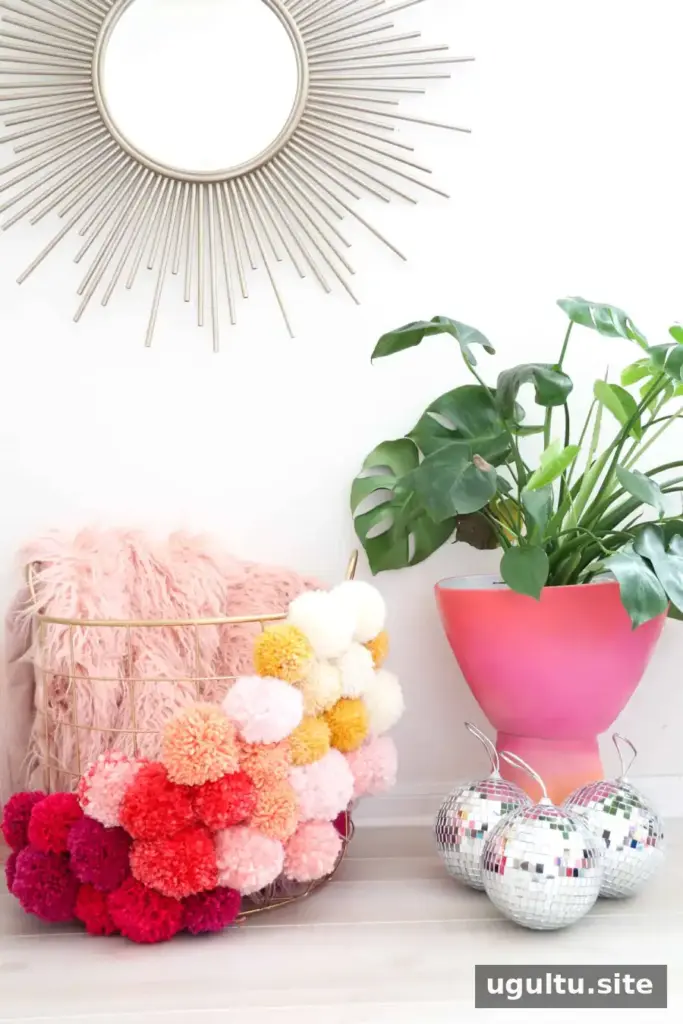
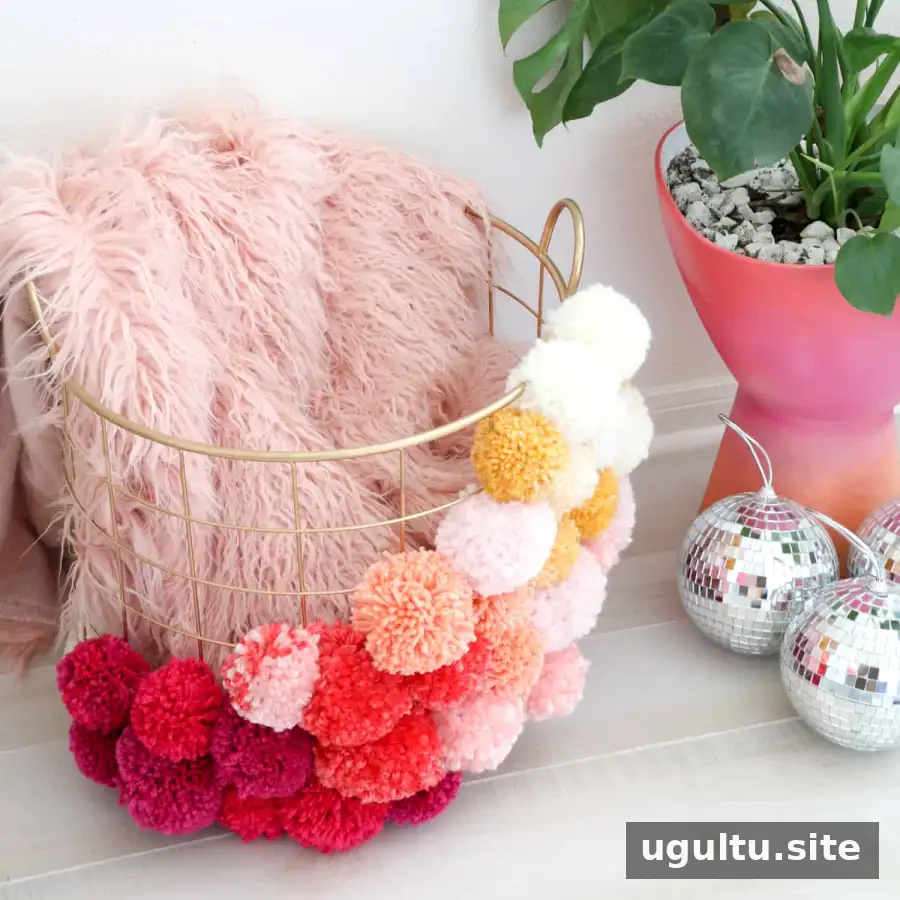
A pom pom basket is a simple way to add soft texture and color to a room while creating useful storage. With yarn, a wire basket, and pom pom makers, you can make a decorative holder for throw blankets or extra pillows in an afternoon. Choose colors that suit your space, then arrange the pom poms in a gradient or cover the basket more fully.
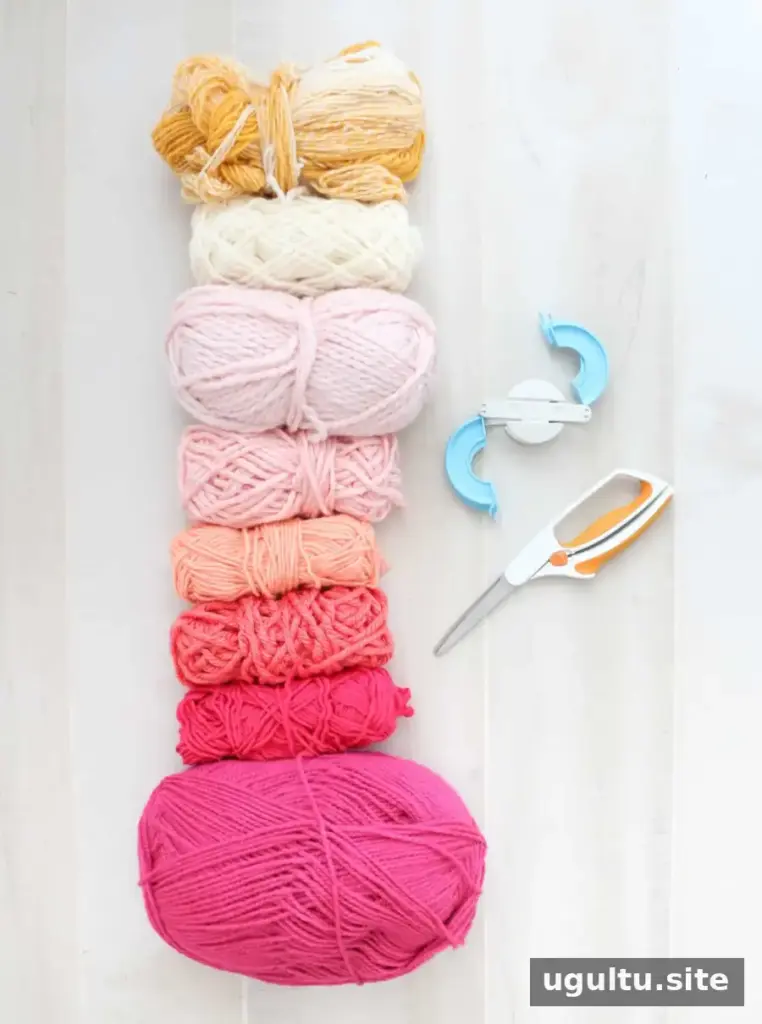
Supplies for a DIY Pom Pom Basket
Gather your materials before you begin so you can make the pom poms and attach them without interrupting the project.
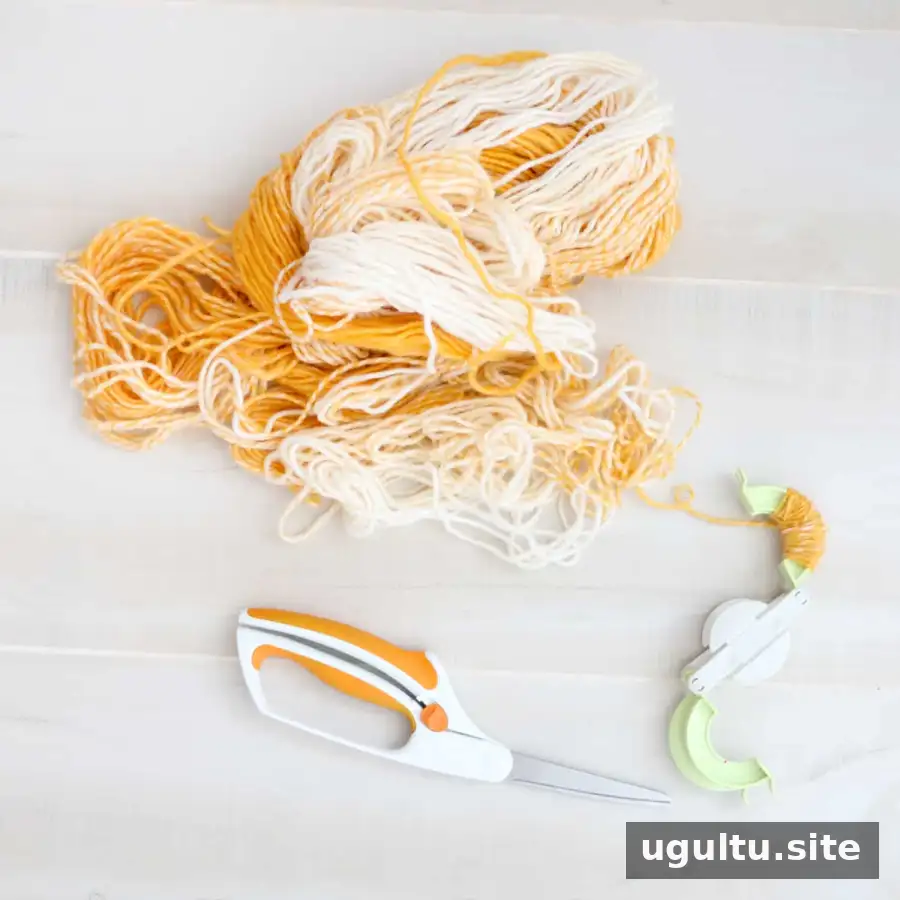
- Yarn in colors of your choice
- Pom pom makers in medium and large sizes
- Scissors
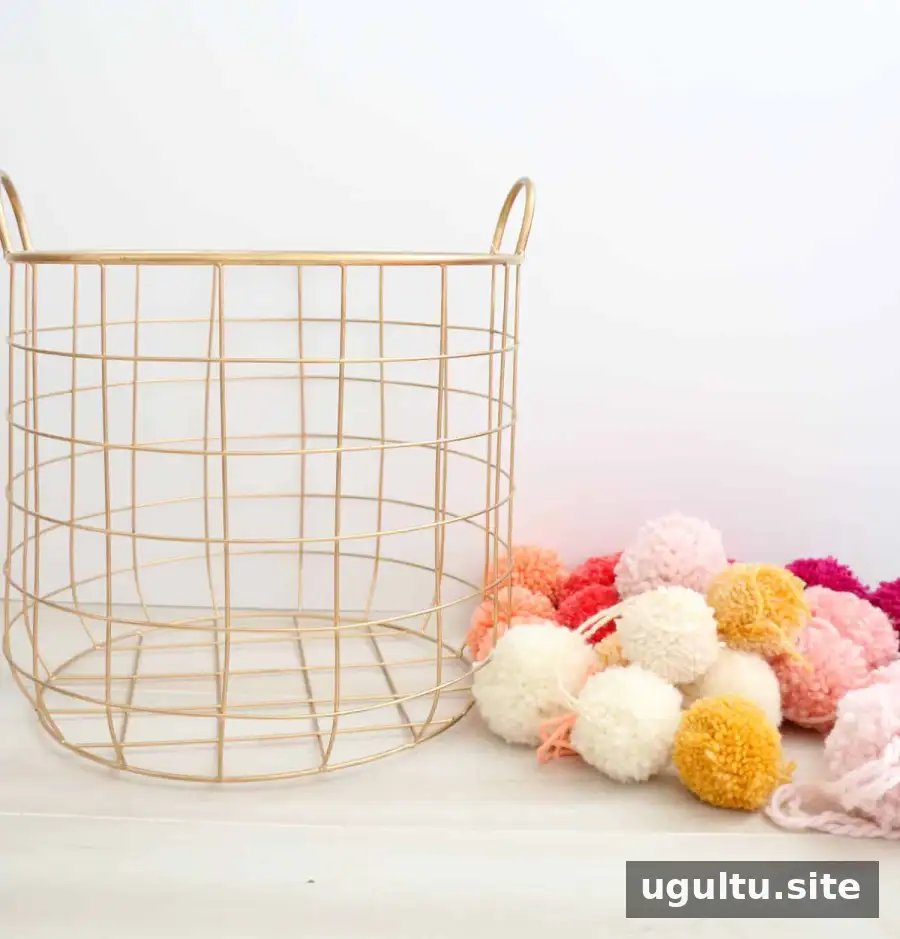
- Wire basket
Helpful tip: A wire basket with open spaces makes it easier to tie the pom poms securely. Consider the basket’s size and the look you want before choosing how many colors to use.
How to Make a Pom Pom Basket
Step 1: Make the pom poms
Wrap yarn around one side of a pom pom maker until it is full, then fold that side closed and wrap yarn around the other side. Fold the second side closed as well. Using scissors, cut through the yarn along the middle of both sides.
Tie a separate piece of yarn tightly around the center with a double knot. Open the sides of the maker and pull it apart to release the pom pom. Leave the tie ends long; you will use them to attach the pom pom to the basket.
Practical tip: Keep the center knot snug so the yarn stays together when you trim and attach the pom pom.
Step 2: Make enough pom poms for your design
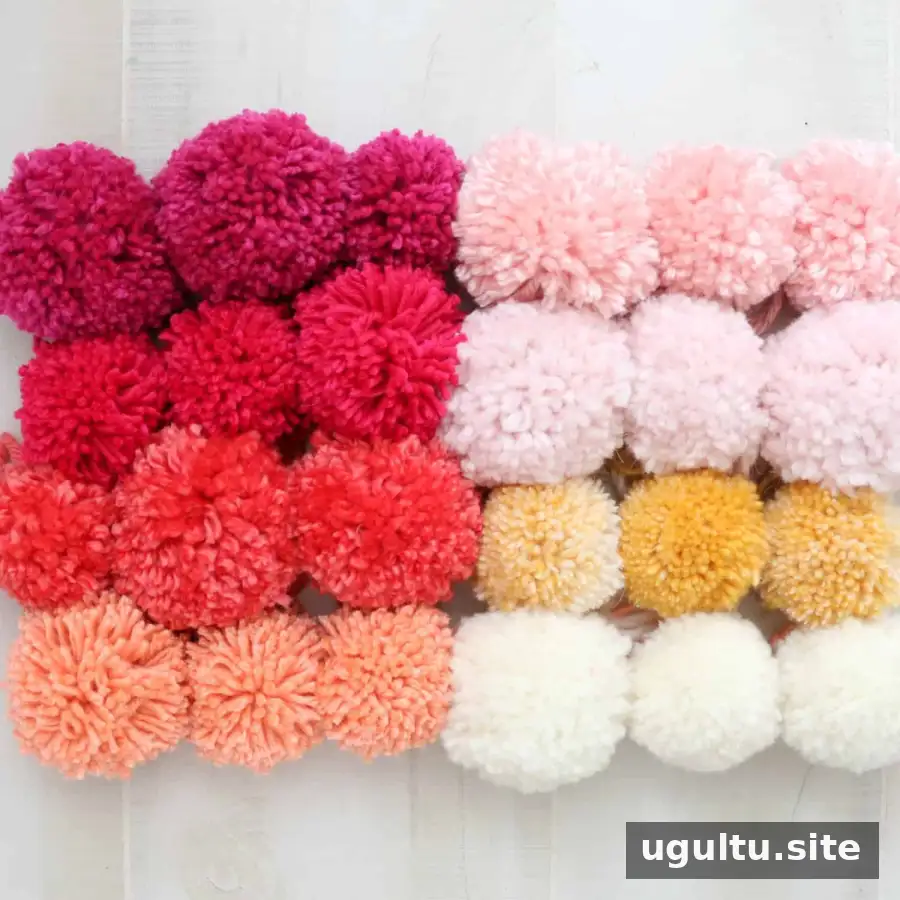
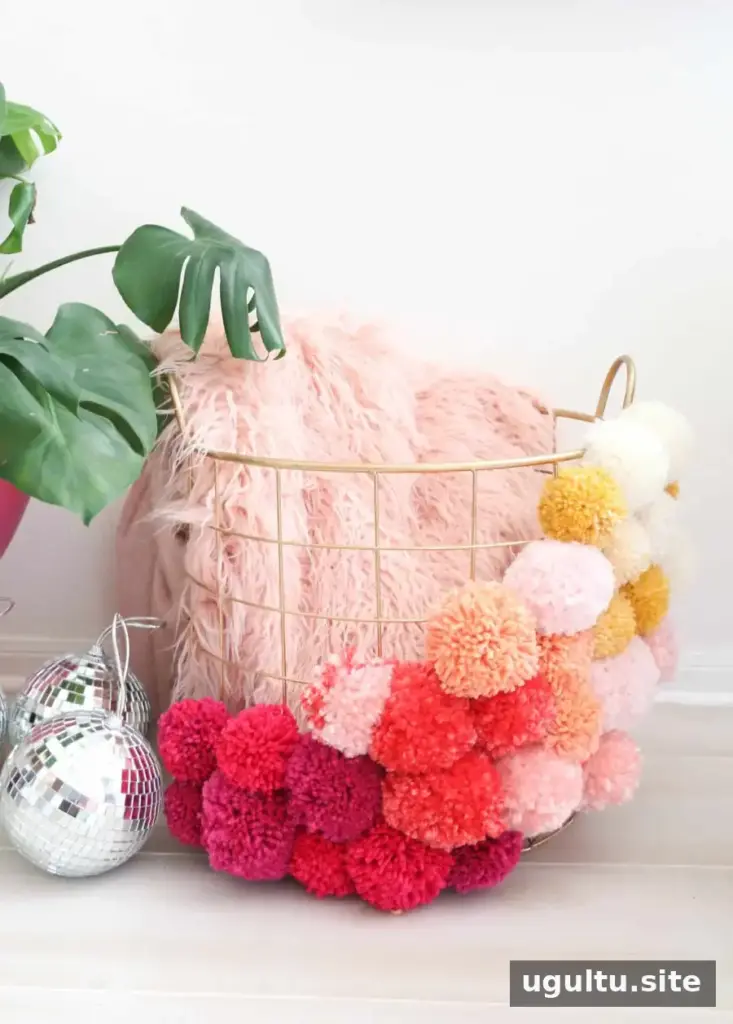
Repeat the process until you have enough pom poms for your chosen layout. For an ombre effect that flows across part of the basket, plan on making about 24–30 pom poms. Covering the entire basket may require about 100. Eight skeins of yarn should yield that many pom poms, and using pom pom makers helps speed up the process.
Before attaching them, place the pom poms against the basket to preview the color order and spacing. This makes it easier to adjust the gradient or coverage before tying anything in place.
Step 3: Attach the pom poms
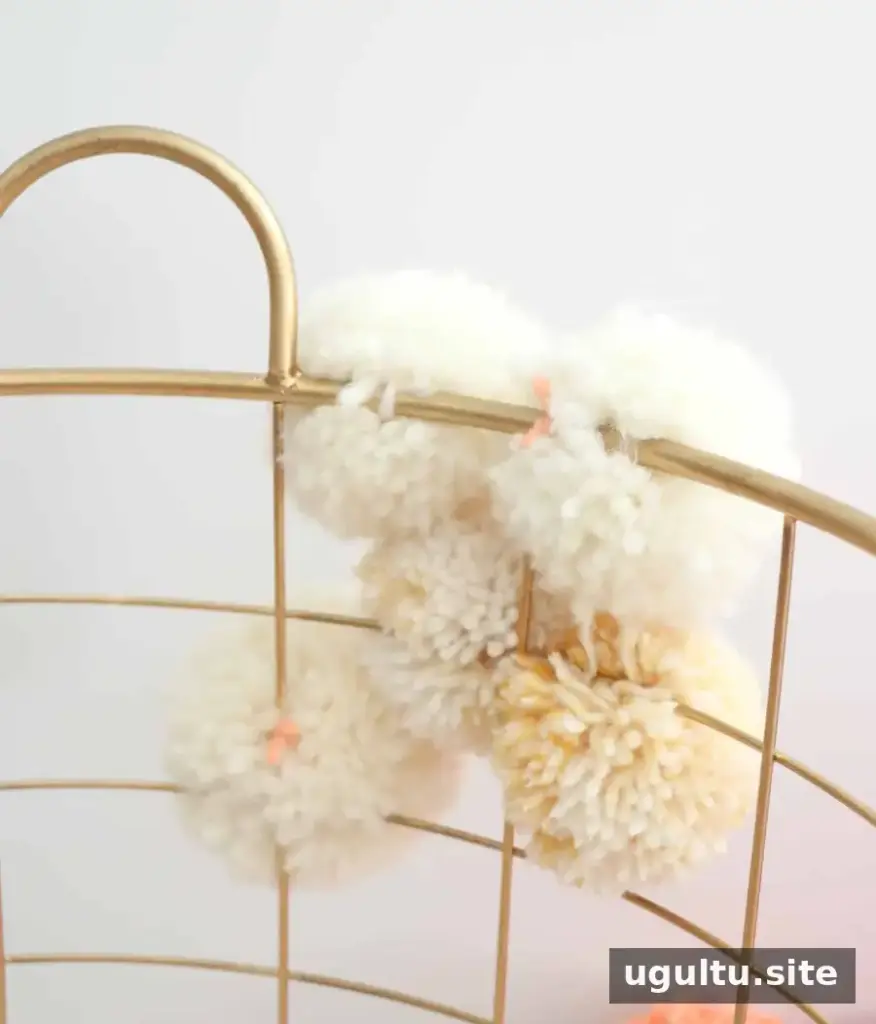
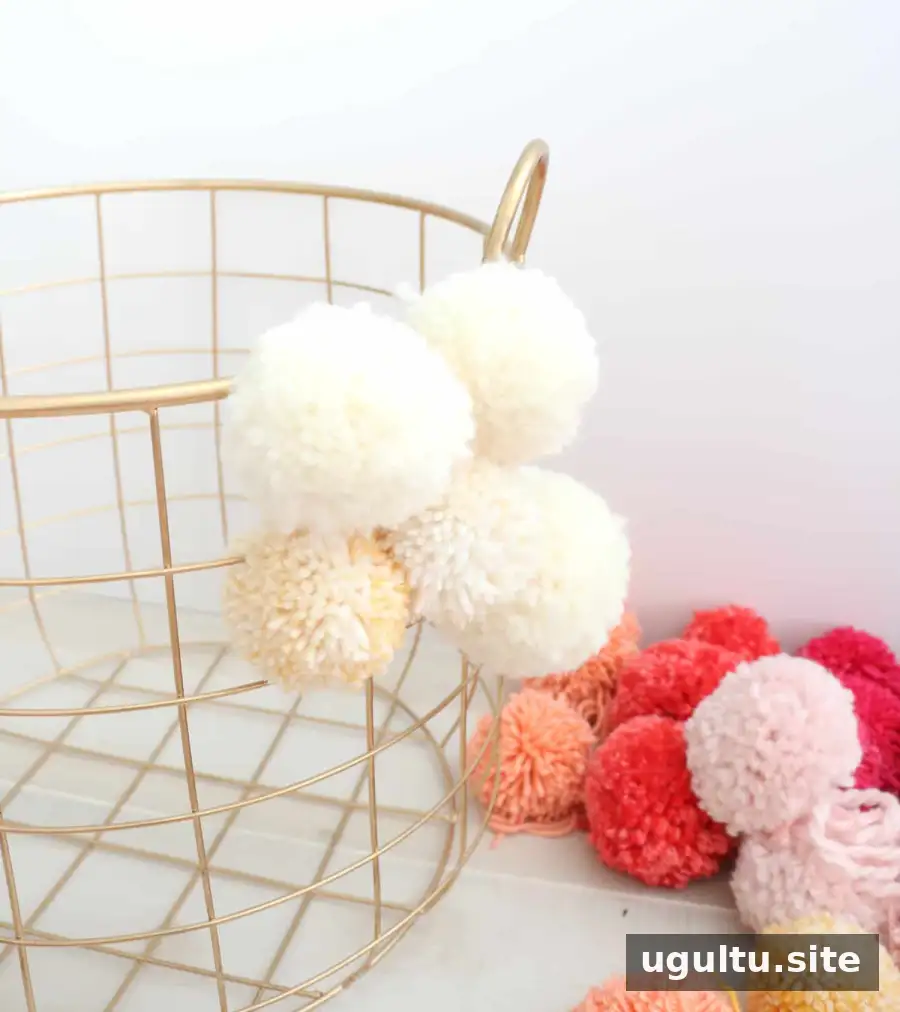
Use the long yarn ends from each pom pom to tie it to the wire basket. Secure the knots, then trim away the excess yarn. Position the pom poms close enough to create the look you want, while keeping the basket practical for storing blankets and pillows.
Step 4: Finish the basket
Continue adding pom poms until the basket is covered to your liking. You can leave some of the wire visible for a lighter, more open design, create an ombre section, or cover the basket more completely. Check that each pom pom is securely tied before filling the basket.
Style and Use Your Finished Pom Pom Basket
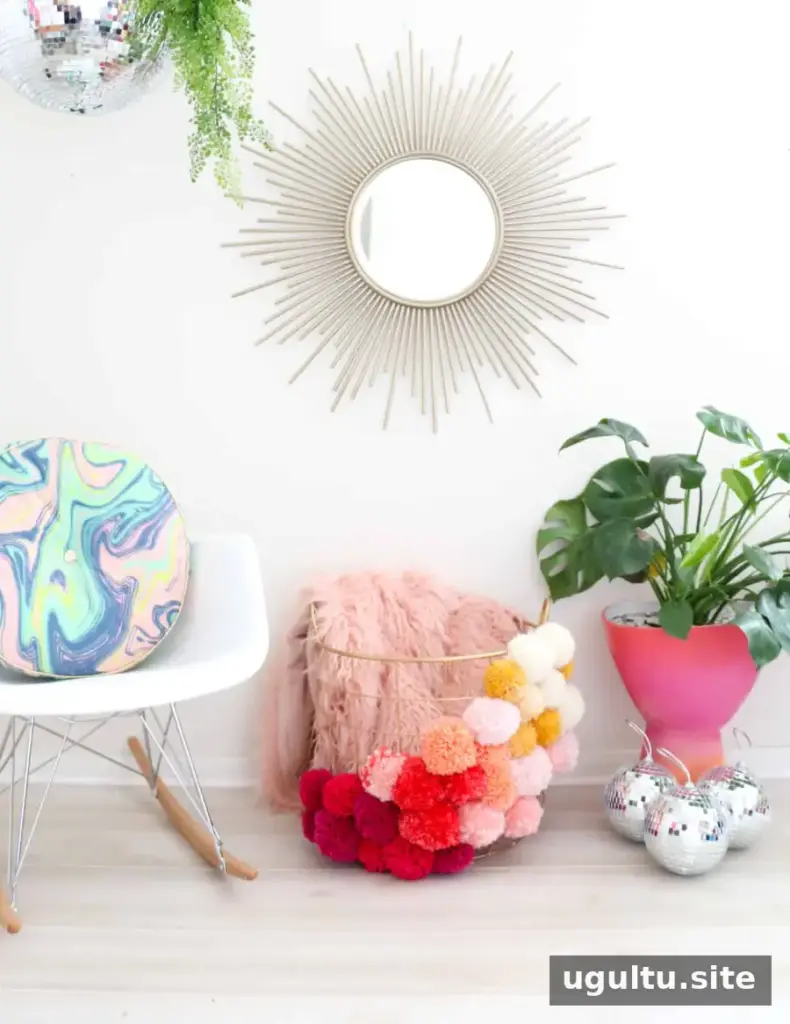
This project can be completed in a few hours, making it a manageable craft to work on at home. Once finished, use the basket to hold cozy throw blankets or extra pillows. The pom pom colors can bring warmth to seasonal decor, while a partial arrangement leaves some of the wire visible.
Whether you choose a flowing ombre effect or fuller coverage, a pom pom basket combines decorative detail with everyday storage. Kara


