admin
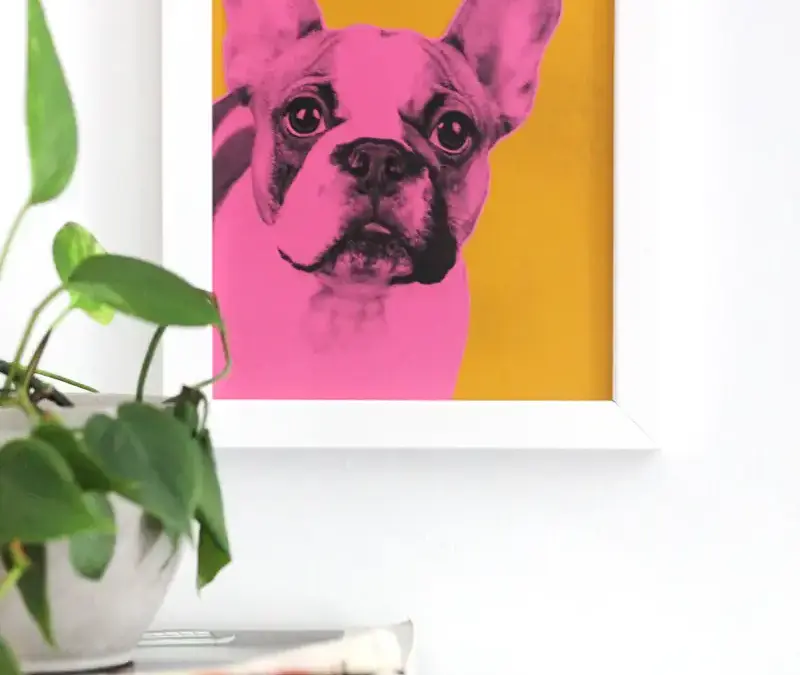
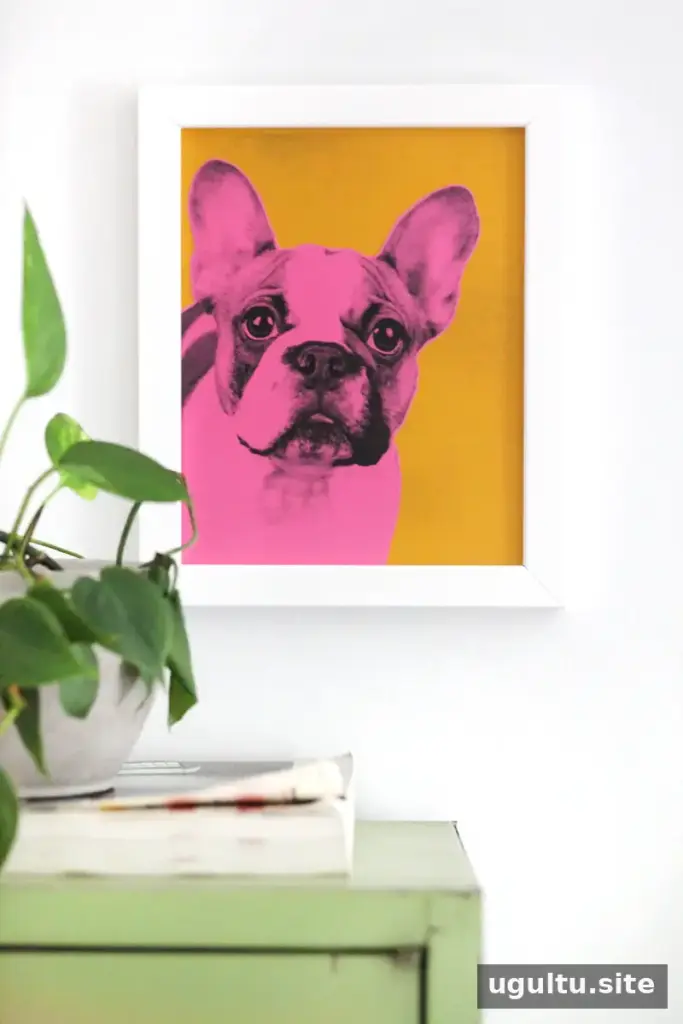
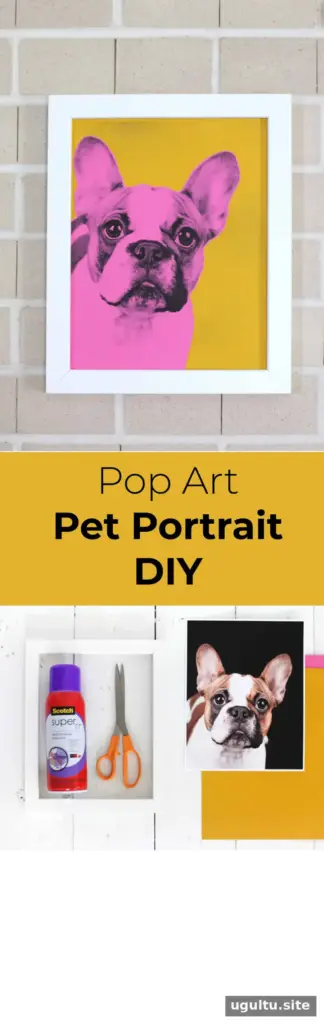
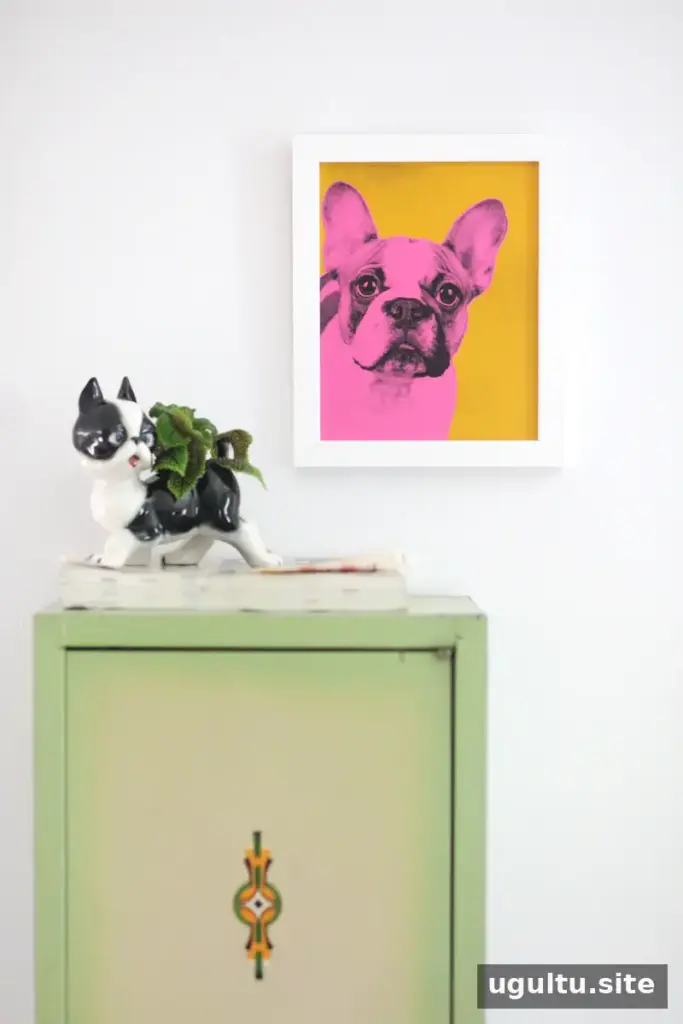
A DIY pop art pet portrait is a colorful way to turn a favorite animal photo into framed wall art. This simple project uses a copy machine to create a high-contrast image, so photo-editing software is optional. Choose a clear portrait with your pet easy to see, then pair bright cardstock colors for a bold, graphic look.
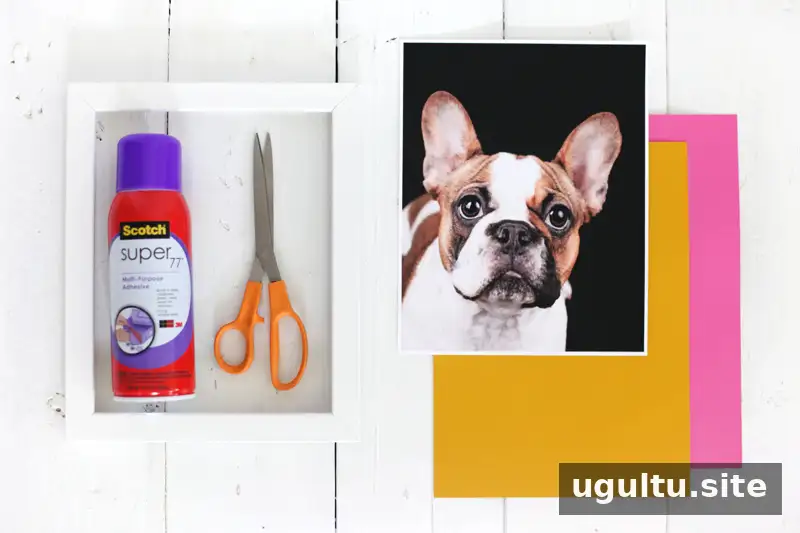
Supplies for a DIY Pop Art Pet Portrait
- One 8 x 10 inch frame
- One 8 x 10 inch pet portrait, printed on paper
- Scissors
- Spray adhesive
- Two sheets of bright, complementary-colored cardstock
- One 8 x 10 inch background texture image
Before starting, check that the portrait and background image will fit the frame. Use a test sheet when adjusting copier settings, and follow the spray adhesive label, including its ventilation and handling instructions.
How to Make a Pop Art Pet Portrait
1. Remove the photo background
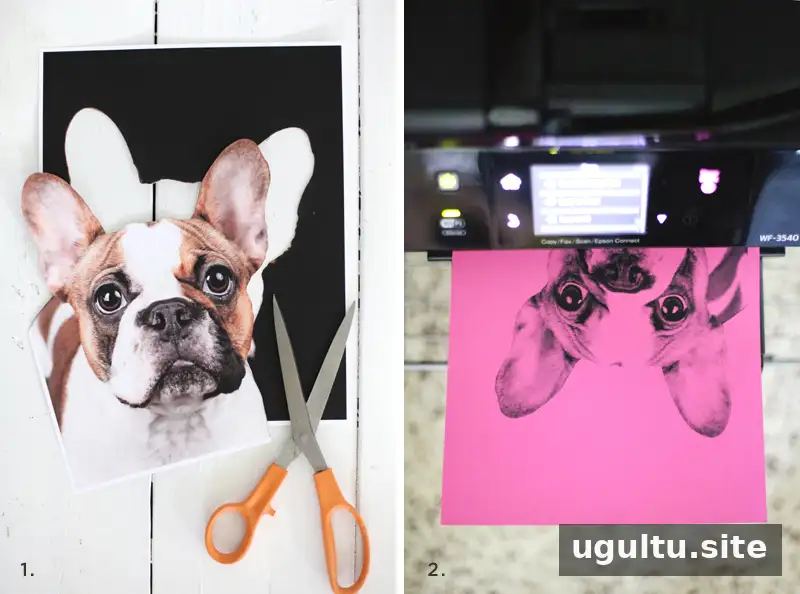
Carefully cut around your pet to separate the subject from the background. Take your time around the outline; a clean cut makes the finished portrait look more defined.
2. Make a high-contrast copy
Scan the cut-out image, then use the copy machine’s brightness and contrast controls to create bright highlights and darker areas. Make a few trial copies on ordinary copy paper first. Once you are happy with the result, print the image onto one sheet of colored cardstock.
Copier controls vary, so adjust settings gradually rather than making a large change at once. Check that the pet’s important features remain visible before printing on the cardstock.
3. Print the textured background
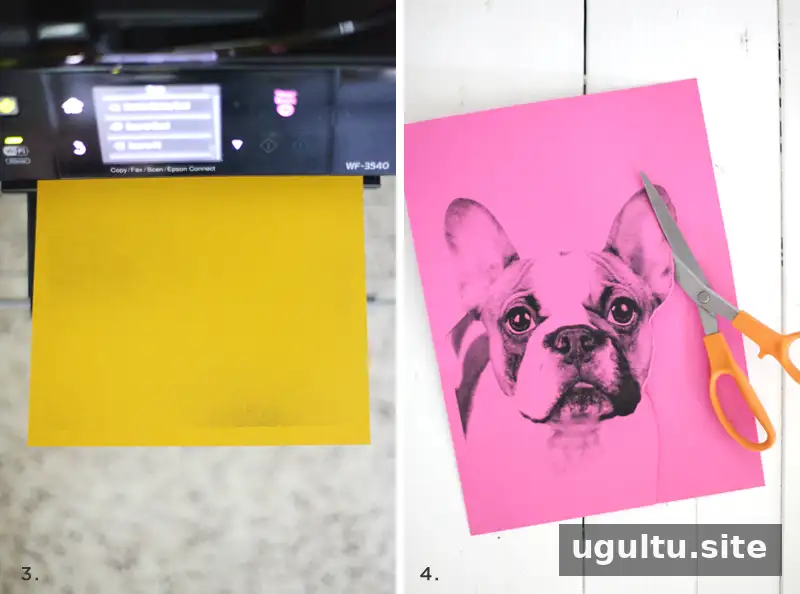
Print the 8 x 10 inch background texture image onto the contrasting sheet of cardstock. Choose colors that stand out from the pet image while still working well together.
4. Trim the portrait
Cut around the printed pet image, leaving a small border of cardstock around its edges. This border helps separate the portrait from the background and gives the composition a neat finish.
5. Attach the portrait to the background
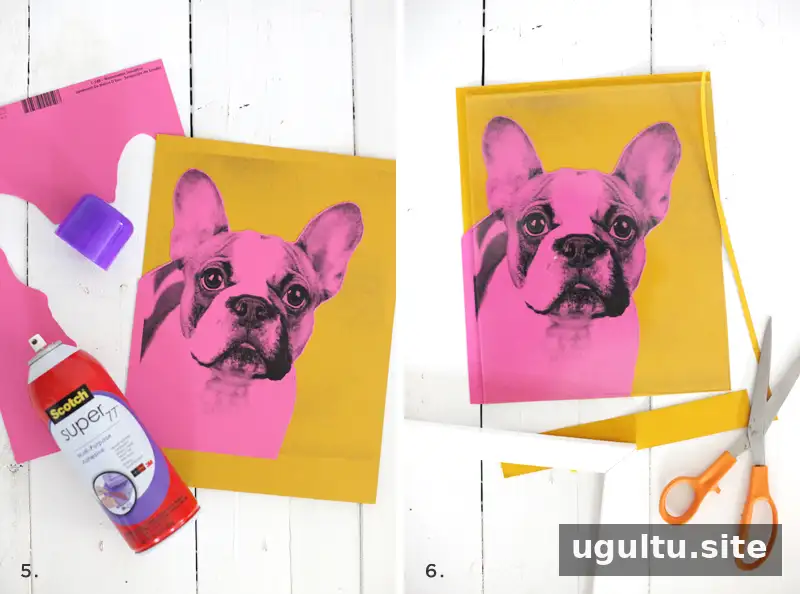
Apply spray adhesive to the back of the trimmed portrait according to the product instructions. Position it on the textured background, then press it down gently and evenly. Check the placement before attaching it, since repositioning may be difficult once the adhesive has set.
6. Trim and frame your artwork
Use the frame glass as a guide to mark where to trim the excess background cardstock. Leave enough of the texture visible around the portrait to create a border when the art is placed in the frame. Fit the finished piece into the 8 x 10 inch frame.
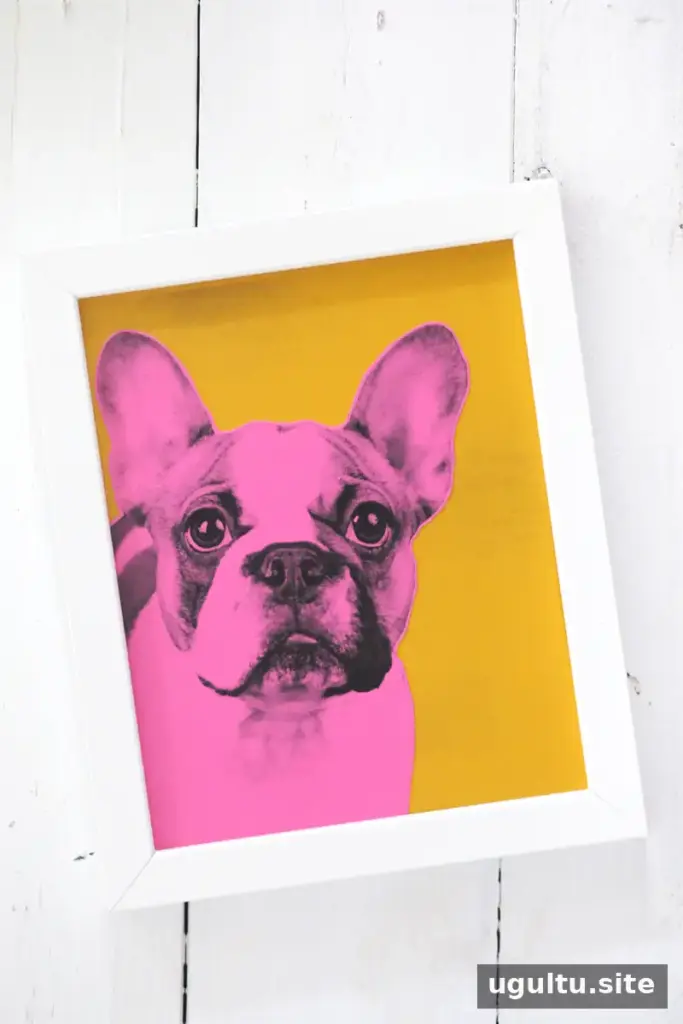
Finishing Touches
Look at the artwork from a short distance before framing it. If the portrait feels crowded, repositioning the cut-out before gluing—or leaving a wider background border—can help balance the design. Keep the finished piece away from moisture and direct sunlight to help preserve the paper and colors.
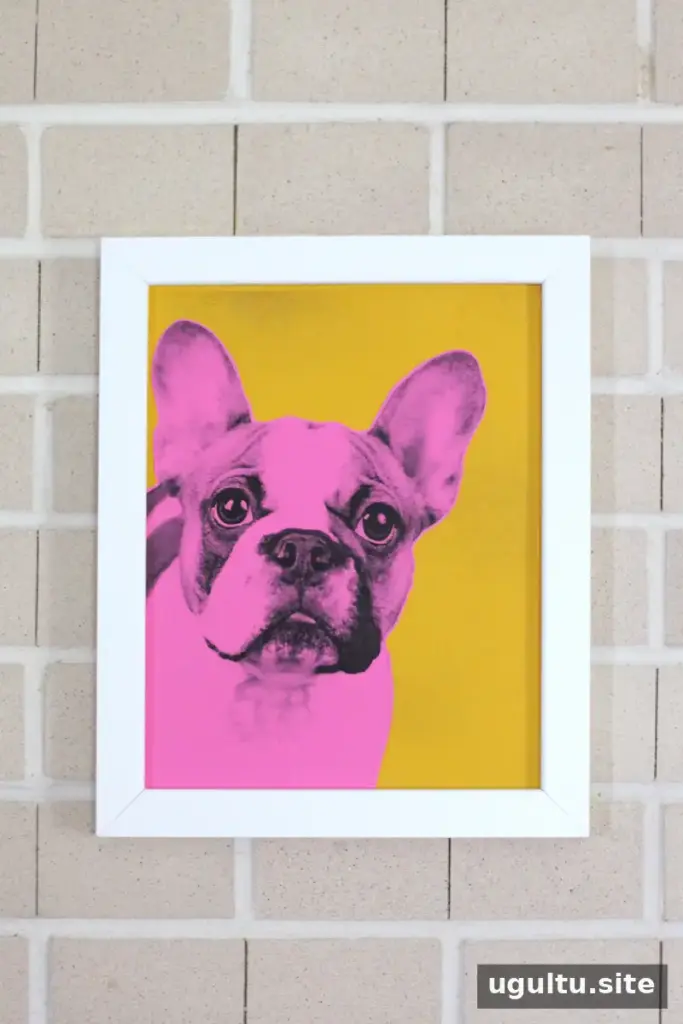
Project instructions by Mandi. The dog photograph used for the project was taken by Ashleigh Harris for her Dogs and Babies series.