
 admin
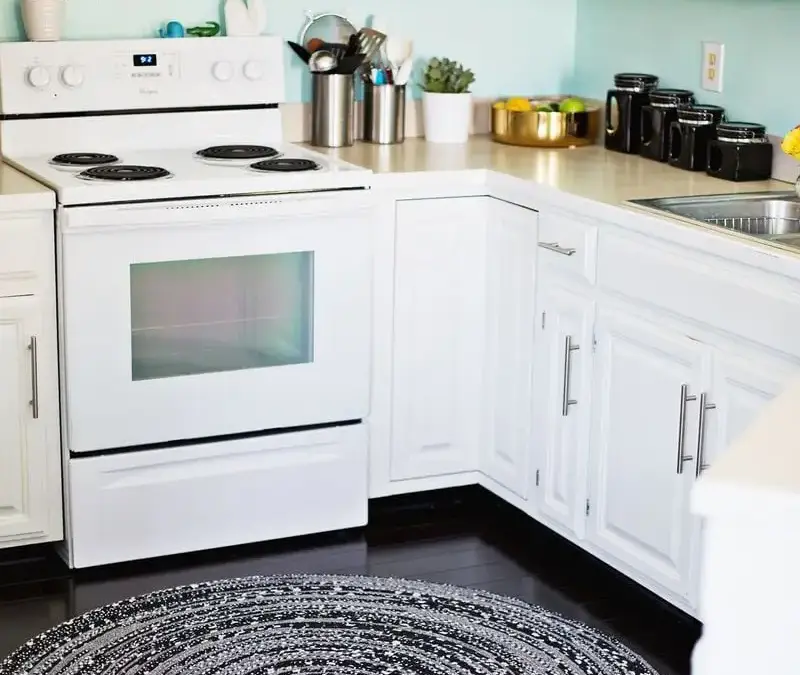
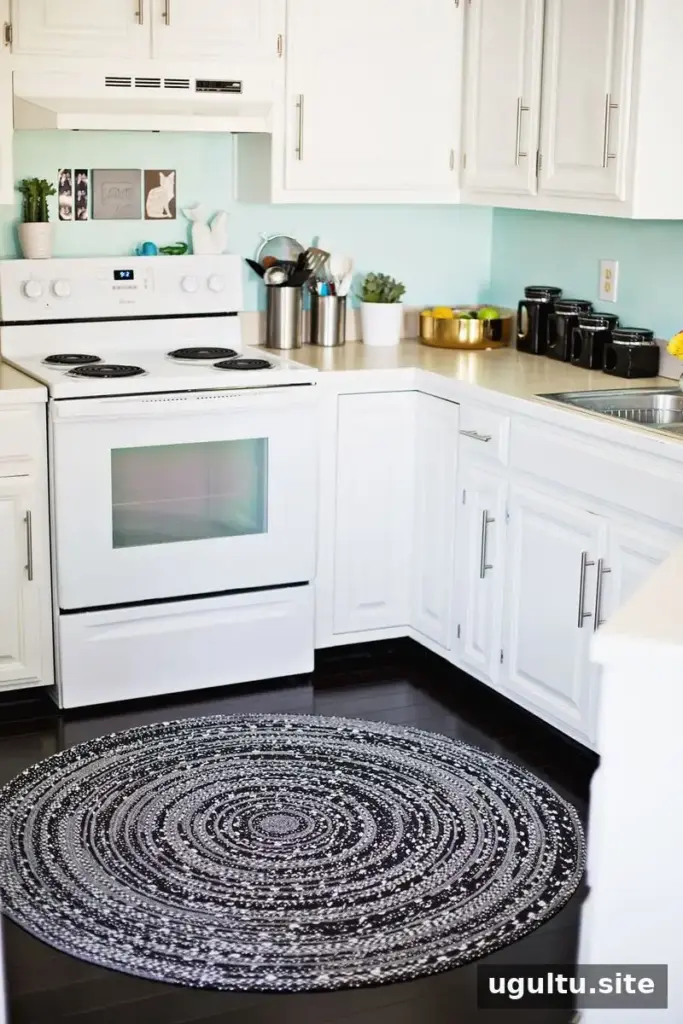
A DIY rope rug is a practical way to turn clothesline and fabric scraps into a colorful, custom-sized floor covering. The process involves wrapping the rope in fabric, sewing it, and joining it into a flat spiral with a sewing machine. Work in manageable sections and keep the rope relaxed as you stitch to help the finished rug lie flat.
Materials for a DIY Rope Rug
Gather these supplies before you begin. Preparing the fabric strips in advance makes it easier to keep the sewing process moving.
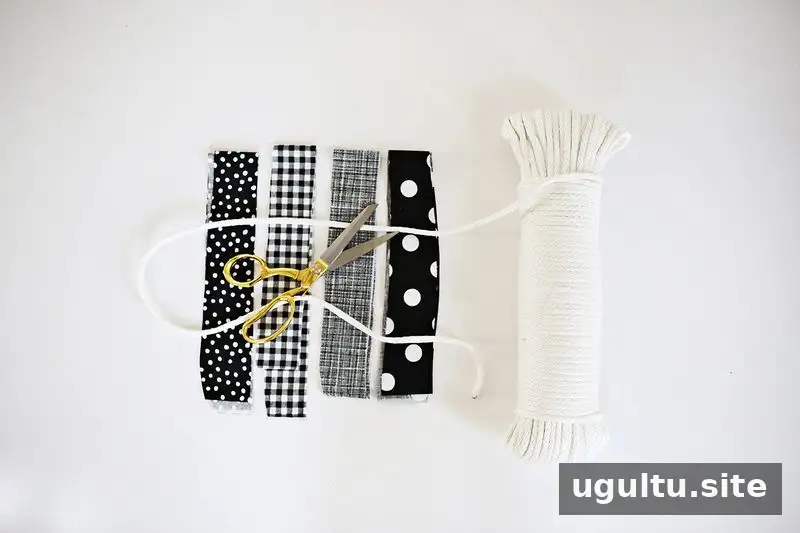
- ¼-inch clothesline
- Fabric scissors
- Fabric cut into 2-inch-wide strips; the project used four patterns and 9 yards of fabric in total
- A standard sewing machine
- A heavy sewing-machine needle, such as a jeans needle
Wrap and Sew the Clothesline
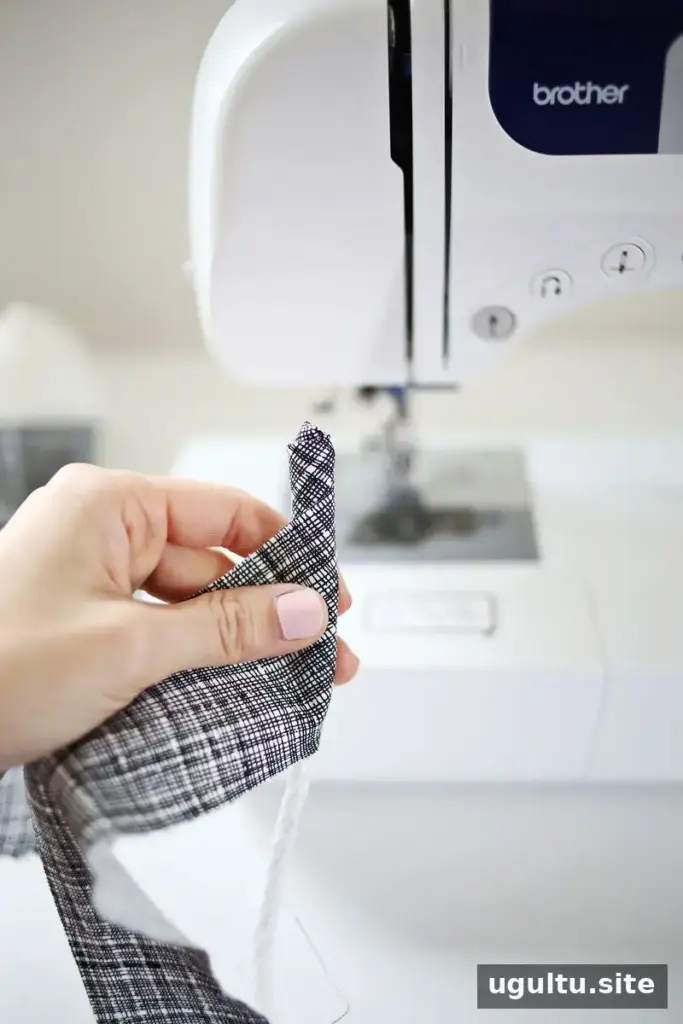
Cover the tip of the clothesline with the end of a fabric strip. Begin wrapping in whichever direction feels comfortable, keeping the rope covered. Sew straight along the wrapped section for a few inches to secure the fabric. A heavy needle is recommended because the machine will stitch through both the rope and fabric.
Continue wrapping at a slight angle so the fabric advances along the clothesline instead of layering in one spot. After wrapping about a foot, sew along the center of the rope to secure the fabric. A long stitch length can help as you sew through the thicker material. Repeat until you have 10–15 feet of wrapped and stitched rope.
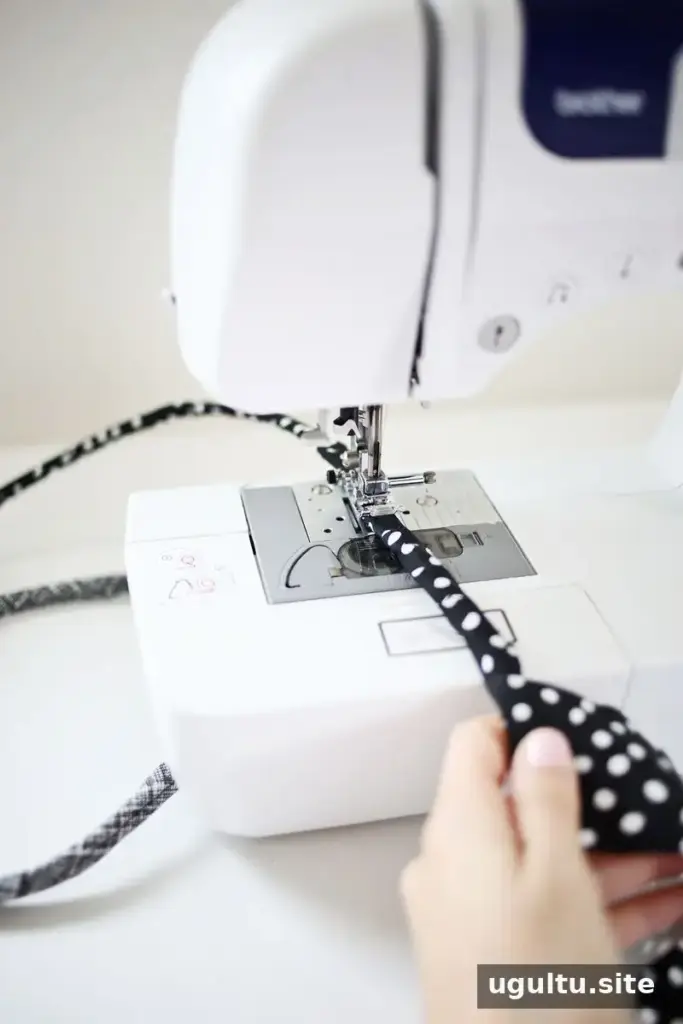
When a fabric strip ends, overlap the start of the next strip over its end so the clothesline remains covered. Alternate the patterns as you work for an evenly varied look. To join two lengths of clothesline, place the new length beside the end of the first and wrap over the meeting point. Stitch through the joined area to hold them together.
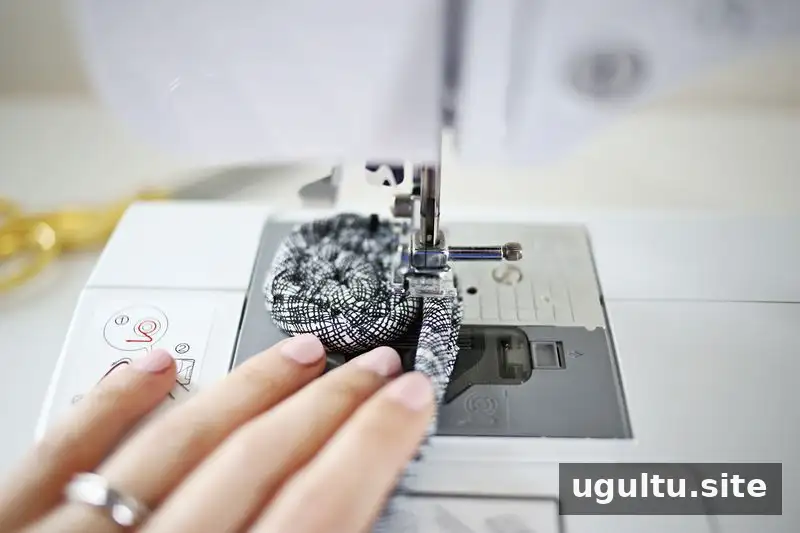
Coil the Rope and Build the Rug
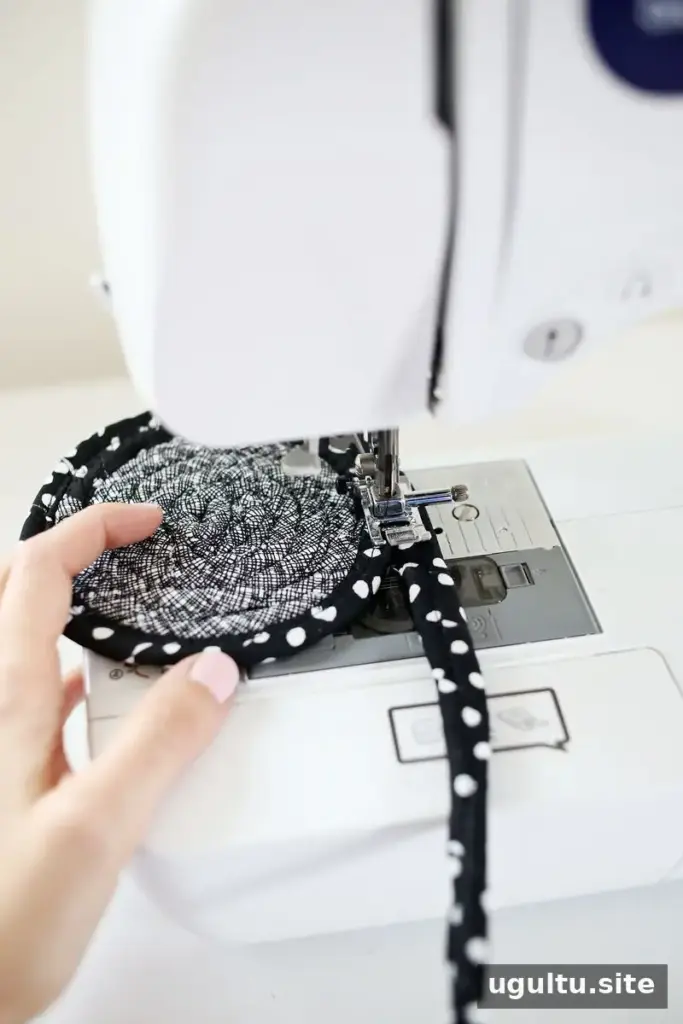
Make a small clockwise coil with the beginning of the wrapped rope. Once you have a complete circle, use a medium-to-long stitch length and the widest zigzag setting on your machine to join the neighboring rope sections. Turn the coil as you sew, keeping the rows side by side.
When you reach the end of the prepared rope, wrap and sew another 10–15-foot section, then attach it to the growing coil with the zigzag stitch. Continue in this way until the rug reaches your preferred size. Avoid pulling or pushing the rope as you sew; let it rest naturally beside the coil. Uneven tension can make the rug curl or ripple.
Keep the Rug Flat as It Grows
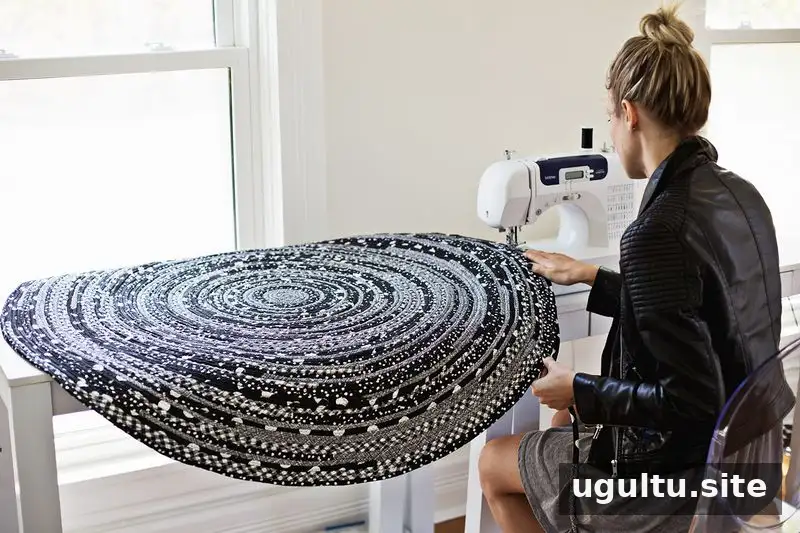
As the rug gets larger, it may no longer fit comfortably on the sewing-machine table. Add a stable side table or desk beside the machine so the rug has support and stays level with the machine surface. Adjust the height as needed; supporting the rug can help prevent it from bending upward like a bowl.
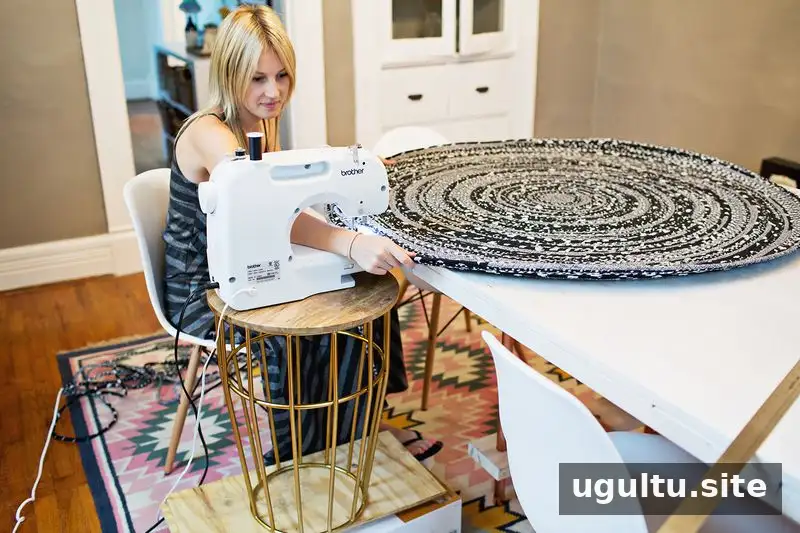
If the finished rug has slight waves, place it on top of carpet, mist it with water, and apply steam with an iron. Once the rug feels damp from the steam, set heavy books on the uneven areas and leave them in place while it dries. Check that the materials can tolerate steam and heat before using this method.
If the edges begin curling during construction, unpick the affected rows with a seam ripper and sew them again without pulling the rope tight. You can also test the steam-and-weight method before the rug is complete. If the waves remain, resewing the uneven section may be necessary.
Finish the Rug
Wrap the final rope tip with a fabric strip, covering the end, and sew along the middle of the wrapped section to secure it. Tuck the tail underneath the rug and use the zigzag stitch to sew it in place so the finish is held securely and the end is hidden.

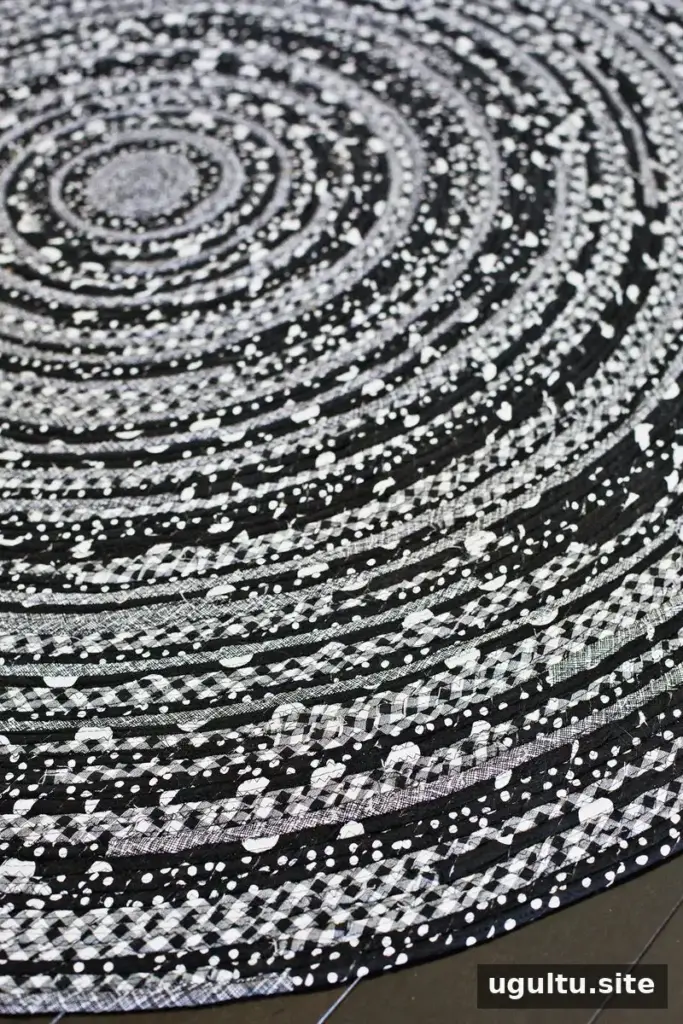

Size and Time Estimate
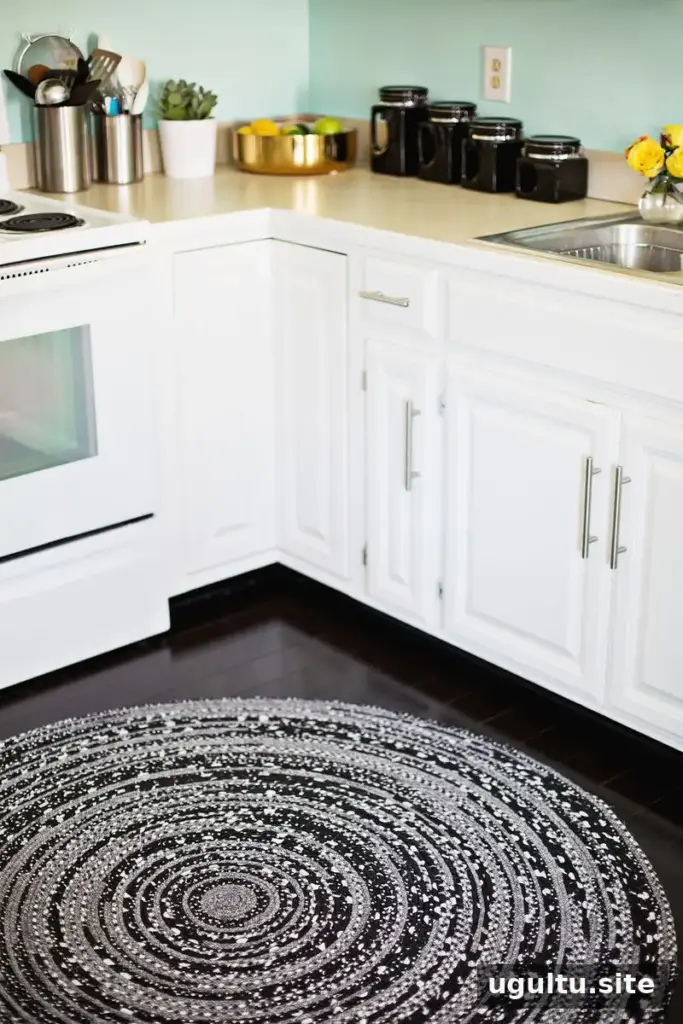
The completed rug measured 55 inches across. The time required depends on the finished size: the project took 6 hours for a 30-inch rug, 10 hours for a 38-inch rug, 14 hours for a 47-inch rug, and 17 hours for a 55-inch rug. A small coil grows quickly because each round is short, while the stitching takes longer as the rug’s circumference increases.
This is a project that can be completed in stages, especially when making a larger rug. Use a nonslip rug pad underneath when placing it on the floor.
Project by: Laura. Preparation assistance: Alex.
Conclusion
This DIY rope rug uses simple materials and a repeated wrap-and-sew method to create a floor covering in a size and fabric combination of your choice. Keep the rope relaxed, support the rug as it grows, and correct any curling early for a flatter result.


