
 admin
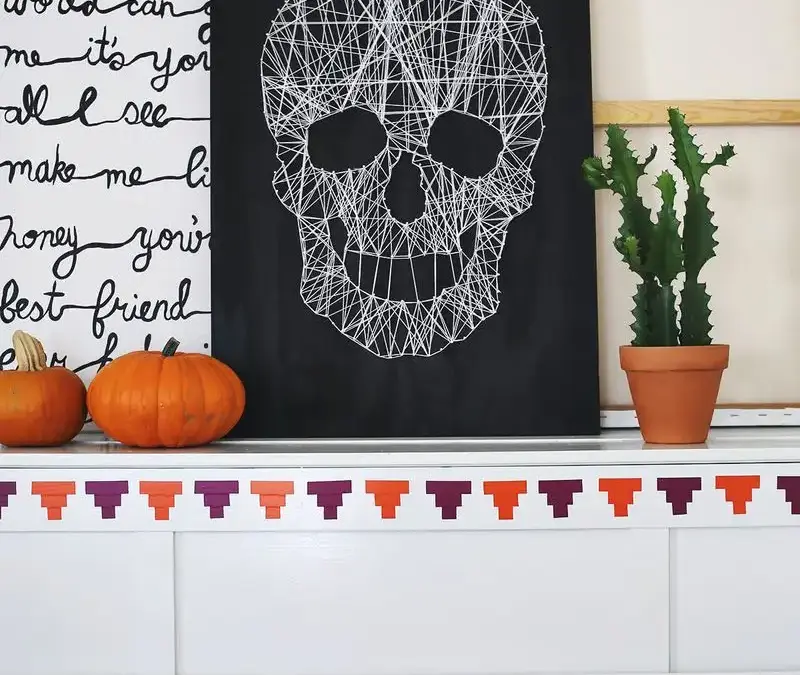
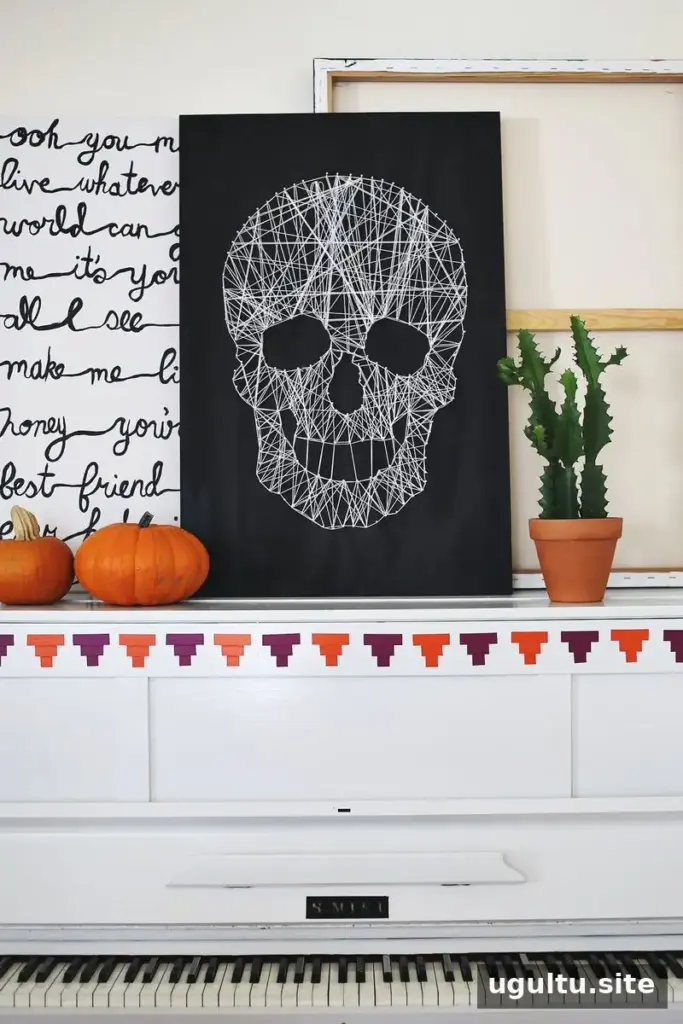
Skull string art makes a striking seasonal decoration and can be customized to suit your space. This large design measures 2 × 3 feet, making it a statement piece for a dining room, entryway, or other wall. The project uses a painted wooden board, nails, and string to form a skull outline and fill its features. Plan for enough room to work safely, and allow the paint to dry fully before adding the nails.
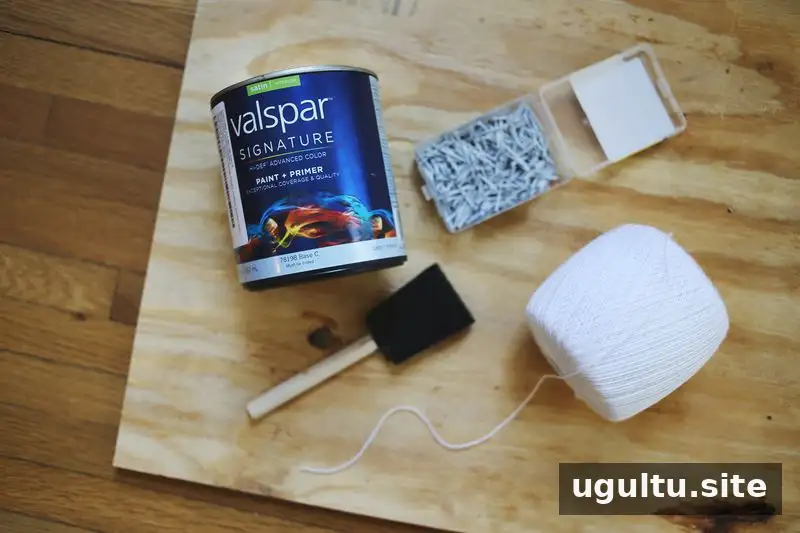
Supplies: one 2 × 3-foot piece of wood about ½ inch thick, white nails, black paint, white string, a hammer, a printed skull template, tape, and a highlighter.
How to Make Skull String Art
1. Paint and prepare the board
Paint the wood black and leave it until completely dry. A fully dry surface helps prevent smudges while you position the template and work with the string. Place the board on a stable, protected surface before hammering.
2. Print and position the skull template
Print a skull image to use as a guide. The template used for this project has a skull about 18 inches wide at its broadest point. A slightly pixelated print is fine because you mainly need its overall shape and the placement of the eyes, nose, and mouth. Tape the template onto the painted board so it stays in place while you mark the nail positions.
3. Mark where the nails will go
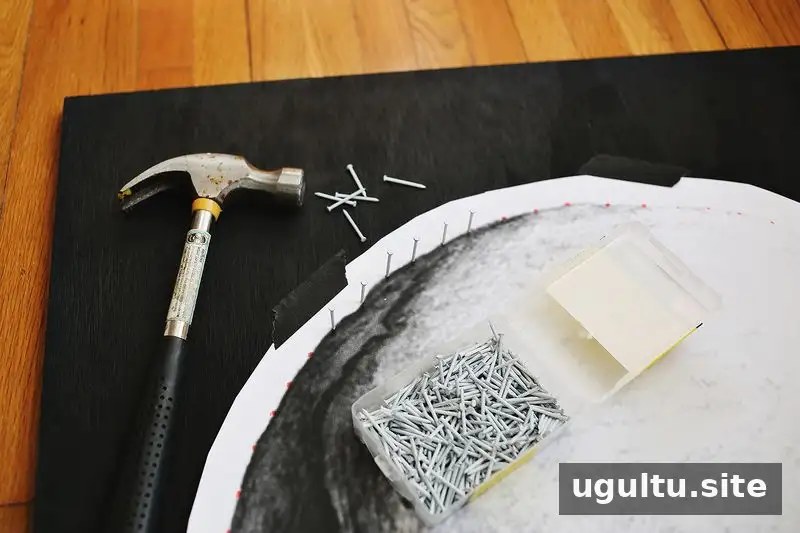
Use a highlighter to mark nail locations along the skull’s outer edge and around the eyes, nose, and mouth. Space the marks about one inch apart. Add a mark wherever the outline changes direction so the finished shape follows the template clearly. Keeping the spacing fairly even also makes it easier to weave the string later.
4. Hammer in the nails
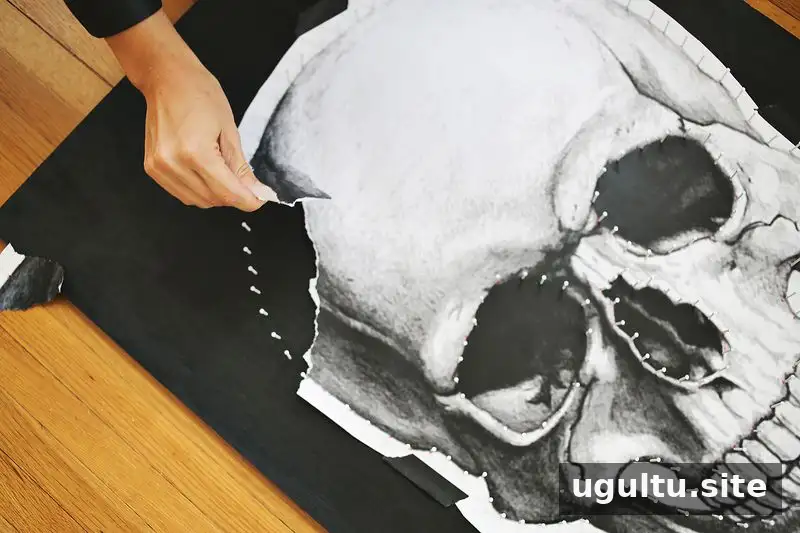
Carefully hammer a nail into each marked spot. Avoid driving the nails all the way through the board; check their depth as you work. Once the outline is complete, remove the paper template from beneath the nails. If a nail feels loose, adjust it gently before starting the string.
5. Outline the skull features
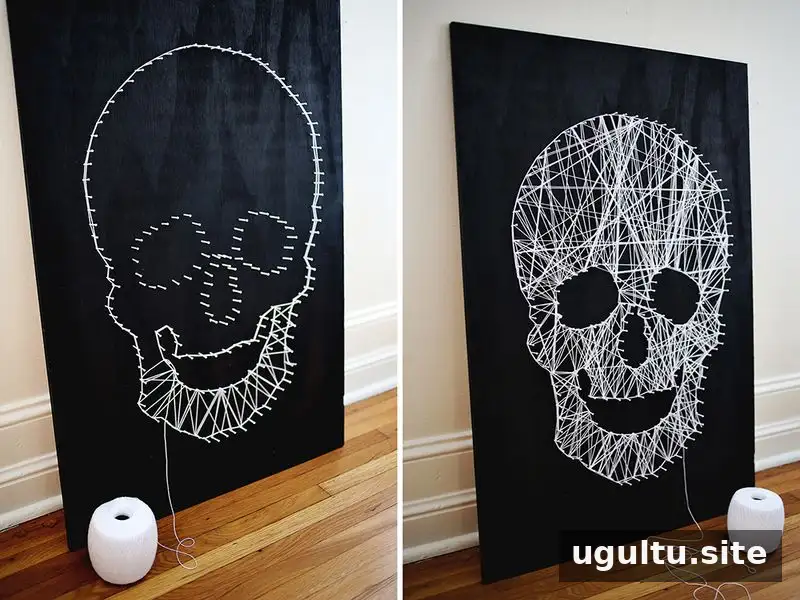
Tie the white string to a nail along the outside of the skull. Guide it from nail to nail to trace the head outline twice, then repeat the process around the eyes, nose, and mouth. Keep the string snug, but do not pull so hard that it shifts or loosens the nails.
6. Fill the design with string
Starting at the bottom of the skull, weave the string between the nails in a zigzag pattern until the area looks filled. Change direction regularly and include both horizontal and vertical strands to create a dense, web-like effect. Work gradually rather than trying to cover a large area in one pass.
Repeat the weaving process across the middle third of the skull, then fill the top third. Pause occasionally to check that the string is evenly distributed and that the skull’s features remain easy to distinguish.
7. Secure the end
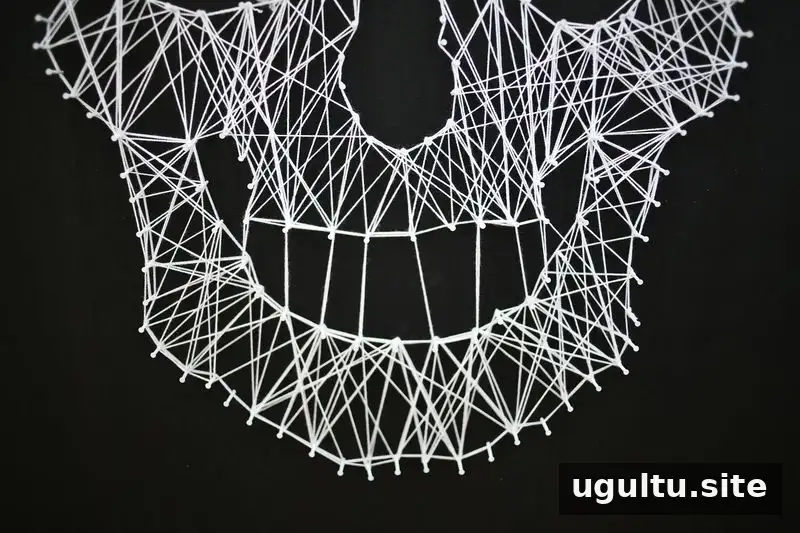
When the design is complete, tie the string securely to the nail where you finish. Trim any excess string close to the knot, taking care not to loosen the final strands.
Display and Store Your Skull String Art
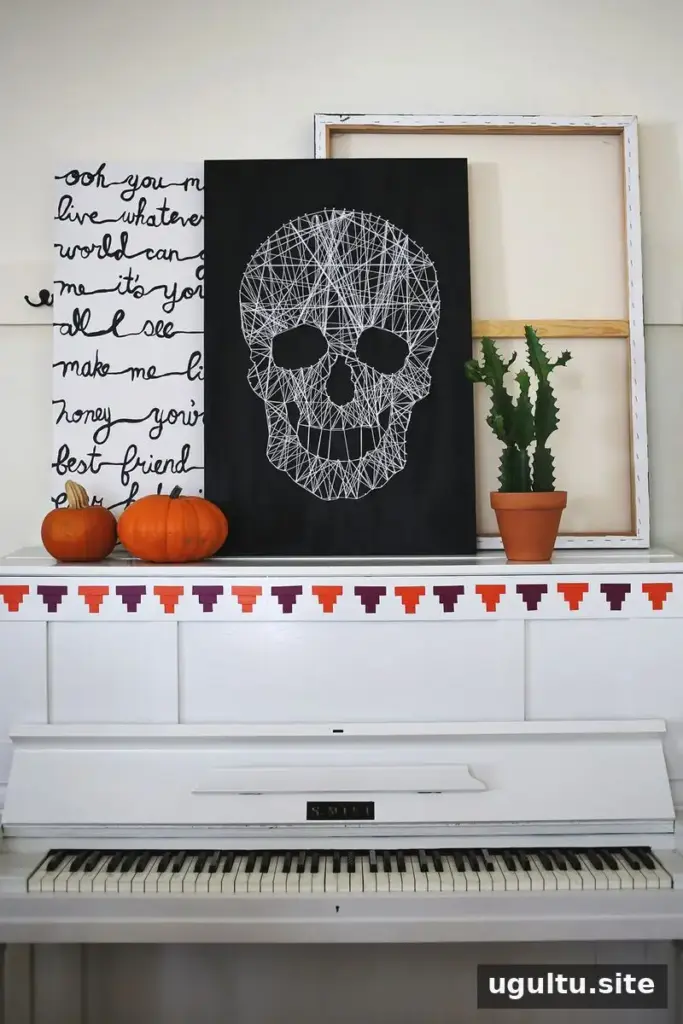
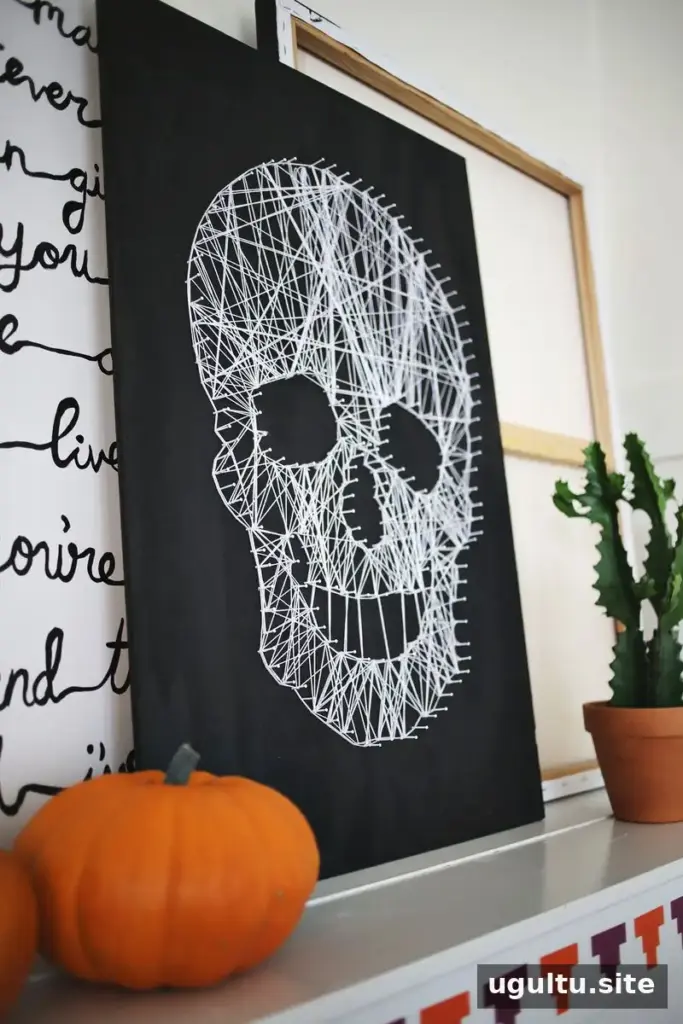
When the Halloween season is over, wrap the piece in craft paper and label it before storing it. This helps protect the strings from snagging or breaking and makes the decoration easier to locate next year. Store it somewhere dry, and avoid placing heavy objects on top of it.
Tips for a Neat, Safe Project
- Use a stable work surface and keep fingers clear of the hammering area.
- Check the board’s thickness and nail length so the nails do not emerge from the back.
- Keep the template, nails, and string organized before you begin; this makes the process easier to follow.
- If the finished piece will be hung on a wall, choose suitable hanging hardware for its size and weight.
With a clear template and evenly spaced nails, skull string art is a manageable way to make a large Halloween decoration by hand. Take your time with the outline and build up the woven sections gradually for a balanced result.
By Elsie


