
 admin
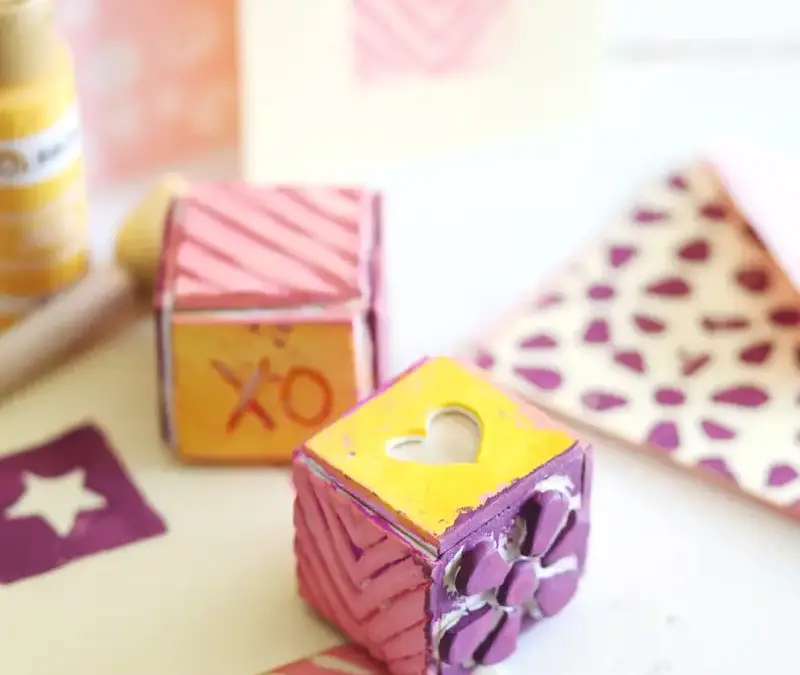
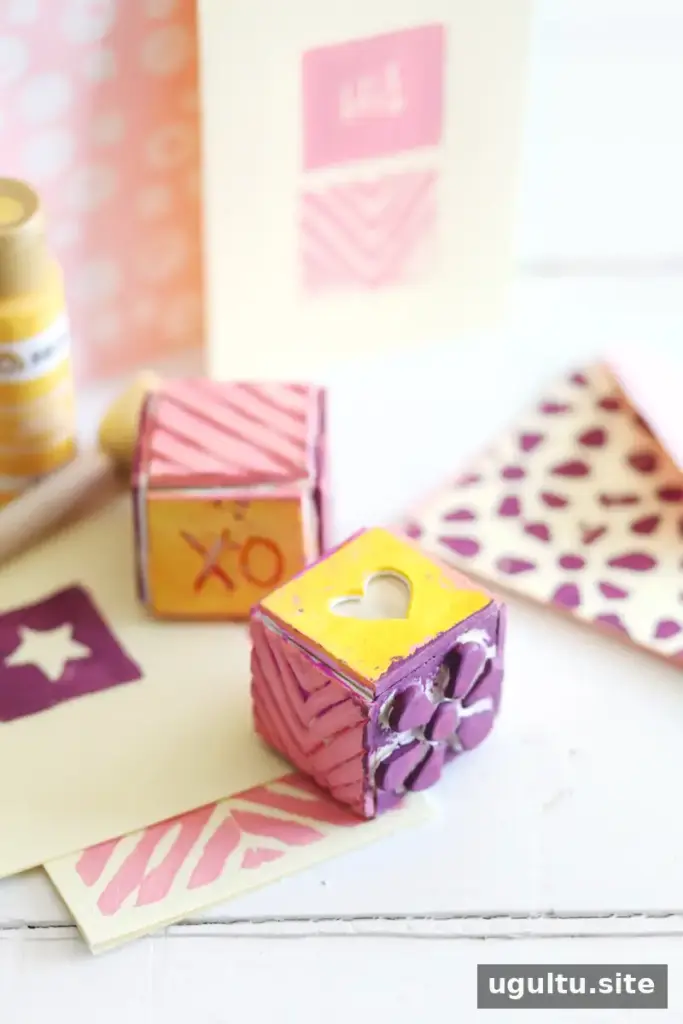
DIY stamp cubes are a simple way to create custom designs for greeting cards and notecards without needing a large collection of stamps. Each wooden cube can hold a different design on its sides, so a few compact blocks offer several options for decorating paper. Choose simple shapes, patterns, or lettering, then use acrylic paint to transfer your finished stamps onto cards.
Supplies and tools for DIY stamp cubes
Gather the materials and tools before shaping the clay. Keeping the work area organized makes it easier to cut consistent designs and move them safely to the oven.
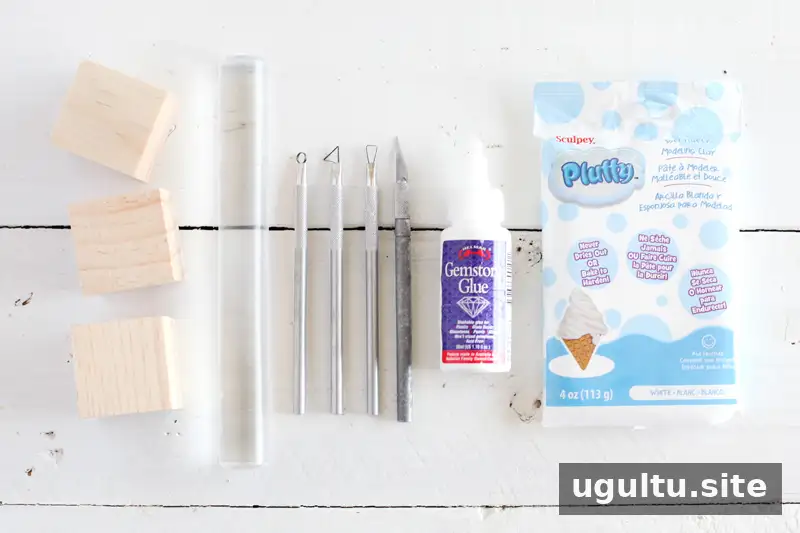
- Wooden cube or cubes; the size and quantity are up to you
- Lightweight polymer clay, such as Pluffy clay
- Waterproof adhesive
- Rolling pin
- Craft blade and carving tools
- Baking sheet and oven
- Pencil, optional
- Parchment paper, optional
How to make DIY stamp cubes
1. Shape and carve the clay
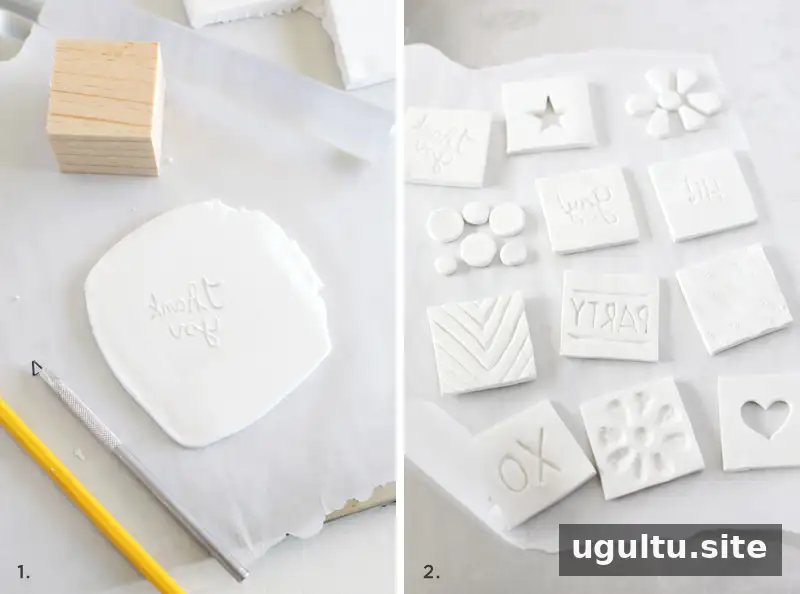
Roll the clay evenly to about 1/8 inch thick. An even thickness helps the stamp faces bake flat and gives the designs a consistent surface. Draw or transfer a design onto the clay, then carve it with your tools. For lettering, make the design in reverse so it prints in the correct direction. A graphite transfer can help with more detailed designs: trace a mirrored version of the artwork onto the clay.
2. Cut and bake the stamp faces
Press the cube’s edges into the clay to mark pieces that fit its sides, then trim them out. Arrange the designs on a baking sheet. Bake for 10 minutes at 275°F, placing a second baking sheet on top to help keep the clay flat. Allow the pieces to cool before handling or attaching them. Follow the clay package directions if they differ from these baking details.
3. Attach the designs to the cube
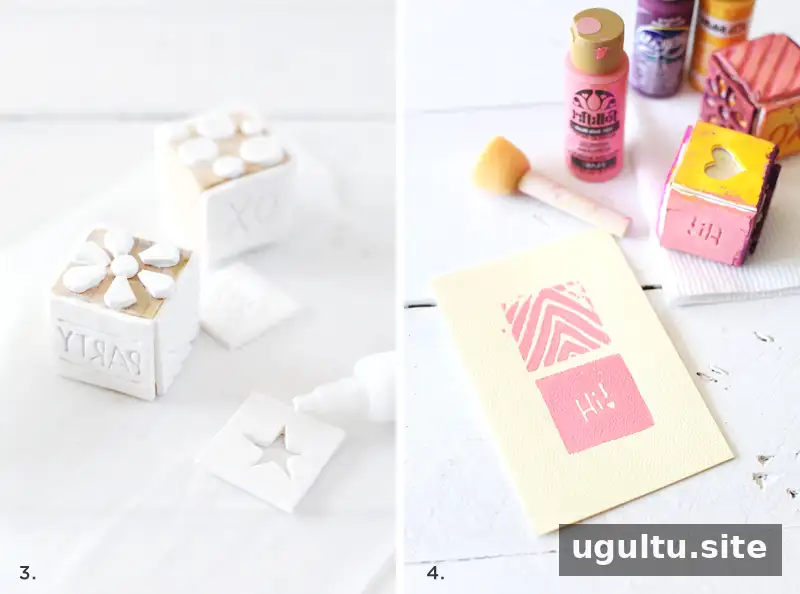
Use waterproof adhesive to secure each cooled clay design to a side of the wooden cube. Let the adhesive set according to its label before using the stamp. This helps keep the stamp face in place during printing.
4. Stamp cards with acrylic paint
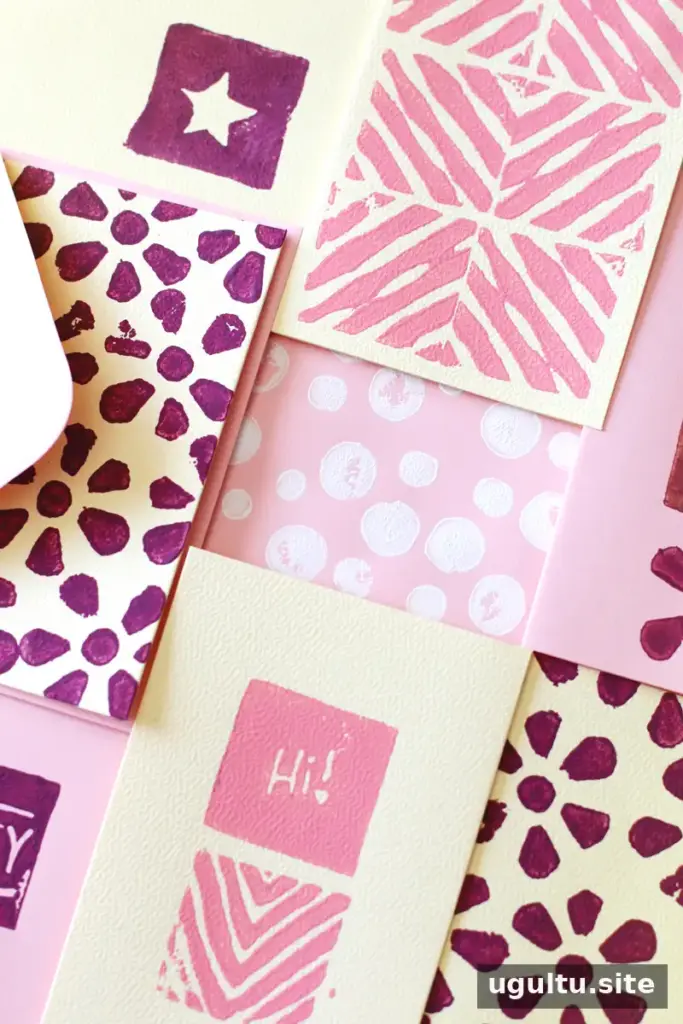
Apply acrylic paint to the finished stamp with a foam dabber. Use a light, even layer so paint reaches the raised design without filling in small details. Place the card or paper on a padded surface, such as foam, a towel, or several stacked paper towels. The cushioning can help the design make more even contact with the paper.
Ideas for customizing your stamps
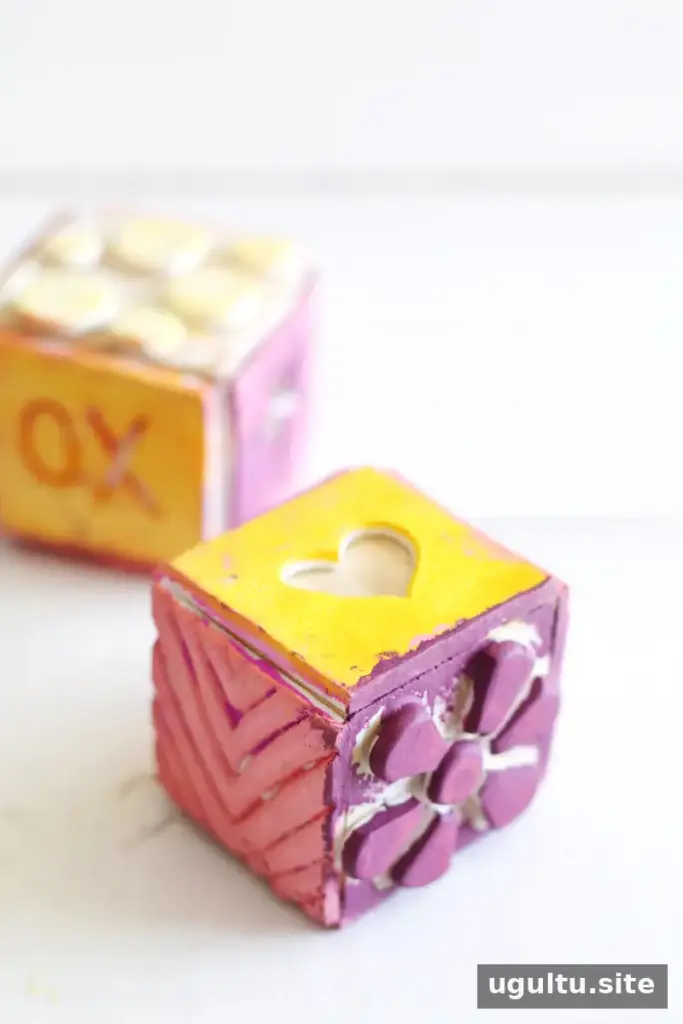
Use different sides of a cube for coordinating motifs, or make separate cubes for shapes, borders, and short phrases. Simple designs are often easier to carve and print clearly, especially when working with small stamp faces. Test each stamp on scrap paper first to check the paint coverage and alignment before decorating a finished card.
DIY stamp cubes can be adapted to many card-making styles, from playful shapes to quote bubbles. Choose designs that suit the occasion and keep the finished cubes together for easy storage. –Mandi


