admin
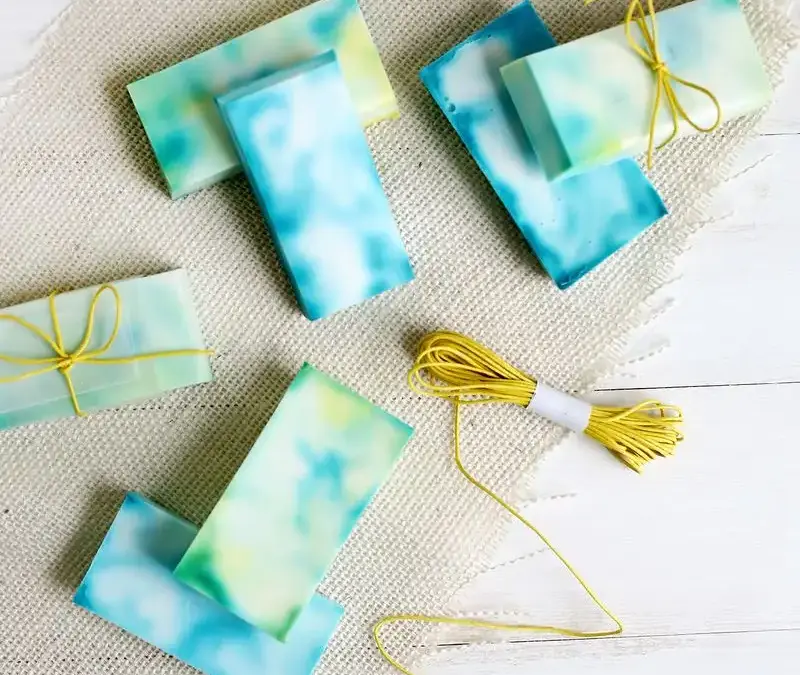
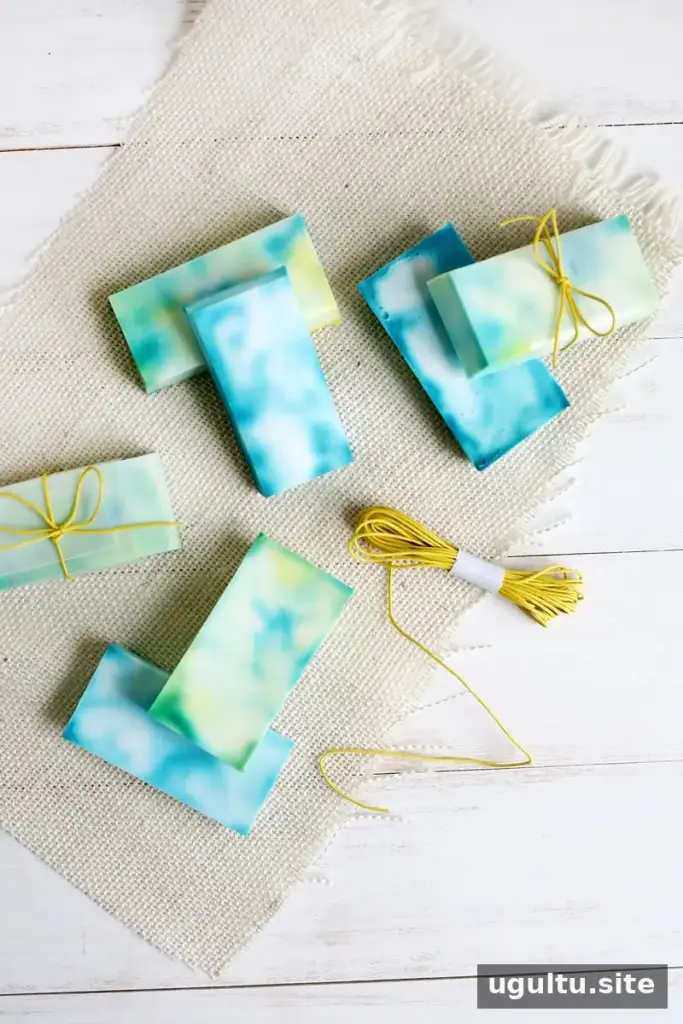
Making tie dye soap at home is a straightforward craft project, even if you are new to soap making. With a white melt-and-pour base, soap dye, and a few basic tools, you can create colorful bars for your bathroom or handmade gifts. The swirled pattern can vary from bar to bar, so each one will have its own look.
Supplies for tie dye soap
Gather everything before melting the soap. Having the mold and color ready helps you work while the base is still pourable.
What you’ll need:
- White melt-and-pour soap
- A microwave-safe container with a pouring spout
- Essential oil of your choice
- Soap dye
- A soap thermometer
- A plastic soap mold
- Popsicle sticks for stirring
- A spray bottle filled with rubbing alcohol
Choose a dye intended for soap, and use an essential oil suitable for skin according to its label. Keep the work area and tools clean, and check the soap base instructions before starting.
How to make tie dye soap
1. Melt the soap base
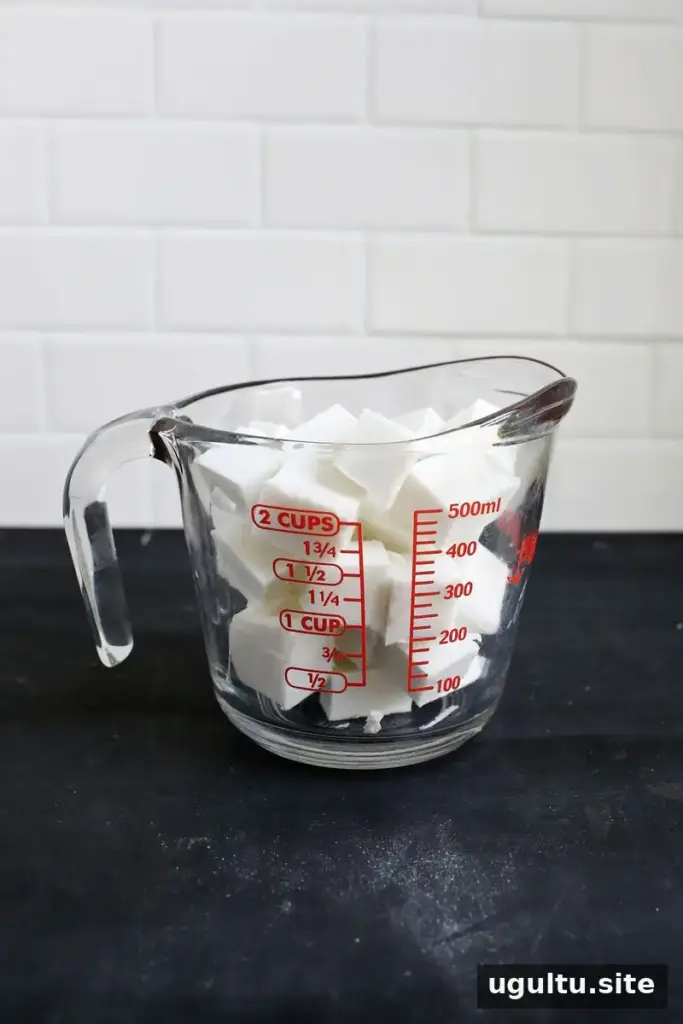
Cut the melt-and-pour soap into 1/2-inch cubes with a sharp knife. Measure 2 cups into the microwave-safe container. Heat in 30-second intervals, stirring after each one. Continue until the soap is fully melted and smooth. Short heating intervals help prevent overheating.
2. Add fragrance and prepare the color
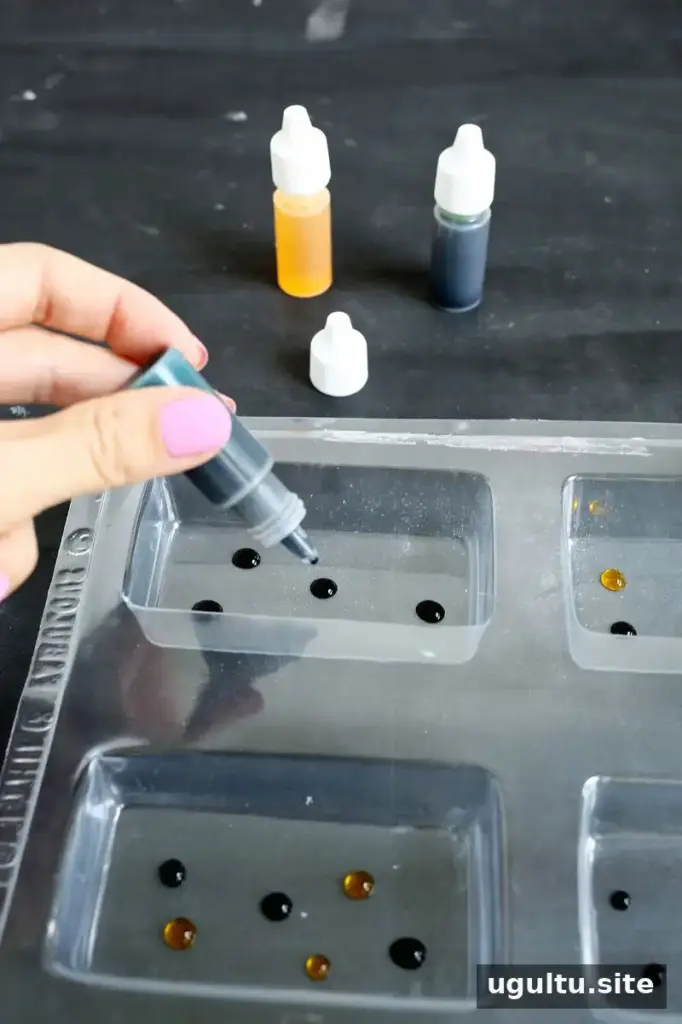
Let the melted soap cool until it reaches 145°, checking the temperature with a soap thermometer. Add your desired amount of essential oil and stir until evenly combined. Use the dye droppers to place small dots of soap dye in the empty mold. If using more than one color, space the dots around the mold for a varied pattern.
3. Pour and swirl
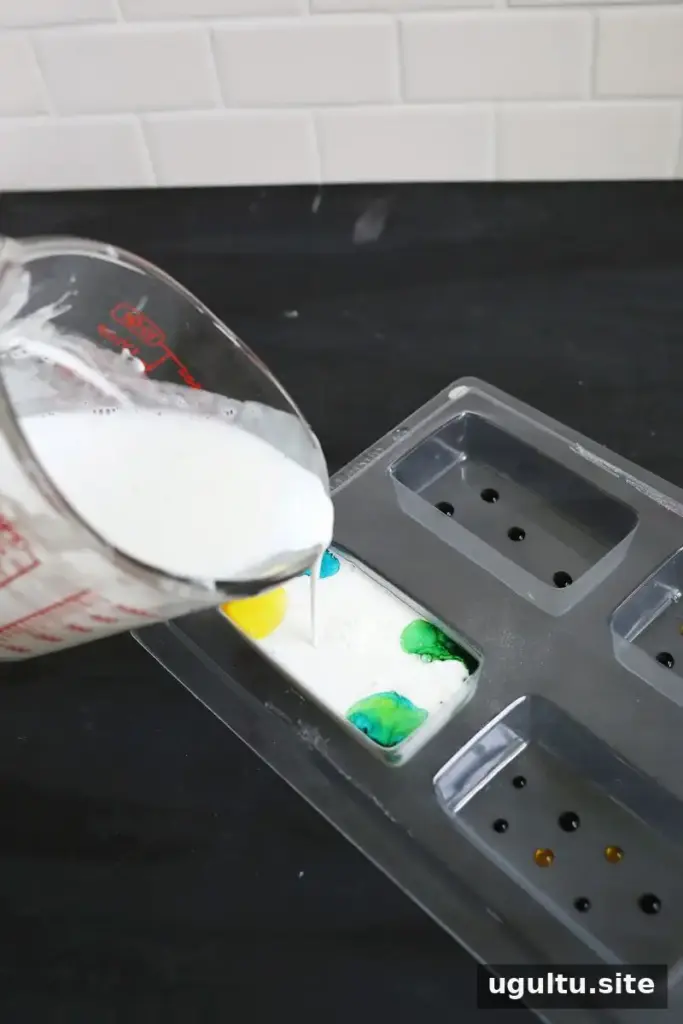
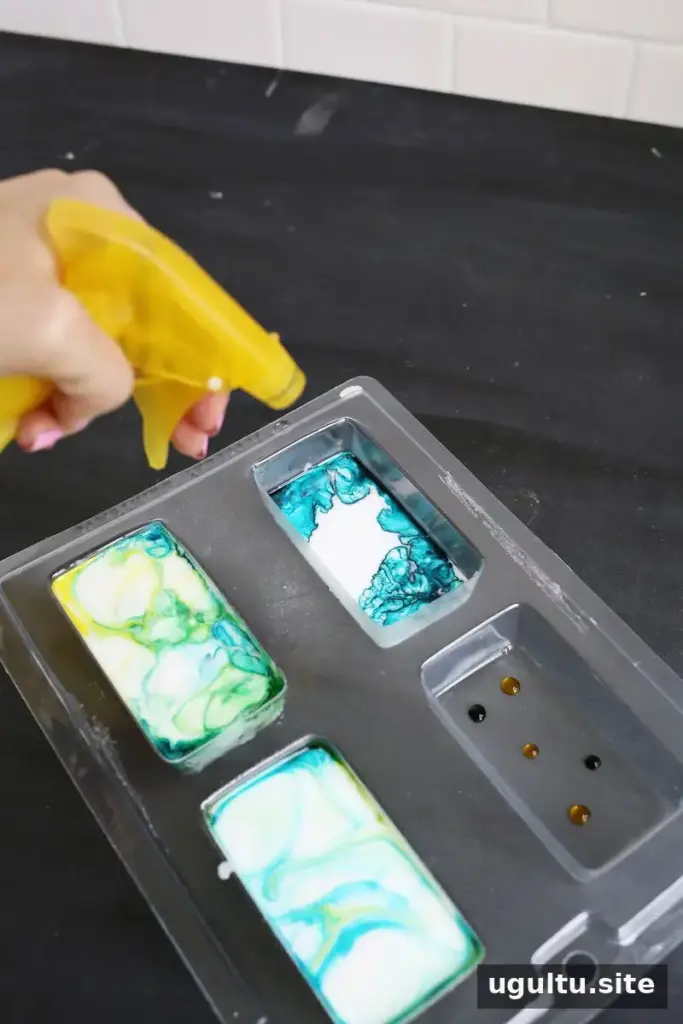
Pour the soap into the mold, stopping when each cavity is about halfway full. Lightly spray the surface with rubbing alcohol to help spread the color. Fill the mold, spray again, and use a popsicle stick to gently move the dye through the soap.
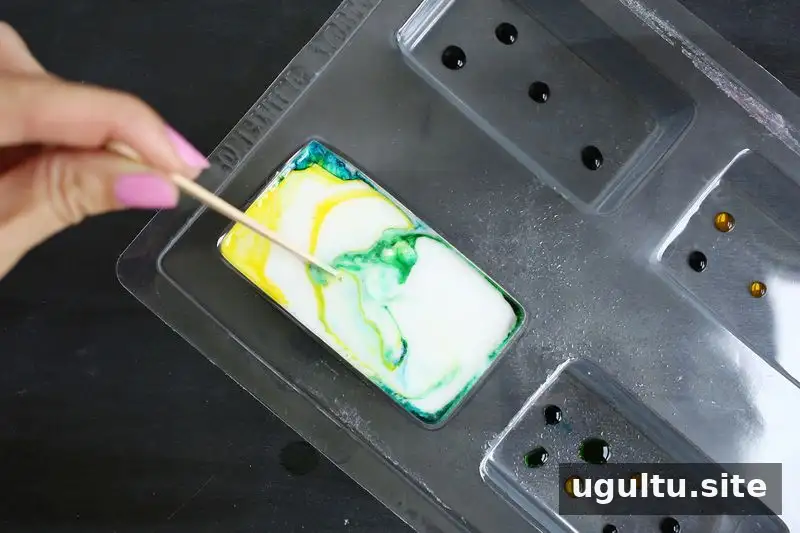
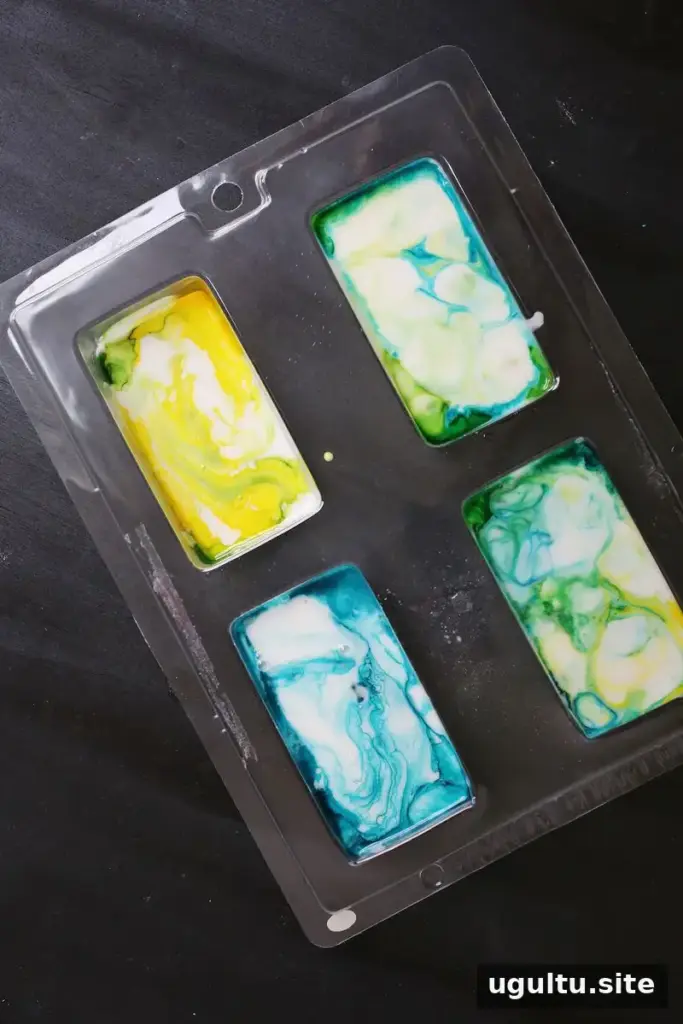
Keep swirling until you like the pattern. Use a light touch: too much stirring can blend the colors together instead of leaving distinct swirls. Set the mold aside and let the soap harden completely before removing the bars.
Finishing and troubleshooting
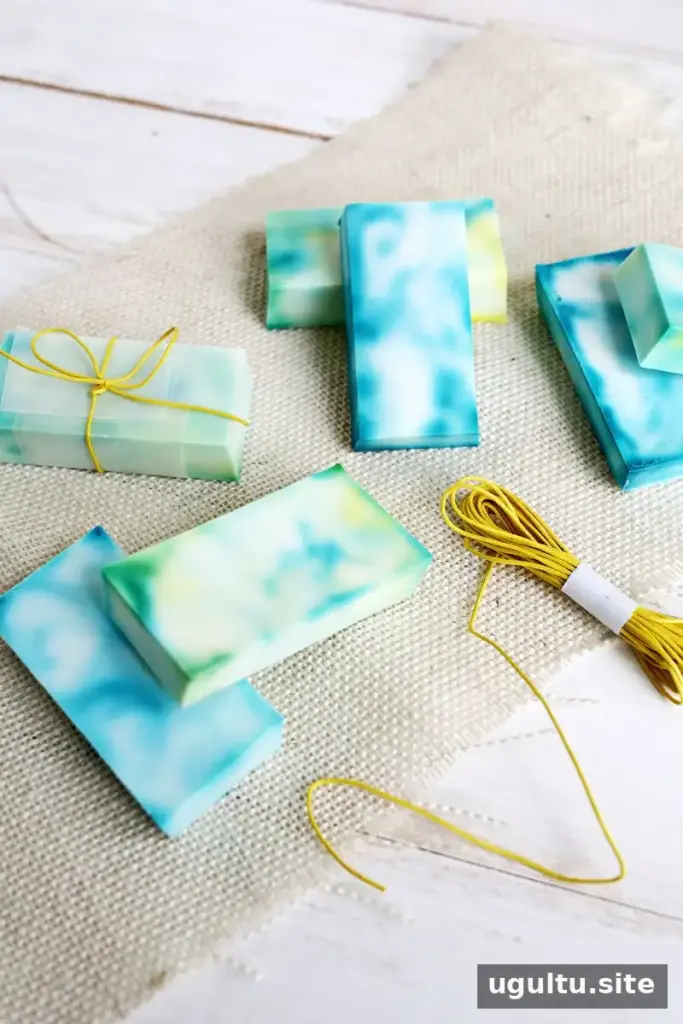
Marbled and tie dye effects can be unpredictable, even when you repeat the same process. If a color does not spread as expected, the bar is still usable; adjust the placement of the dye or the amount of swirling on your next batch. Trying different color combinations and mold shapes is an easy way to make each batch your own.
Once the soap is firm, gently pop it out of the mold. For a more handmade finish, trim uneven edges with a knife, taking care to cut away from your hands. Allow the bars to remain undisturbed until fully set, and store them in a dry place between uses so they do not sit in water.
Enjoy your handmade tie dye soap
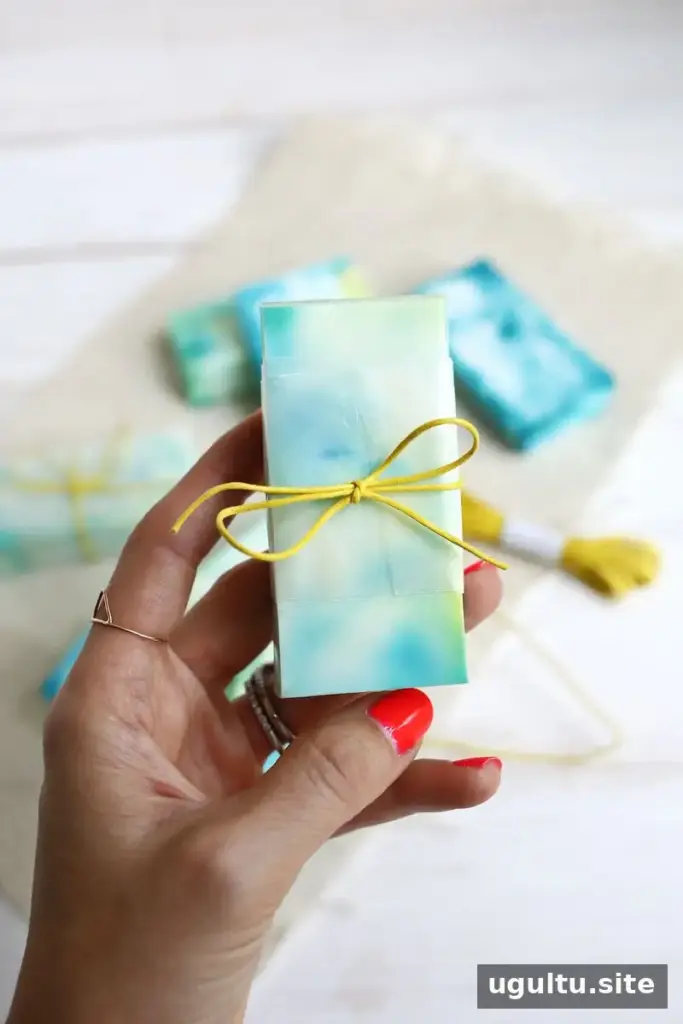
This simple method turns a melt-and-pour base into colorful tie dye soap without requiring specialized soap-making equipment. Make a few bars for everyday use or package them as gifts. — Laura