
 admin
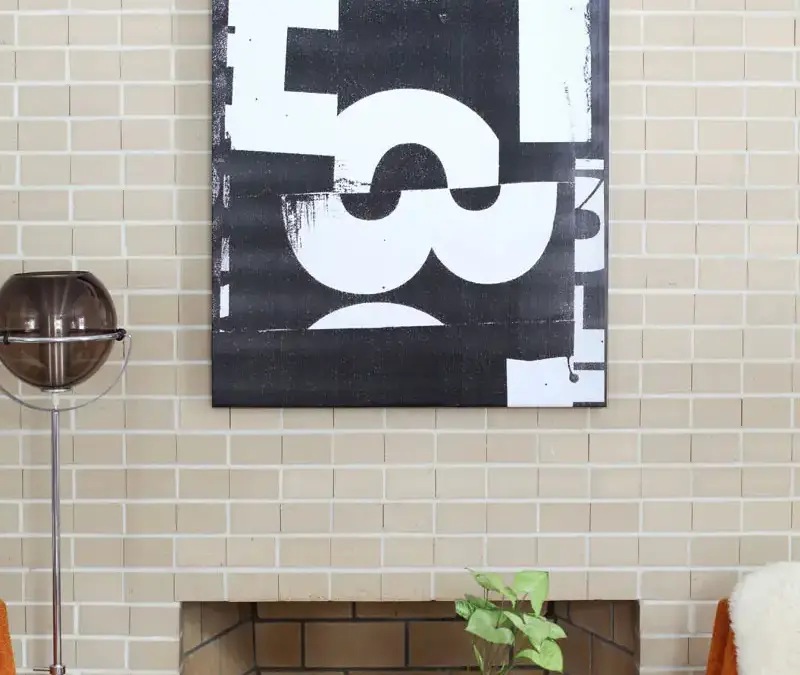
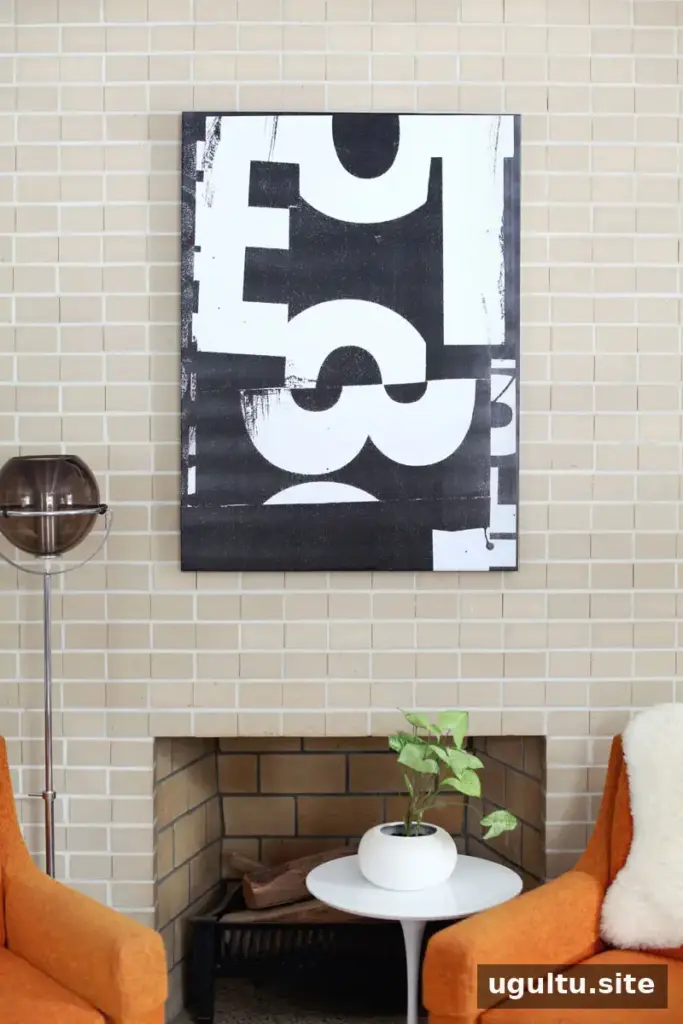
DIY typographic art is an approachable way to turn magazine lettering into a bold, custom piece for your home or art journal. The project, by Mandi, combines cut-out words, simple paint effects, and photocopy enlargement. You can freely adjust the layout and finish to suit your space, while a large-format copier makes it possible to scale a small original into a statement print.
Materials for DIY Typographic Art
Gather the following supplies before you begin. A clean work surface and a little extra paper for testing paint or adhesive can help keep the process manageable.
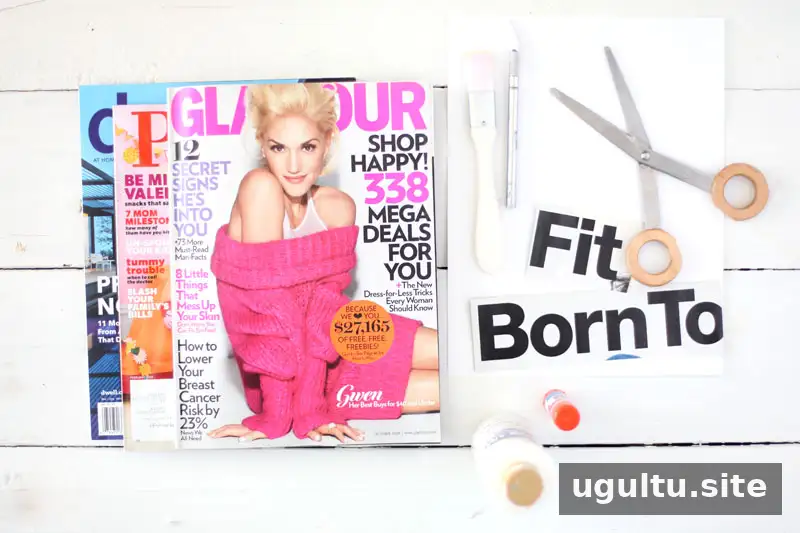
- Magazines
- Scissors or a craft knife
- Glue stick
- White paint and a paintbrush
- Access to a large-format copier
To mount the finished print on a canvas, also prepare permanent spray adhesive, a craft knife, and a canvas. The original project used a 30″ x 40″ canvas.
How to Make a Typographic Collage
1. Find and cut out bold lettering
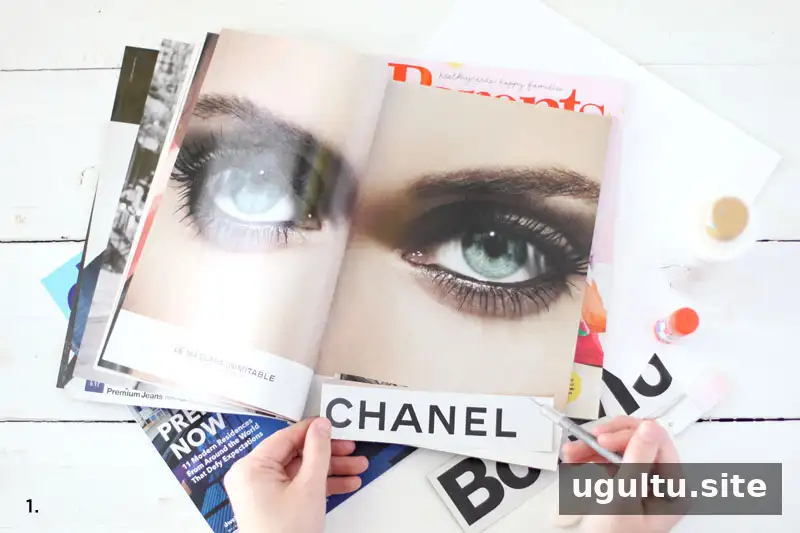
Look through magazines for large, eye-catching words and headings. Choose letters that are easy to read at a distance, and collect more options than you think you need. This gives you flexibility when arranging the composition.
2. Choose a type style and plan the layout
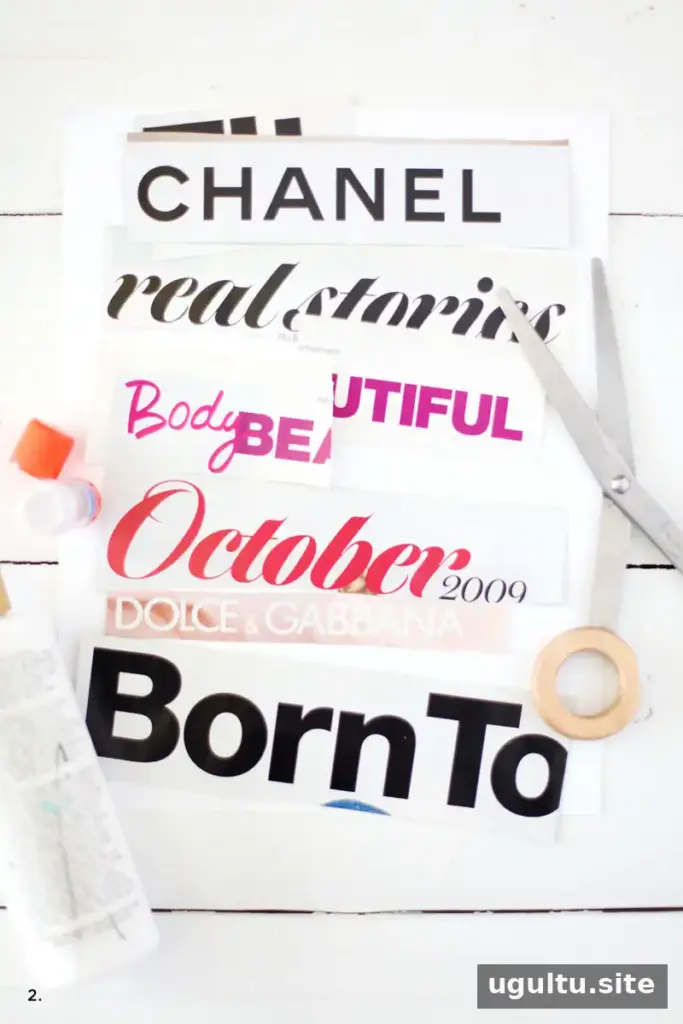
Spread out the clippings and decide which pieces work well together. For a cohesive look, try focusing on one general type style, such as sans serif, and vary the scale or weight of the letters. Before gluing anything down, test a few arrangements and consider how the design will look when enlarged.
3. Arrange and glue the clippings
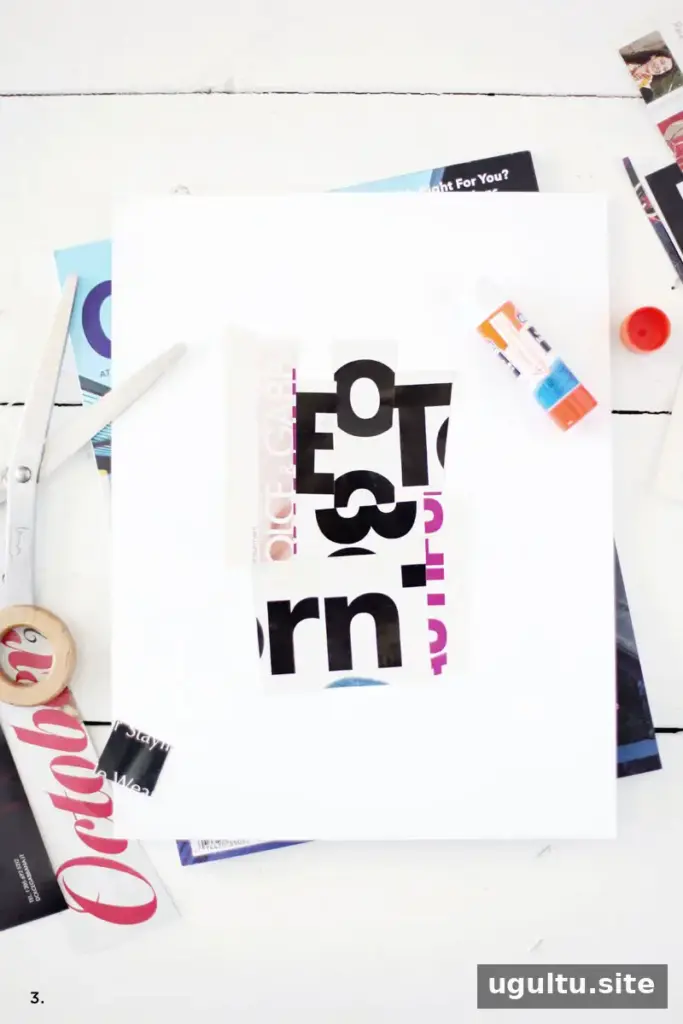
Cut the clippings into the shapes you need, then arrange them on paper. You can overlap words, leave open space, create a loose pattern, or keep the composition deliberately irregular. Once you are happy with the layout, secure the pieces with a glue stick.
4. Add a light paint effect
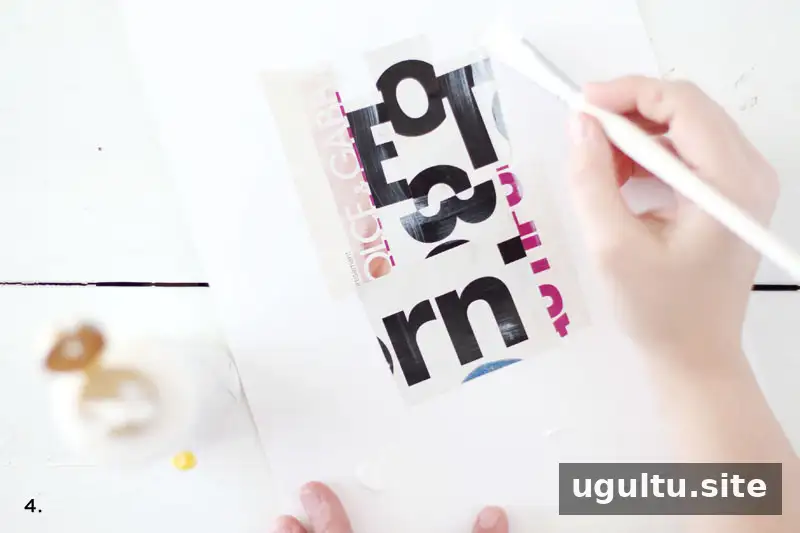
Dip a paintbrush in white paint and remove most of the paint before lightly brushing over the collage. A nearly dry brush creates a subtle, textured finish; gentle splatters are another option. Test the technique on scrap paper first so you can judge how much coverage you want.
Enlarge and Prepare the Print
5. Copy and scale the artwork
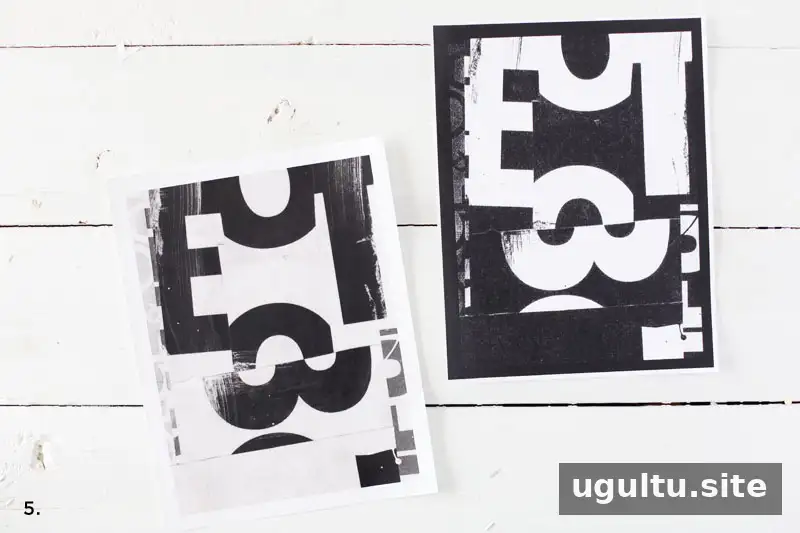
Take the finished collage to a copy center and choose a crop that suits your design. For the 30″ x 40″ canvas, the original artwork was first resized to 7.5″ x 10″. The colors were then inverted using the copier’s negative setting, and the image was enlarged to 400% on a large-format copier.
Inverting the smaller copy before the large-format enlargement also preserved an extra black border around the image for mounting. If you do not want a negative effect, skip the inversion step and enlarge the artwork with its original colors. Check the copier preview and confirm the print dimensions before producing the final copy.
6. Mount the print on canvas
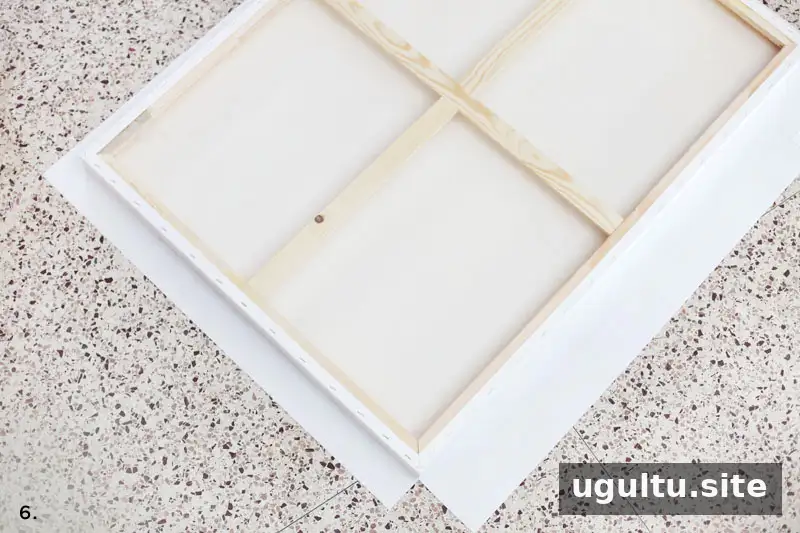
Make sure the print has enough extra paper to wrap around the canvas edges. Place the print face-down on newspaper in a well-ventilated area, then apply permanent spray adhesive according to its label. Move the paper to a clean, hard surface and position the canvas over it. Press across the back of the canvas with smooth, sweeping motions to help the paper adhere evenly.
Trim square notches from the paper at each corner, then wrap the remaining edges around the canvas. Work carefully around the corners to reduce bulky folds.
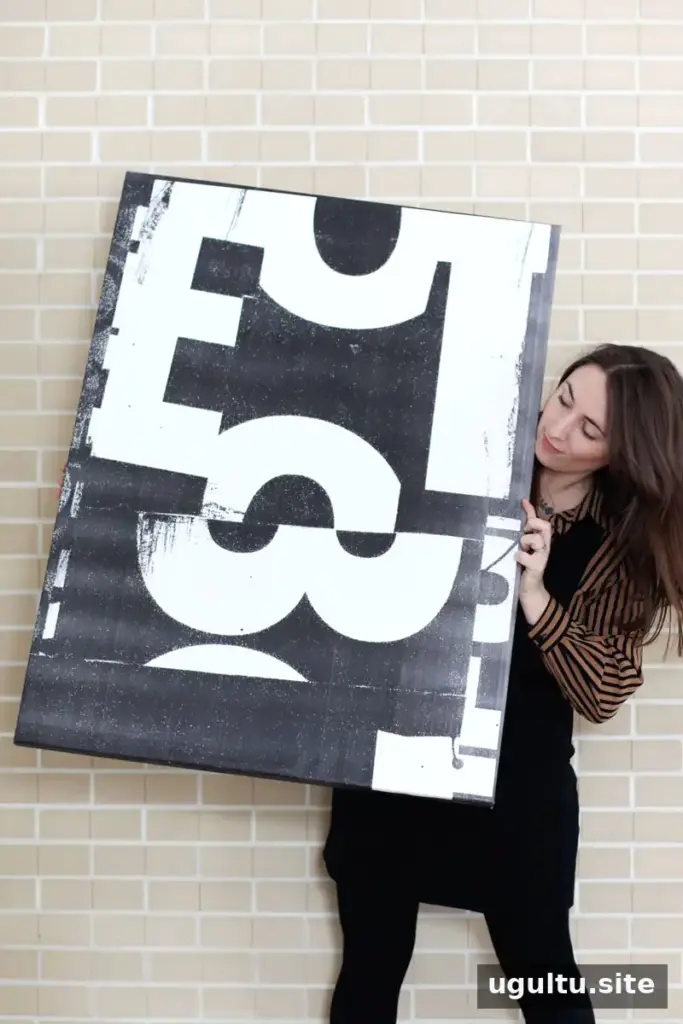
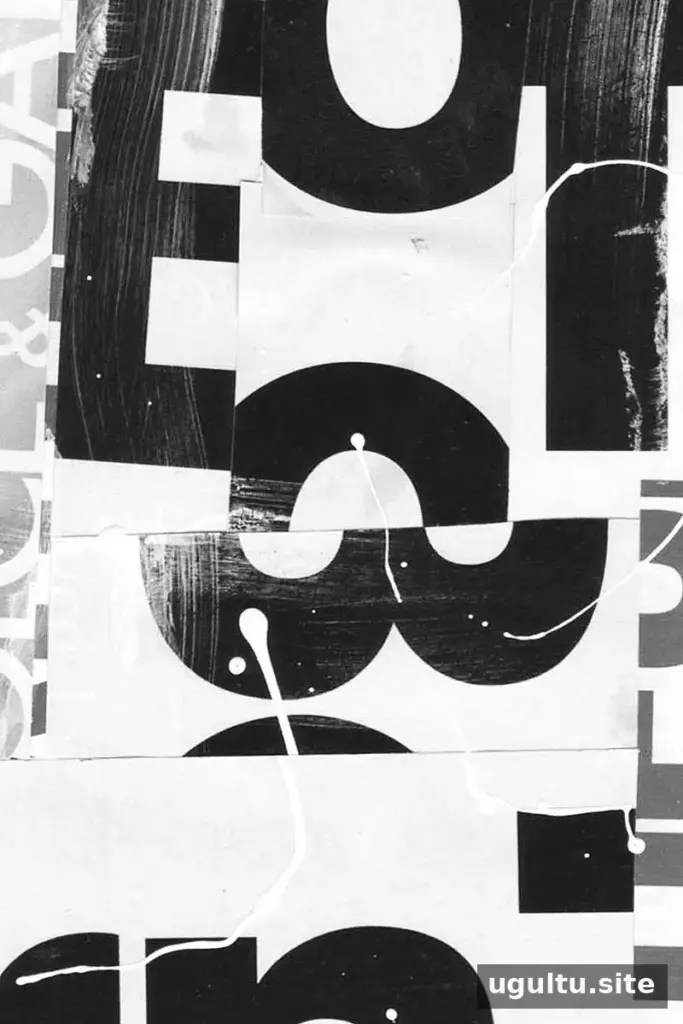
The finished print can be dark and dramatic, or you can keep the original colors for a lighter look. Paint splatters and other small changes are optional, so consider the room’s colors and the intended use before deciding on a final finish.
Final Tips for DIY Typographic Art
DIY typographic art does not require a rigid layout: experimenting with scale, spacing, and paint is part of the process. For the cleanest result, plan the design before gluing, test effects on scrap paper, and verify the final size and crop before printing. The same collage method can also create a background for an art journal or a one-of-a-kind wall print.


