admin
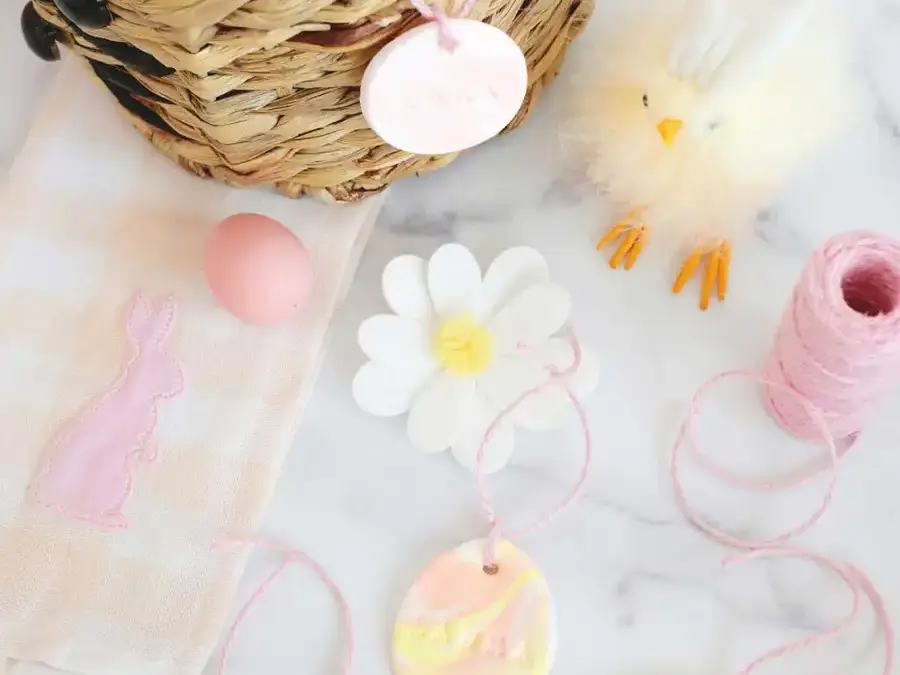
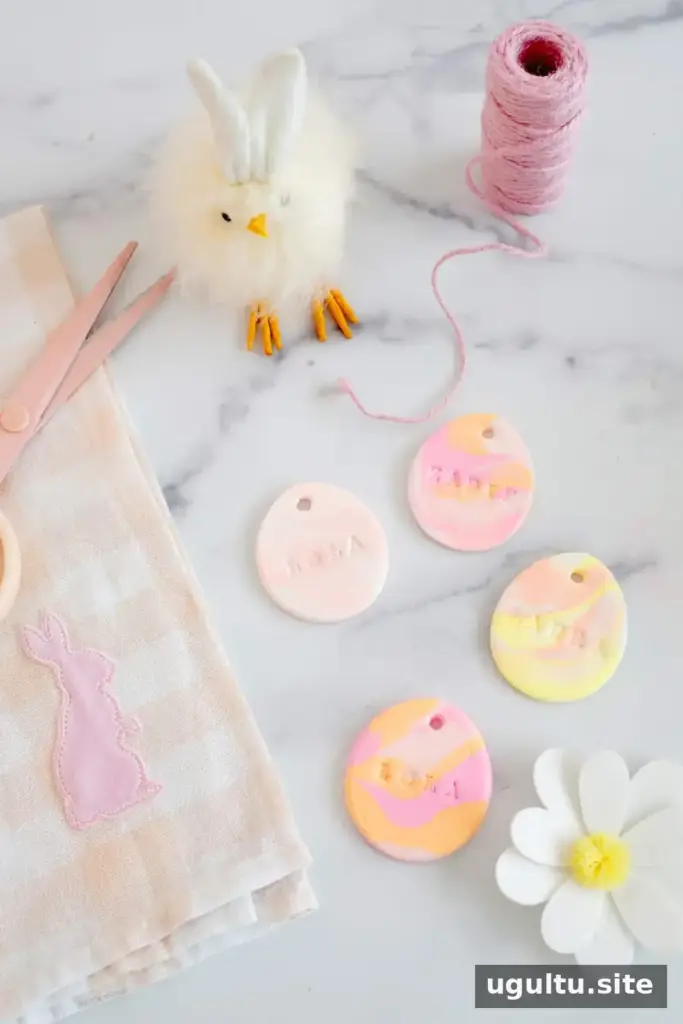
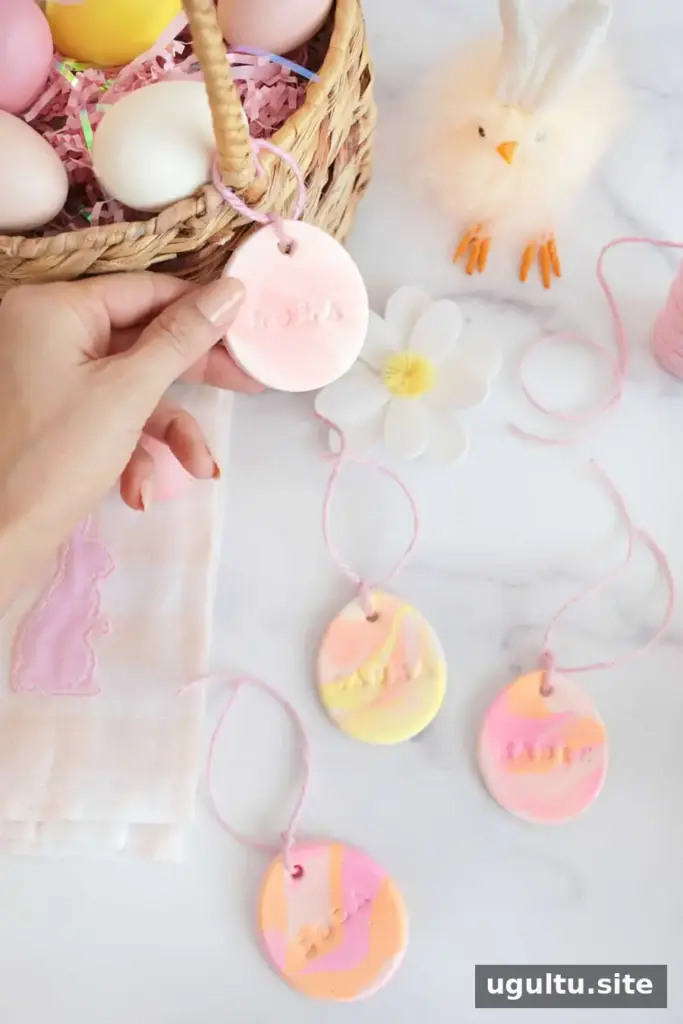
Marbled Easter Basket Name Tags are a simple way to personalize holiday baskets with a handmade touch. Made from air-dry clay, these egg-shaped tags can be customized with names, colors, and patterns. They also work as small decorations for a spring garland or for hanging around the home.
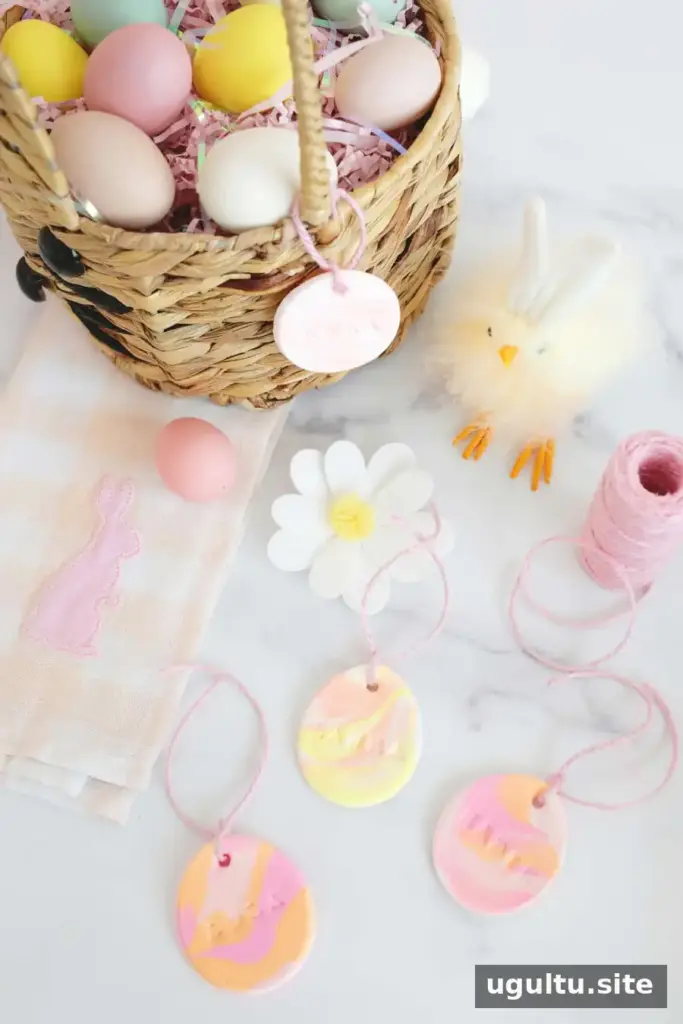
The marbling technique uses two or three clay colors twisted together before rolling. Since air-dry clay does not need to be baked, this project requires only basic tools and time for the tags to dry. Check the clay packaging for its recommended drying instructions, and keep finished tags dry unless the product label says they are water-resistant.
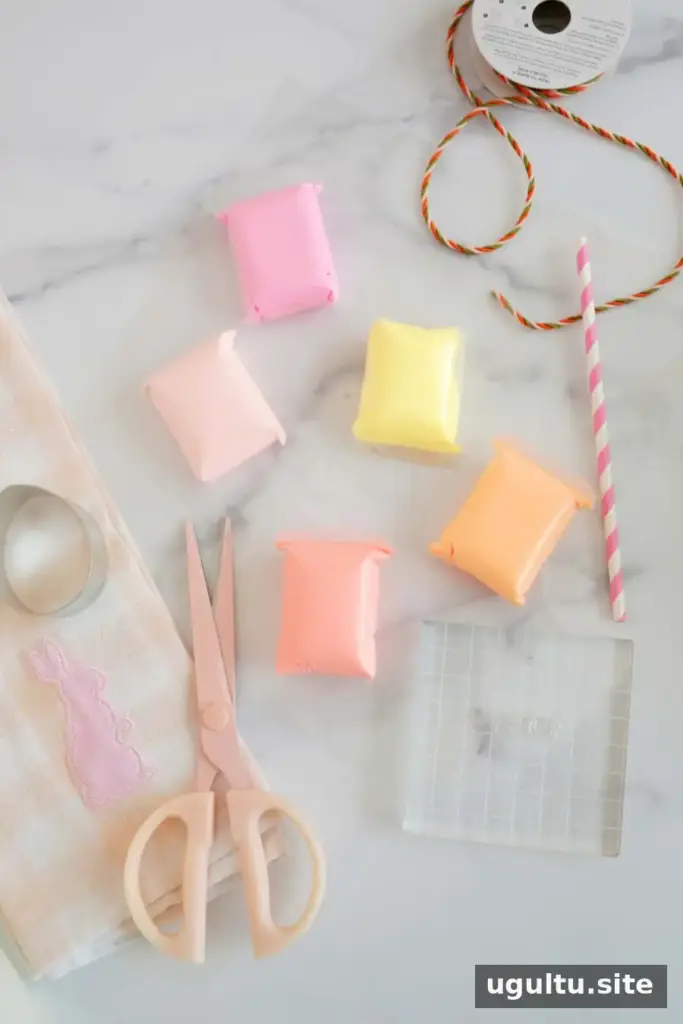
Supplies for Marbled Easter Basket Name Tags
Gather the materials before shaping the clay. Preparing the letter stamps in advance makes it easier to add names while the clay is still soft.
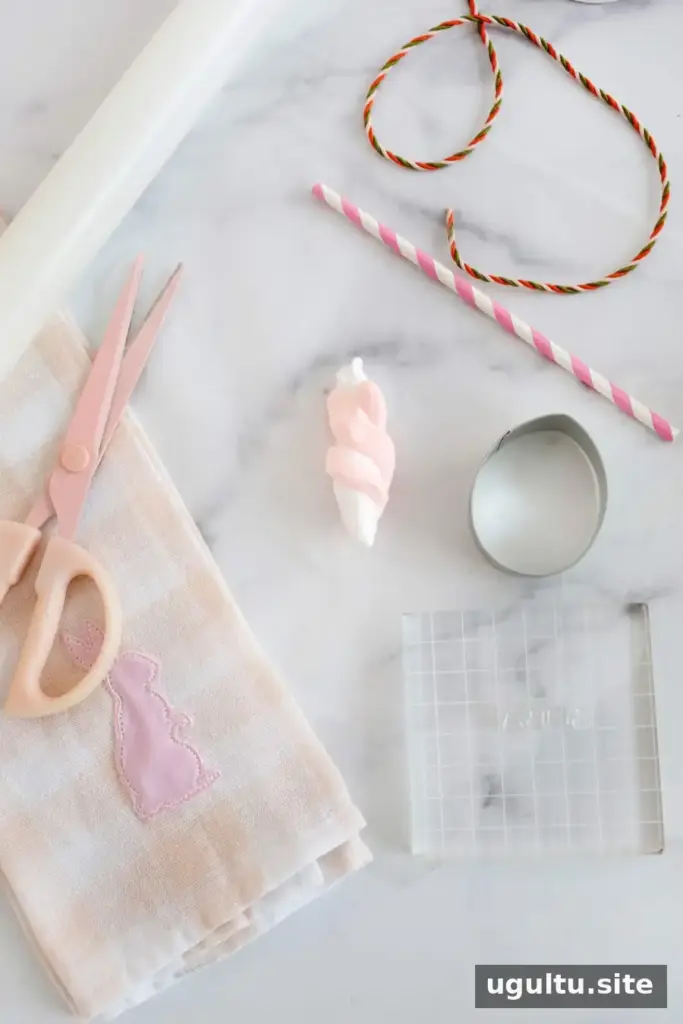
- Air-dry clay in two or more colors
- Wax paper or a silicone mat
- A non-stick rolling pin
- An egg-shaped cookie cutter, or another Easter-themed cutter such as a lamb or bunny
- Letter stamp set
- Straw for making a hole
- Twine or ribbon for hanging
- Fine sandpaper for smoothing edges, optional
How to Make Marbled Easter Basket Name Tags
1. Prepare the clay and stamps
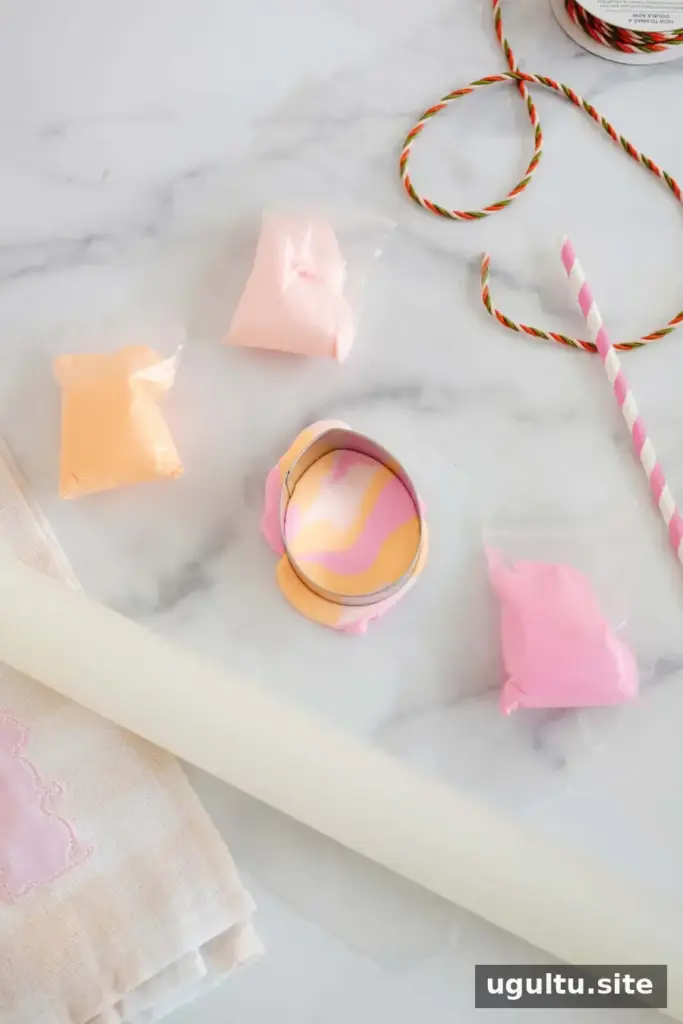
Arrange the letter stamps to spell the name you want to add. Take two or three pieces of colored clay and roll each into a short, thin strand. Twist the strands together to create a marbled effect.
2. Roll and cut the shapes
Place the twisted clay on your covered work surface and flatten it with the rolling pin. If you want a more blended pattern, roll the clay into strands again, twist them once more, and flatten it a second time. Avoid overworking the colors if you want to keep distinct streaks.
Press the cookie cutter into the flattened clay. Remove the extra clay around the shape, then use a straw to make a hole near the top for the ribbon or twine. Make sure the hole is wide enough for your chosen string to pass through.
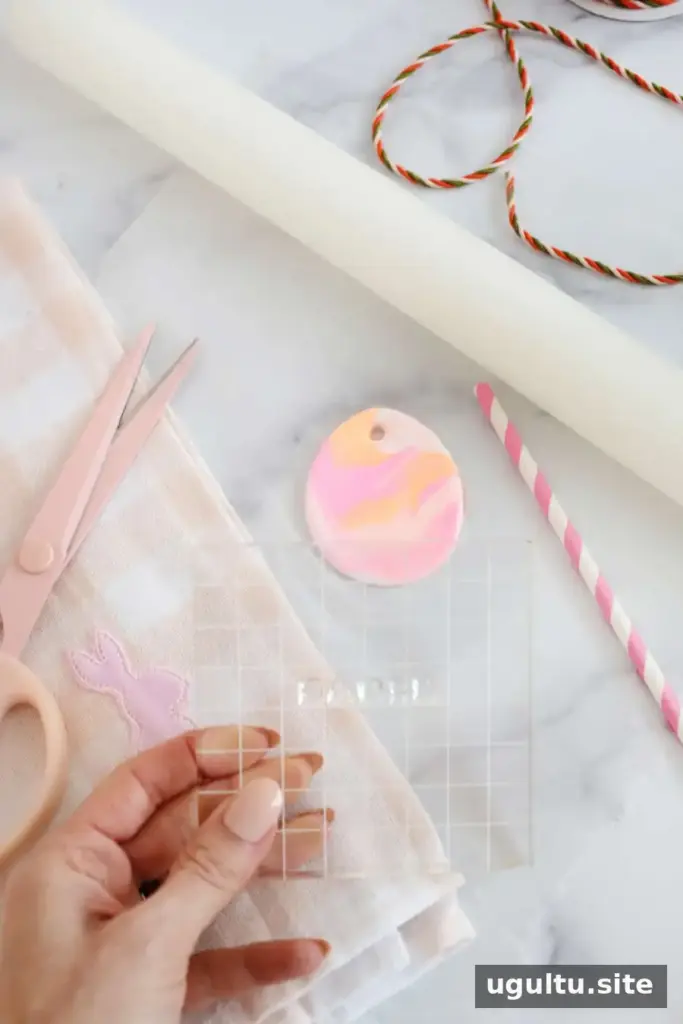
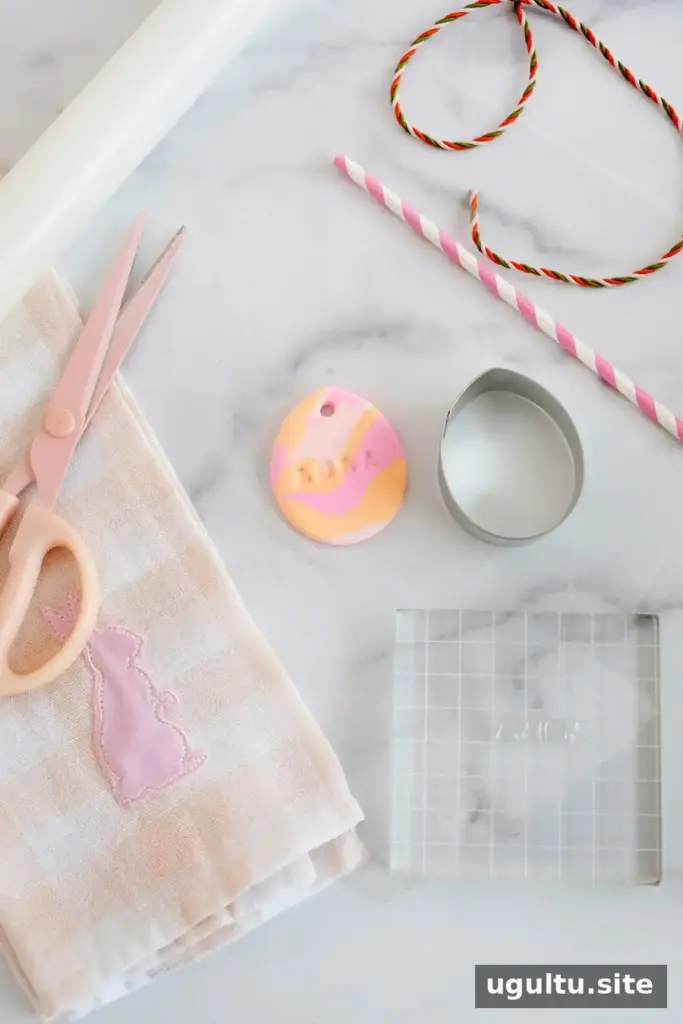
3. Add a name and let the clay dry
Press the prepared name stamp gently into the clay. Clear letter stamps can make it easier to position a name, but any suitable letter stamp set can be used. Follow the clay package directions and allow each tag to dry completely before tying it onto a basket.
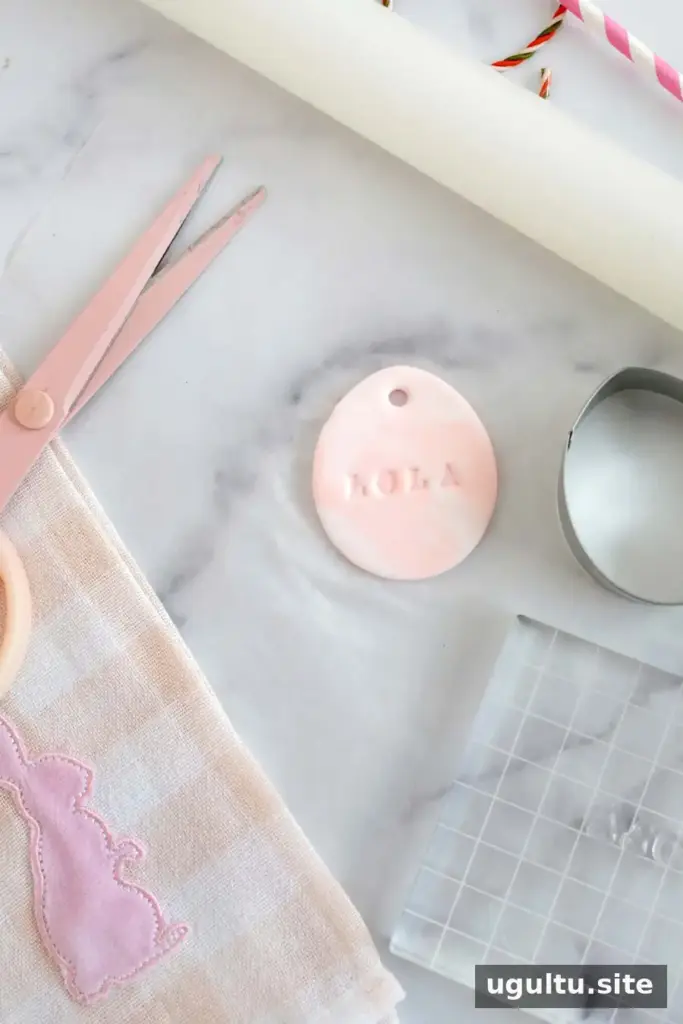
4. Smooth and finish
Once dry, check the edges. If they feel rough, smooth them carefully with fine sandpaper. Thread twine or ribbon through the hole, tie it securely, and attach the finished tag to an Easter basket.
More Ways to Decorate the Tags
- Make a single-color tag and add details with paint or puff paint.
- Leave the clay blank while it dries, then add a name with ink stamps.
- Press dots or other simple patterns into the soft clay using a straw or other small object.
These tags can also be made in different Easter shapes and strung together as a garland. For a group craft, prepare the clay and cutters ahead of time, then let each person choose colors and patterns. Keep the finished pieces flat while drying to help them retain their shape.
Project Details
- Cost: $10
- Yield: 10 tags
- Prep time: 5 minutes
- Dry time: 1 day
- Cook time listed: 20 minutes
- Total time listed: 1 day and 25 minutes
Project by Laura.
With a few supplies and a little drying time, Marbled Easter Basket Name Tags offer a personalized finishing detail for holiday baskets. Try contrasting clay colors for a bold pattern, and stamp names before the clay dries so the lettering leaves a clear impression.