
 admin
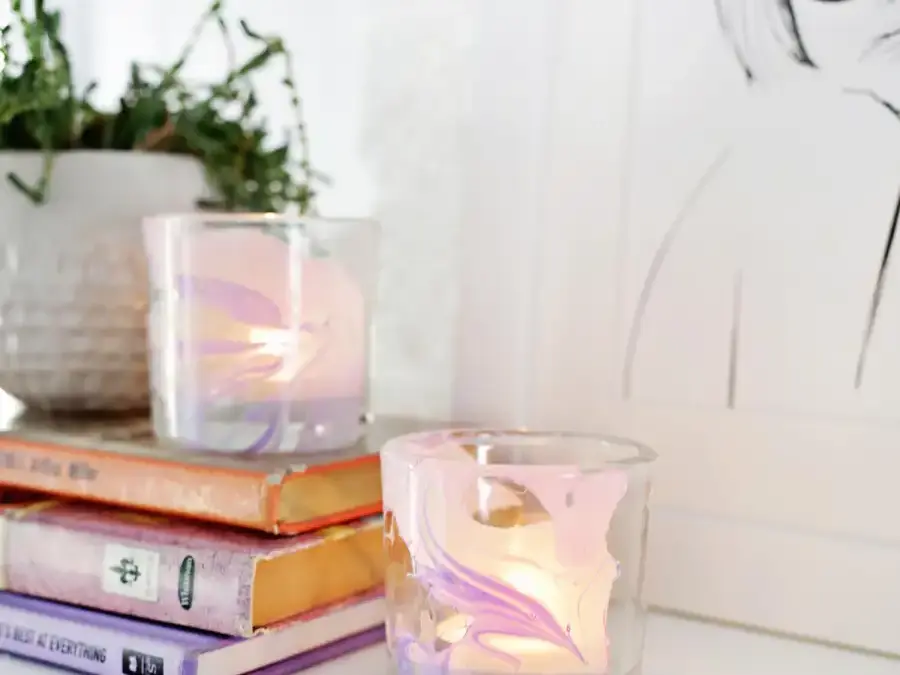
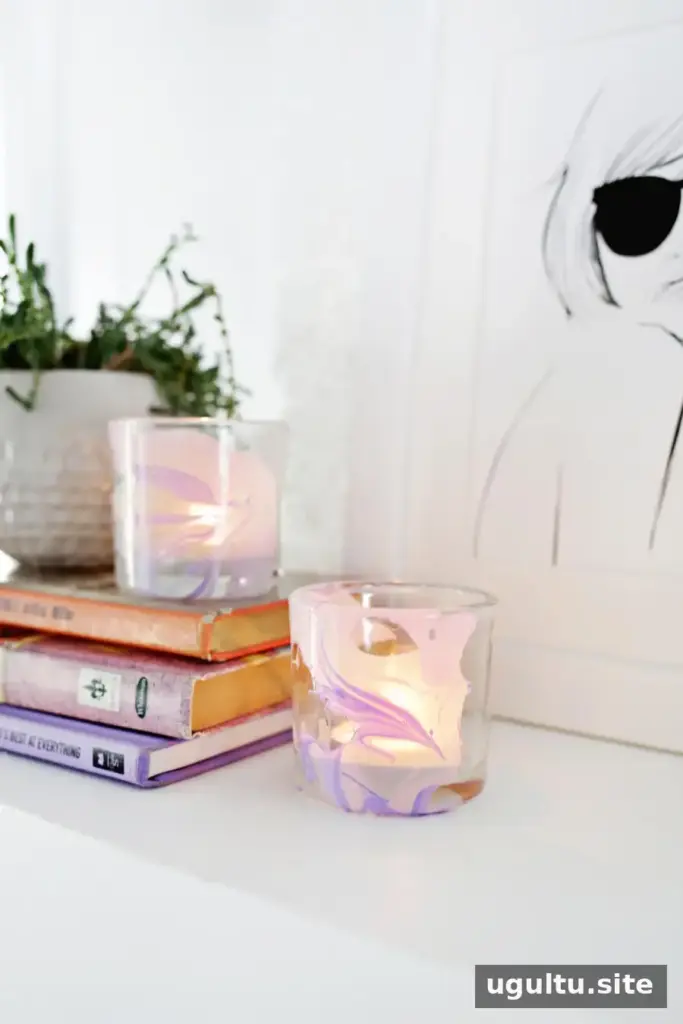
DIY marbled votive holders add a colorful accent to a room, dinner table, or relaxing evening at home. This simple craft uses nail polish and water to create a swirled pattern on the outside of clear glass holders. Choose two or three complementary shades, or mix colors for a more playful finish.
Supplies for DIY Marbled Votive Holders
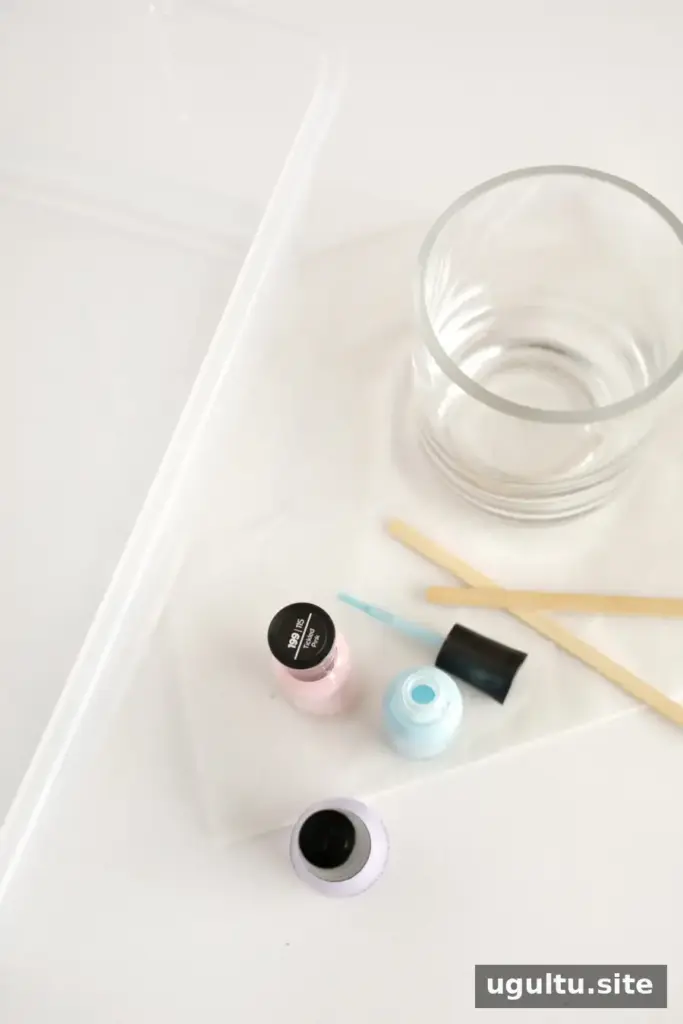
Gather everything before you begin, because nail polish can start to set on the water quickly. You will need:
- Nail polish in 2–3 shades
- Clear votive holders
- A small plastic tub
- A wooden skewer
- Rubbing alcohol and a paper towel
- Clear sealer spray
- Plastic gloves, if desired
- Wax paper
Use a tub that is wide enough to roll the votive through the water without bumping its sides. Protect your work surface, and keep the area ventilated when using nail polish or sealer.
Prepare the Glass and Marble the Polish
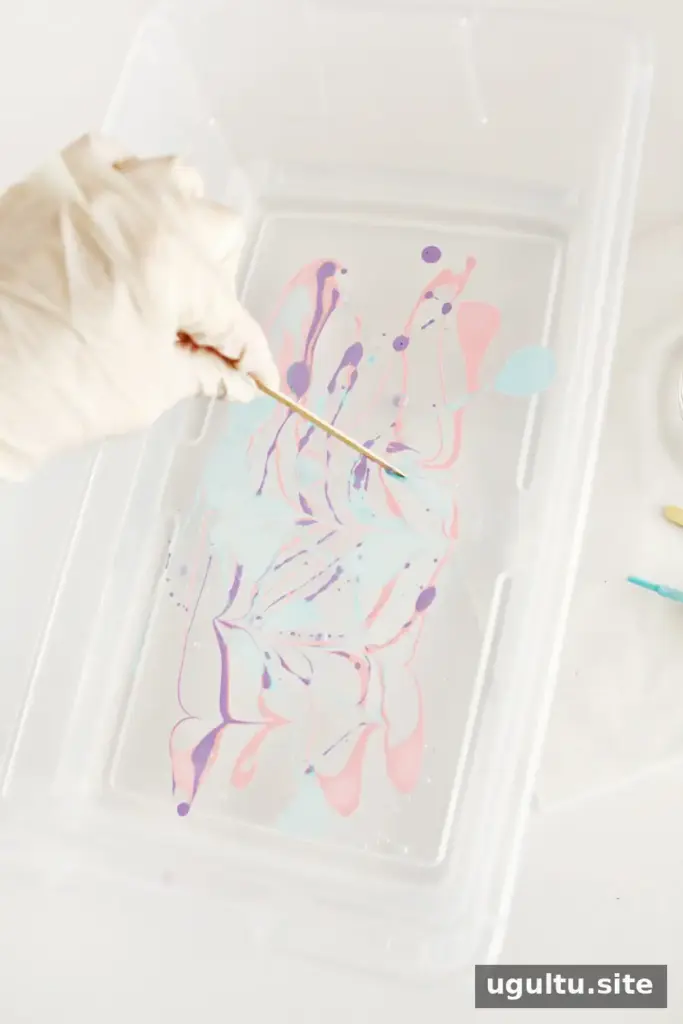
Wipe the outside of each votive with rubbing alcohol and a paper towel to remove dust or residue. Let the glass dry before dipping so the polish can adhere to a clean surface.
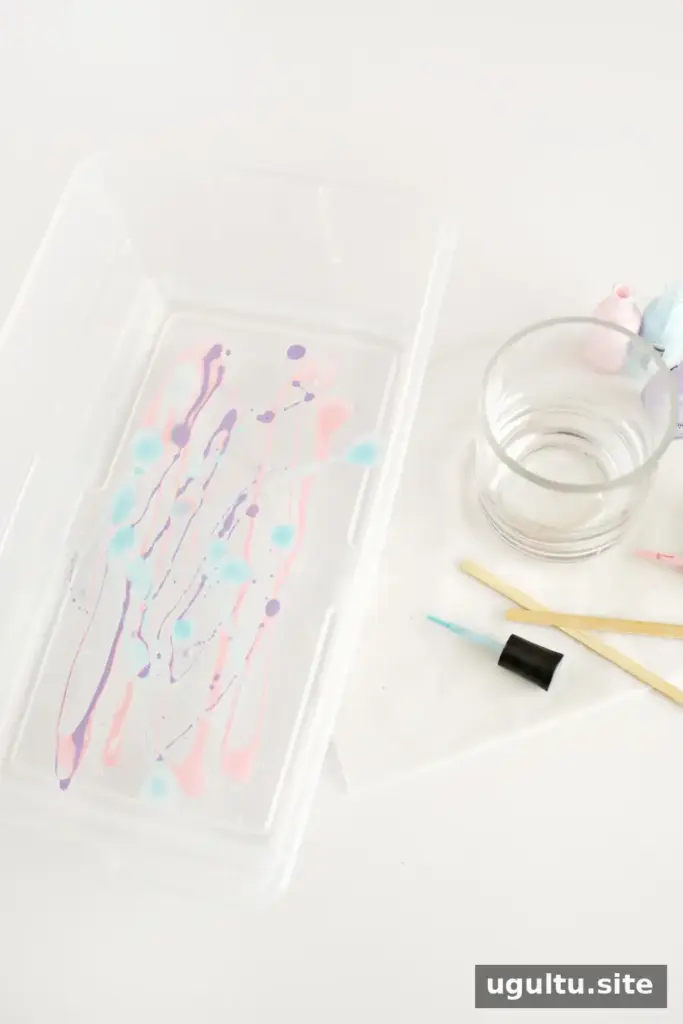
Pour water into the plastic tub until it is a few inches deep. The water should be slightly warmer than room temperature. Add a few drops or swirls of the first polish shade, then quickly add the other colors. Drag the wooden skewer through the polish to make a marble pattern. Stop when you like the design.
If the skewer catches or the polish has already formed a dry film, lift the polish out of the water and start again with fresh colors. Work promptly after adding the polish to keep it fluid.
Dip and Dry the Votive Holders
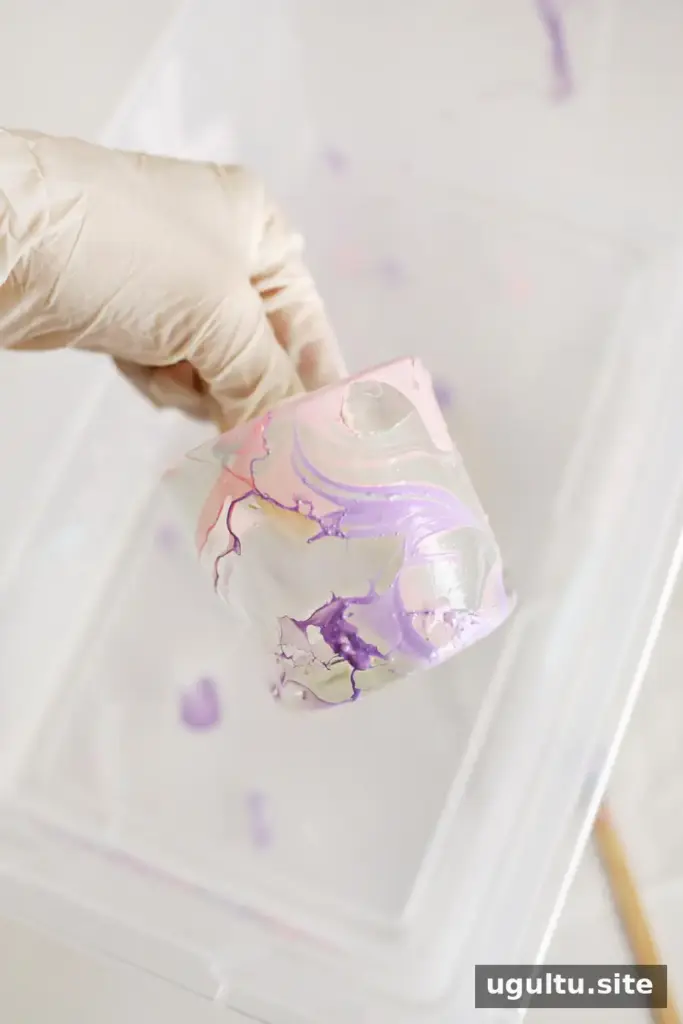
Choose a section of the pattern, then gently roll the side of the votive through the polish on the water. Rotate the glass to cover the full exterior, or dip only one area for a partial marble effect. Gloves are optional, but they can help prevent polish from getting on your hands.
Lift the holder out of the water and place it on wax paper to dry completely. Empty the tub and refresh the polish and water for each additional votive. Changing the pattern slightly between dips can give a set a coordinated but not identical look.
Seal and Use Your Finished Candleholders
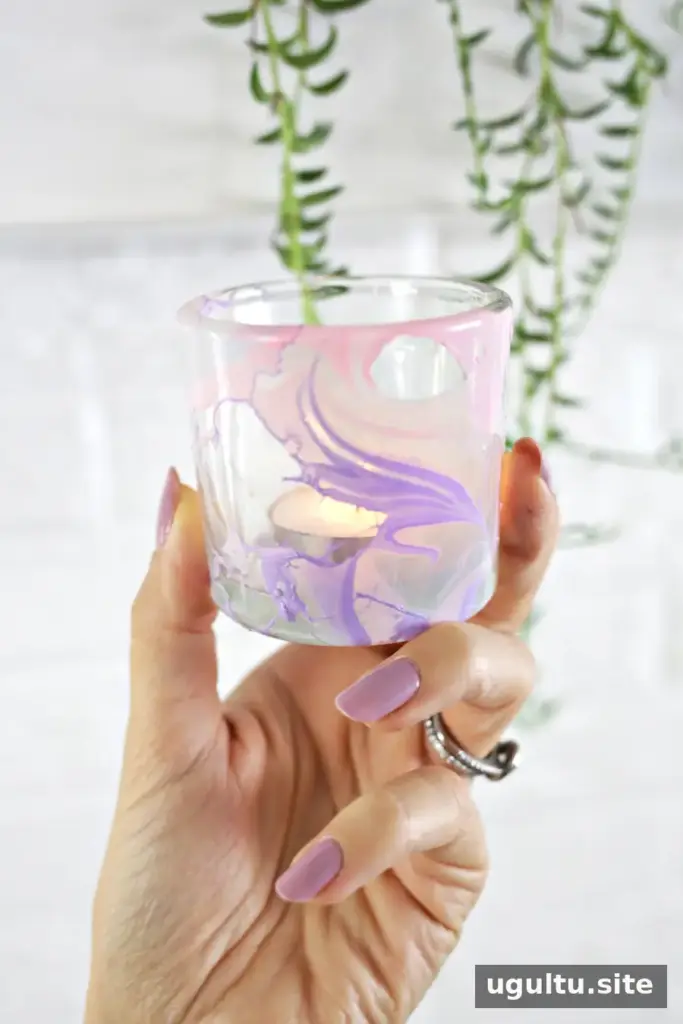
When the polish is fully dry, apply clear sealer to the outside of the glass according to the product instructions. Allow the coating to dry as directed before placing a tea light inside. Keep polish and sealer away from the inside of the holder and any area that may contact the flame.
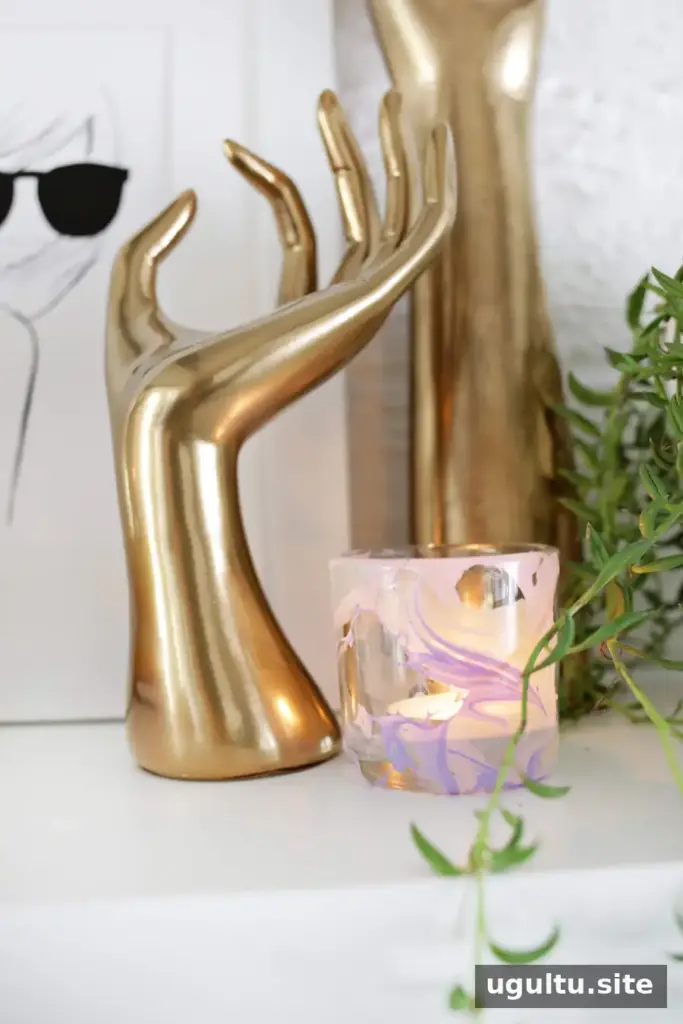
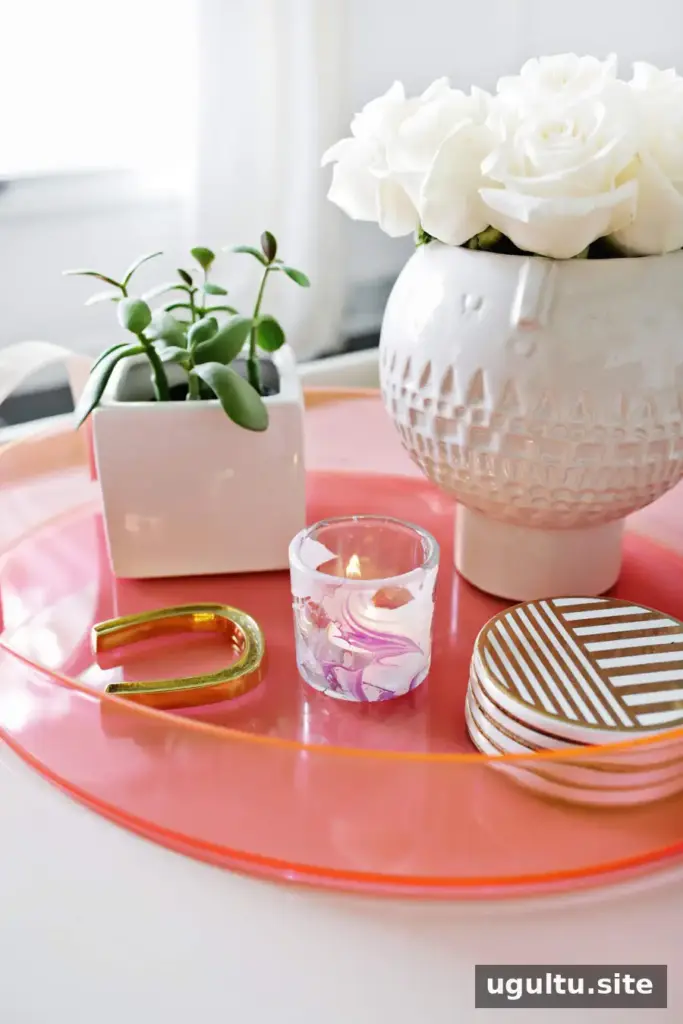
These holders can be made as a set of four or six and paired with tea lights for a handmade gift. Seasonal color combinations or metallic shades are options, while a recipient’s favorite colors can make the set suitable for use throughout the year. For safety, use the holders on a stable, heat-resistant surface, keep them away from flammable decorations, and never leave a burning candle unattended. Project by Laura.


