admin
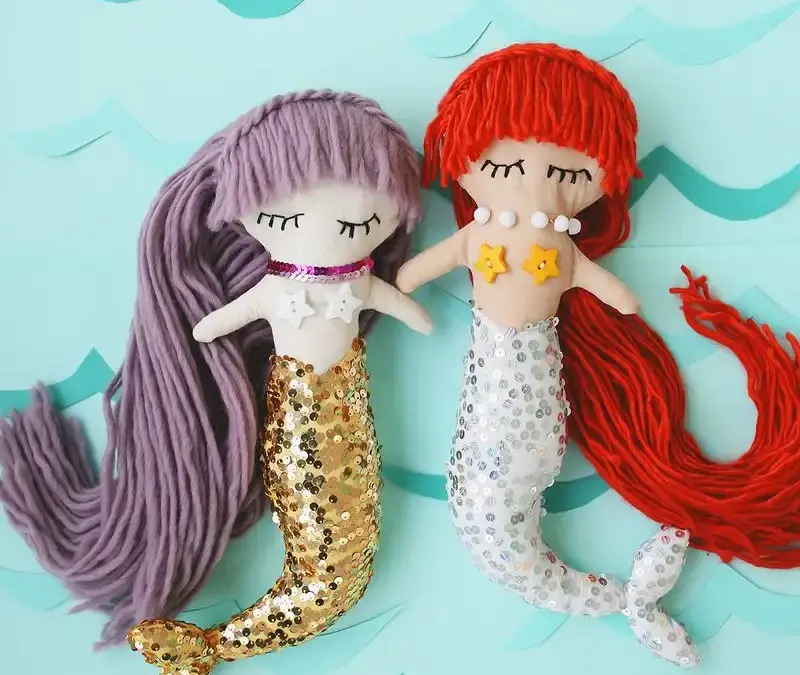
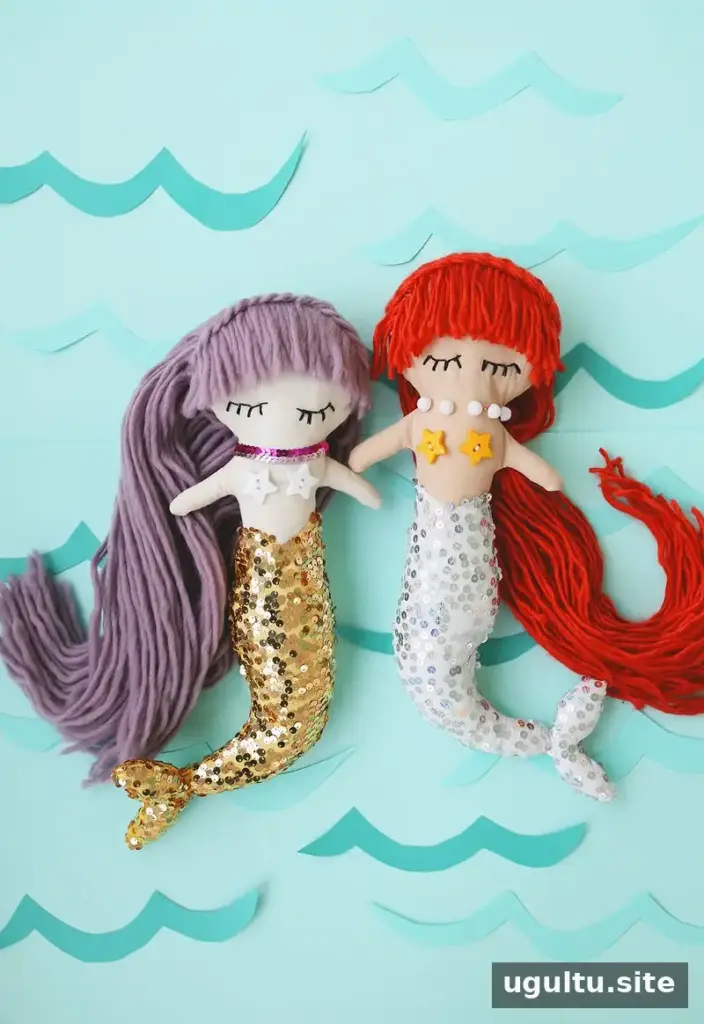
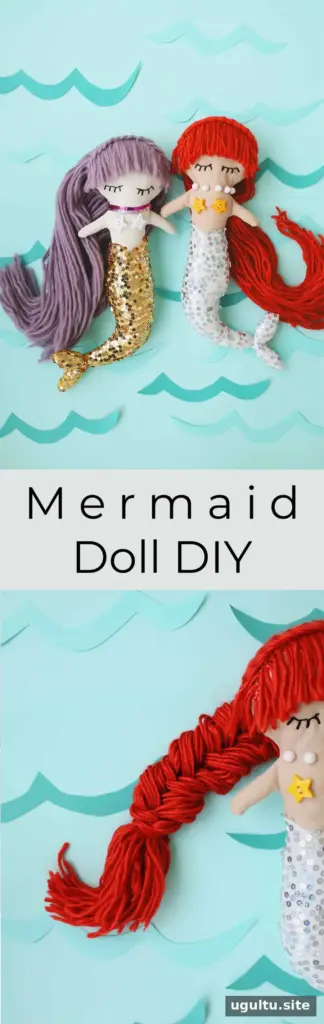
Make charming Mermaid Plush Dolls with cotton fabric, a little stuffing, and yarn for the hair. This sewing project combines a soft doll body with a decorative sequin tail, and you can personalize the colors, hairstyle, and face details. The pattern pieces are designed to be printed and assembled before cutting the fabric.
Supplies for Mermaid Plush Dolls
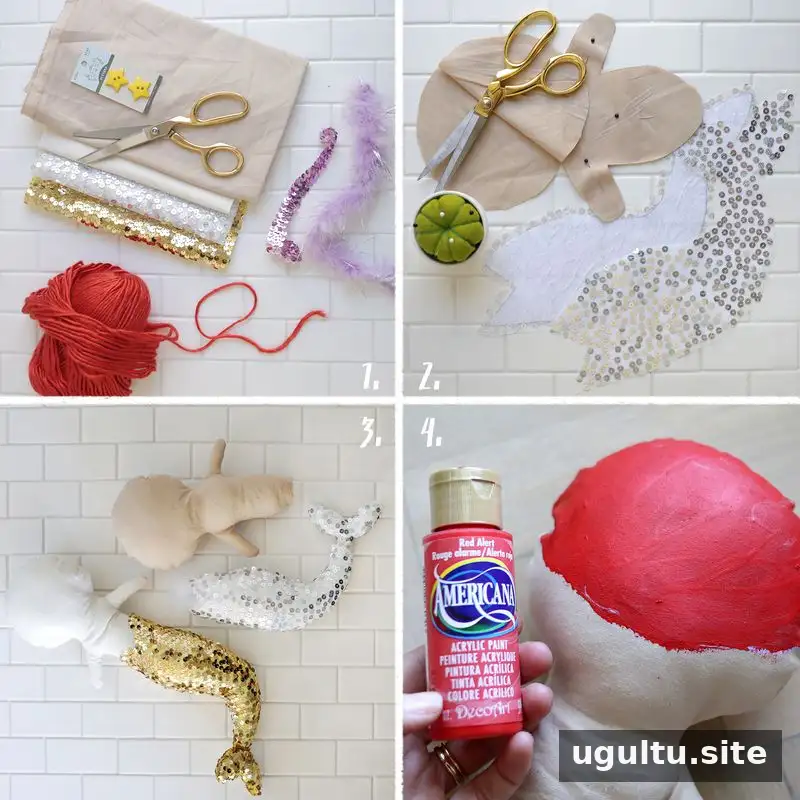
Gather the following materials before you begin. If your sequin fabric is lightweight or difficult to handle, fusible interfacing can add stability; test it on a scrap first and follow the interfacing instructions.
- Mermaid pattern pieces: pattern 1, pattern 2, and pattern 3
- Cotton fabric in a skin tone of your choice
- Sequin fabric and, if needed, fusible interfacing
- Yarn for the hair
- Acrylic or fabric paint in a color that matches the yarn
- Fabric glue and stuffing
- Buttons and decorative sequins
- Needle, thread, scissors, and a marking tool
How to Sew Mermaid Plush Dolls
1. Prepare and cut the pattern
Print the pattern pieces and cut along the dashed lines. Tape the head to the body and the fin to the tail where indicated. This creates one body pattern and one tail pattern. Fold the cotton and sequin fabrics with right sides facing, then cut the pieces from the corresponding fabric. Add interfacing to the sequin fabric if it needs extra support.
2. Sew, turn, and stuff the pieces
Sew around the edges with a 1/2-inch seam allowance, leaving the top of the tail and the bottom of the body open. Clip small V-shaped notches around curved areas, taking care not to cut through the stitches; this helps the curves lie smoothly when turned. Turn each piece right side out, using a long, blunt tool to ease out narrow sections. Add stuffing until the pieces are filled to your preferred softness, then place the body inside the tail opening. Fold the tail’s raw edge inward and hand-stitch the tail securely to the body.
3. Add the hair base
Apply a thin coat of acrylic or fabric paint over the scalp area in a shade close to the yarn. This creates a more even-looking base beneath the hair. Keep the coat light so a needle can pass through the fabric easily after the paint dries.
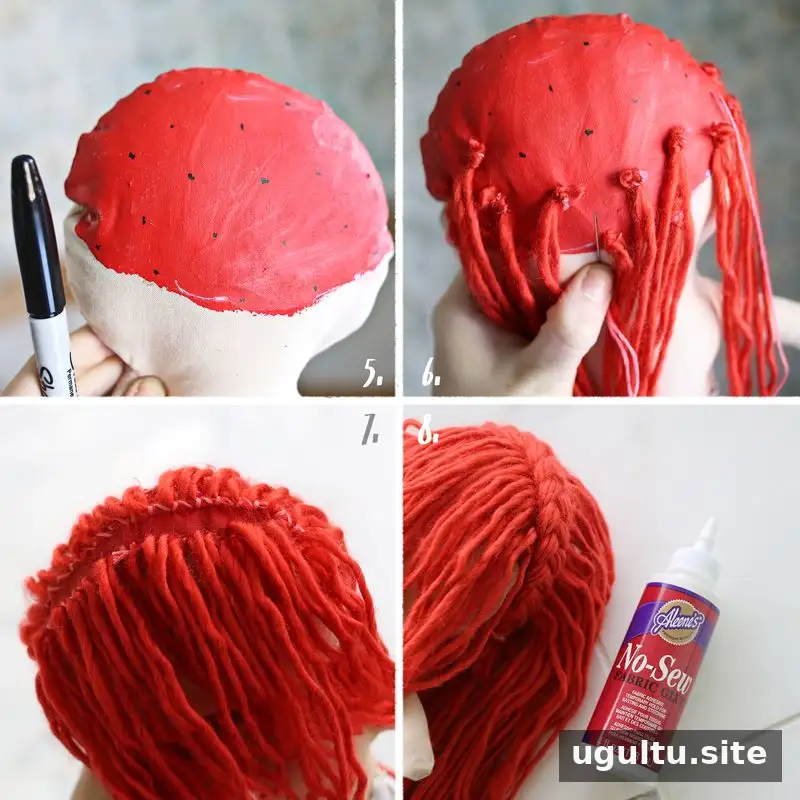
Mark evenly spaced points where you plan to attach the yarn. A minimal number of hair attachments can work well for long hair or a braid; adding more points gives you greater coverage and makes it easier to style the hair in different ways.
4. Attach and style the yarn hair
Stitch yarn into the marked areas and secure each piece with a firm knot. For the bangs, leave a small gap if you plan to cover it with a braid. Sew on the fringe first, then trim it to the desired length. A small amount of fabric glue along the forehead can help keep the bangs in place while they dry. Brush the yarn gently as needed to settle the strands.
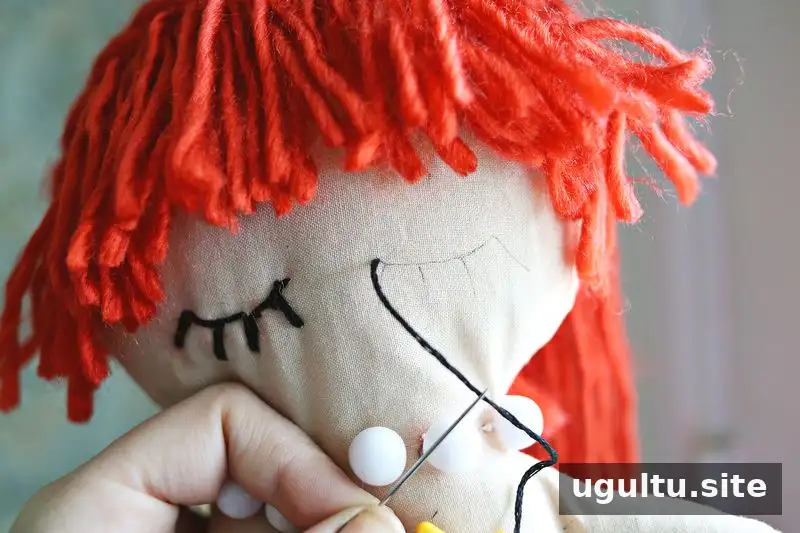
Finish the face with stitched eye details or buttons. Embroidered eyes are a practical alternative when making a doll for a young child, since small buttons can present a choking hazard.
5. Add the finishing details
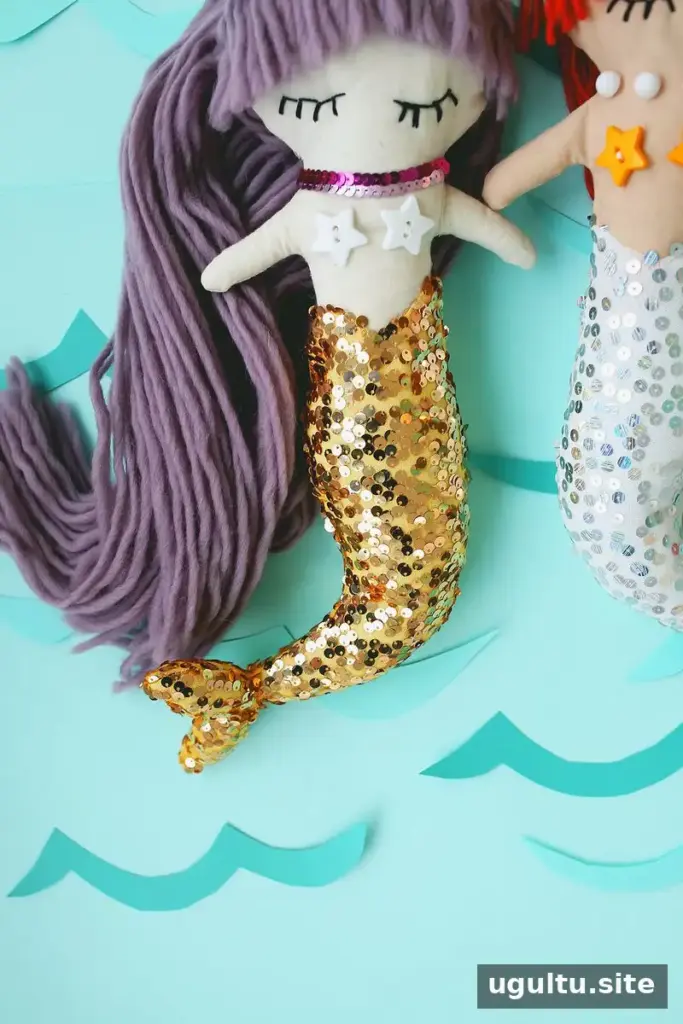
Decorate the doll with seashell-style buttons, sequins, or a small necklace. Stitch embellishments securely, and check that no sharp edges or loose pieces remain. Allow any fabric paint and glue to dry completely before handling or gifting the finished doll.
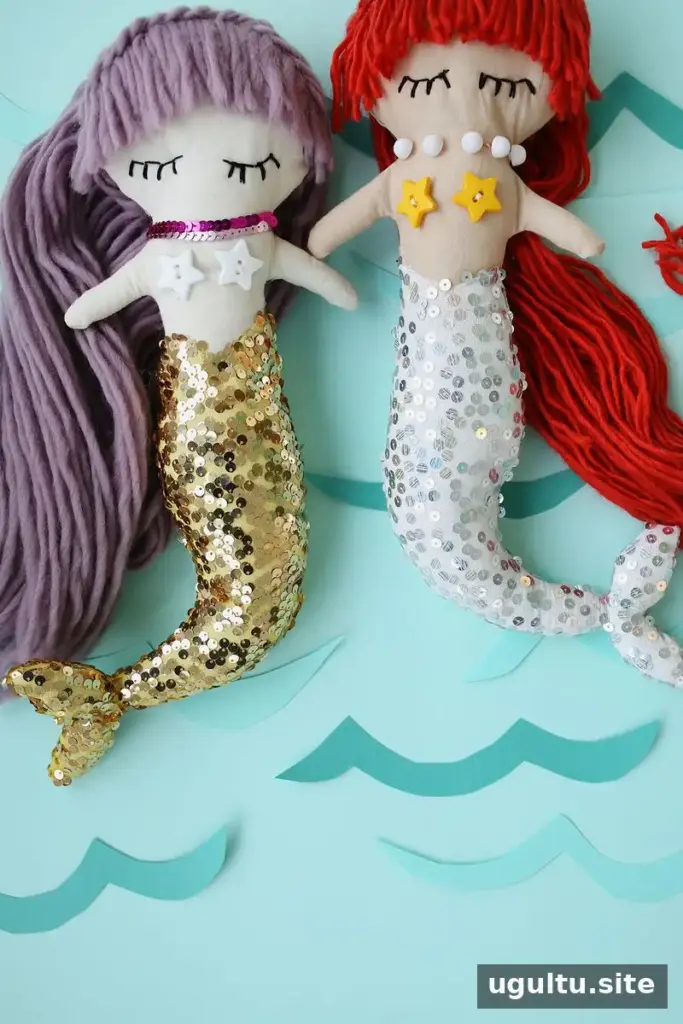
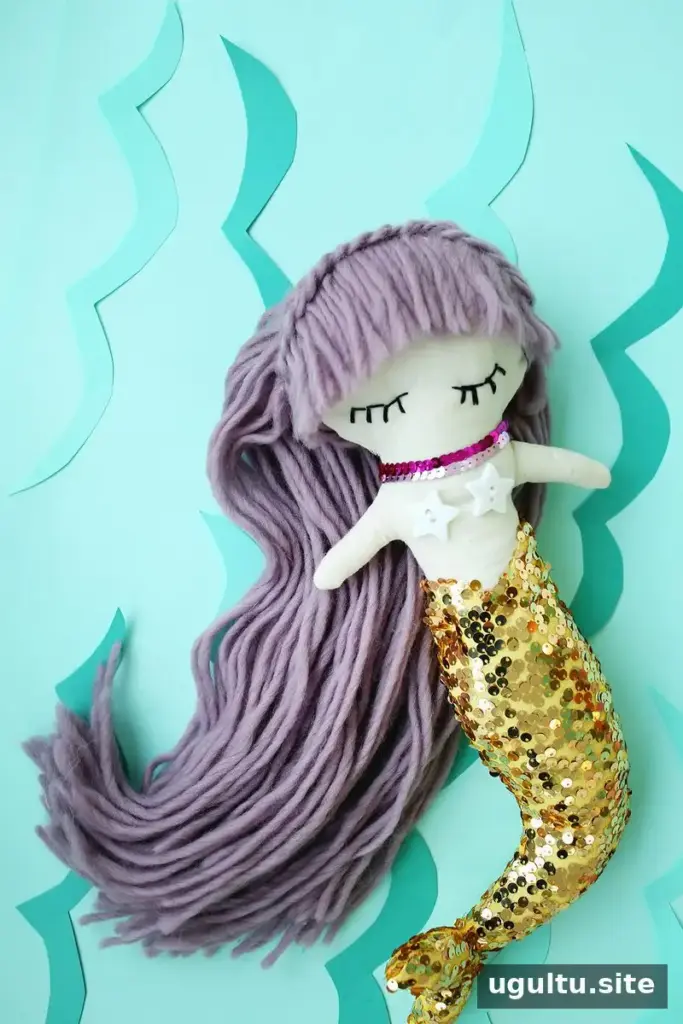
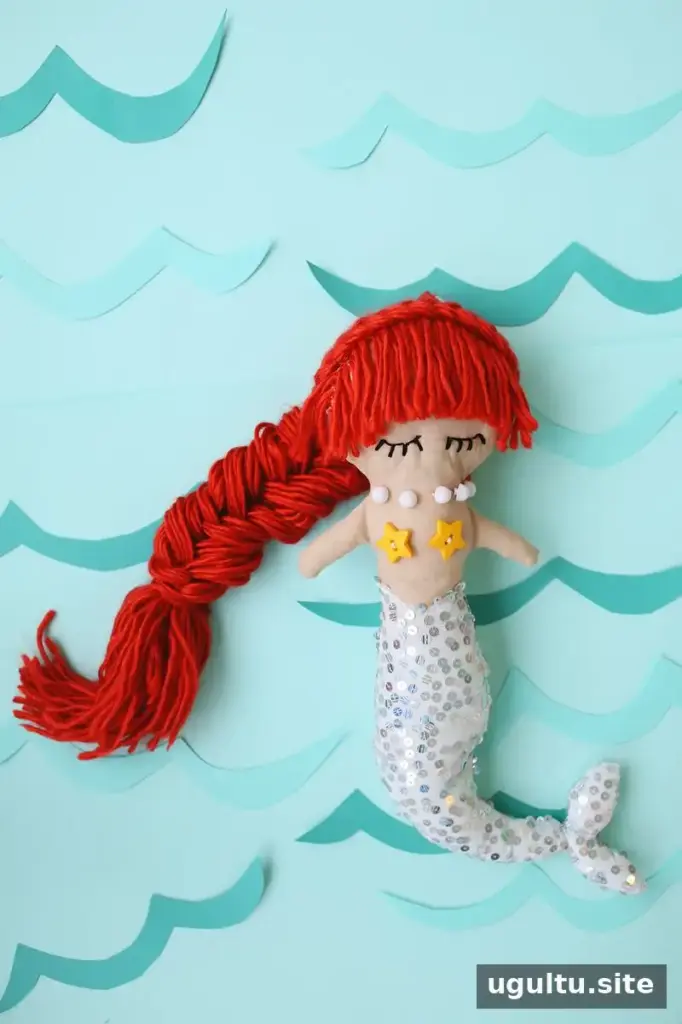
Braids are another simple hairstyle option. Try different yarn colors and braid lengths to give each doll its own look.
Tips for a Neat, Durable Finish
- Use a scrap of the sequin fabric to test stitching and interfacing before cutting the final pieces.
- Keep stuffing away from the seam allowance so the openings are easier to fold and sew closed.
- Choose embroidered facial features for dolls intended for very young children, and make sure all decorations are firmly attached.
- For a gift, consider the recipient’s age and follow the care instructions for the fabrics and decorations you use.
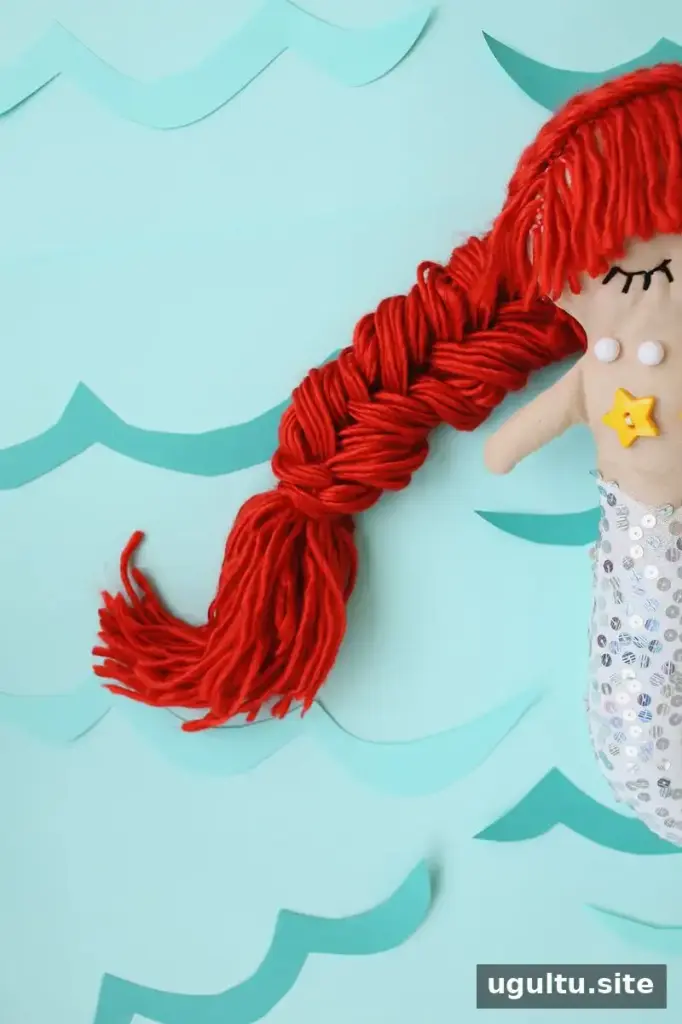
With a few fabric scraps and simple sewing techniques, these Mermaid Plush Dolls can be customized with colorful tails, yarn hairstyles, and thoughtful details. Take your time with the curved seams and secure the finishing touches well for a soft, personalized handmade gift.
—Elsie