admin
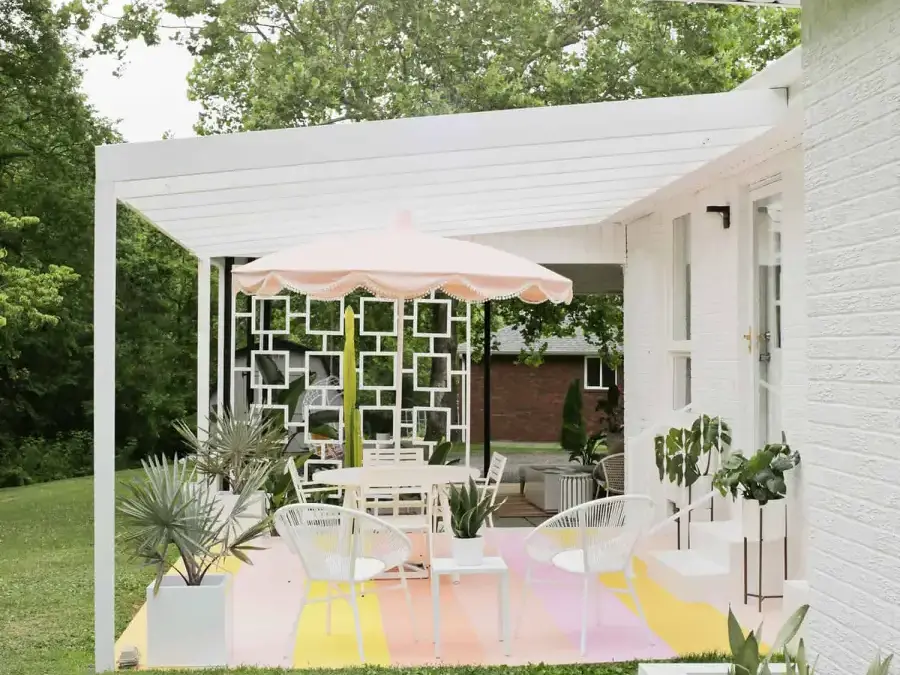
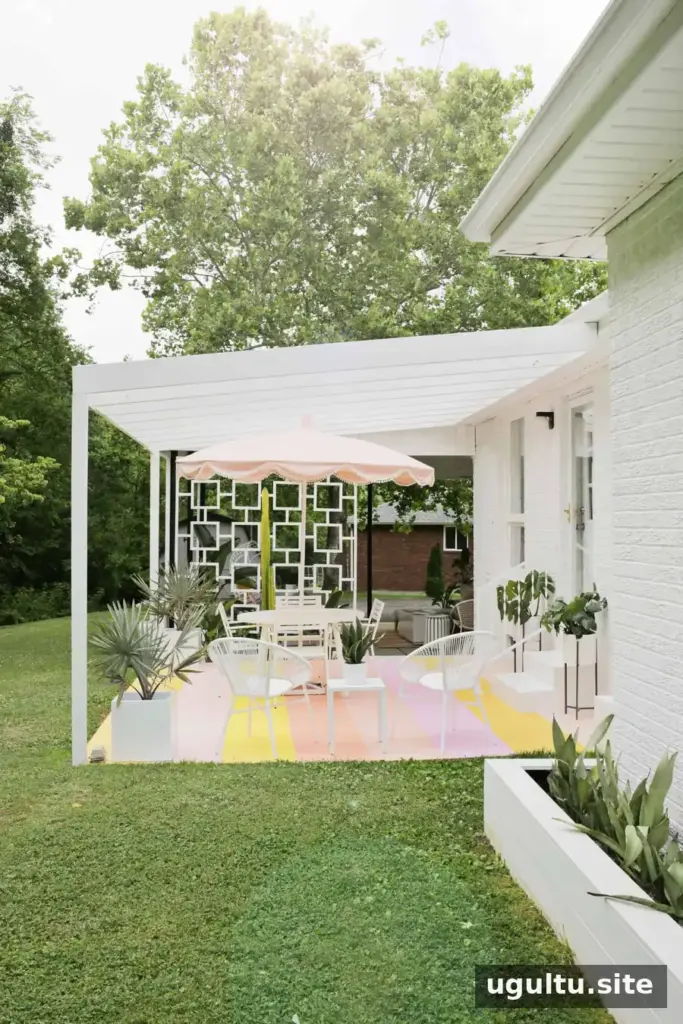
A simple mid-century pergola can give a patio a more finished look while connecting the outdoor space visually to the house. This project uses clean lines and evenly spaced overhead boards to suit a mid-century home. With careful measuring, the right tools, and help lifting the heavy lumber, the build can be broken into manageable stages.
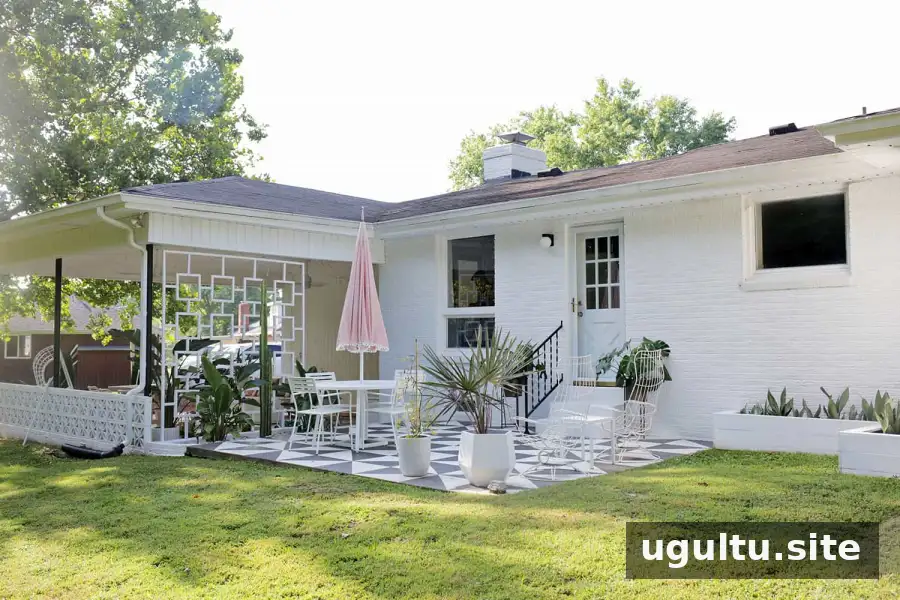
Materials and tools for a mid-century pergola
Plan the overall width and depth before buying lumber. The example below uses two 4″ x 4″ posts, each 10′ tall, and 2″ x 8″ pressure-treated boards. The number of additional boards depends on how many overhead sections you want.
- 2″ x 8″ pressure-treated boards for the header, front ledger, side joists, and interior joists
- Two 4″ x 4″ posts, plus two 4″ x 4″ post brackets for wood-to-concrete installation
- Concrete anchors and a masonry drill bit sized to match the anchors
- Circular saw and drill; a miter saw is helpful but optional
- Optional deck tape for the top edge of the header board
- 6″ star-drive washer-head structural screws and 3″ star-drive deck screws
- T-25 and T-30 star bits, plus a pocket-hole jig and clamp
For the rectangular frame, allow two boards slightly longer than the desired width and two slightly longer than the desired depth. For eight equal sections, add seven interior joists. Check the actual dimensions of your lumber before cutting: a nominal 2″ x 8″ board measures 1 1/2″ x 7 1/4″.
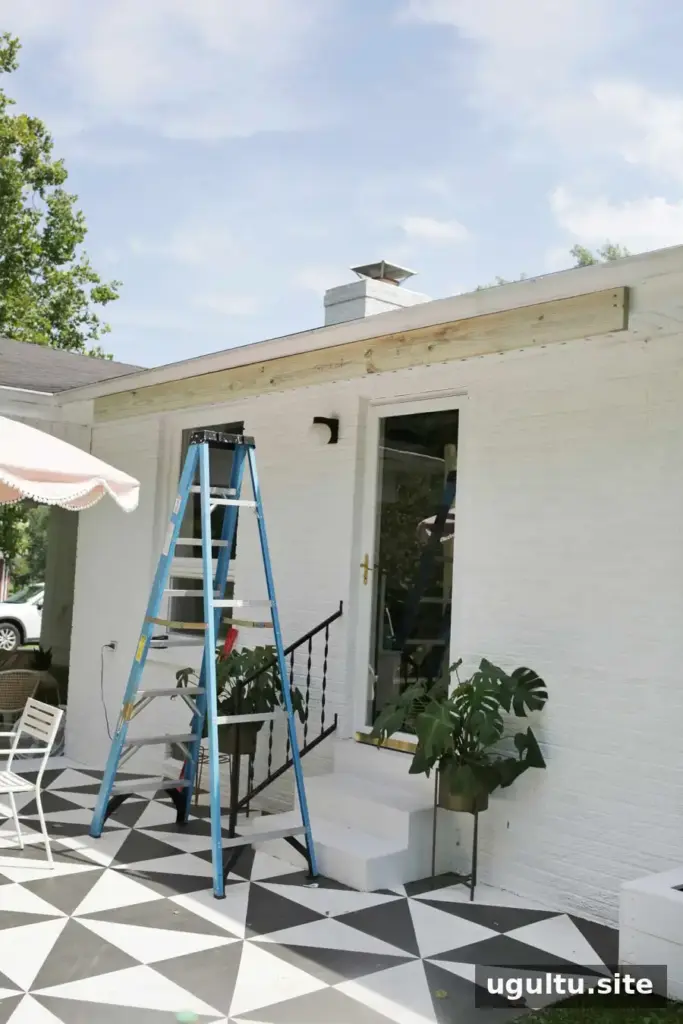
Attach the house-side header safely
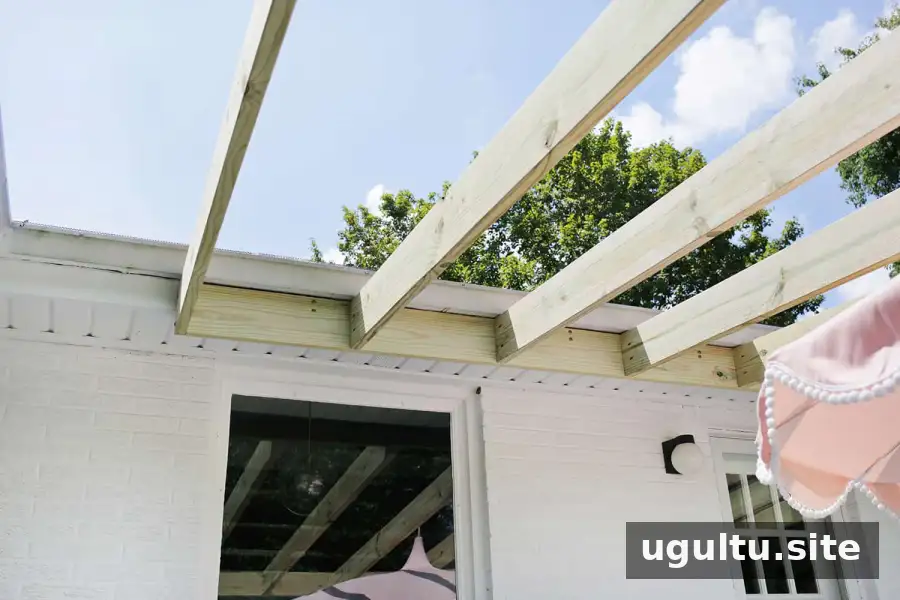
Measure the intended pergola width and cut the house-side header board 3″ shorter than that measurement. Center it over the patio area and fasten it to the fascia with 6″ structural screws, spaced about every 24″. Optional deck tape along the upper edge can help protect the board from moisture.
Before drilling, confirm that the fascia has enough structural wood behind it to support the load. If it is thin, locate the roof rafters and fasten into them instead. Ask a qualified roofing professional or contractor to assess the attachment point if you are unsure. Roof construction varies, so do not rely on fascia alone without confirming its support.
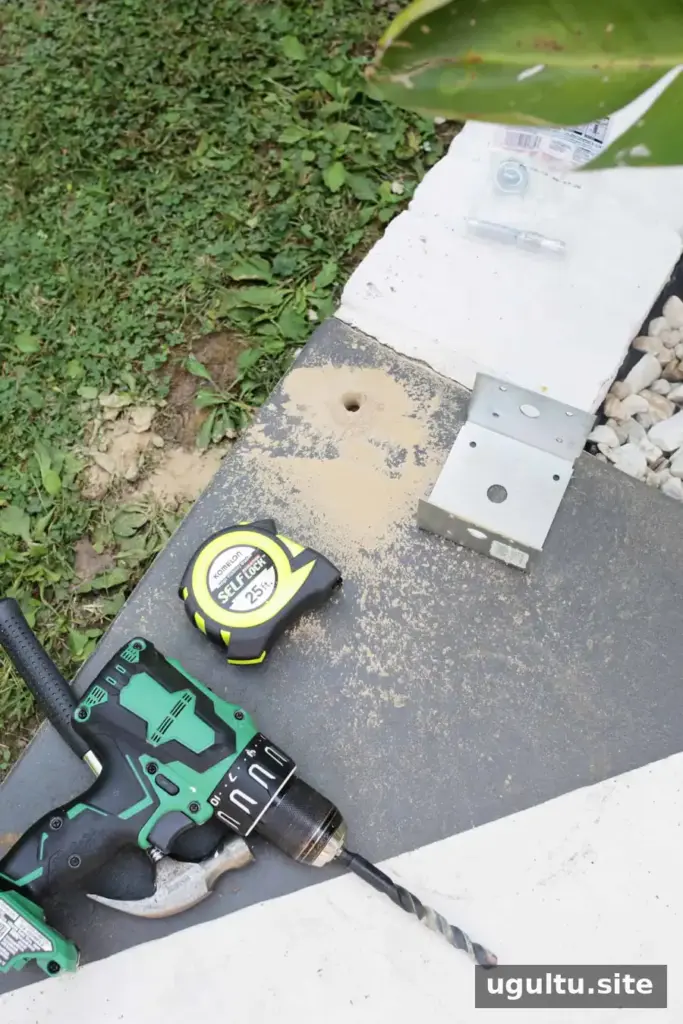
Set the posts and prepare the notches
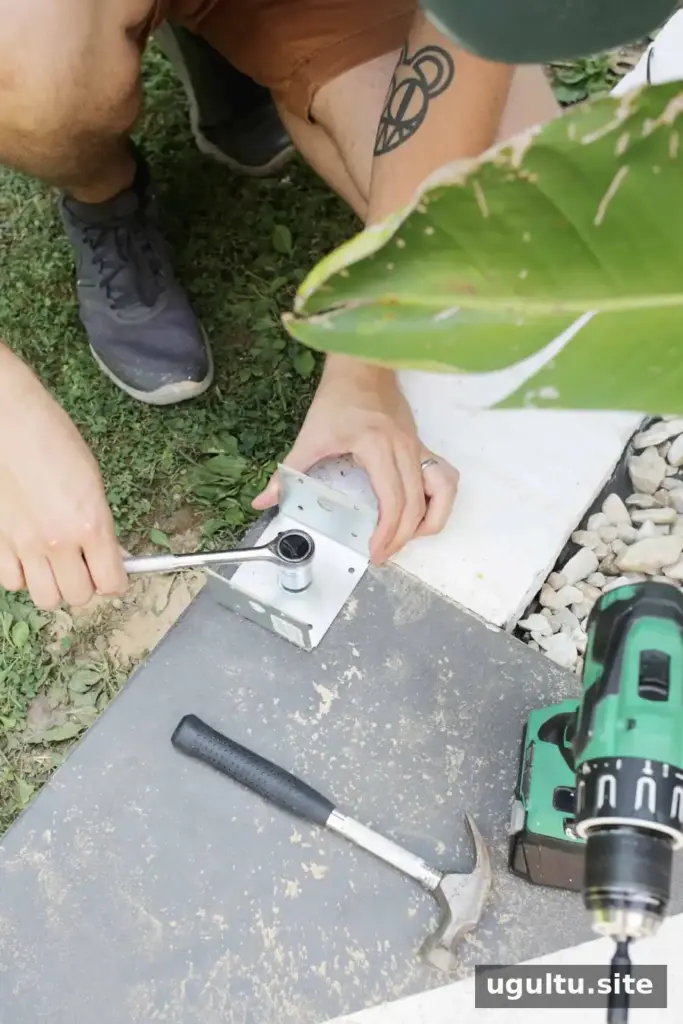
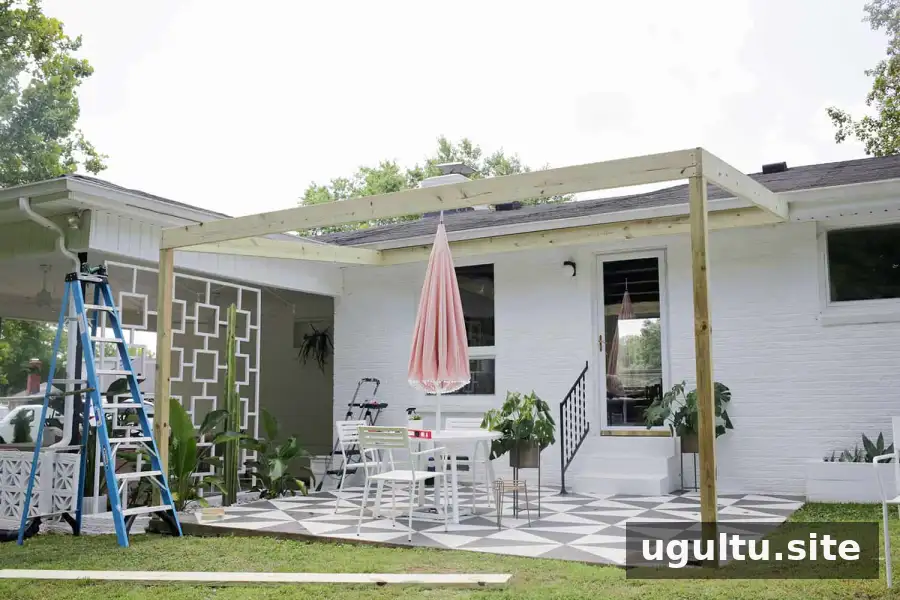
Mark the post positions on the concrete. Drill through the center hole of each bracket using a masonry bit that matches the concrete anchor, then install the anchor and tighten the supplied washer and nut. Place each post in its bracket and secure it with screws. Use a post level to check that both posts are plumb on every side.
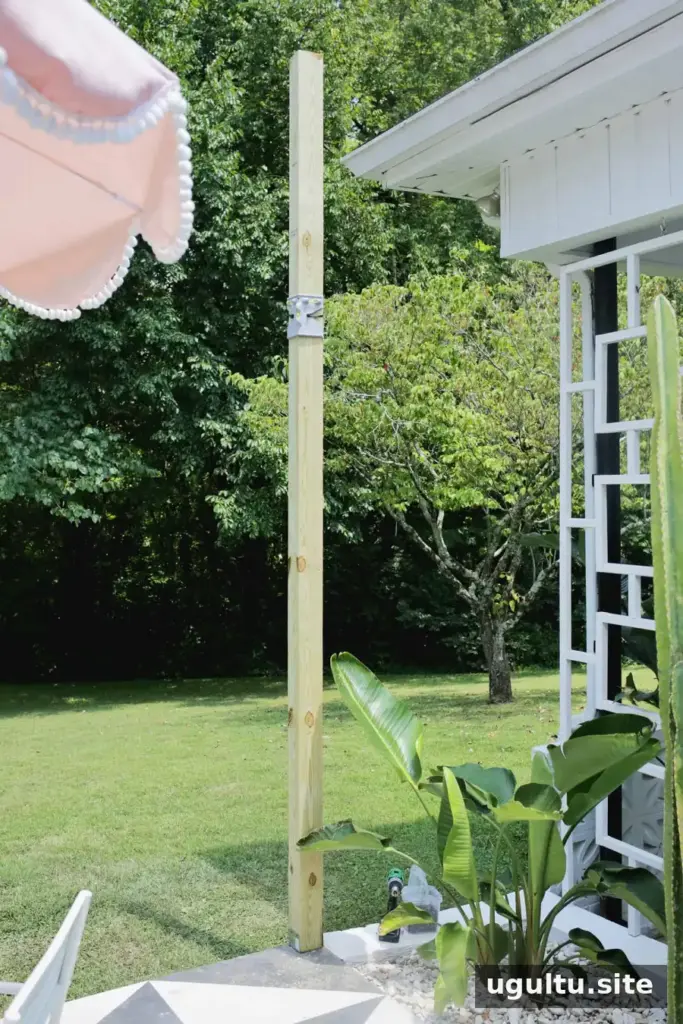
Notching the posts lets the 2″ x 8″ side joists sit into the corners rather than being attached only to the outside faces. First, hold a joist in position to mark the desired angle on each post. If you are building a level, non-angled pergola, mark a straight line instead.
Remove each post from its bracket before cutting. Set the saw depth to 1 1/2″, matching the actual thickness of the joist. The notch should be 7 1/4″ high to match the board’s actual width. Make the cuts carefully, then remove the waste piece with a hammer. Mirror the notches so the angled sides face outward on both posts.
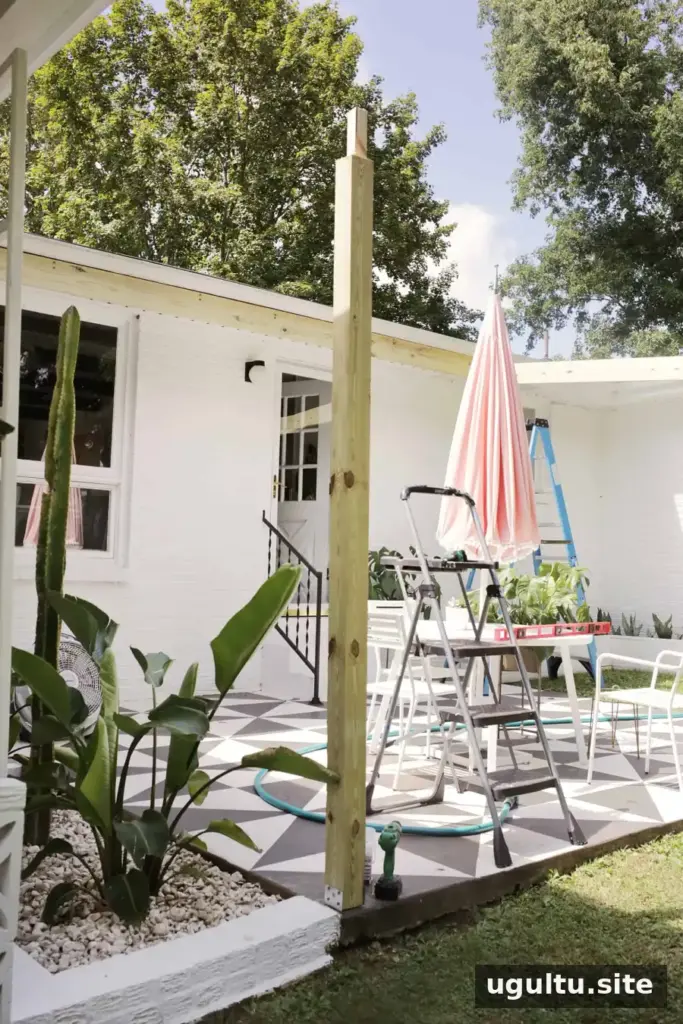
Cut and install the frame boards
Return the posts to their brackets and confirm their orientation. For an angled design, use a scrap piece of joist in the notch as a template: mark the angle where it extends past the post, then transfer that angle to the saw. Use the same template to guide the ends of the joists that fit between the rear header and front ledger.
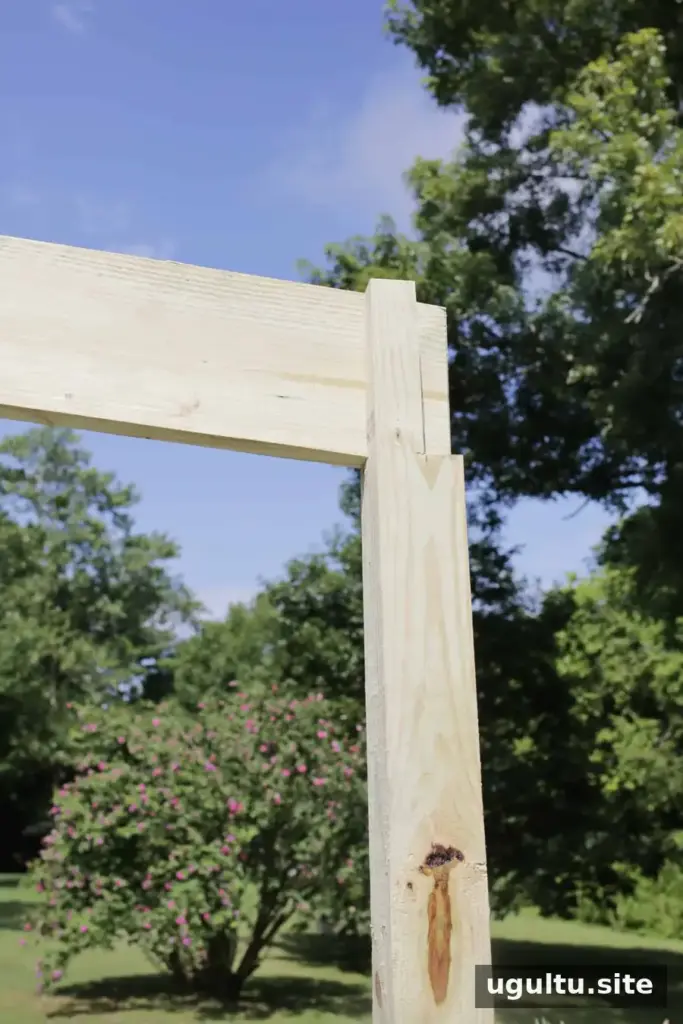
Fit each side joist into its post notch and against the end of the header. Mark any overhang, trim to fit, and fasten the joist to the post and header. The header is 3″ shorter than the full pergola width because the two 1 1/2″ side joists add 3″ overall.
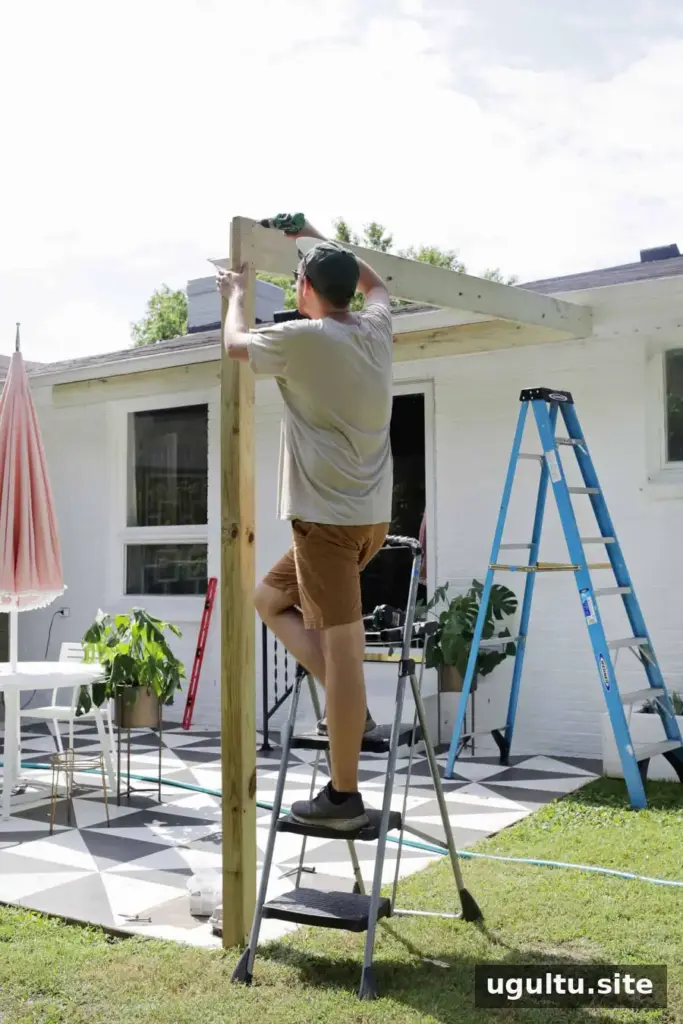
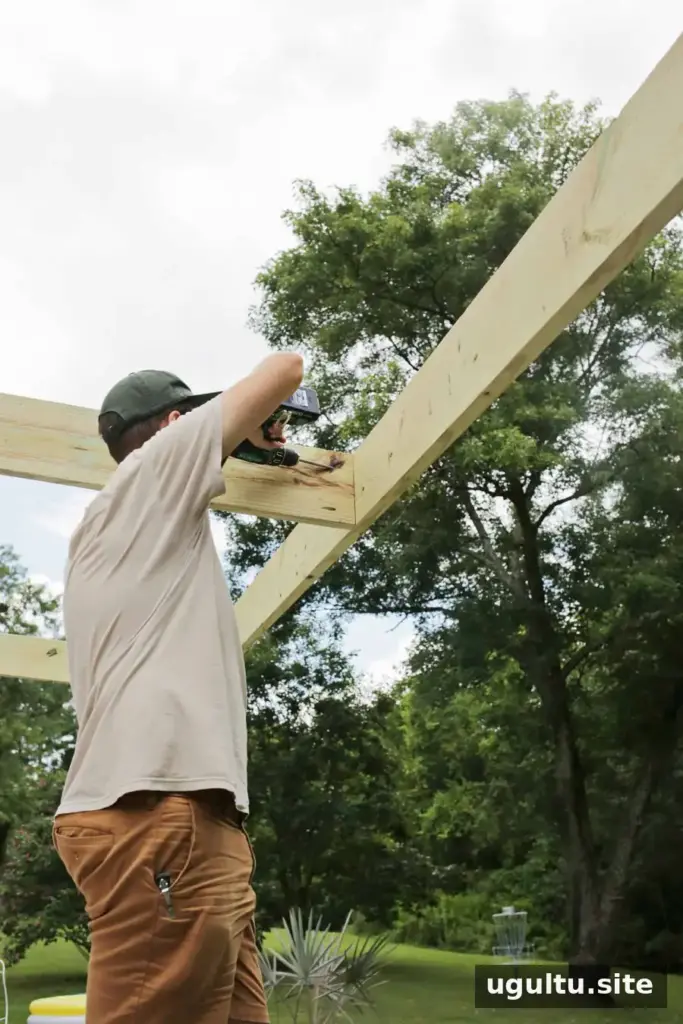
Once both side joists are installed, measure and cut the front ledger board to fit between the posts, then fasten it in place. These boards are heavy; have at least two people help with lifting and positioning, and work slowly to keep the frame stable.
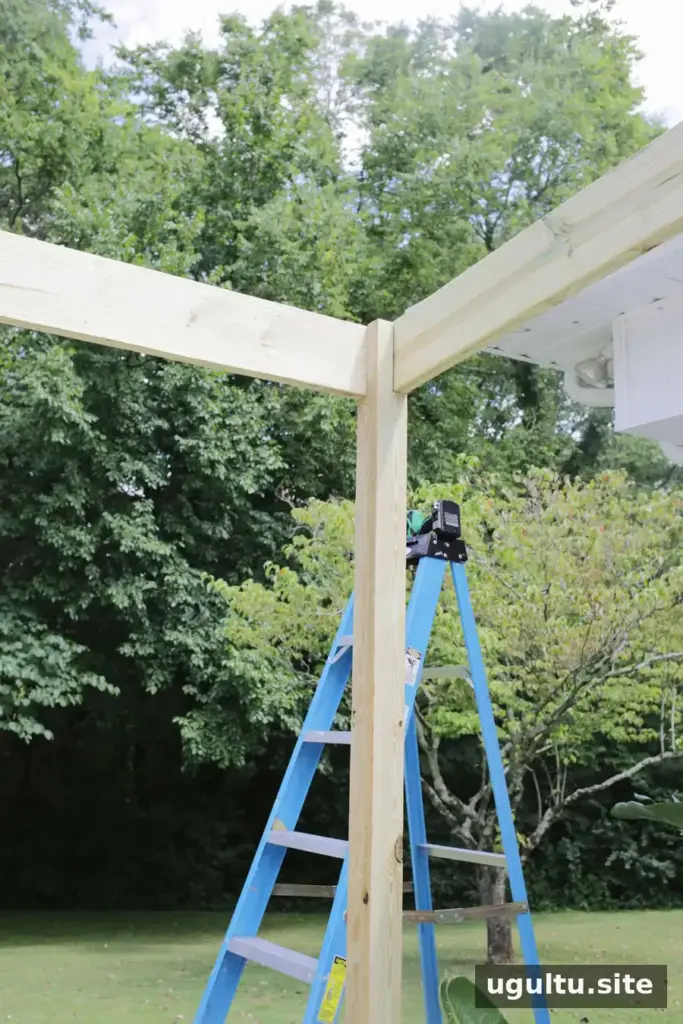
Space the interior joists and finish
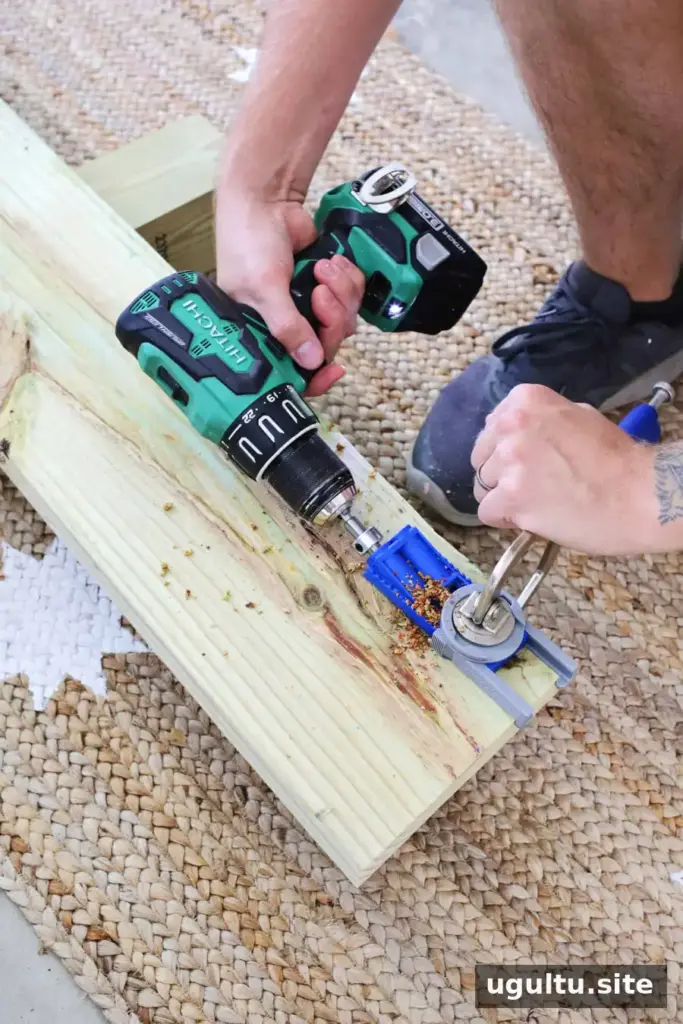
Decide how many interior joists you want and mark evenly spaced positions on both the header and the front ledger. Cut each board to length, transferring the angle from your template where needed. Drill two pocket holes at each end, then have two people hold the board in position while it is fastened to the frame.
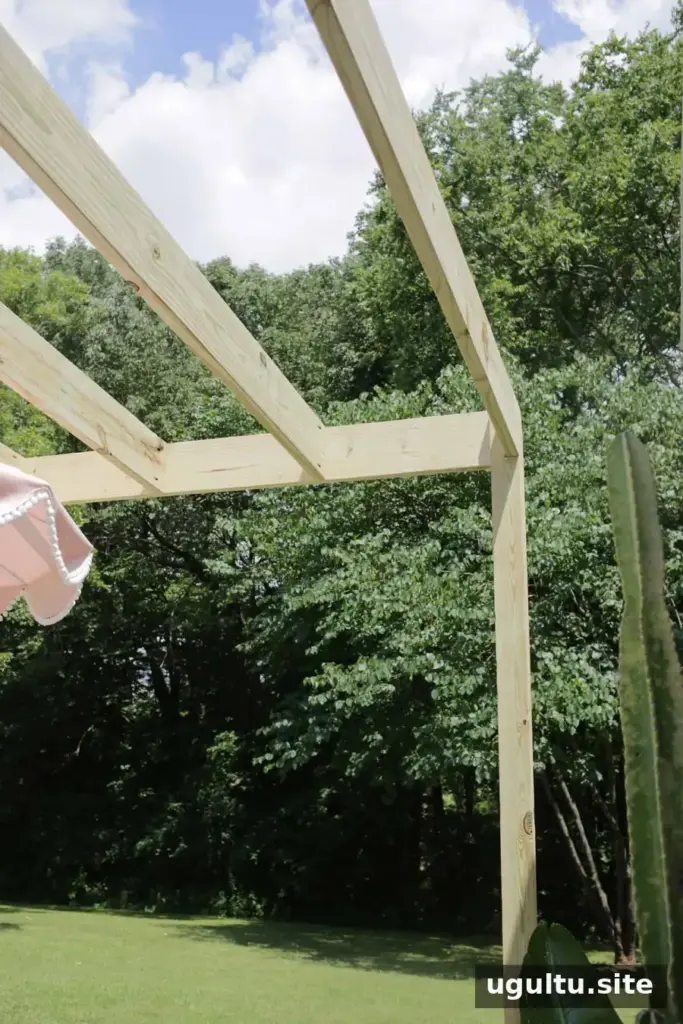
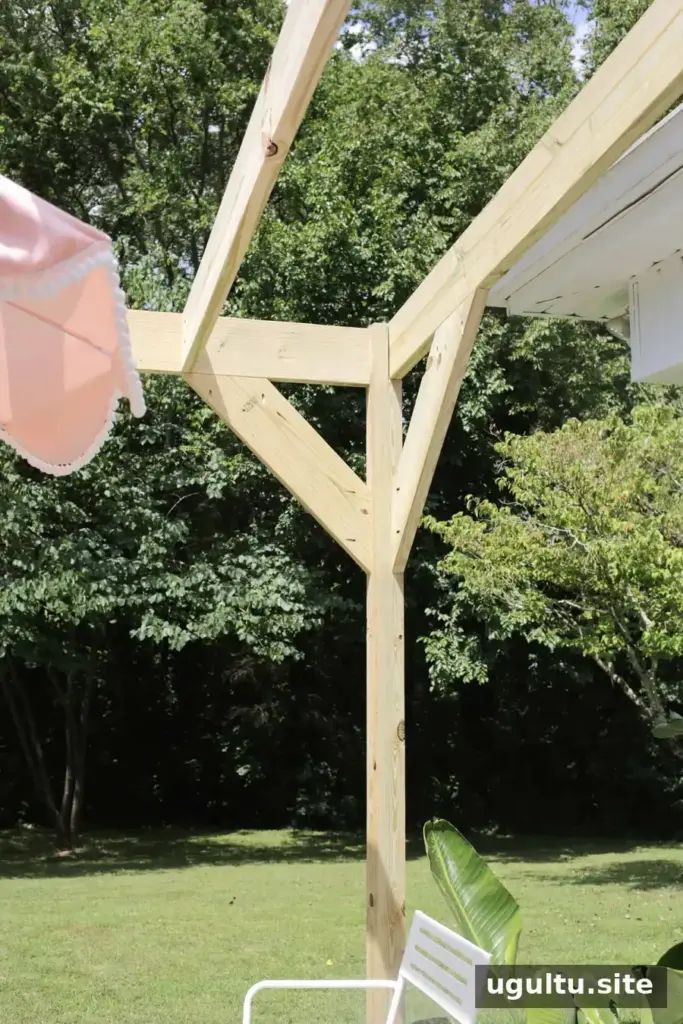
Angled braces at the posts are one option for corner support and create a more rustic appearance. For a cleaner-lined look, 24″ x 24″ brackets can be used at the front corners instead. Choose an approach suitable for the structure and confirm the support details before use.
Fill screw holes, then paint or stain the finished pergola. Outdoor fabric can be woven through the overhead slats for temporary shade; remove it when you want the area open to sunlight. Check that any fabric is secured appropriately and take it down in conditions that could put extra strain on the structure.
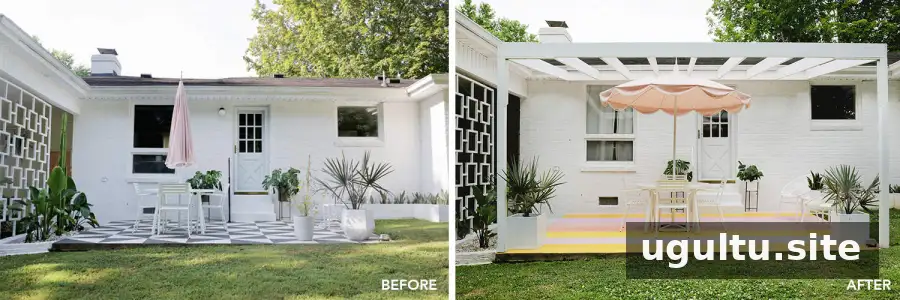
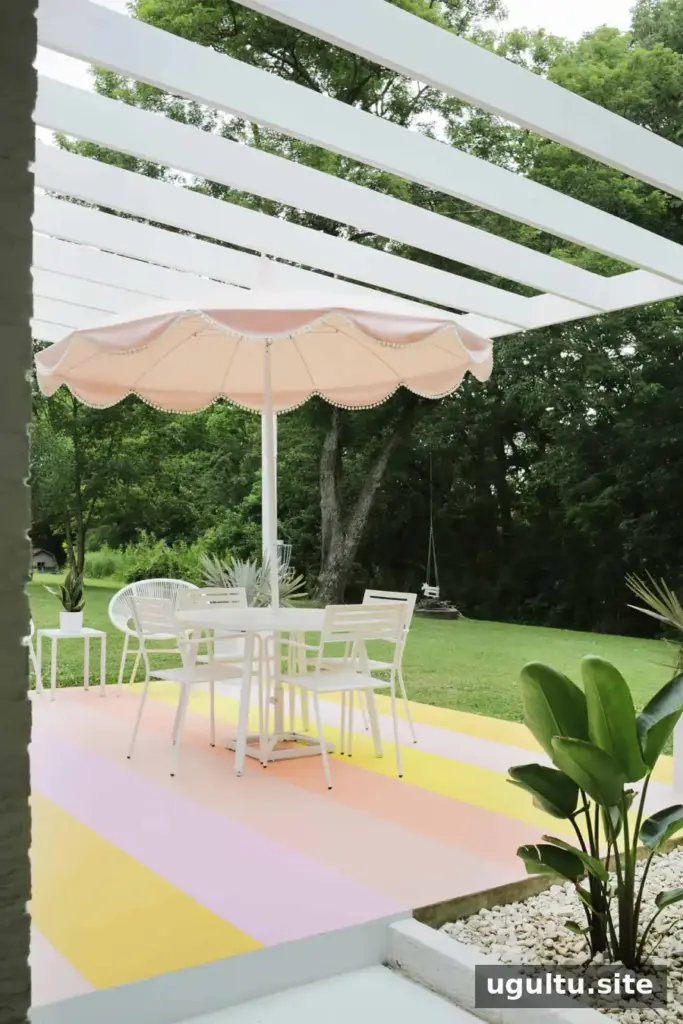
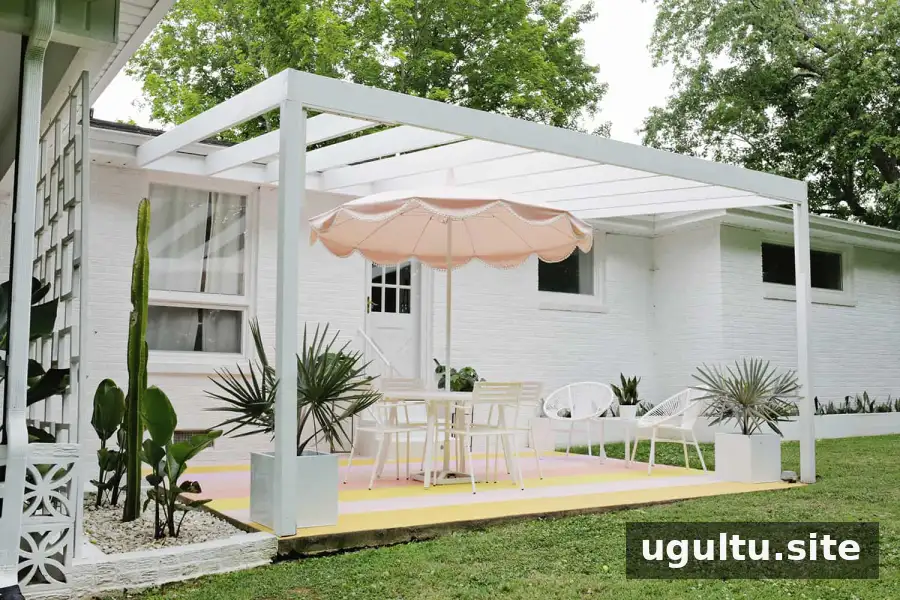
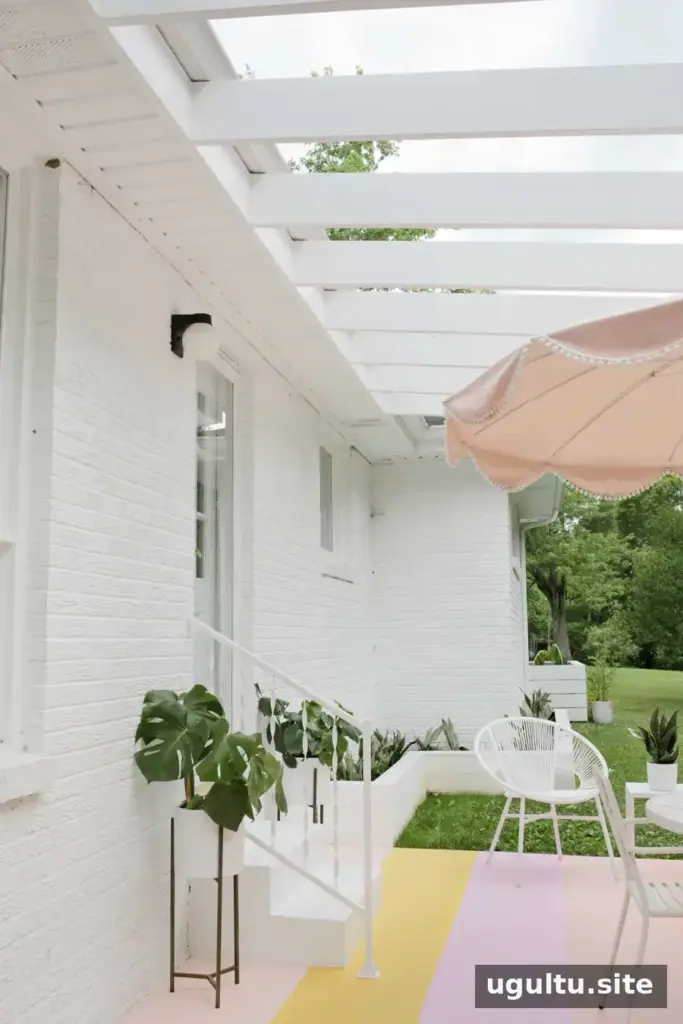
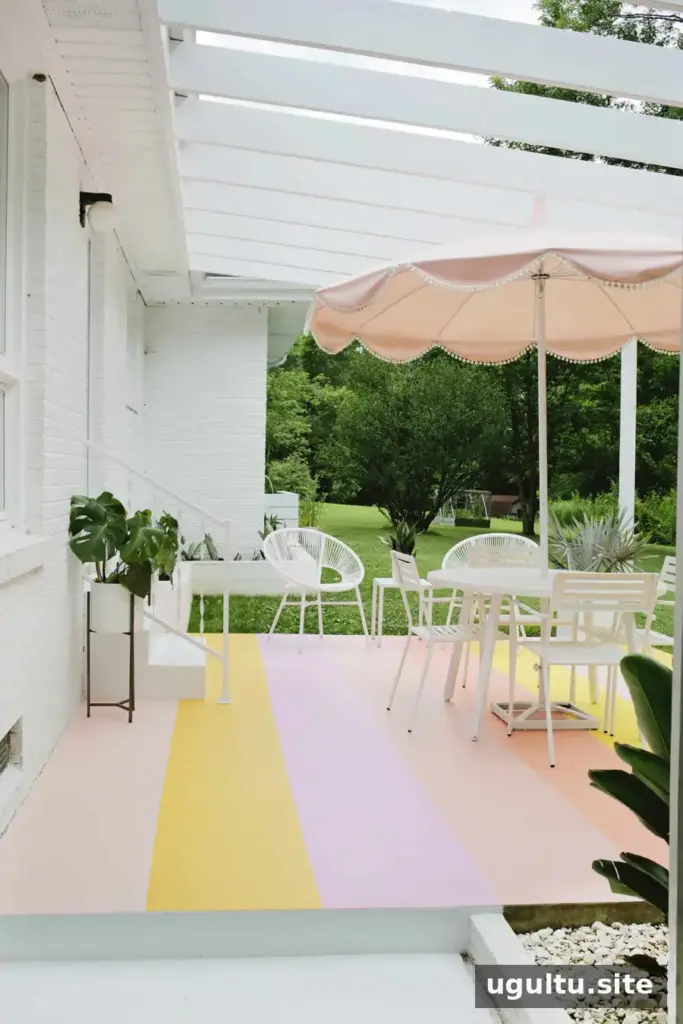
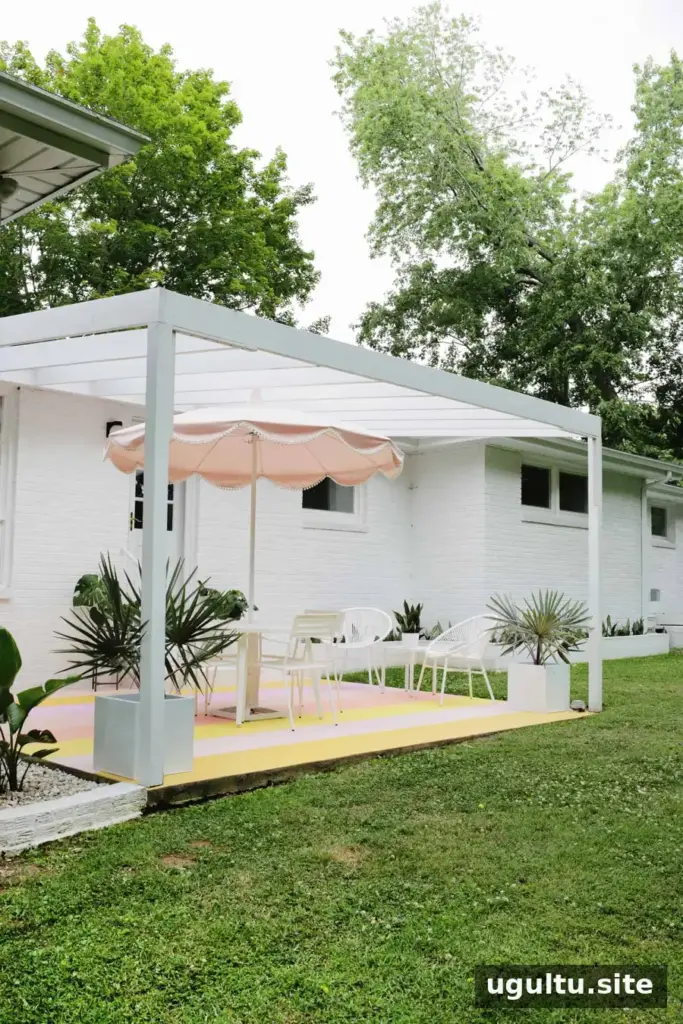
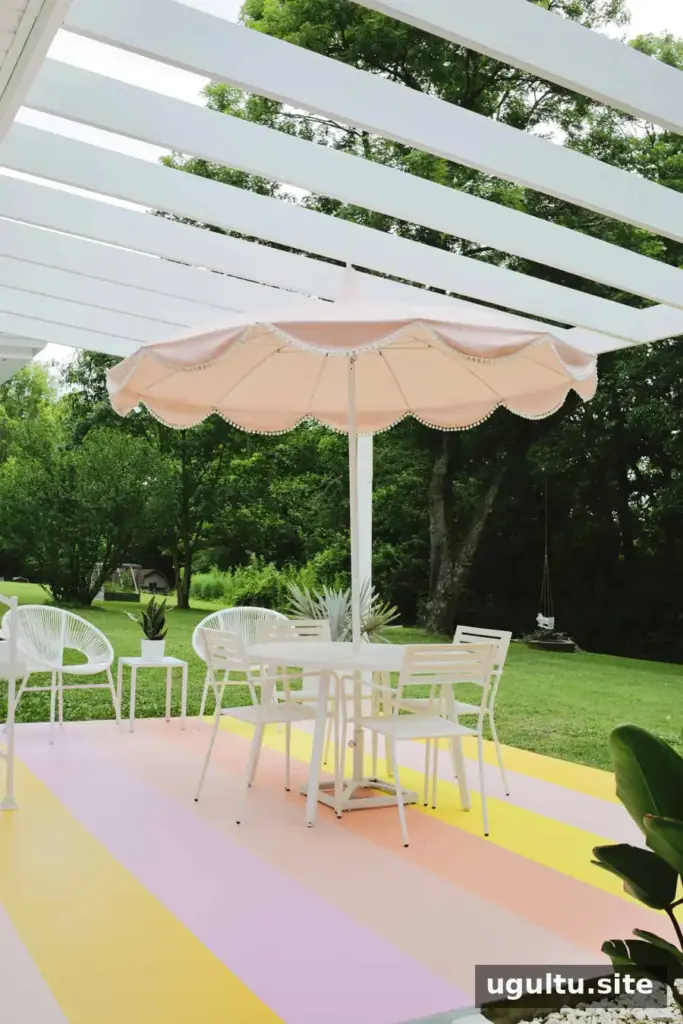
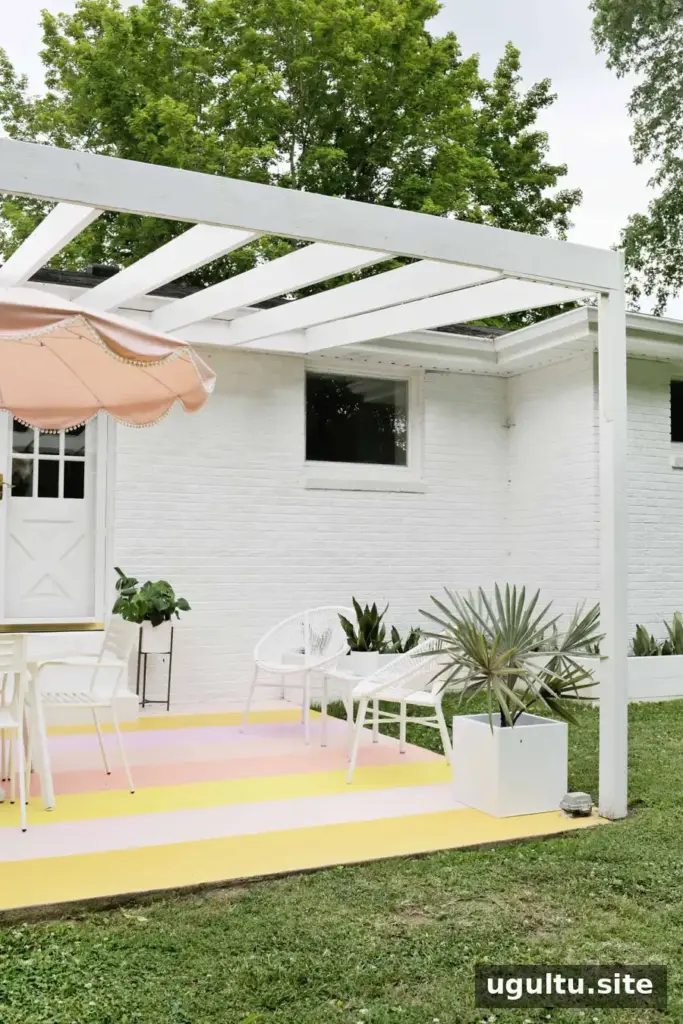
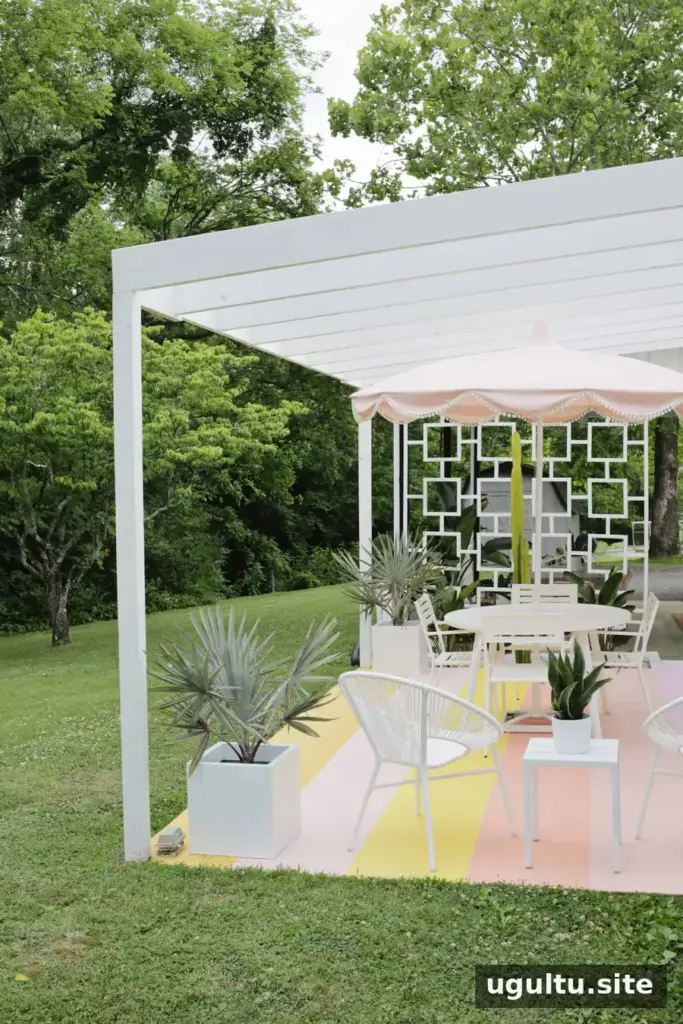
A well-planned mid-century pergola can help a patio feel like a natural extension of the home while keeping the design simple and uncluttered. Before starting, verify the attachment points, measurements, and local requirements, and get professional advice if the roof or concrete setup is uncertain.
Project author: Laura. Planning assistance: Taylor.