admin
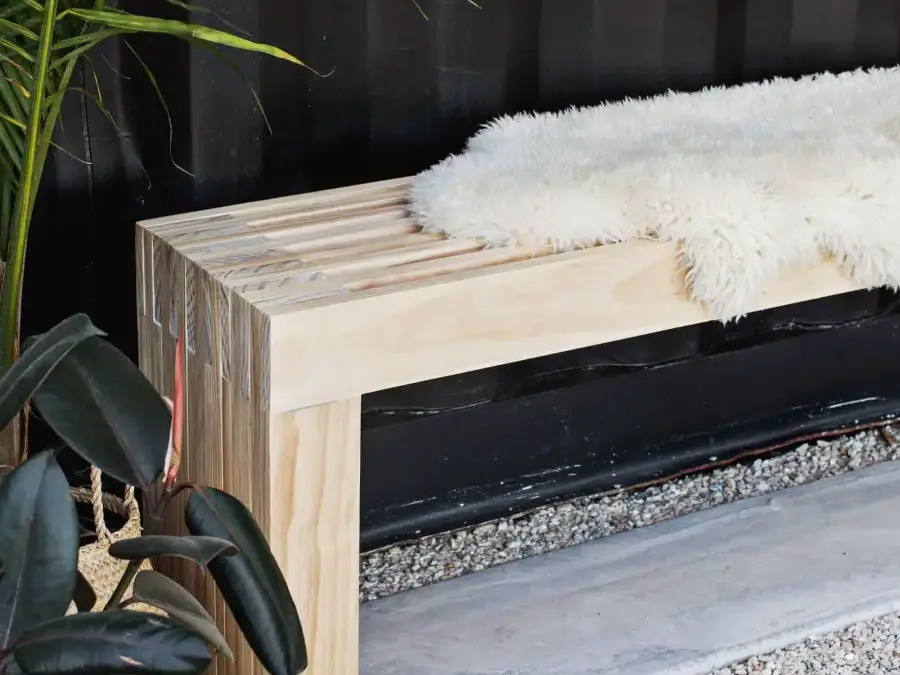
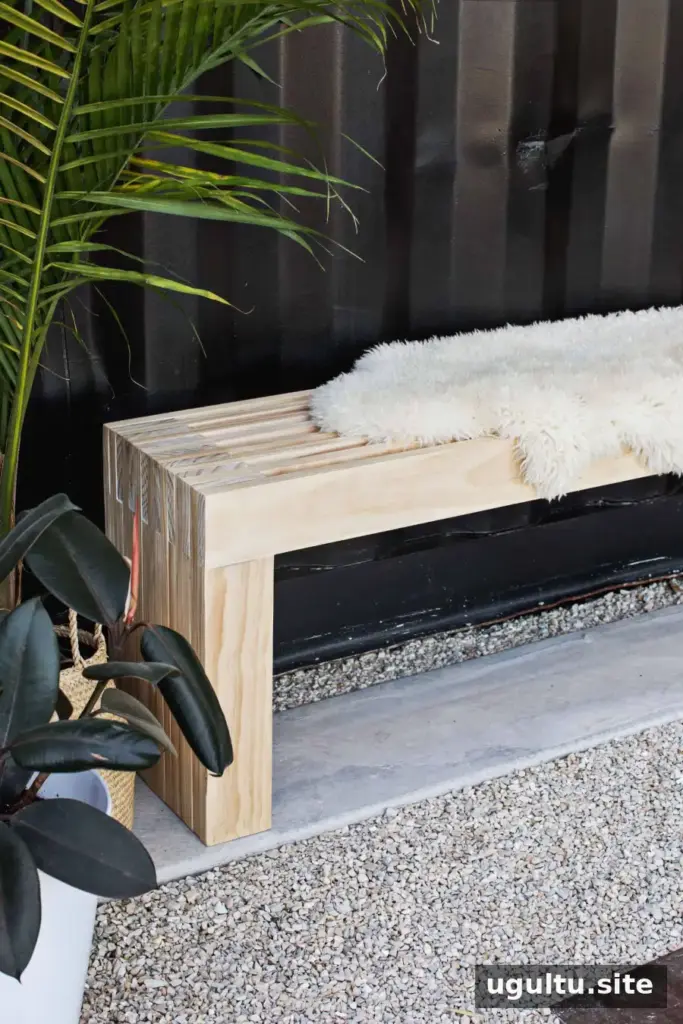
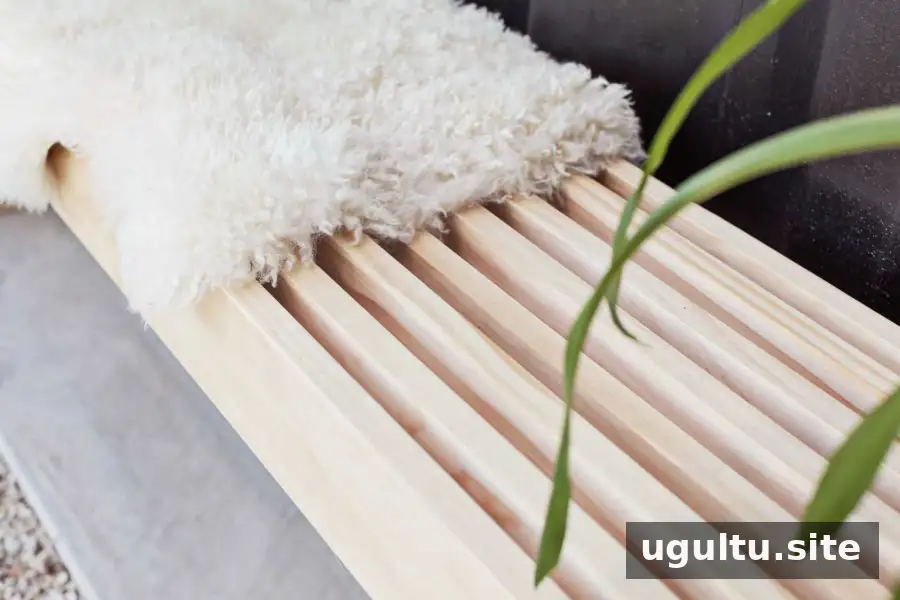
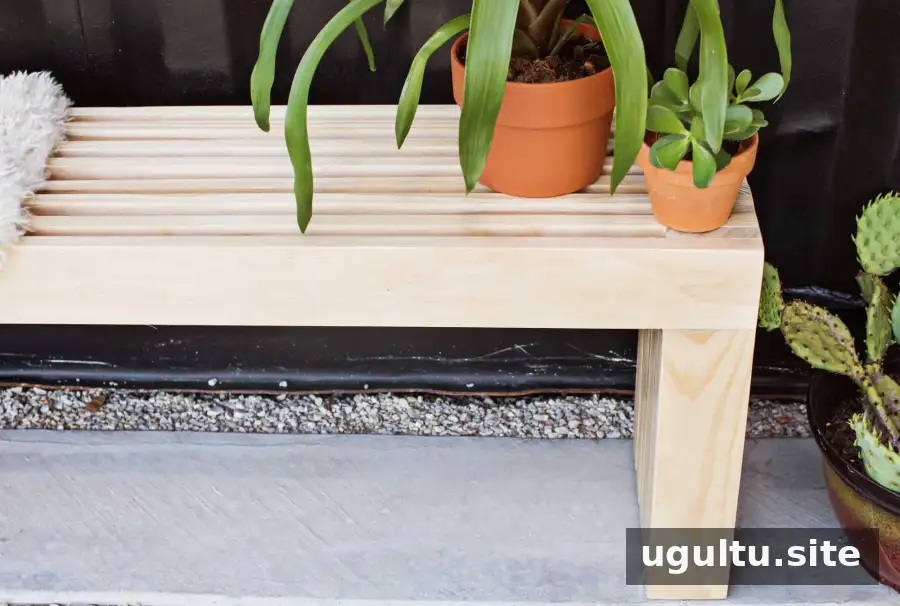
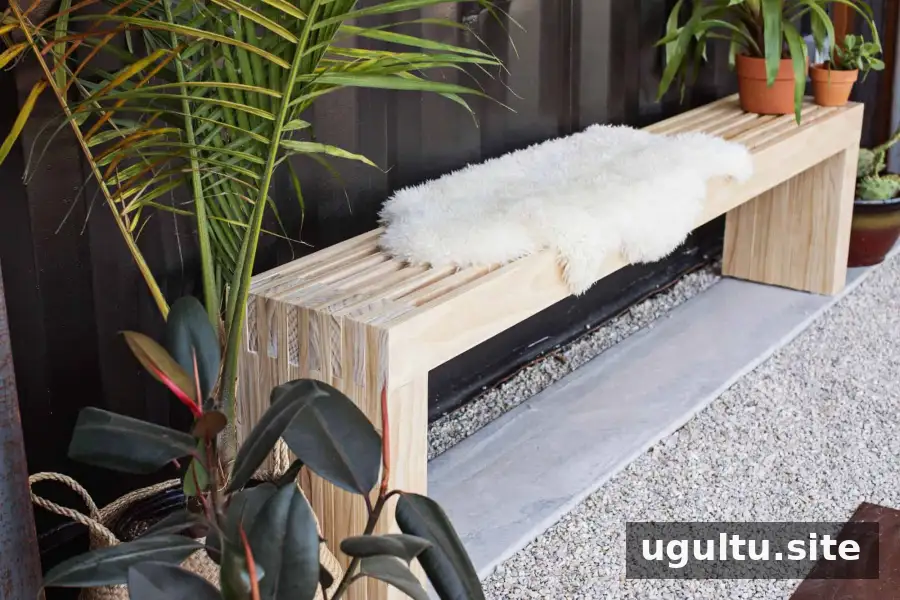
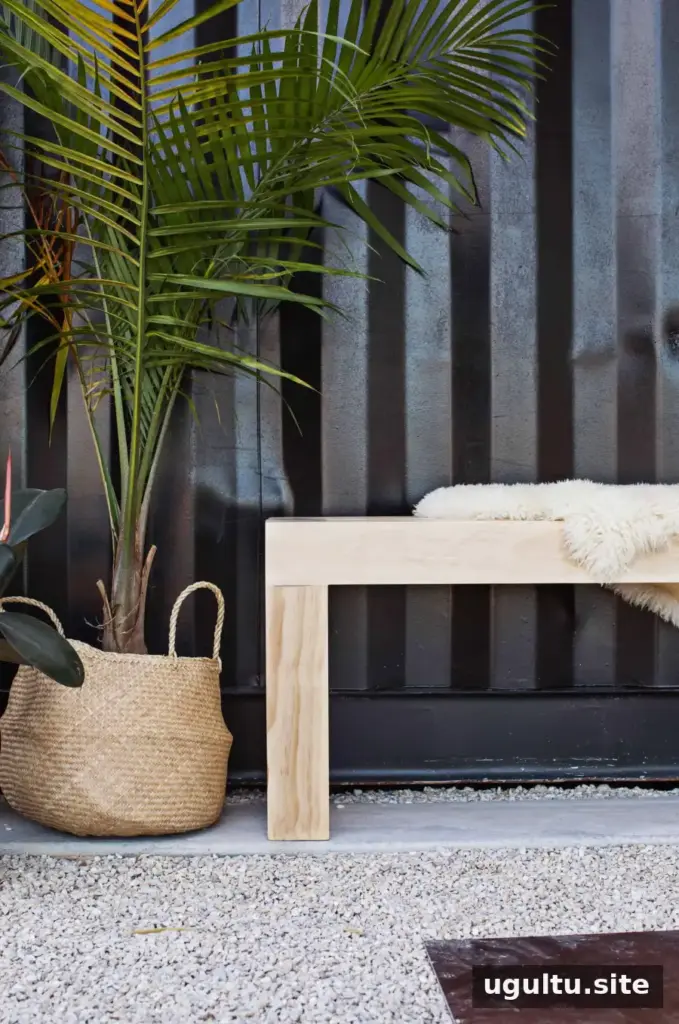
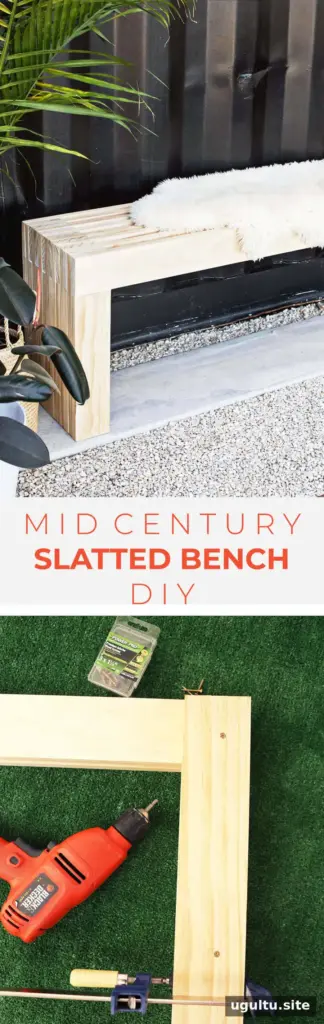
A mid-century slatted bench DIY project can add clean lines and flexible seating to a dining area, bedroom, porch, or studio. This design uses pine boards arranged in a slatted pattern, with simple box-style joints and adhesive to bring the pieces together. Having the lumber cut to size at a home improvement store can make the build more accessible if you do not have a table saw or workshop.
The finished bench can be left natural, painted, or stained to suit its setting. Before buying materials, plan where you will use it and choose a finish appropriate for indoor or outdoor conditions.
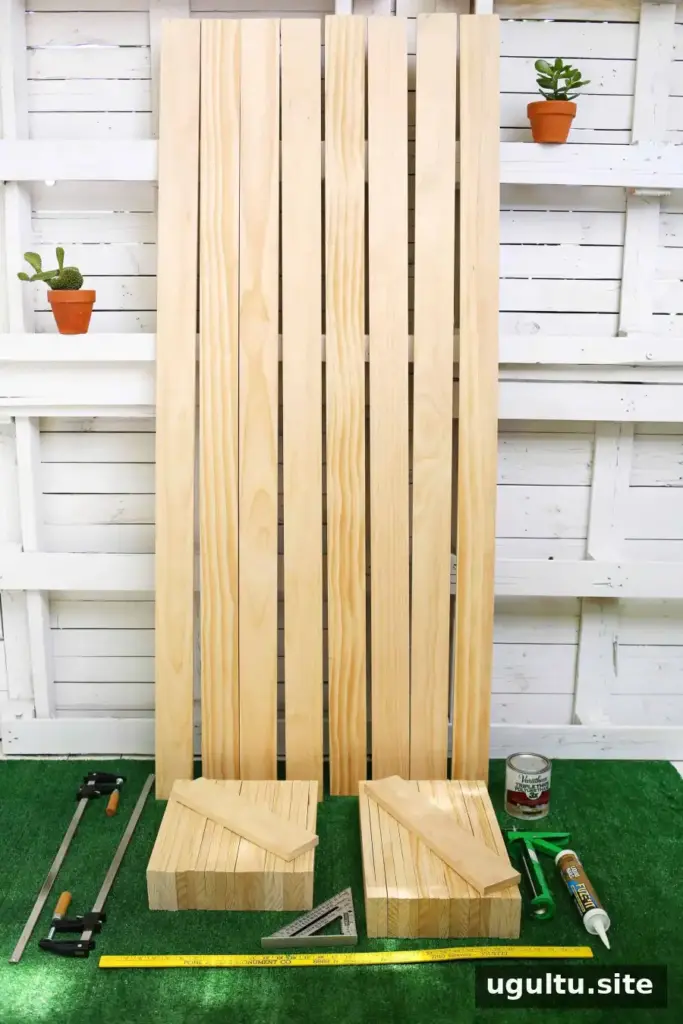
Materials and tools for the mid-century slatted bench DIY
Gather the supplies before you begin. A complete list helps you check the cut sizes and avoid interrupting assembly.
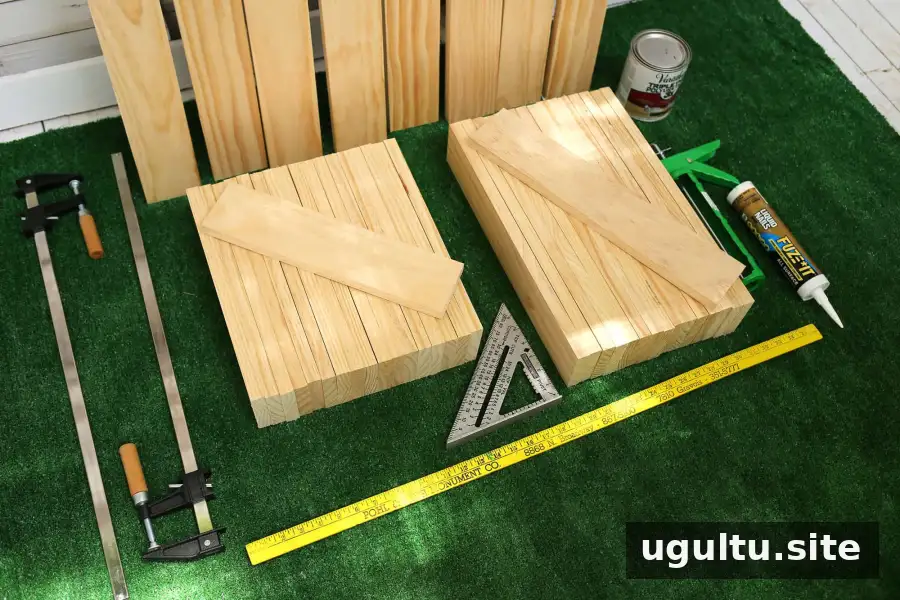
- Nine 1″ x 4″ x 6′ pine boards
- Six 1″ x 4″ x 8′ pine boards
- Two 24″ bar clamps; four clamps can make assembly easier
- Construction adhesive and a standard caulk gun
- Yardstick and square tool
- 100 #8 x 1.25″ countersinking wood screws
- Power drill and power sander
- 80- and 120-grit sandpaper
- Paint, stain, or polyurethane, depending on intended use
- Brush or rags for applying paint or stain
Choose straight boards and prepare the cuts
Eight of the nine 1″ x 4″ x 6′ boards are used for the bench seat; the remaining board is cut along with the other lumber. From the six 1″ x 4″ x 8′ boards, have 14 pieces cut to 18″ and 16 pieces cut to 14.5″. If you are using a store’s cutting service, bring these measurements and allow for any cutting fees.
Select the straightest boards available. Store them flat where possible, since boards left leaning for a long time can warp. If you plan to use a brush or rag to apply the finish, consider painting or staining the 6′ boards before assembly; the spaces between the slats will be harder to reach later. For outdoor use, select a finish intended for exterior exposure.
Assemble the bench frame and slats
Start with one 6′ board and one 14.5″ board, checking that they meet at a square angle. Work on a protected surface because adhesive can squeeze out of the joints. Keep a damp paper towel and scrap wood nearby to remove excess adhesive before it dries.
Apply a small bead of construction adhesive where the boards meet, then clamp them together while keeping the joint square. The adhesive begins setting in about 10 minutes, so work steadily and clamp each section as you go. Repeat the same arrangement at the other end of the bench.
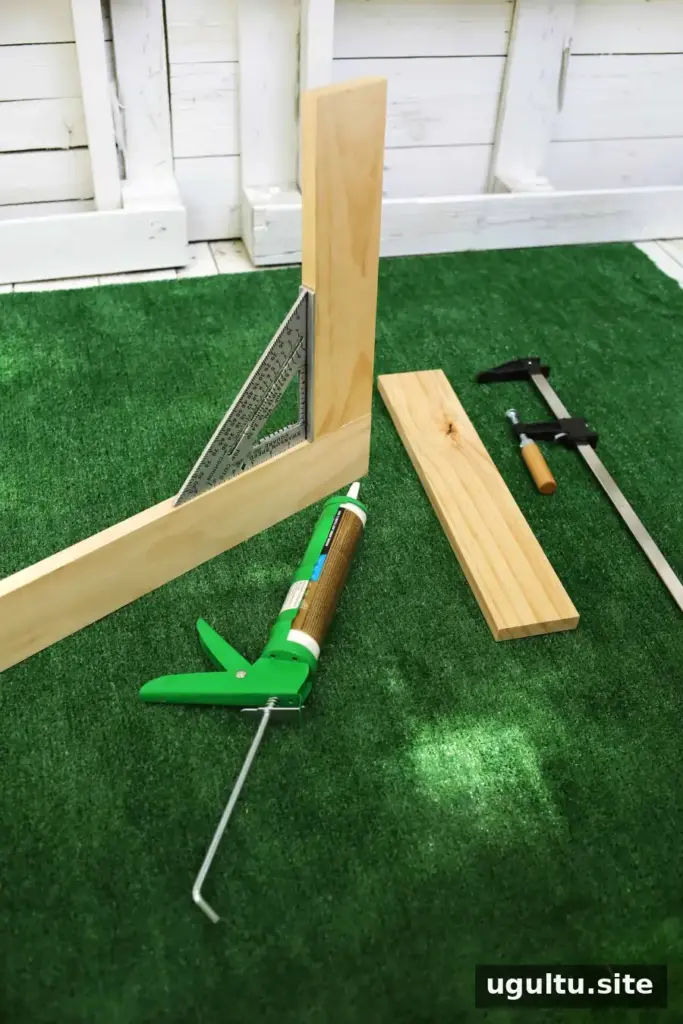
Apply a 1/4″ strip of adhesive along the center of an 18″ board and set it on top of the 14.5″ board. Align it with the corners of the 6′ board. For a mechanically fastened joint, drill a countersunk screw through the glued area, then add another screw about 4″ up from the bottom at the opposite end of the 18″ board. Repeat on the other side.
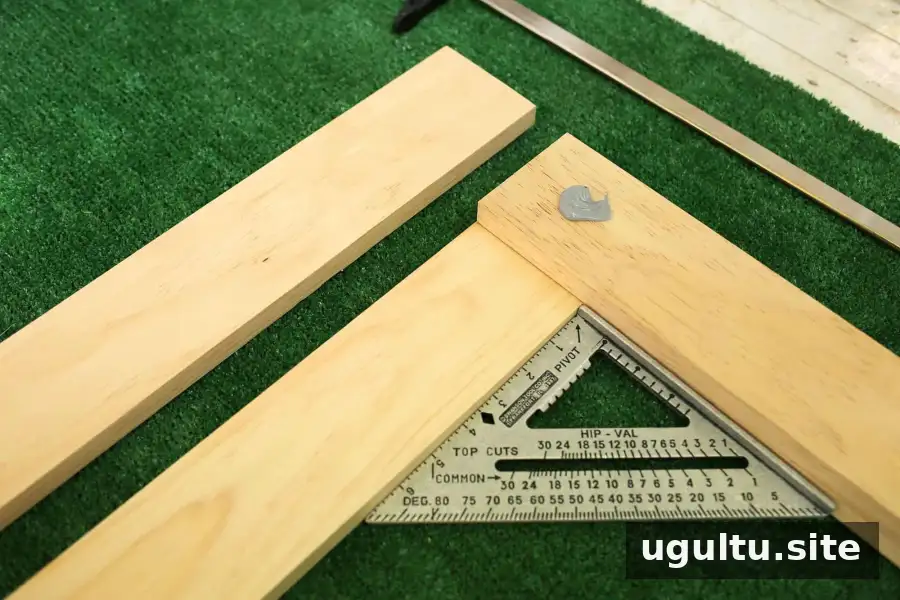
Add adhesive and position the second 6′ board, checking that the edges are flush and the assembly remains square. Clamp it and secure the joint with a screw. Repeat at the other end. Next, place a 14.5″ board flush beneath the 6′ board and on top of the 18″ board. Apply a small amount of adhesive where it meets the 6′ board, plus a 1/4″ strip along the center of the face resting on the board below. Clamp it, then drill about 2″ from each end.
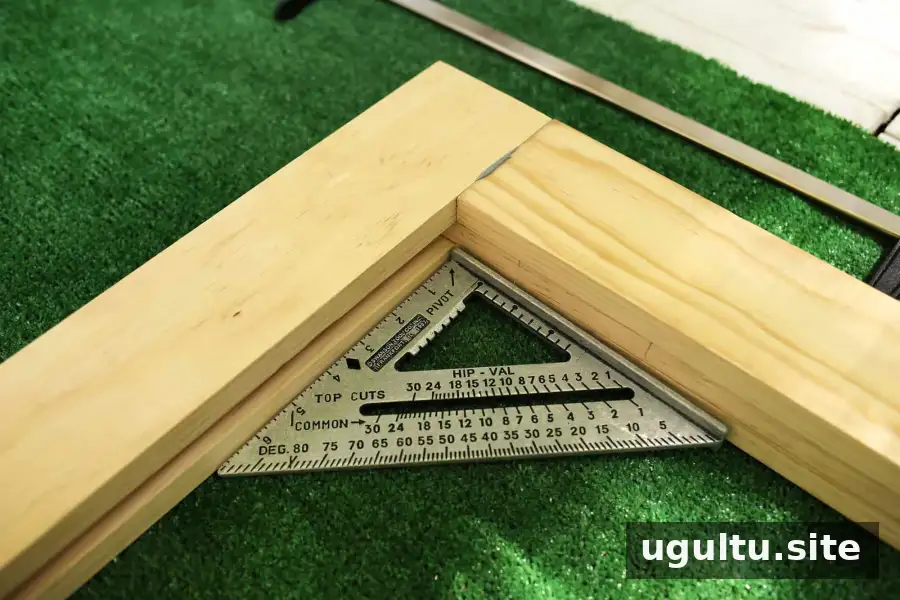
Continue alternating the 18″ and 14.5″ pieces, adding adhesive and checking alignment at each step. Clamp and screw the joints as described, repeating the arrangement on both sides. Continue until the final 6′ board and the last 14.5″ boards are in place.
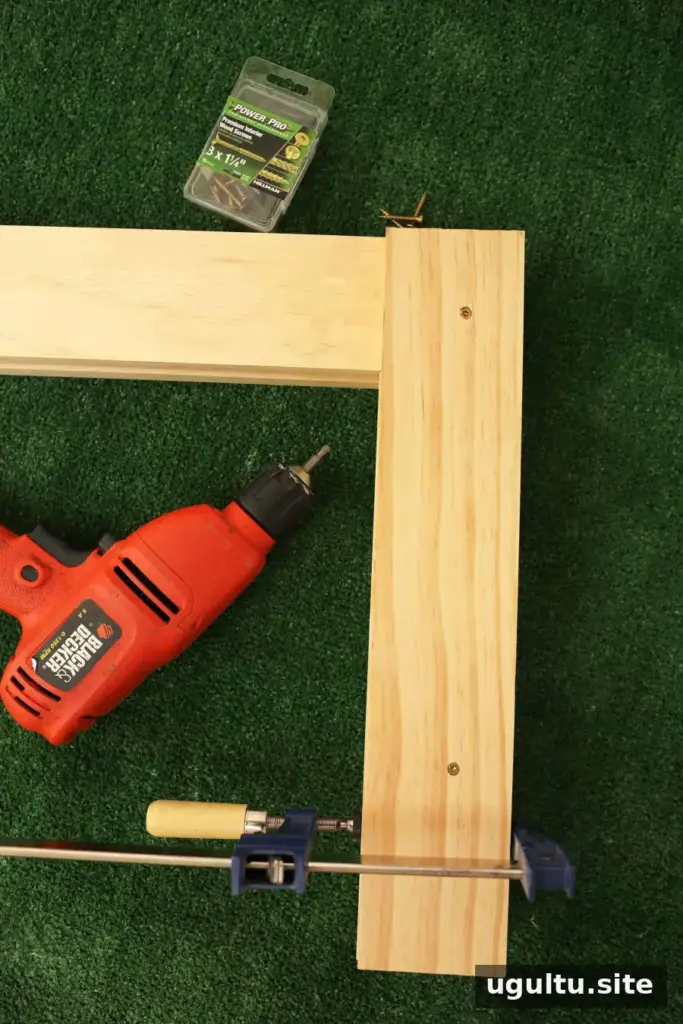
Starting at the front keeps the screw heads less visible from that side. To avoid visible hardware at the back, you can use adhesive and clamps for the final step without screws; keep the pieces aligned while the adhesive sets. If painting, countersunk screw heads can be covered with wood filler before the paint is applied. Follow the adhesive manufacturer’s curing instructions before moving on.
Sand and finish the slatted bench
Use 80-grit sandpaper to even out the edges, then smooth the surfaces with 120-grit. Sand gradually and check your progress often so you do not remove more material than needed. Wipe the bench with a damp cloth, fill any gaps with wood filler, and follow the filler instructions before applying paint or stain if you have not already finished the boards.
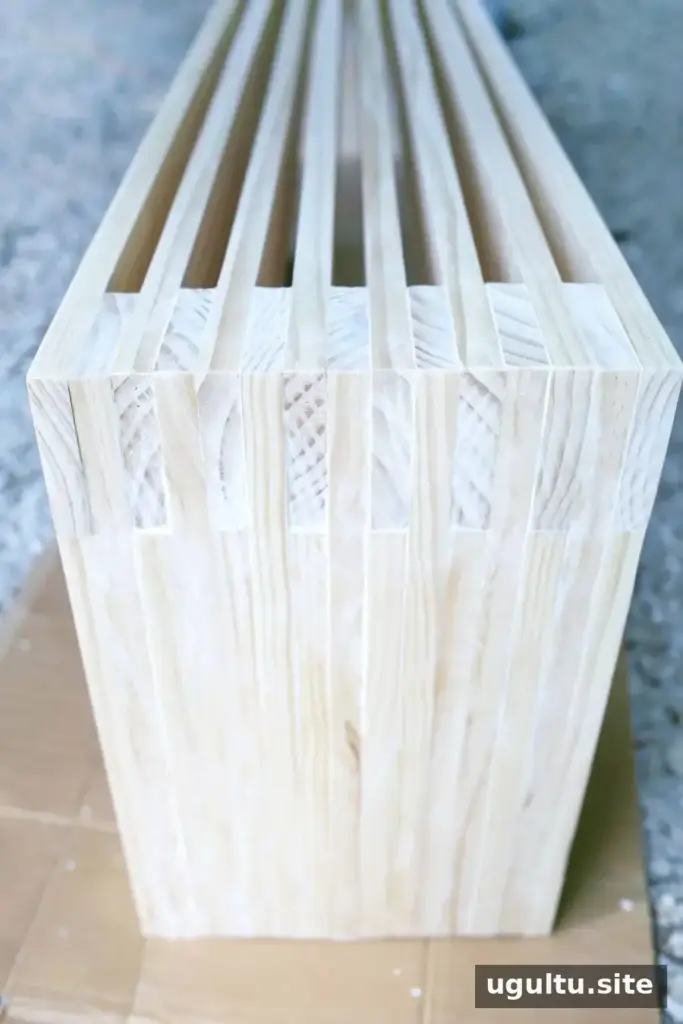
For a bench placed on hardwood flooring, a thin strip of wool felt on the underside can help protect the floor. Furniture feet may also be considered for outdoor placement.
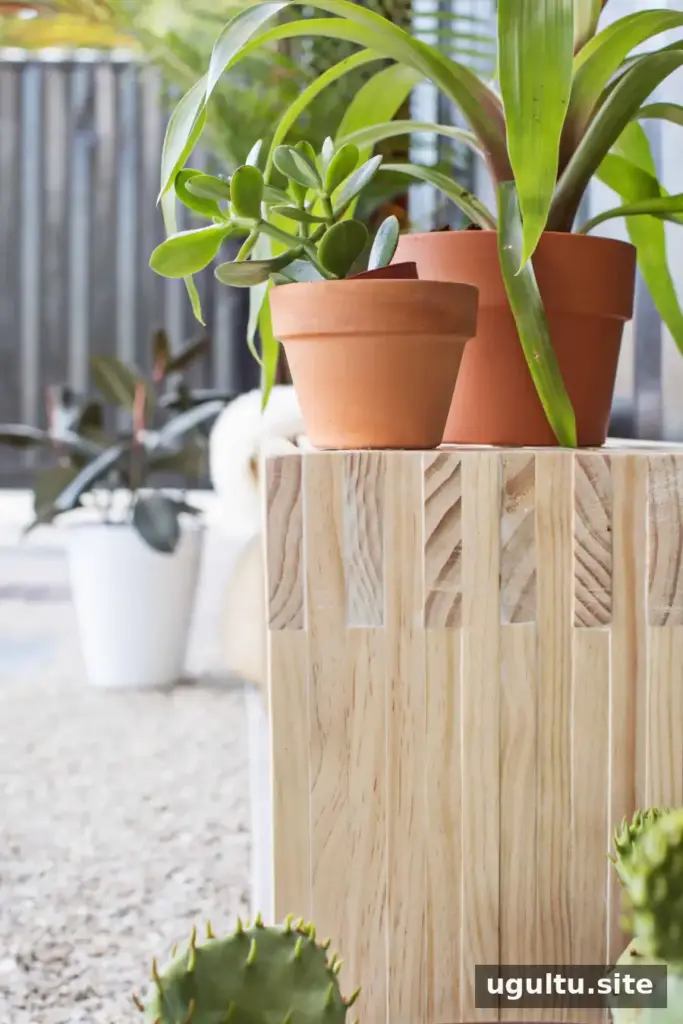
Put your mid-century slatted bench to use
This bench can provide extra seating when guests visit or serve as a place to display plants between gatherings. Its simple shape also makes it easy to move between rooms as your needs change. Before regular use, make sure the adhesive and finish have fully cured according to their product instructions.
— Rachel