
 admin
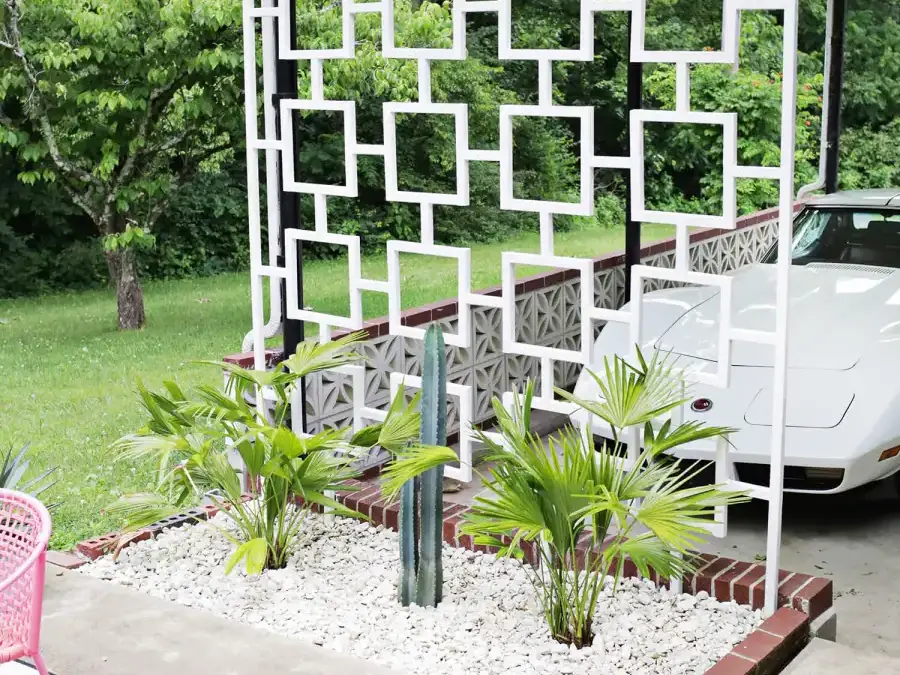
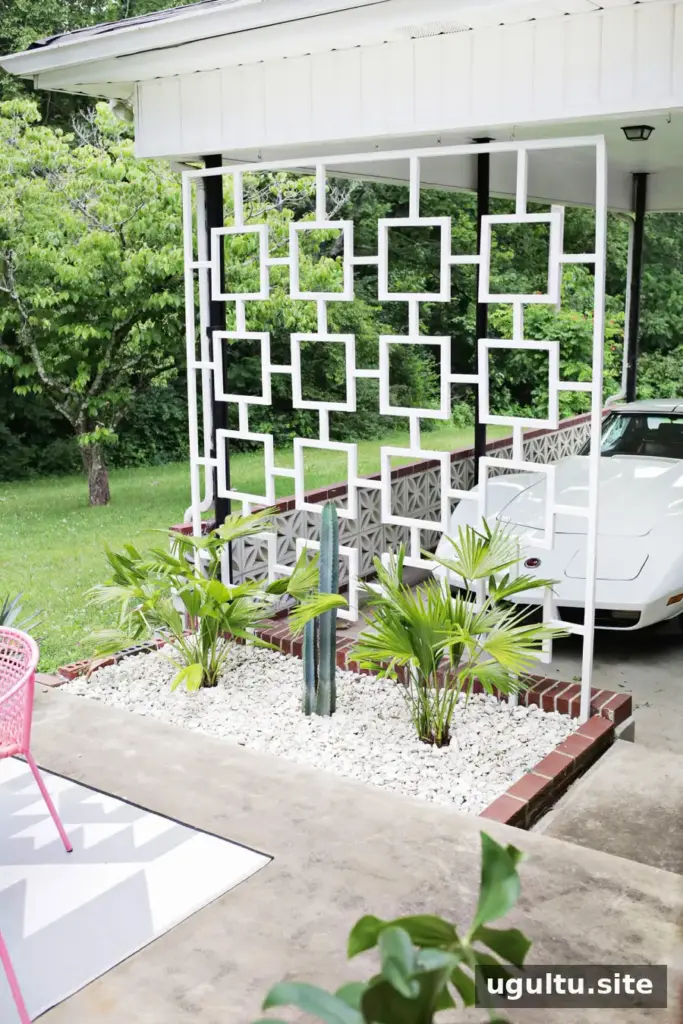
A mid-century trellis DIY project can create a sense of separation between a carport and patio without blocking a view of the trees. This geometric screen was designed to soften the view of parked cars while keeping the outdoor space open and bright.
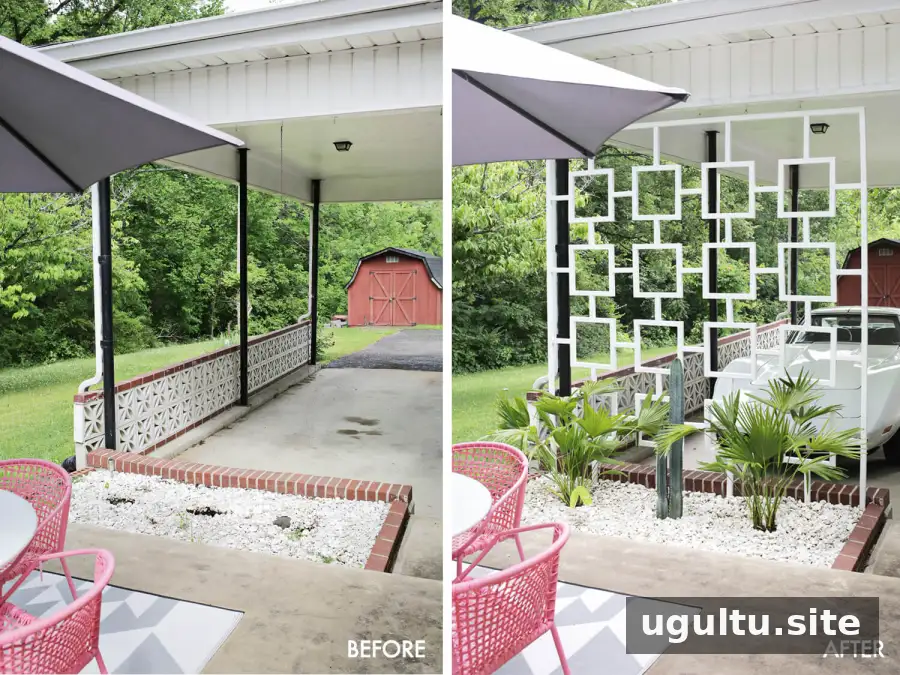
A solid wall was considered, but it would have obscured the panoramic woodland view from the porch. A trellis offered a useful middle ground: it provides a visual barrier, suits a mid-century-inspired setting, and could also support climbing vines for additional coverage.
Planning the Mid-Century Trellis DIY
Existing hooks along the roofline provided possible hanging points for the panel. The plan was to attach the trellis to those hooks and set its bottom into the soil below, so the structure would be supported at the base as well as from above.
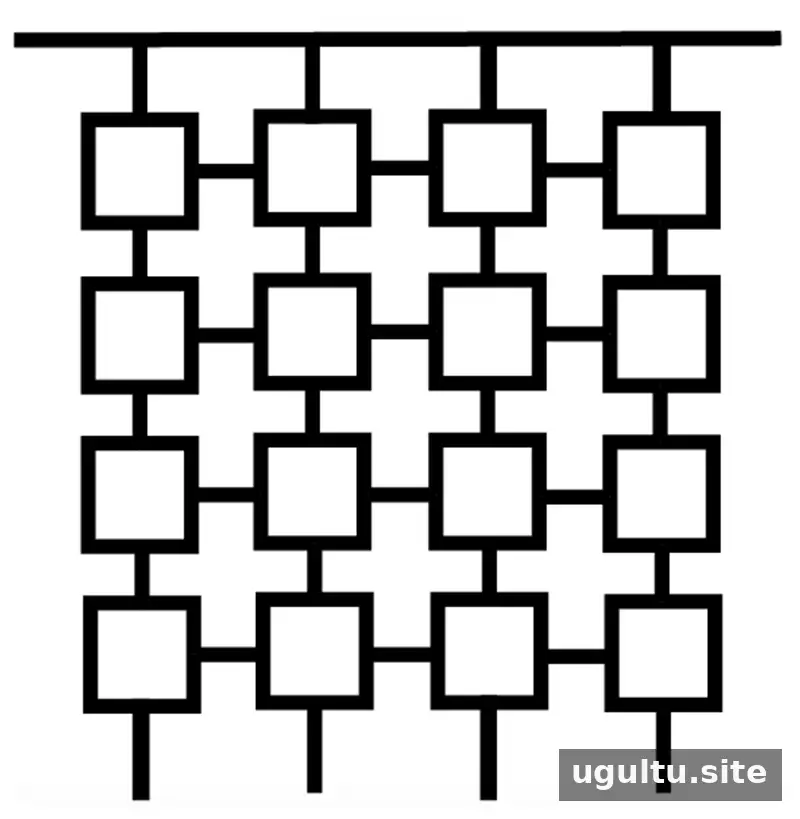
A digital mockup helped establish the pattern and check its proportions before any lumber was cut. For a project with many repeated pieces, planning the layout first can help reduce measuring mistakes and make it easier to estimate how much material is needed.
Before building, check that the intended hanging points are suitable for the finished structure and that the panel will fit the opening. A large trellis can be delicate during installation even when its individual pieces are not especially heavy.
Cutting the lumber and laying out the pattern
Each square in the pattern used two 14-inch pieces and two 11.25-inch pieces. The connecting pieces between squares were 6 inches long. The boards were cut from 2″ x 2″ x 8′ outdoor-treated lumber using a chop saw.
When making multiple cuts of the same length, use one original board as a consistent reference for each measurement. This helps prevent small variations from accumulating across the project. Wear appropriate eye and hearing protection when cutting lumber, and follow the tool manufacturer’s safety instructions.
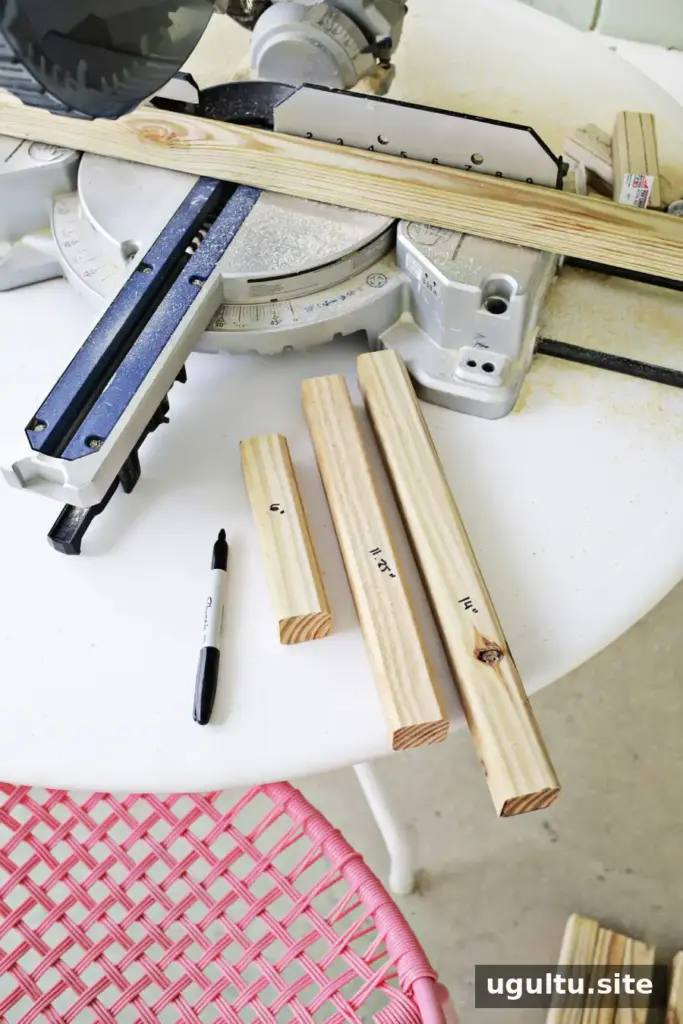
The cut pieces were arranged in the carport as work progressed. Laying out the pattern before assembly makes it easier to spot missing pieces, check alignment, and confirm that the design fits the intended space.
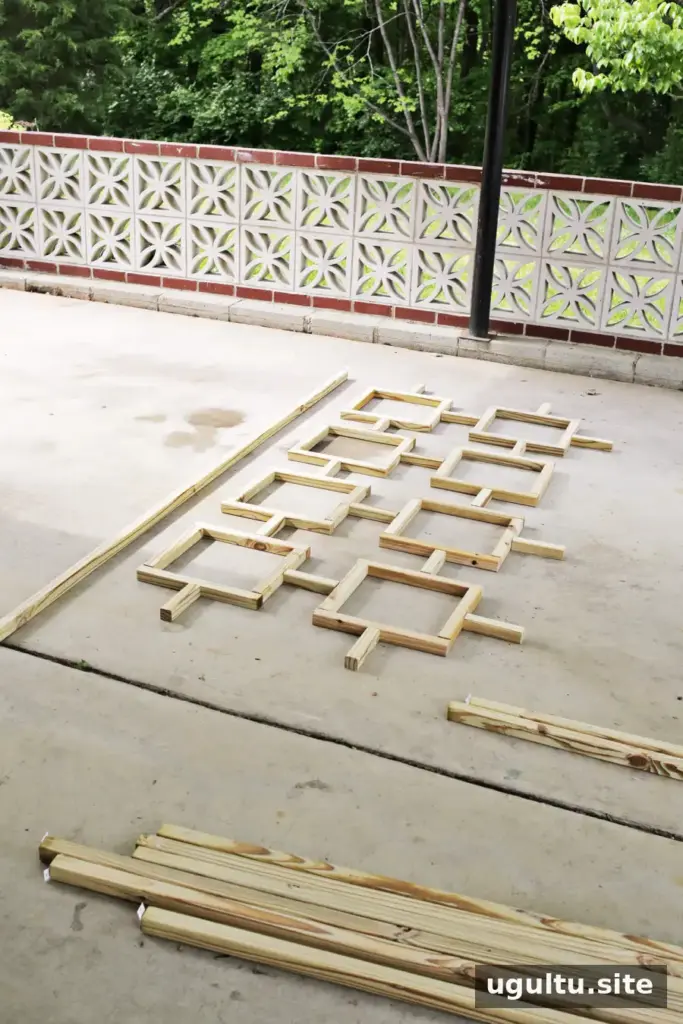
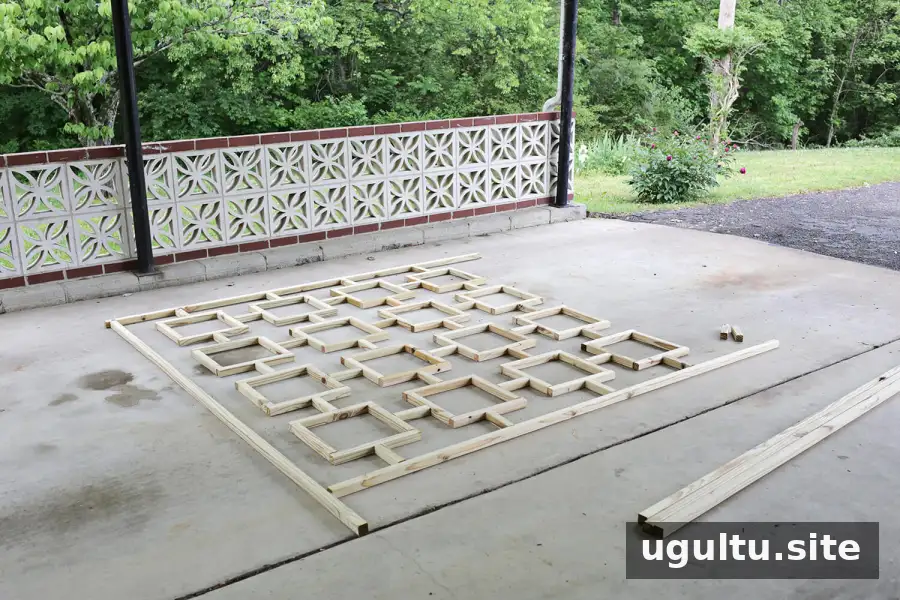
After filling in the pattern, long boards were added across the top and down both sides, then cut to fit the opening. Check the overall width and height before fastening the frame so adjustments can be made while the pieces are still easy to move.
Assembling and installing the trellis
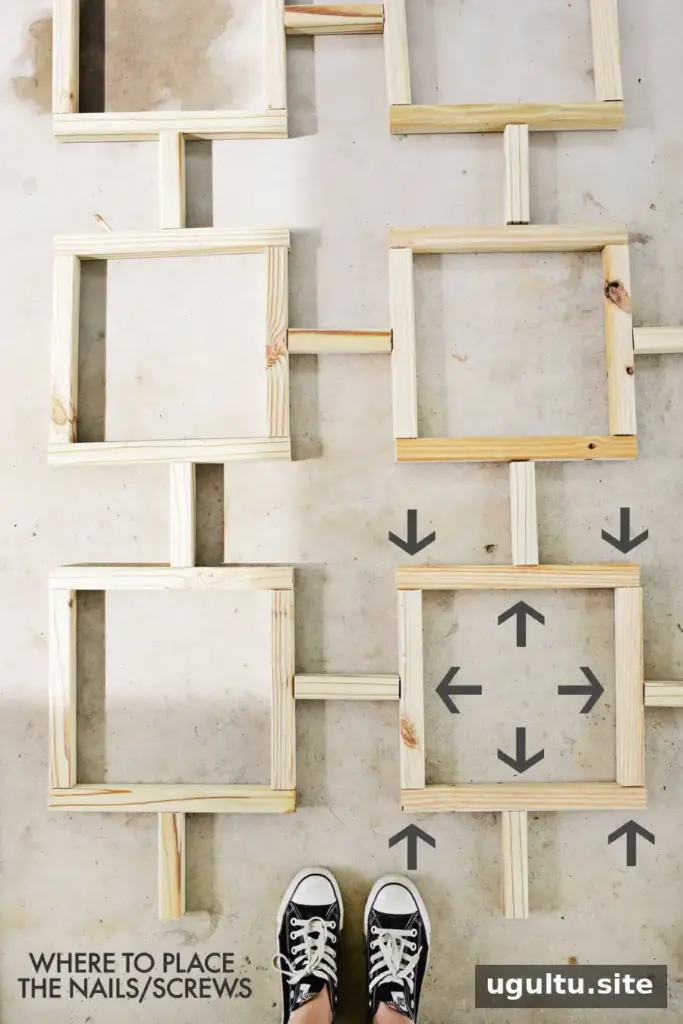
Each square was assembled first with a nail gun, then joined to the others using the 6-inch connectors. Long wood screws were also added at most of the nailed joints. If a nail gun is unavailable, a drill and wood screws can be used; temporary nailing may help hold pieces in position while the screws are installed.
Heavy-duty screw eye hooks were fitted to the top bar to line up with the existing roofline hooks. A trench was dug in the planter below so the bottom of the trellis could be set into the ground during installation.
To help protect the large, delicate panel while lifting it, five long boards were clamped across the trellis for support. With enough help to keep it stable, the panel was lifted vertically, moved to the porch, lowered into the trench, and hung from the hooks. Arrange assistance before lifting, and avoid relying on the panel’s frame alone for support during the move.
Painting and finishing the outdoor screen
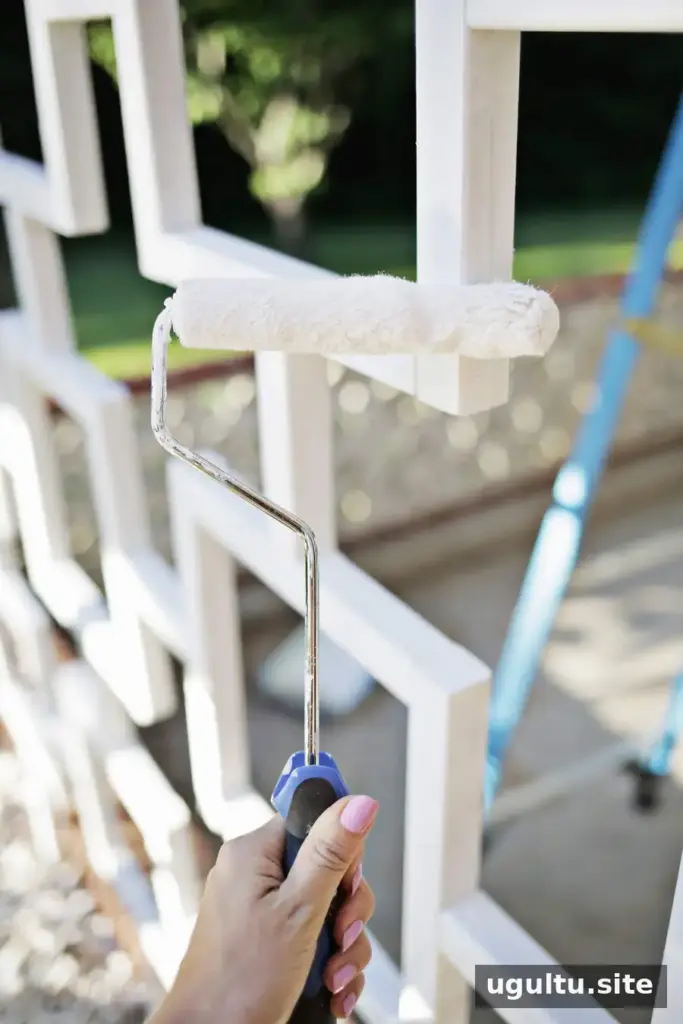
Once installed, the wood was painted with exterior paint. A small, thin roller worked well for reaching the narrow spaces in the pattern. The joints were then filled with outdoor caulk, helping the many separate pieces look more unified and limiting their exposure to the weather.
Allow paint and caulk to dry according to their product directions before placing plants or other items close to the trellis. Choosing products intended for outdoor use is important for a structure exposed to changing weather.
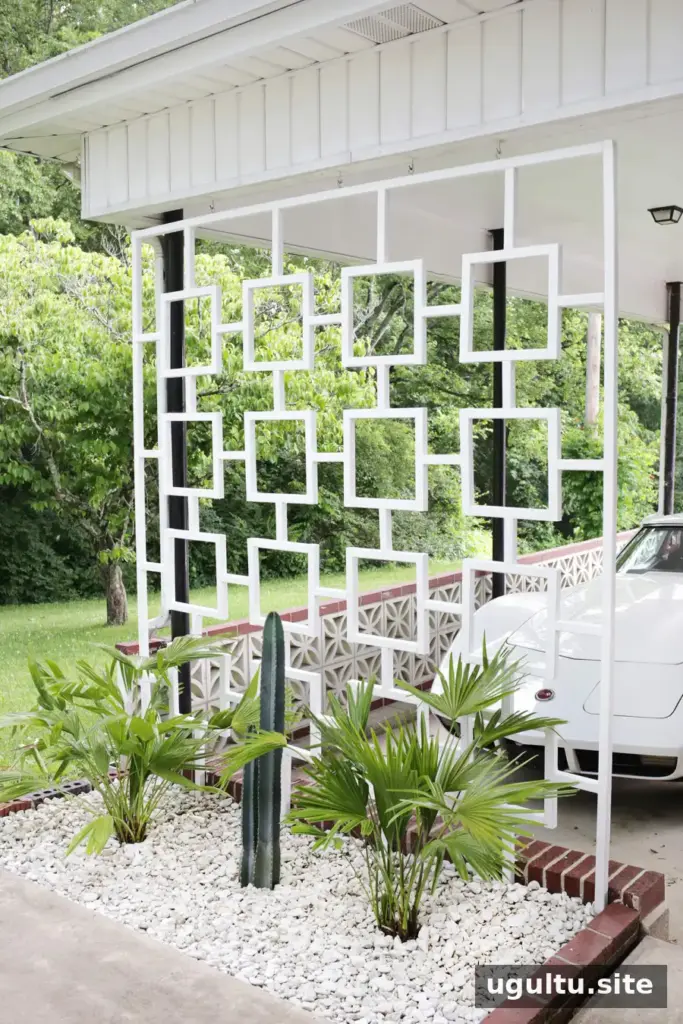
Fan palms and a Peruvian cactus were planted in the bed beneath the screen. The cactus needs to be brought indoors when temperatures turn cold, while the fan palms were expected to tolerate winter conditions in Tennessee. Plant suitability varies with local climate, so check the needs of each species before planting.
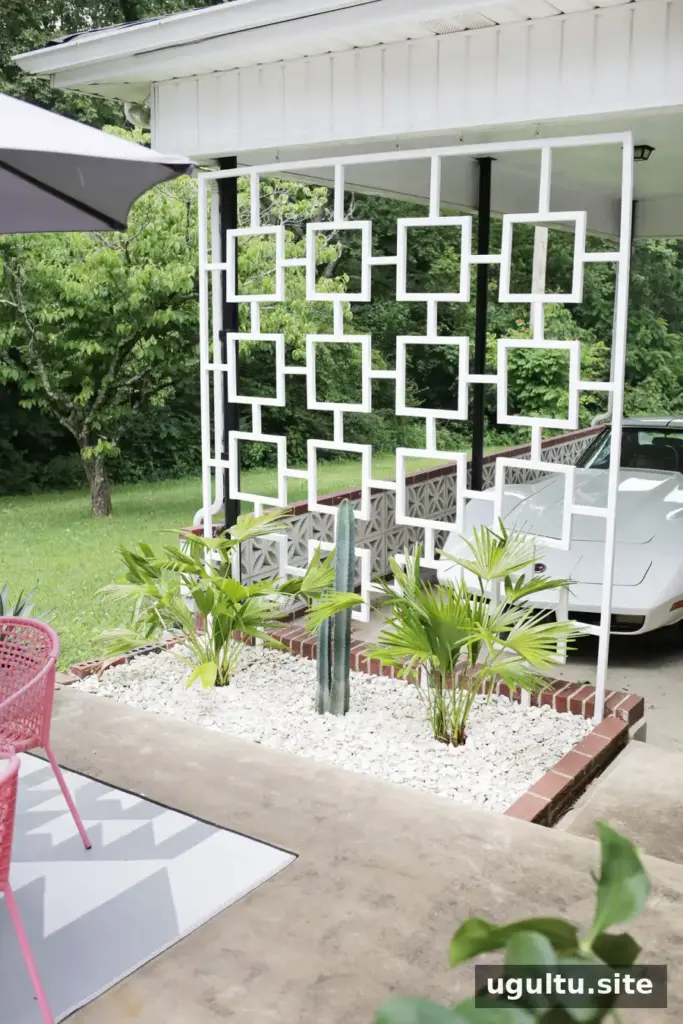
Results and ideas for added privacy
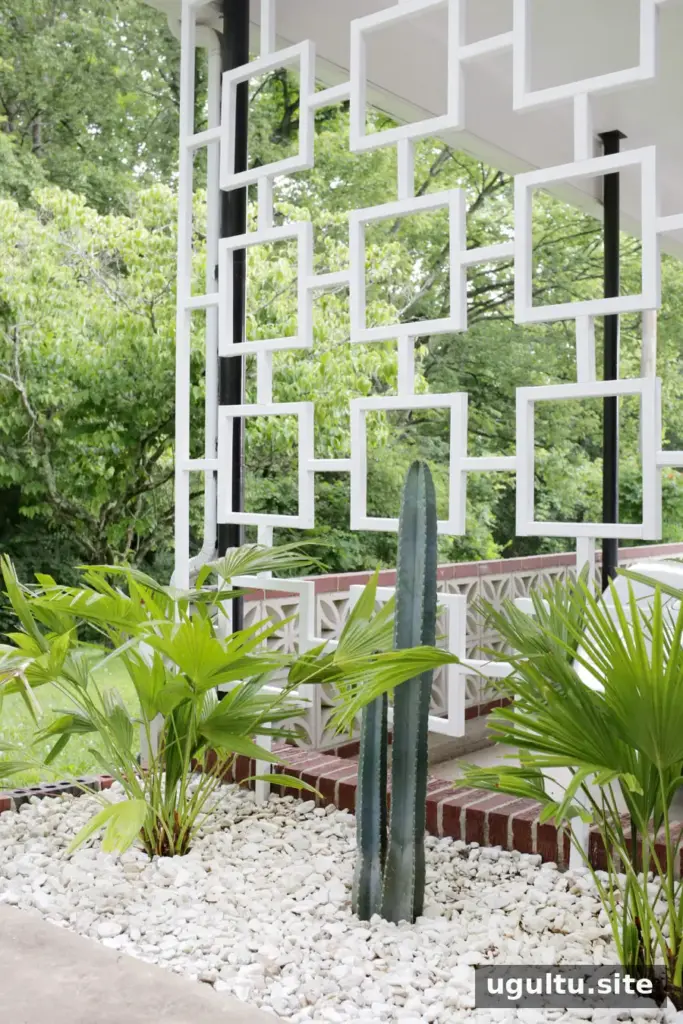
The completed trellis creates a visual break between the patio and cars while leaving the tree view open. Its pattern makes a strong decorative feature, and vines could be trained along it if more privacy is wanted over time. Keep in mind that added plant growth can change the screen’s weight and wind exposure, so maintain the structure and its supports.
This mid-century trellis DIY combines careful measuring, a repeating geometric pattern, and outdoor finishing to make a practical screen for a specific space. Planning the layout, checking the supports, and arranging help for installation can make the build safer and the finished feature more durable.
Project by Laura.


