
 admin


A modern barn door DIY project can add privacy and define separate areas without needing the clearance of a swinging door. This design uses hardwood plywood and primed trim to create a sturdy, six-panel door that slides between a studio control room and a larger open space. It can also suit other interior doorways where wall space is available for the door to slide.
Why choose a modern barn door?
The studio was created by combining a small office and a garage into one larger workspace. An open doorway between the control room and the main room helped bring natural light into the control room, but it did not provide a way to separate the two spaces when people were working or recording.
A swinging door would have taken up valuable floor space, so a sliding door was a more practical option. Barn doors do need clear wall space beside the opening, but they do not need the same arc of clearance as a hinged door. Before choosing this style, check that furniture, switches, and other obstacles will not block the door’s path.
Materials for this modern barn door DIY
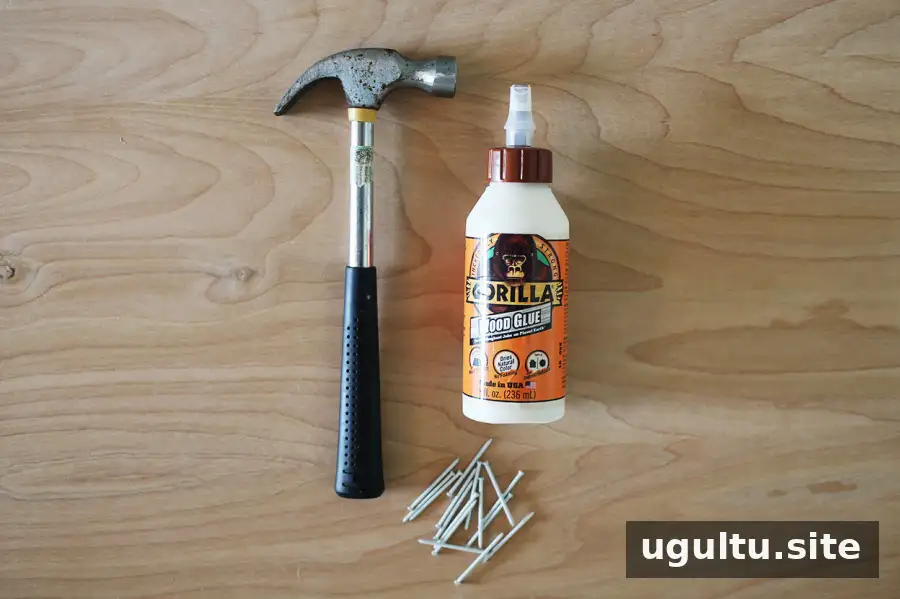
Supplies:
- Two 4′ x 8′ sheets of 1/2″ hardwood plywood
- About 14 primed boards measuring 8′ x 5″ for the trim
- Wood glue
- Nails
- White satin paint
- Sliding barn door hardware, a floor guide, and handles
Confirm the door’s total weight is suitable for the sliding hardware before installation. Because the completed door is heavy, plan to have another person help lift and position it.
How to build the door
1. Measure and cut the plywood
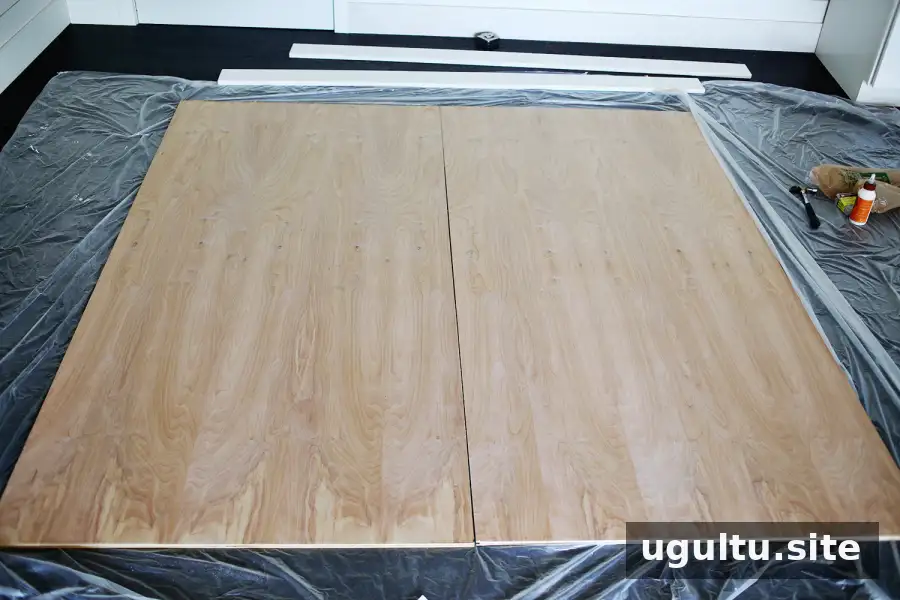
Measure the doorway and check the hardware requirements before deciding the finished door size. The door should cover the doorway trim, reach the track hardware as required by the installation, and sit about 1″ above the floor. Cut the two plywood sheets to the planned dimensions. A lumber store may be able to make these cuts if you do not have a suitable saw.
2. Add the top and bottom trim
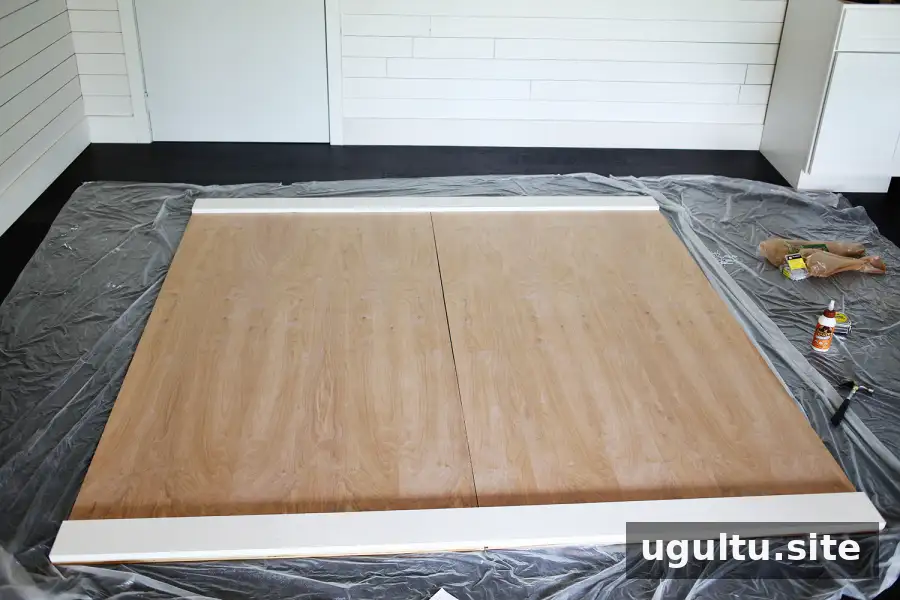
Place the plywood sheets side by side, bringing their middle edges as close together as possible. Measure and cut the top and bottom trim boards so they run across the full width of the door.
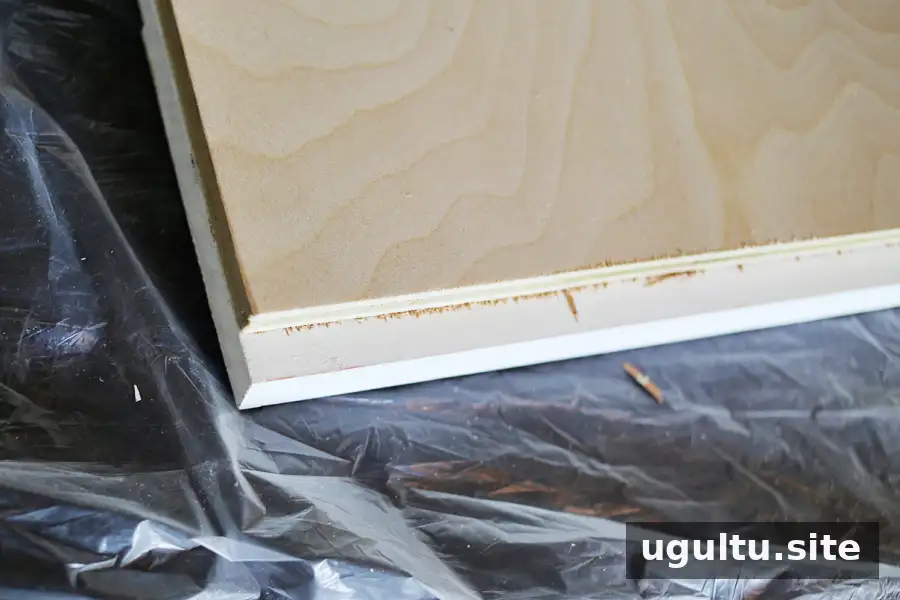
Position the bottom board so it extends 1/2″ below the plywood edge. Repeat this arrangement on the back of the door later. The two overhanging boards form a channel for the floor guide, which helps prevent the door from swinging away from the wall.
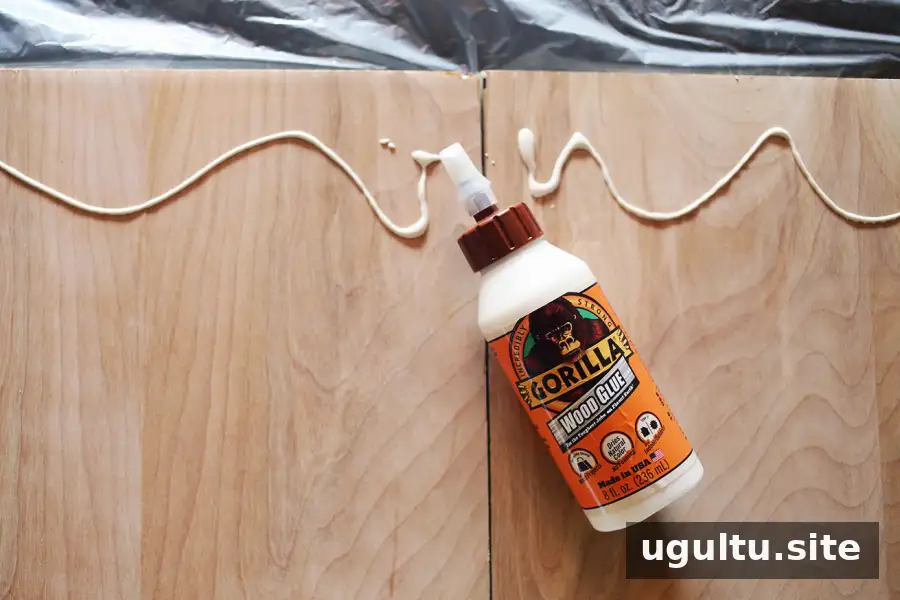
Apply wood glue to the trim and secure it with nails. Use the same approach for the remaining trim, keeping the boards aligned as you work.
3. Frame the sides and create the panels
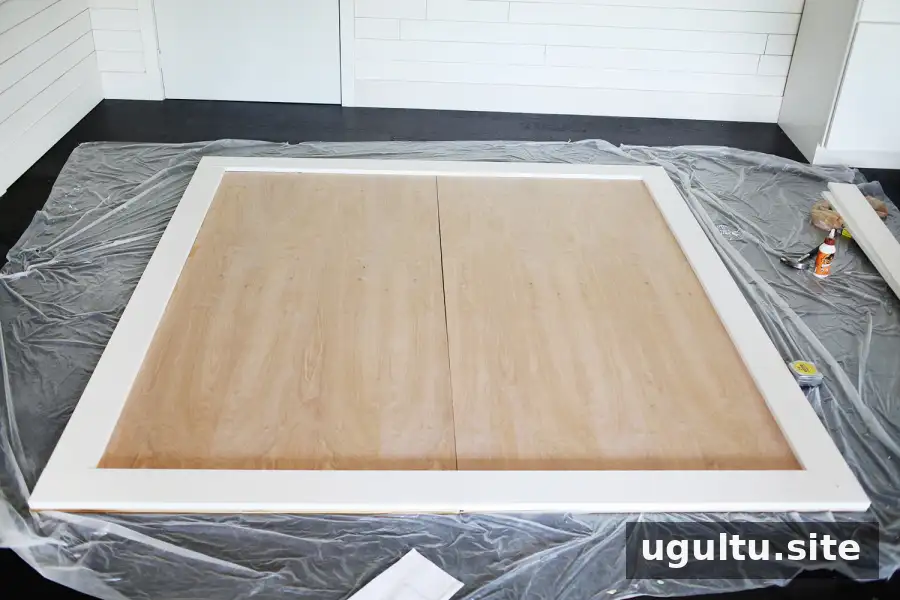
Measure the distance between the top and bottom trim. Cut the side boards to fit snugly, then glue and nail them in place.
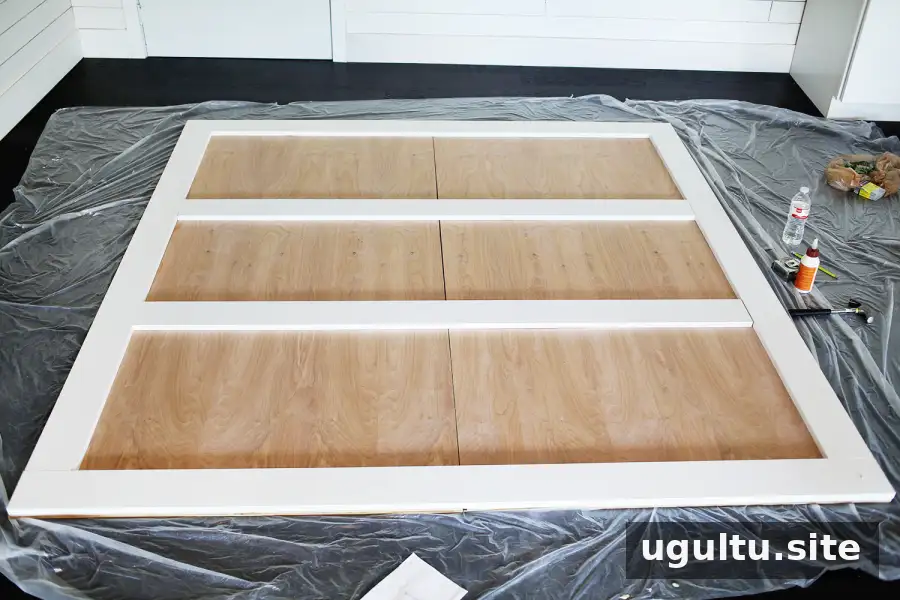
Measure the open area inside the frame and divide it into three equal horizontal sections. Cut two boards to fit across the door at the marked lines, creating three large panels.
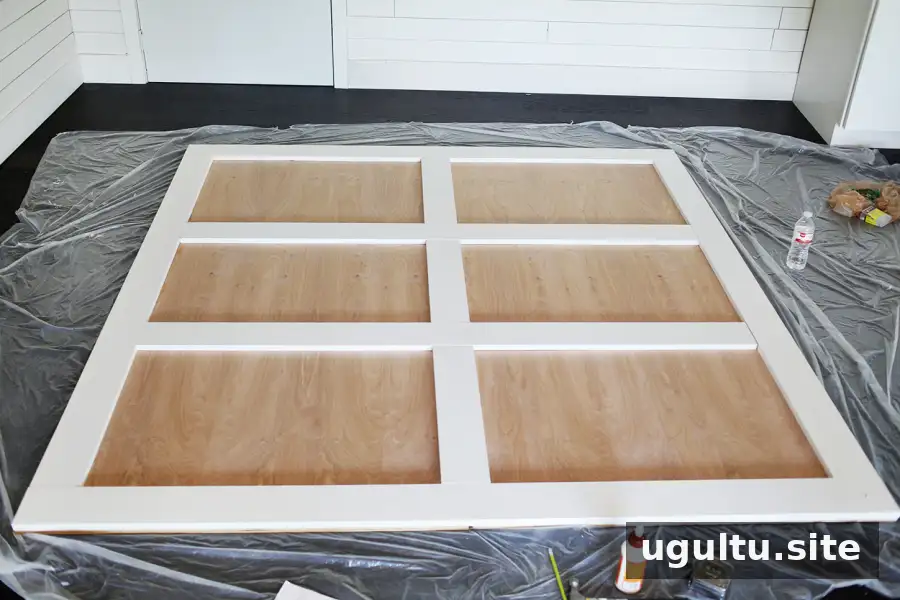
Divide each of the three panels down the middle by adding three smaller boards. This creates the six-section design. Measure each piece carefully before cutting so the trim fits neatly within the frame.
4. Finish the other side and paint
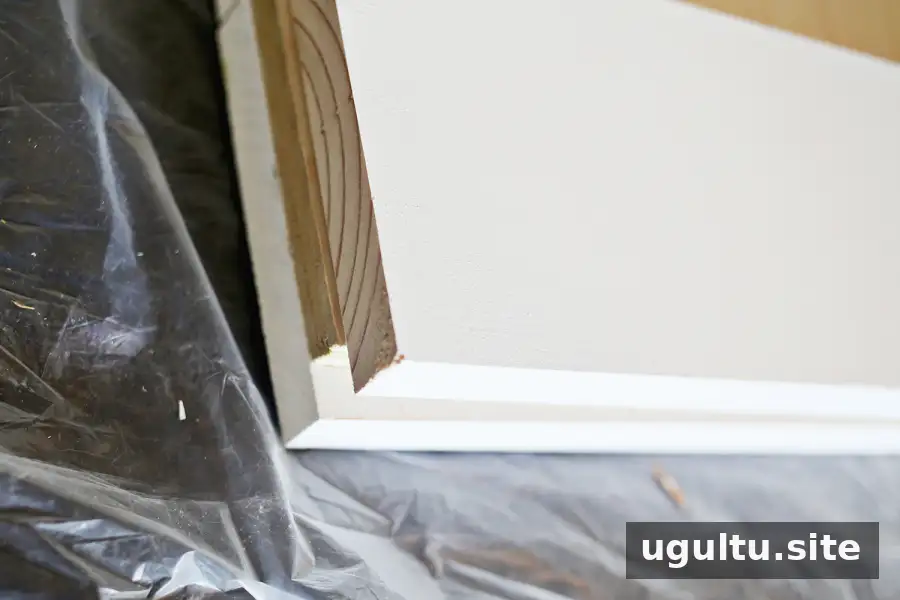
With help, carefully turn the door over and repeat the trim layout on the other side. Keep the lower board extended 1/2″ beyond the plywood edge to complete the floor-guide channel. Apply several coats of paint, allowing the finish to dry according to the paint instructions.
Install the sliding door hardware
Follow the hardware manufacturer’s instructions to mount the track and hang the door. The track must be supported by suitable structural backing, and the floor guide should align with the channel created by the lower trim. Check that the door moves freely and clears the floor before regular use. If you are unsure about wall support or installation, consult a qualified professional.
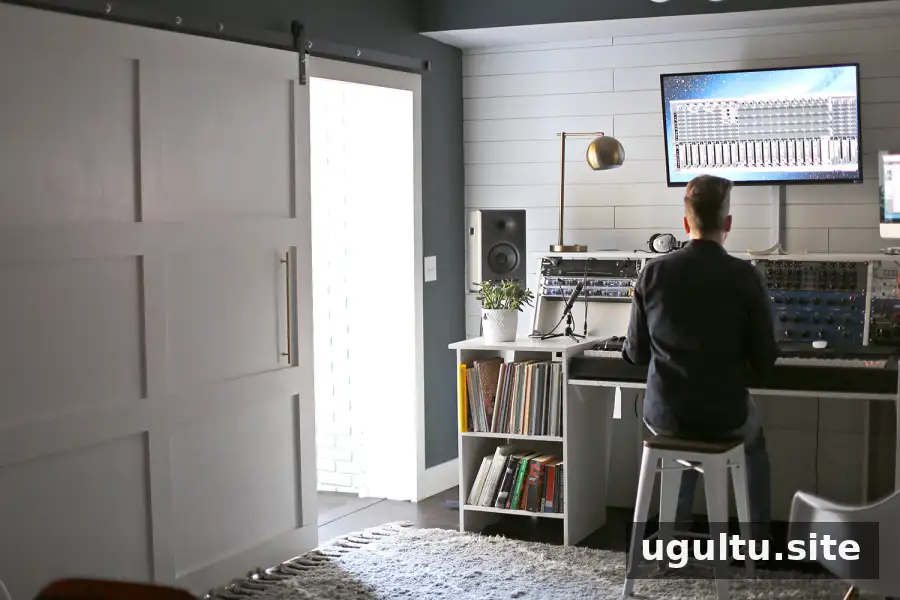
From the control room, the finished door provides a way to close off the space while maintaining a clean, modern look. Although the door is sturdy and heavy, correctly installed sliding hardware allows it to glide smoothly.
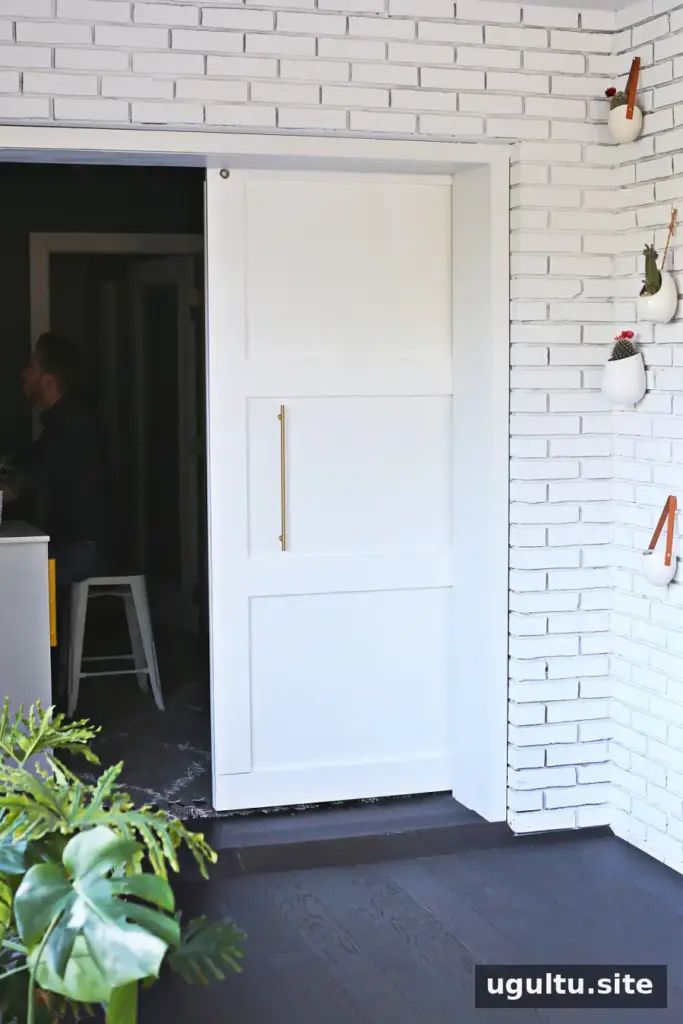
The opposite side uses the same framed panel design, so the door looks finished from either room.
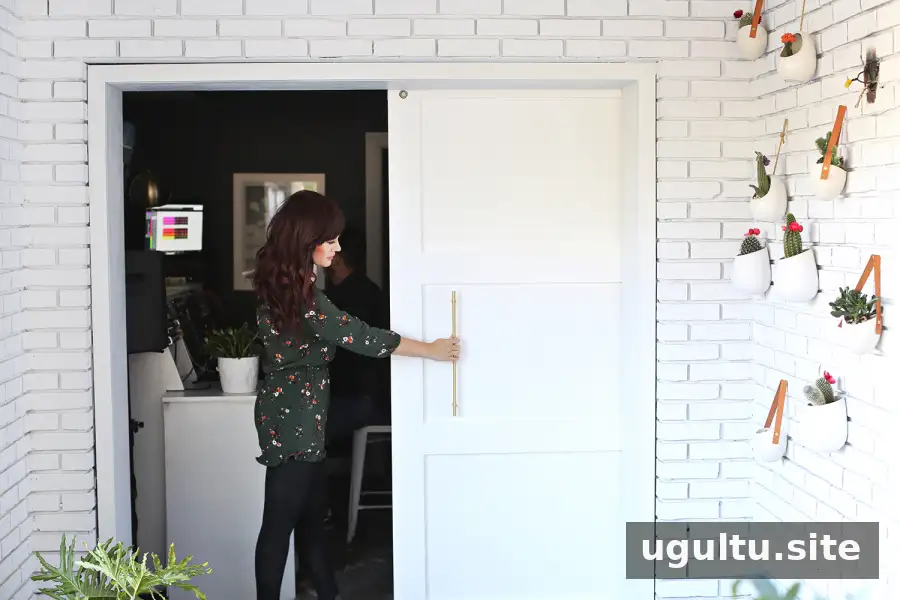
Gold bar pulls were chosen to coordinate with other fixtures in the studio. When selecting handles, consider how far they project from the door and whether they will clear the wall or nearby trim as the door slides.

Final thoughts on this modern barn door DIY
This modern barn door DIY creates a practical divider for a studio that sometimes needs to function as two separate rooms. Careful measuring, a consistent trim layout, and compatible sliding hardware are key to a successful result. Before starting, confirm the available wall space, doorway measurements, floor clearance, and support needed for the track. Project by Elsie.


