
 admin
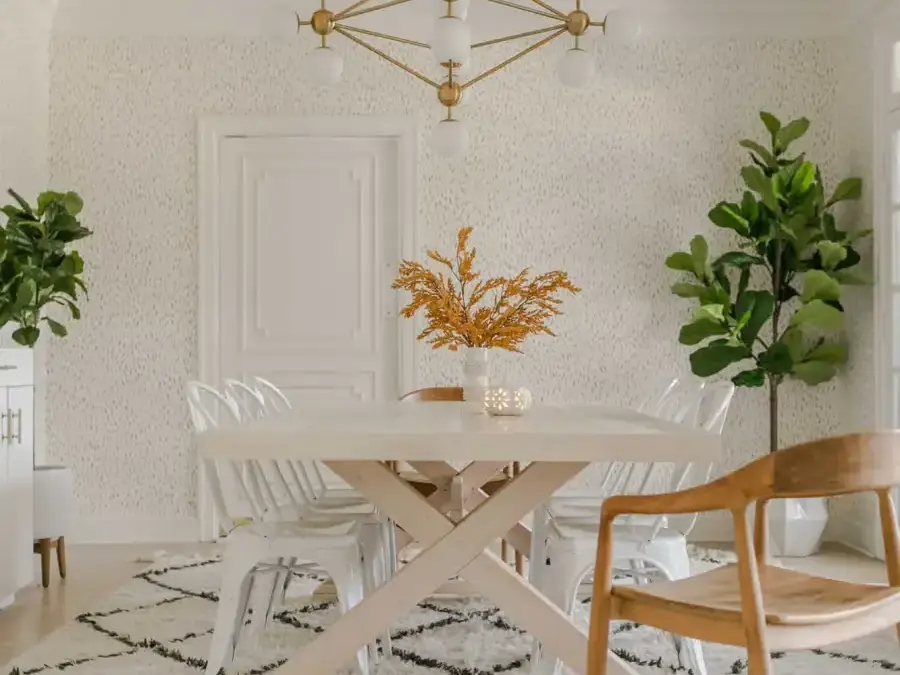
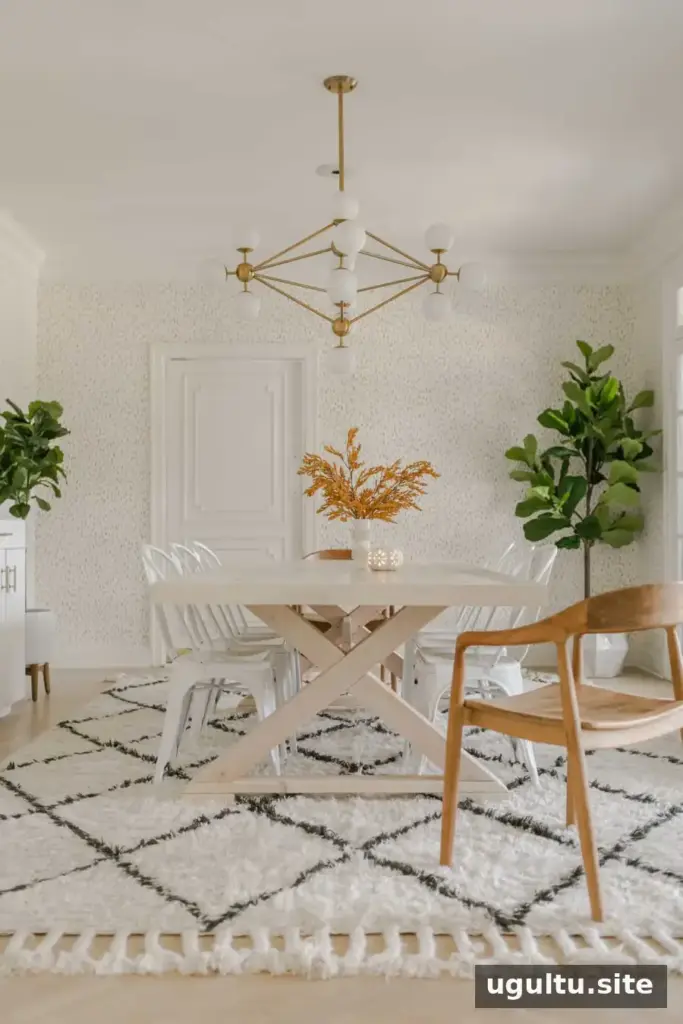

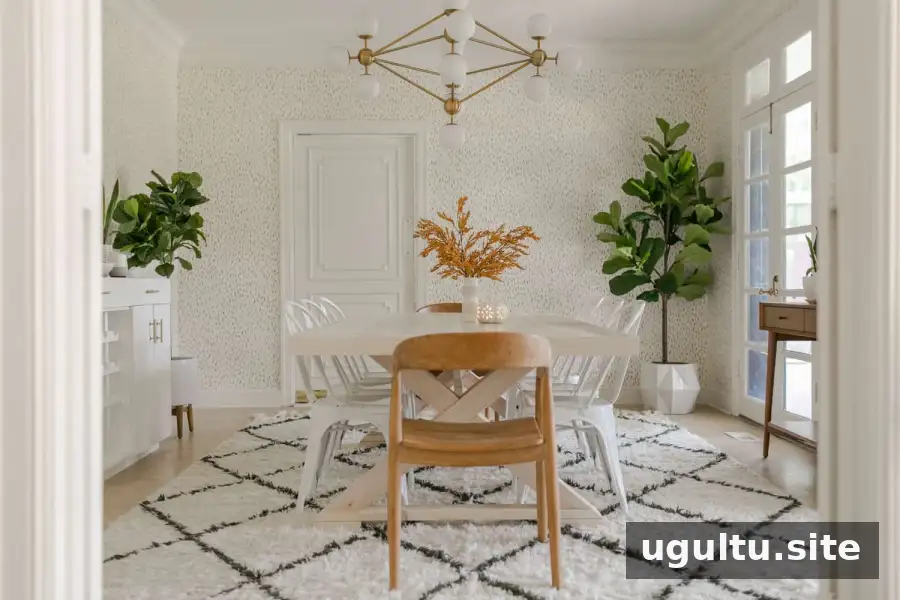
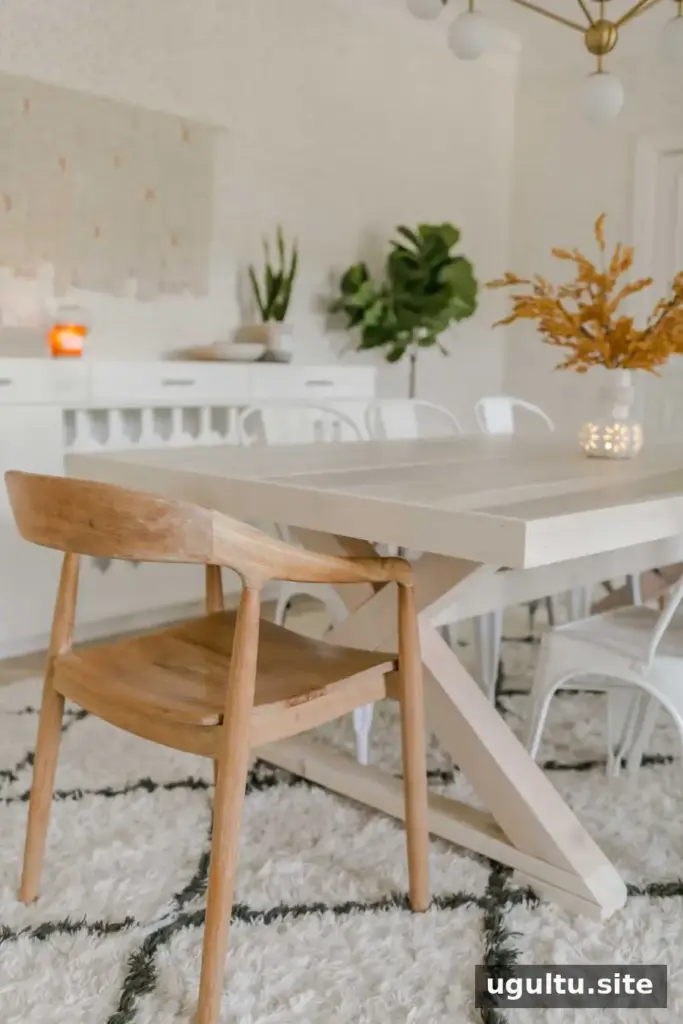
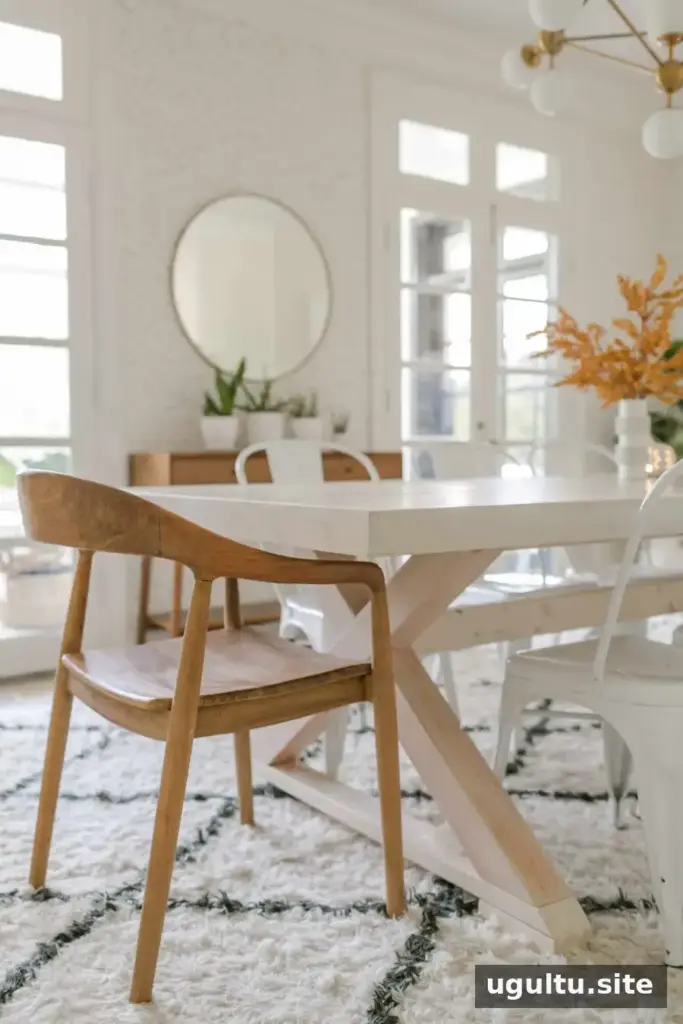
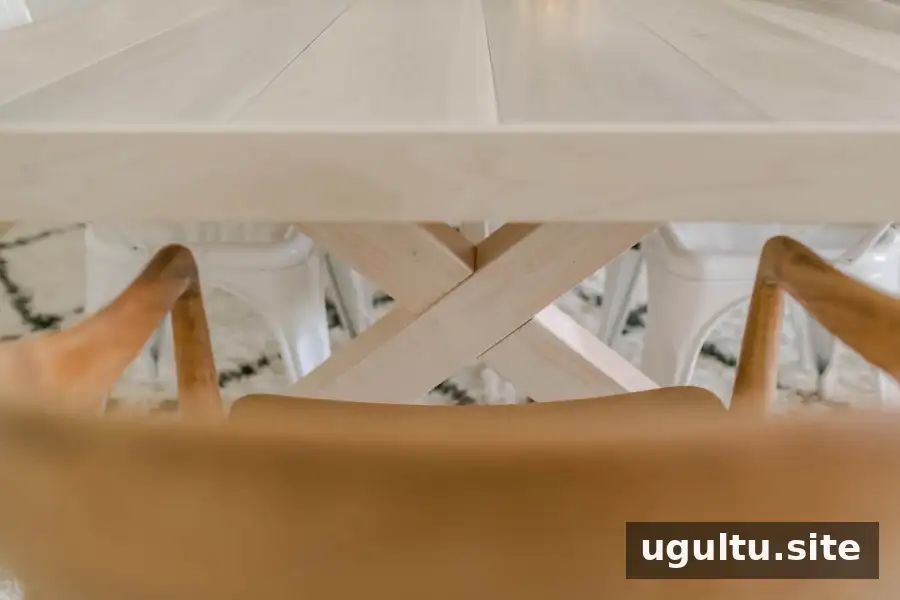
A DIY farmhouse table can bring a warm, practical focal point to a dining room. This design pairs a substantial X-brace base with a wide poplar tabletop and a whitewashed finish. The original project materials cost around $250; actual costs vary with lumber prices and your location. Use the steps below to plan the build, work safely, and adapt the finish to your space.
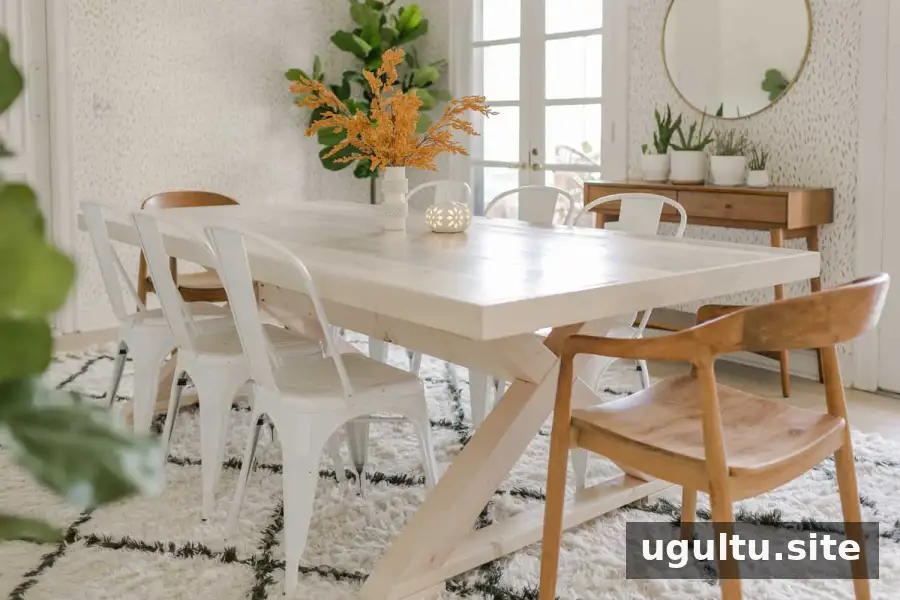
DIY farmhouse table materials and tools
Gather the lumber and supplies before cutting. Poplar was chosen for the tabletop because it suits a whitewashed finish and is less likely to yellow than pine. Pine can be a lower-cost option if you plan to paint the table or use a dark stain.
Materials
- Two 4 x 4 x 8-foot Douglas fir boards for the X-braces
- Six 2 x 4 x 8-foot boards
- Six 3/4 x 8 x 8-foot poplar boards for the tabletop
- Three 3/4 x 2.5 x 8-foot poplar boards for tabletop trim
- White flat paint and water for the whitewash
- Satin polyurethane
- Wood glue
- 2-inch, 1 3/4-inch, and 1 1/4-inch pocket-hole screws
- Optional felt furniture pads
Tools and safety equipment
- Drill, miter saw, and nail gun with 1.5-inch nails
- Electric sander with 220-grit sandpaper and 400-grit sandpaper for hand sanding
- Chisel, tape measure, pocket-hole jig, and clamp
- Safety glasses, dust mask, and rubber gloves
Check your saw’s cutting capacity and the lumber dimensions before starting. Wear eye and respiratory protection when cutting or sanding, and follow the tool manufacturers’ safety instructions.
Build the DIY farmhouse table base
Cut and assemble the X-braces
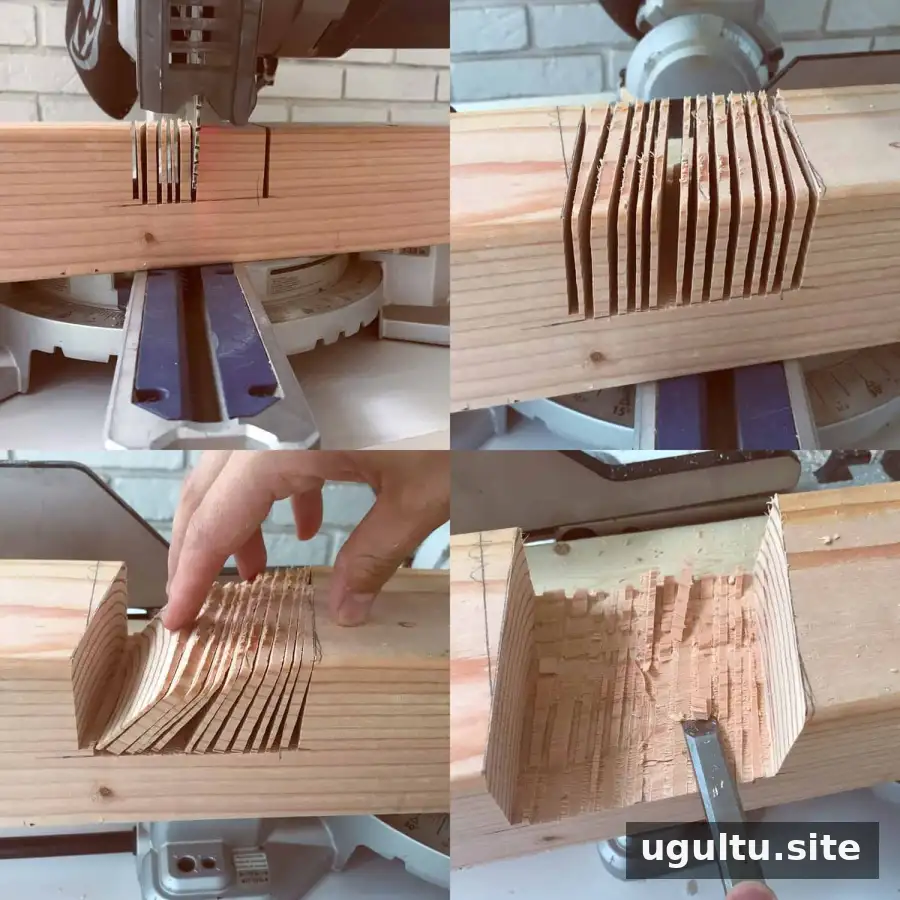
Cut the two 4 x 4 boards to 40 inches point to point, with 50-degree angle cuts at both ends. Mark the midpoint of each board, which is 20 inches, then position the boards across one another to establish where they will interlock. Check the alignment carefully and mark the overlap on both pieces.
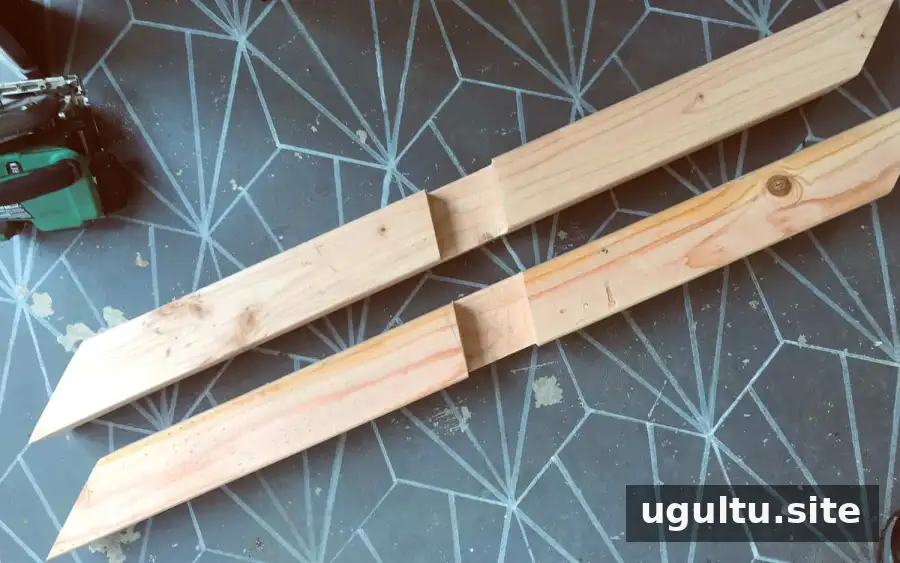
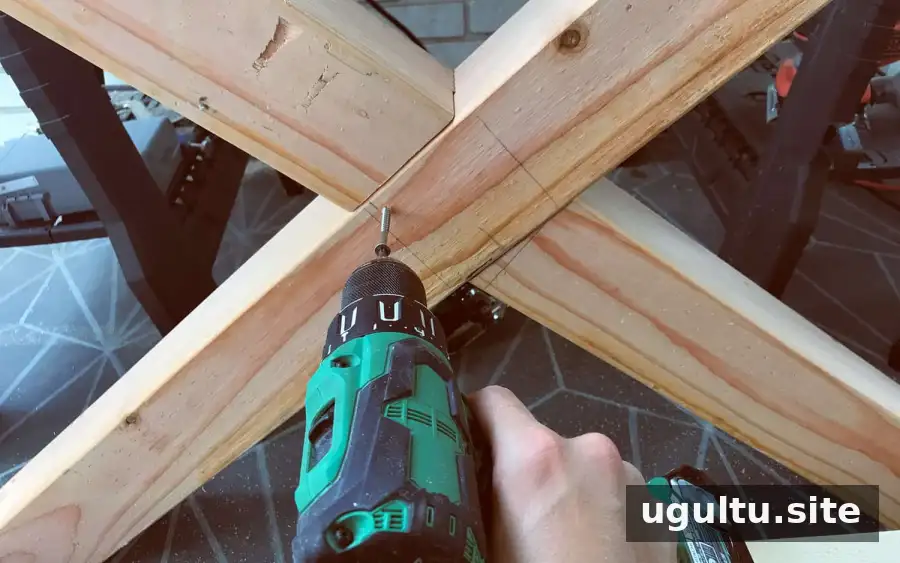
Set the saw depth to 2 inches, if your saw allows it. Make a series of careful cuts within the marked area, then remove the waste and use a chisel to tidy the joint. If the saw has no depth stop, mark the depth clearly and work cautiously. Repeat on the second board, then fit the two pieces together. Add wood glue and 2-inch screws from the side that will face inward, choosing the more attractive face for the outside.
Finish both leg assemblies and connect them
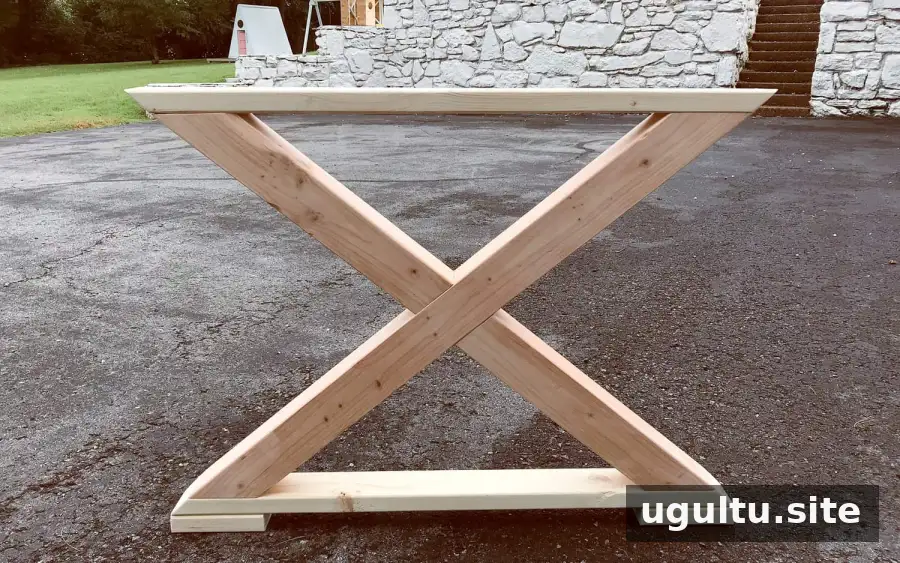
Cut two 2 x 4 pieces for the top and bottom supports, using 50-degree angles, and cut two 8-inch pieces for the feet. Attach these pieces to the X-brace with glue and wood screws. Build a second matching leg assembly. Sand both assemblies with 220-grit paper to smooth rough areas before moving on.
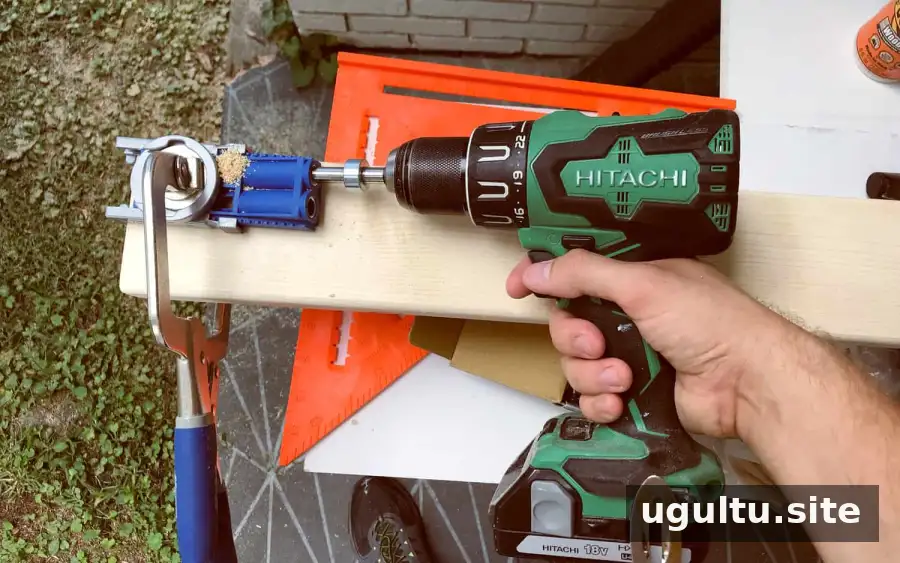
Cut three 2 x 4 boards to 5 feet. Drill four pocket holes at each end of each board, with two holes per side. Cut three additional pieces, each 2.5 feet long, from the 2 x 4 lumber. Sand the cut pieces.
Attach the three 5-foot rails between the two leg assemblies: place one at the middle of each X and the other two near the tops of the legs, 2.5 feet apart and flush with the top. Install the shorter 2.5-foot pieces horizontally between the upper rails. These crosspieces help support the tabletop. Confirm the base sits level and the connections are secure before proceeding.
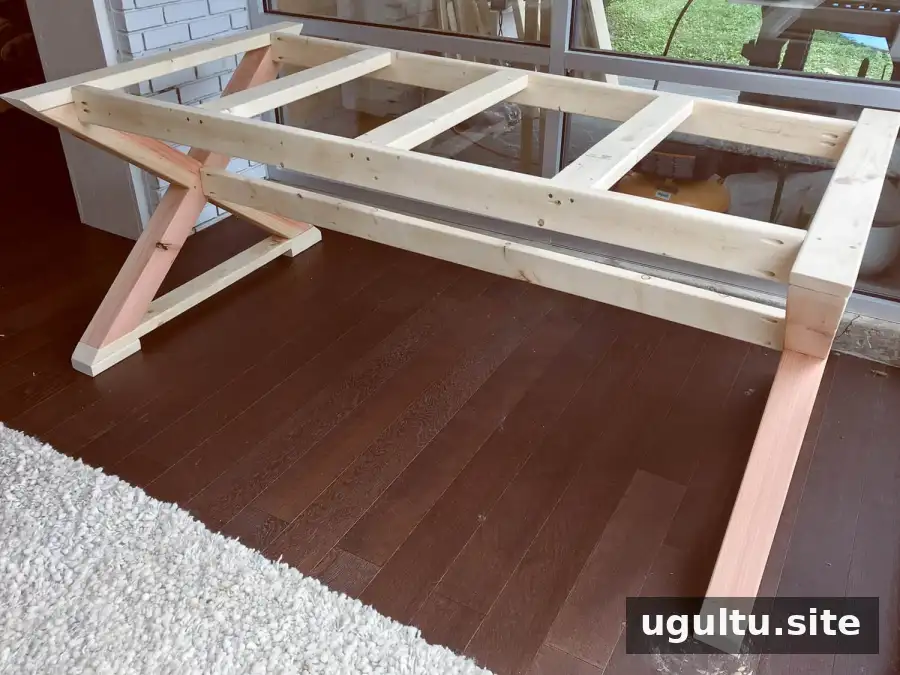
Assemble the tabletop
Cut the six 3/4 x 8 x 8-foot poplar boards to 90 inches, making sure each board is the same length. Arrange them face down, with the chosen top surface facing the floor. Cut two 4-foot pieces from the 2 x 4 lumber and attach one near each end of the tabletop boards with wood glue and screws. These pieces hold the boards together. Turn the tabletop over carefully.
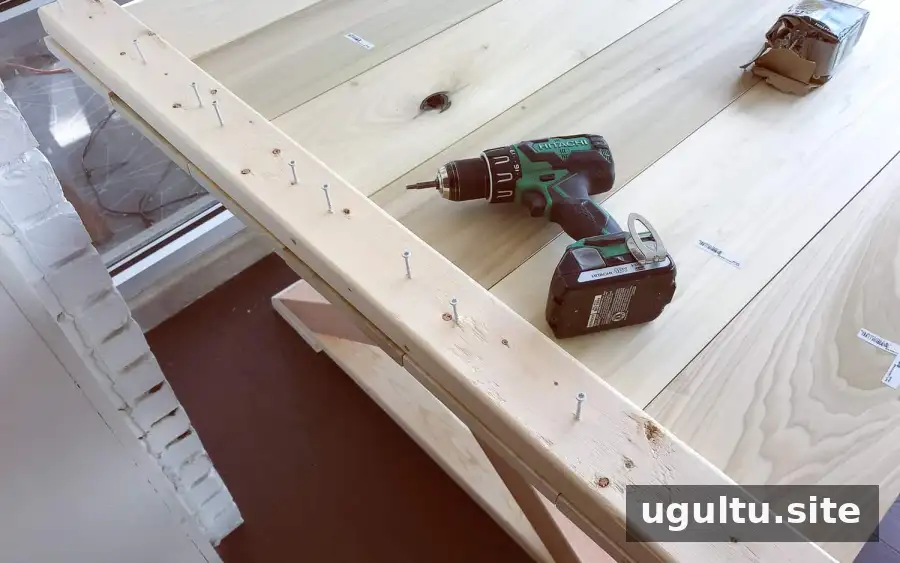
For the long edges, cut two of the 3/4 x 2.5-inch trim boards to 90 inches, with 45-degree cuts at both ends. Attach them with wood glue and 1.5-inch nails. Cut the remaining trim board into two 48-inch pieces, also with 45-degree cuts, and fit them to the ends. Sand the tabletop evenly and soften its sharp edges slightly.
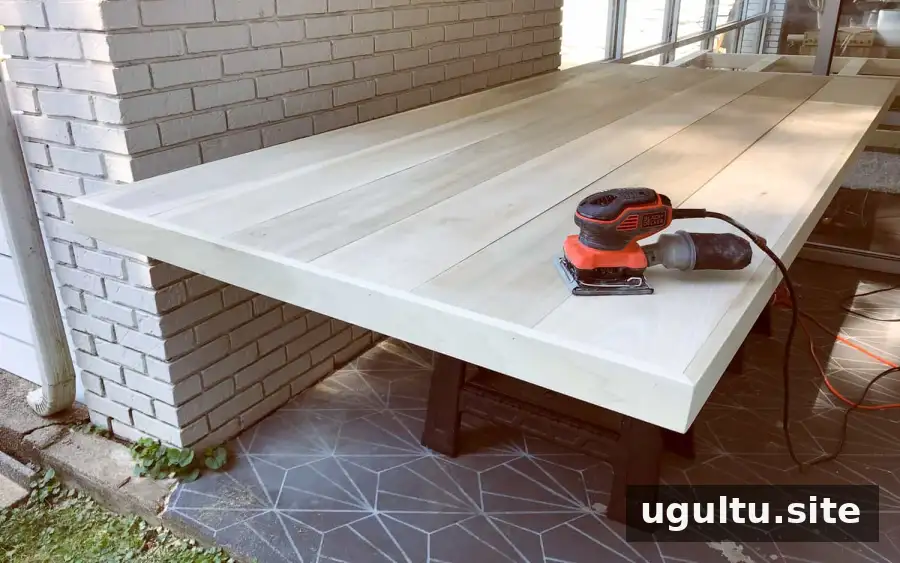
Center the tabletop on the base, leaving an even overhang on every side. Secure it from underneath with 1 3/4-inch screws through the horizontal support pieces. Check screw length before driving them in so they do not break through the tabletop surface.
Whitewash and protect the table
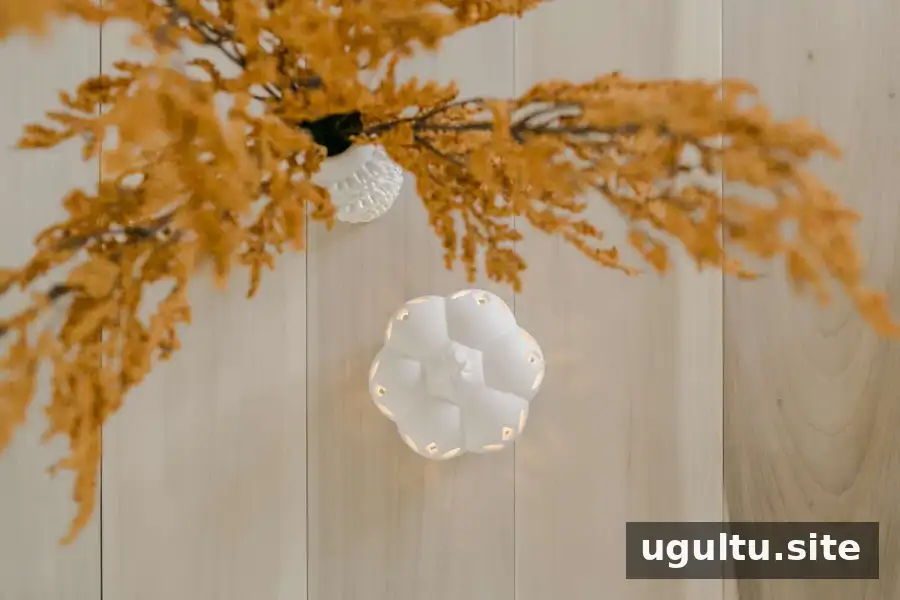
Mix equal parts white flat paint and water. Wearing rubber gloves, use a rag to spread the mixture evenly over the table. Let it dry and add another coat if you want a more opaque whitewashed appearance. Test the mixture on an inconspicuous area or spare wood first to check the color.
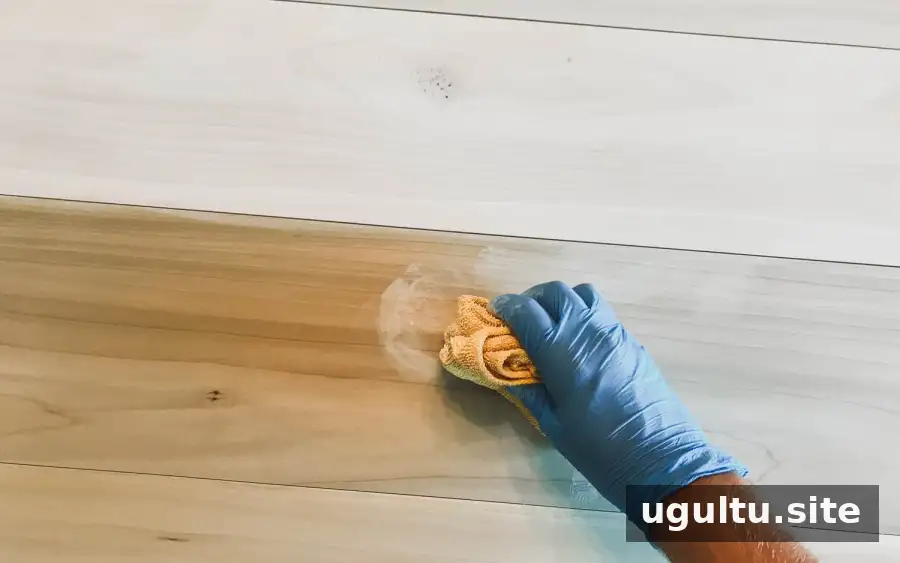
Once the whitewash is dry, apply satin polyurethane across the table and allow it to dry for the time stated on the product label. Apply one or two additional coats to the tabletop for added protection against spills. When the finish has fully dried, lightly hand-sand the surface with 400-grit paper to smooth it. Add felt pads under the feet if the table will stand on hardwood or tile.

Final tips for your DIY farmhouse table
Take time to measure and check each component before assembly, especially the matching leg frames and tabletop boards. Allow each finish coat to dry fully before using the table. With its X-brace base, poplar top, and whitewashed finish, this DIY farmhouse table can be customized with paint, stain, or a different protective finish to suit your room.
Design and project by Elsie + Collin.


