
 admin
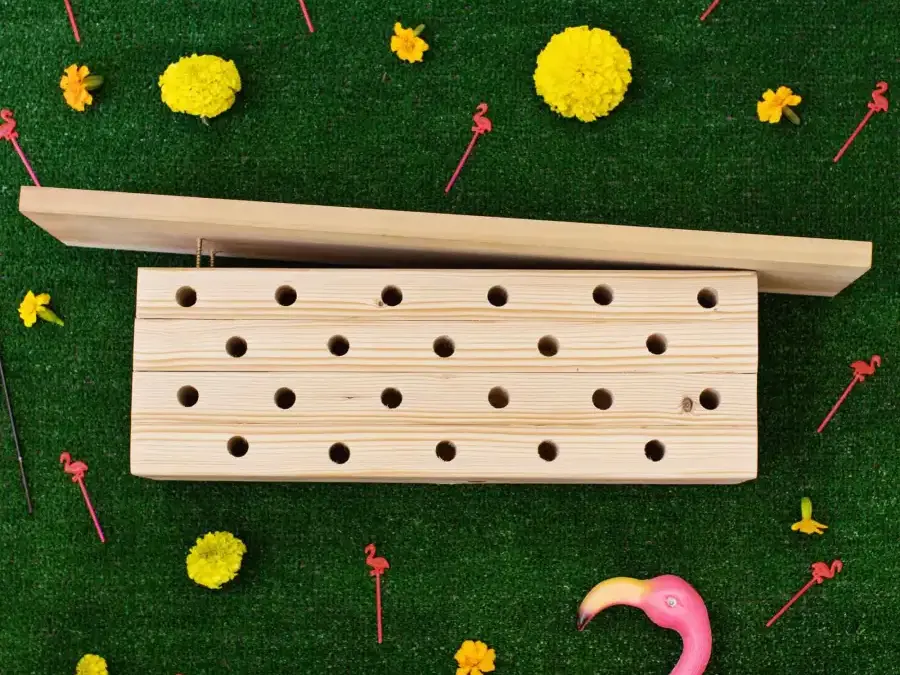
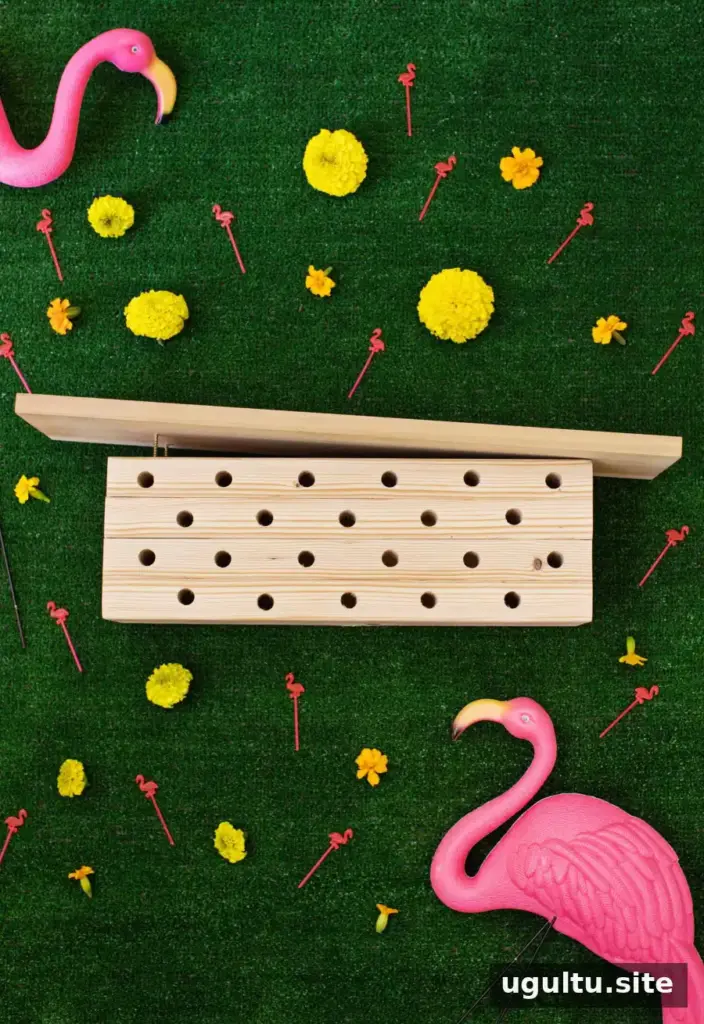
A Mason Bee House DIY project can add useful nesting spaces to a garden while supporting pollinators near flower beds and flowering plants. Mason bees use existing cavities rather than boring into decks, and they are generally nonaggressive. A simple wooden nesting block can be a practical garden addition, provided it is made and placed with the bees’ needs in mind.
Mason Bee House DIY: Materials and Design Tips
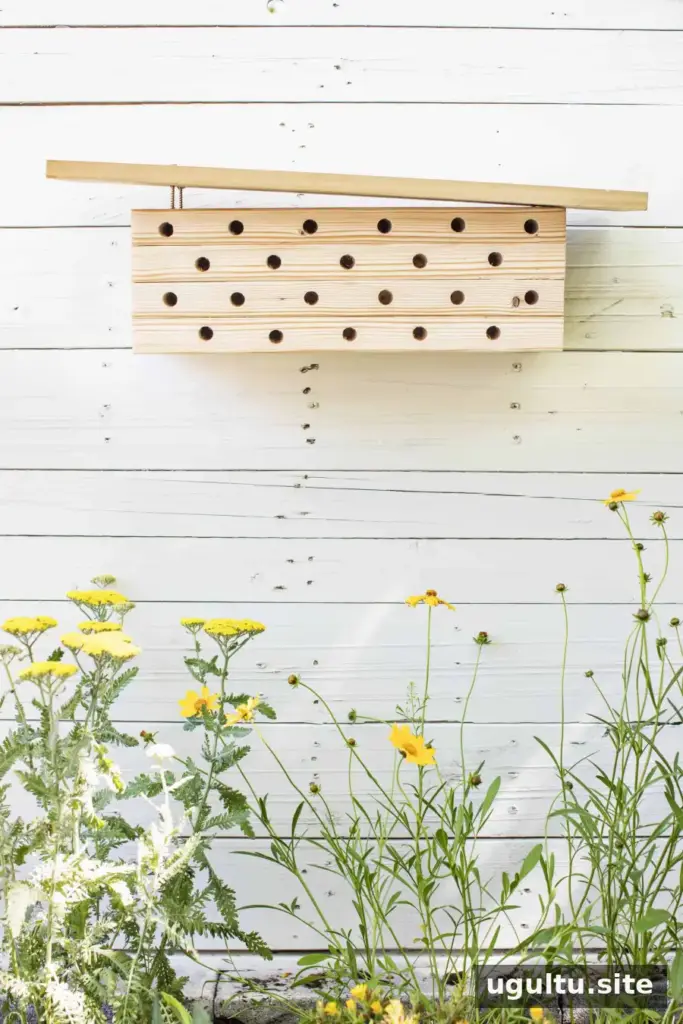
Choose untreated wood for the nesting block. Cedar’s strong scent may discourage bees, while paint and stain can also leave odors that make the house less appealing. Untreated lumber will weather outdoors over time; bringing the house indoors from late fall through late winter can help protect it from the elements.
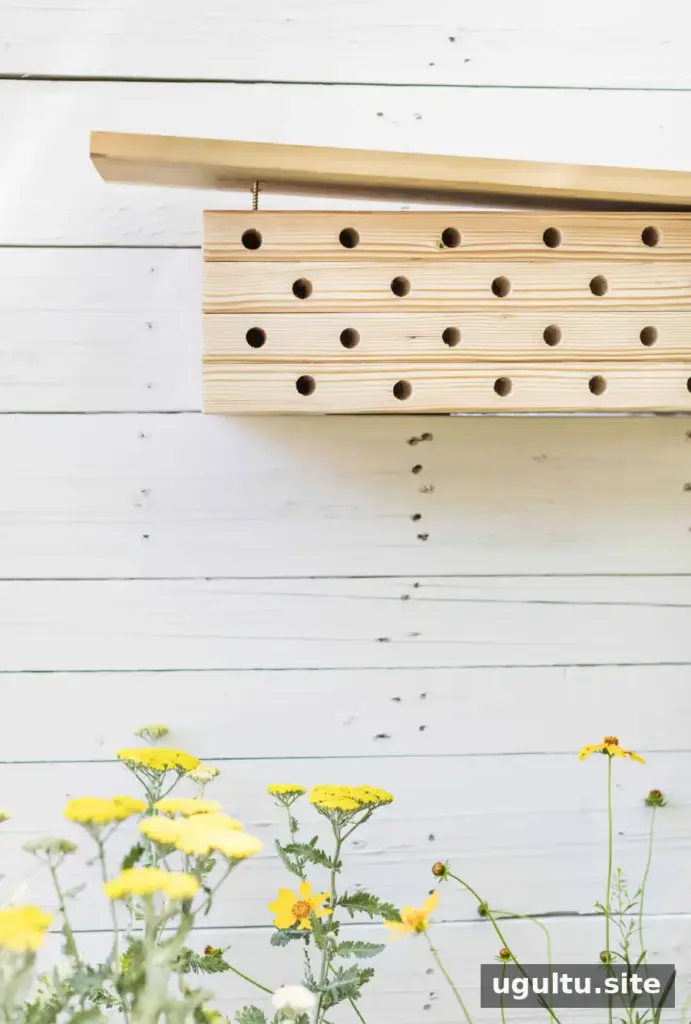
This design uses a solid block with deep holes and an angled roof. Select straight, sturdy boards and check that the pieces fit together flush before gluing. The roof overhang helps cover the nesting block, while the flat back makes mounting easier.
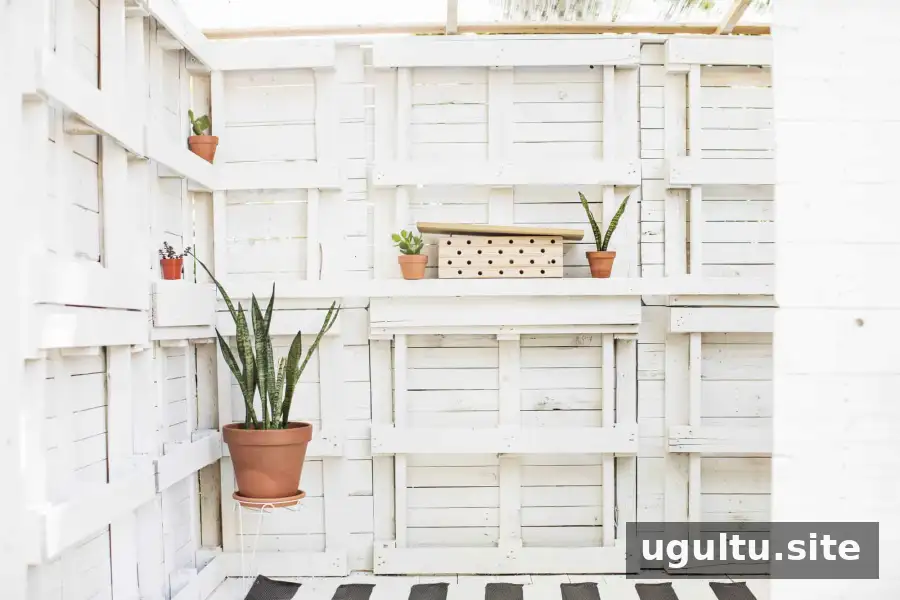
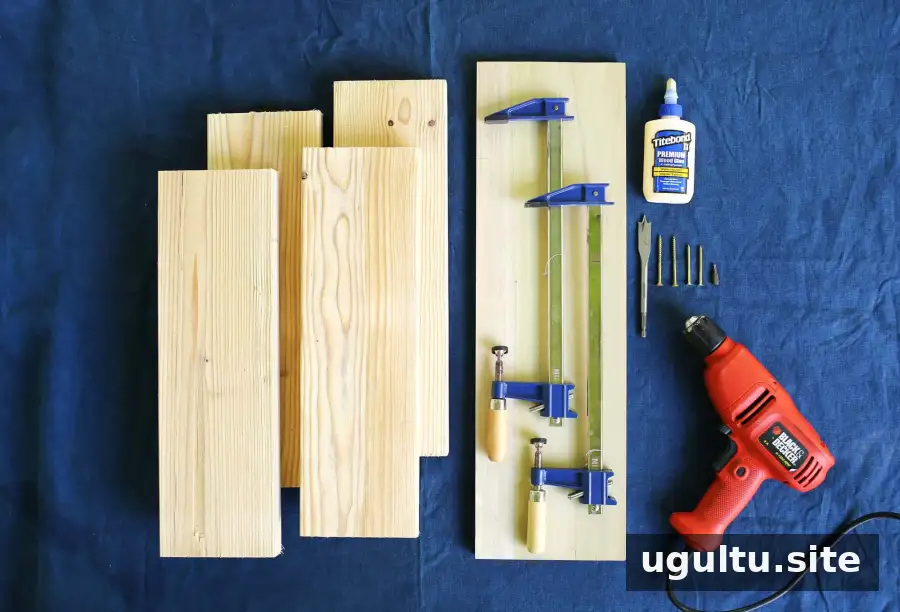
Supplies
- One 2″ × 6″ × 8′ board, cut into 18″ sections; do not use cedar
- One 1″ × 8″ × 2′ piece of poplar or pine for the roof
- Wood glue
- Two 12″ clutch-lock bar clamps
- Power drill and 5/8″ spade drill bit
- 80- and 120-grit sandpaper
- Two #8 × 2″ wood screws
- Two #8 × 3″ wood screws
- Two 6″ deck screws
- Heavy-duty D-ring hanging kit
- Screwdriver, ruler, and pencil
Build the Nesting Block
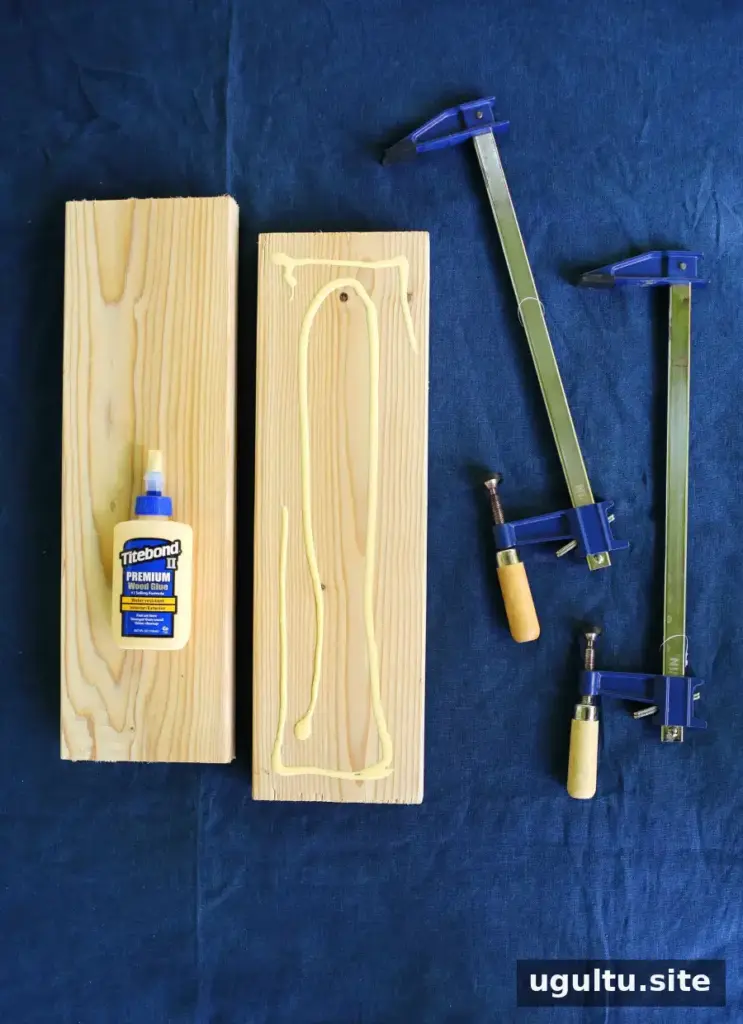
Have the lumber cut at the store if you do not have the tools or experience to make the cuts safely. Cut the 2″ × 6″ × 8′ board into 18″ lengths. Use four of the pieces to form the main block.
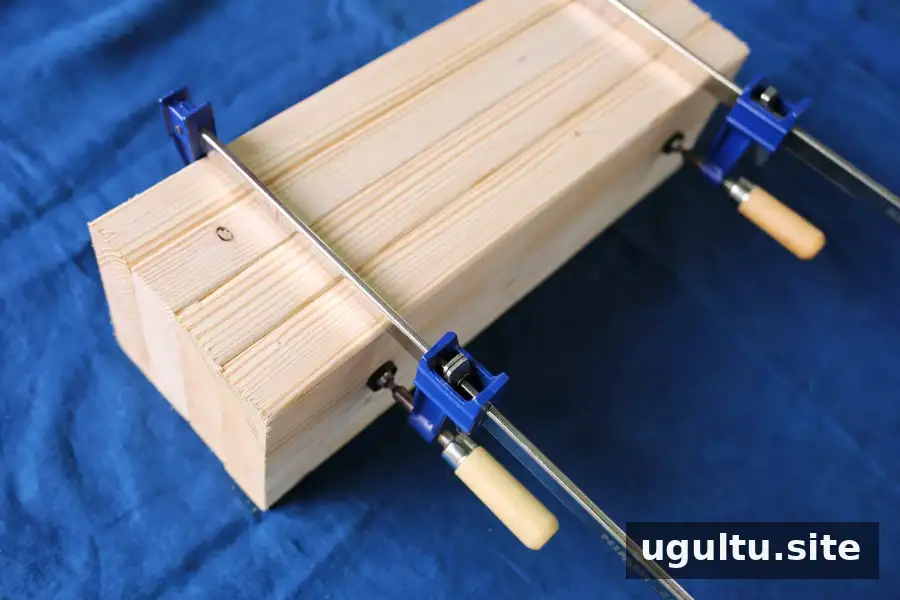
Apply wood glue between the four pieces, then align their ends and edges so they sit flush. Clamp the block and follow the adhesive manufacturer’s drying instructions. For additional fastening, drive the two 6″ deck screws through all four pieces from the same side.
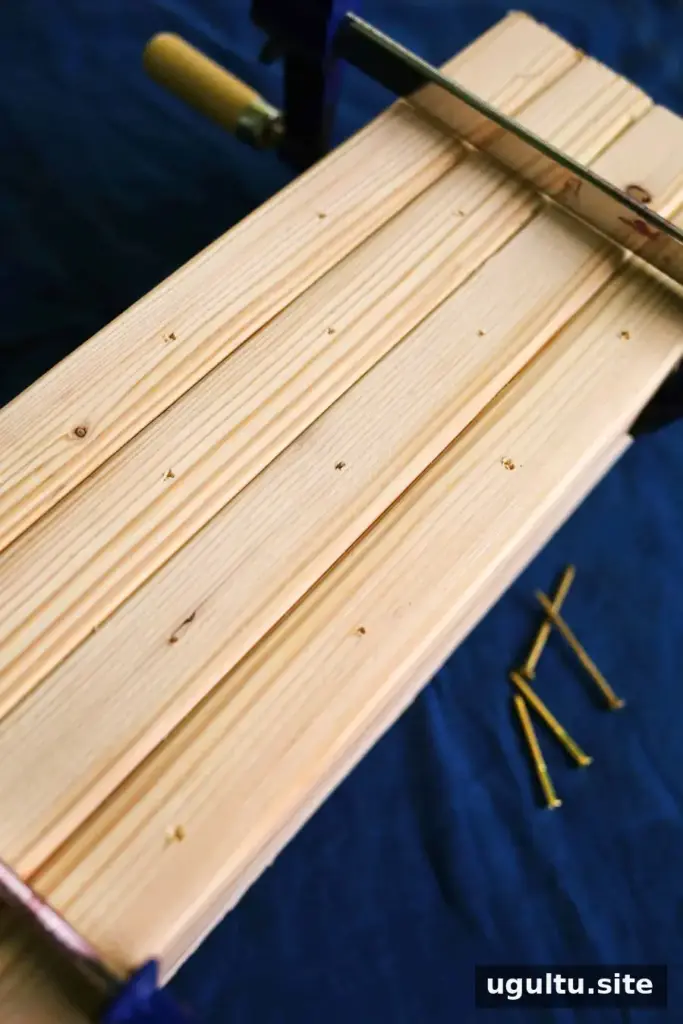
Plan the hole pattern so the drill passes through the sides of the boards rather than through the glued joints. On the second and fourth boards, mark the center, then add marks at 3″ intervals to the left and right, creating five marks on each board. On the first and third boards, mark the positions centered between the marks on the neighboring boards. This creates a staggered, diamond-like layout with six marks on each of those boards.
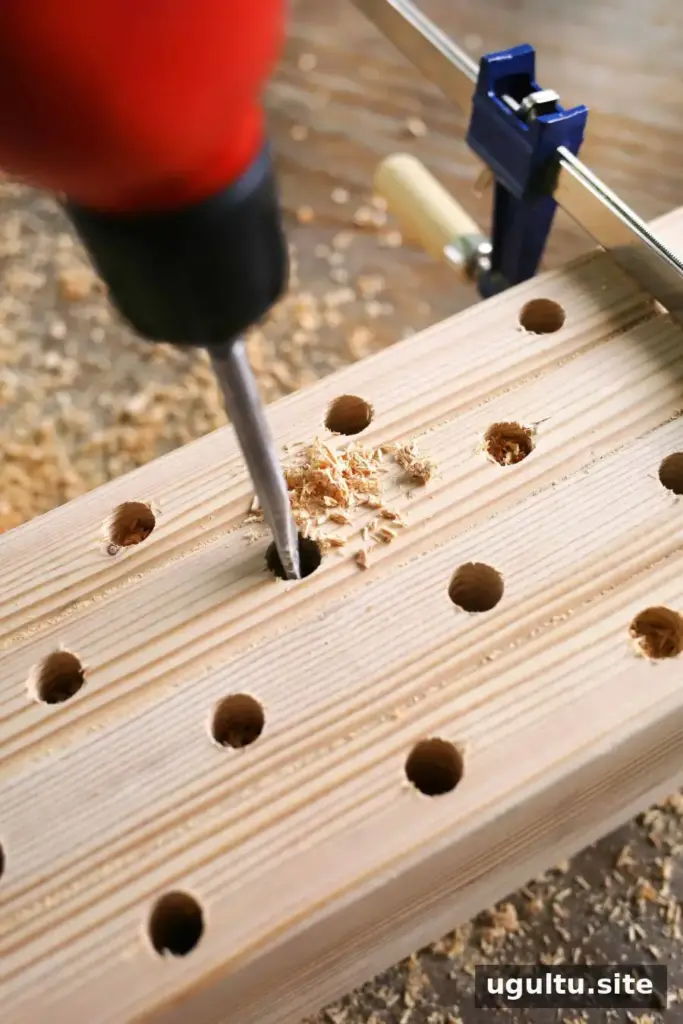
Secure the block to a workbench before drilling. Use the 5/8″ spade bit to make holes approximately 4″–5″ deep. Because the holes are deep, drill about 1″ at a time and reverse the drill to clear sawdust before continuing. Clearing debris regularly helps prevent the bit from binding. Follow power-tool safety guidance, and keep hands away from the bit.
Sand the front face of the block. Smooth the inside edges of each hole by wrapping sandpaper around a pencil or screwdriver and carefully sanding the openings.
Attach the Roof and Mount the Bee House
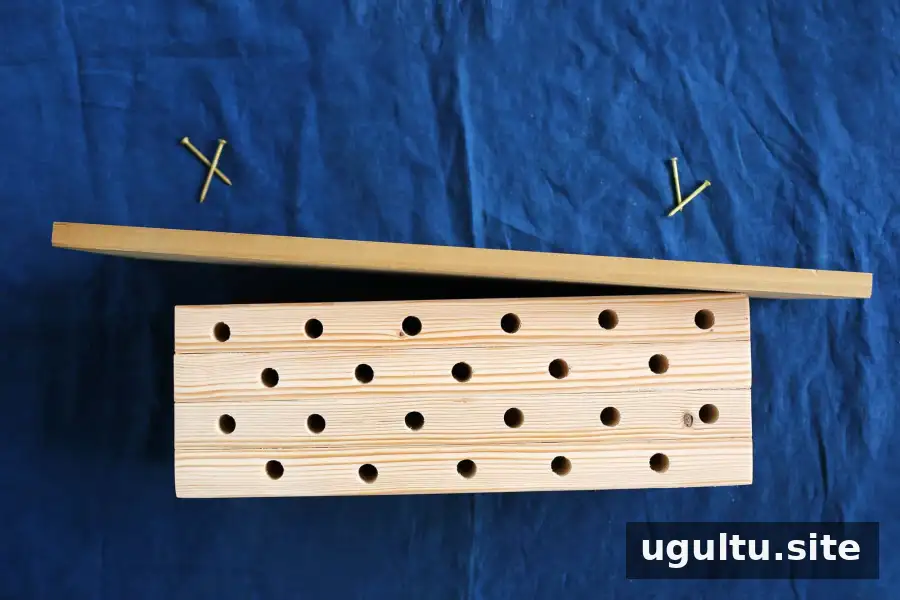
Position the roof at an angle, centered over the block with a small overhang at each end. Keep the back edge of the roof flush with the back of the nesting block so the finished house can sit securely against a tree, post, or wall. Use the two #8 × 2″ screws near the block and the two #8 × 3″ screws toward the opposite end of the roof.
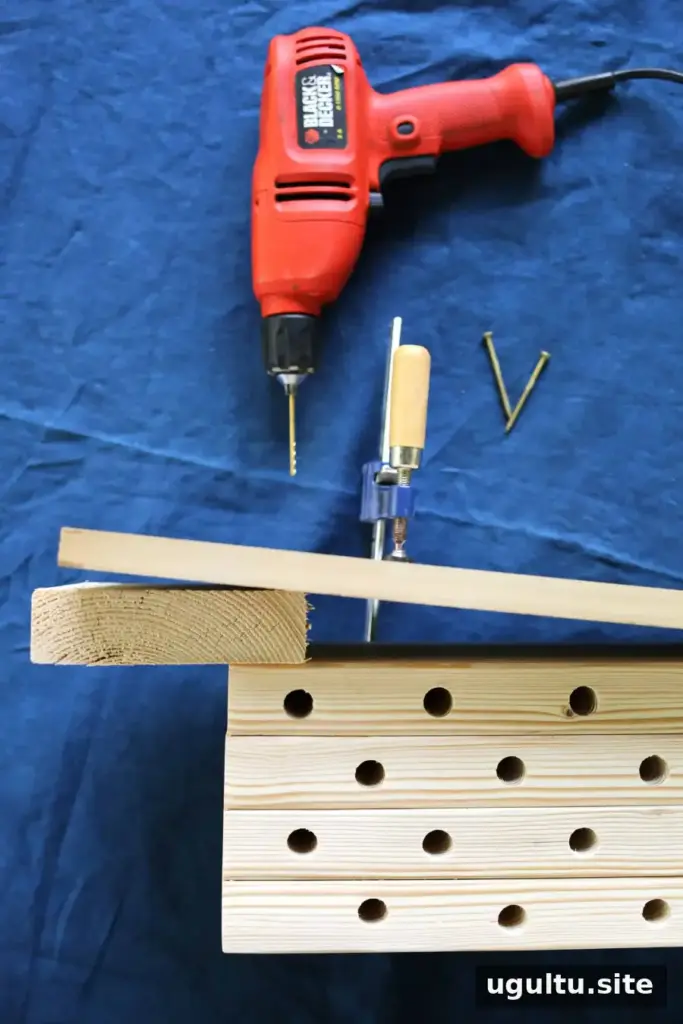
To hold the roof at the intended angle, wedge a scrap piece of wood between the roof and block and clamp the assembly. Pre-drill straight through the roof and into the block. Start the longer screws, then remove the clamps and spacer. Tighten the screws carefully so the roof stays secure without losing its angled position.
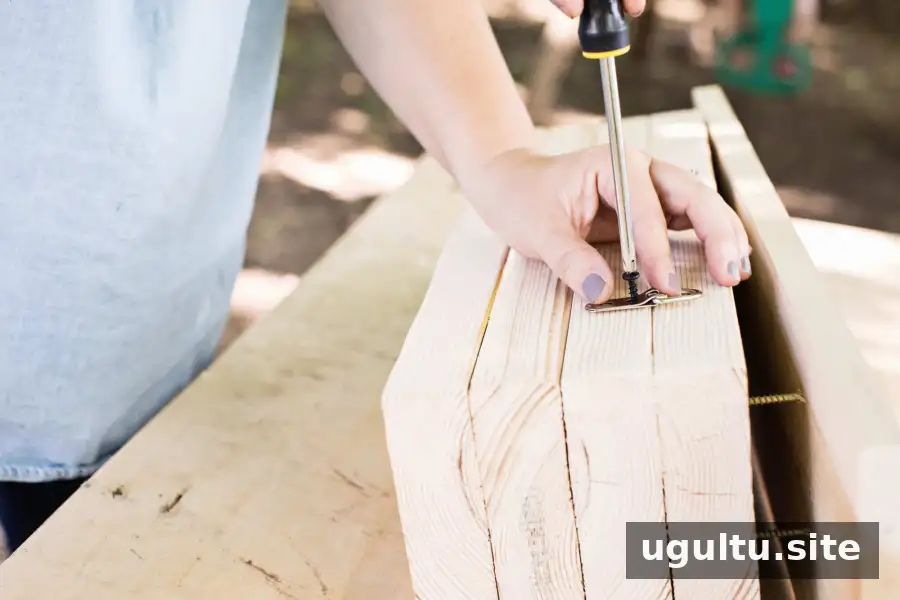
Attach the D-rings to the back. Mount the bee house at least 3–4′ above the ground and fasten it firmly to a tree, post, or wall so it cannot sway. A spot that receives morning sun is a useful choice. At the end of summer, clean out the house as needed to keep it tidy for the next generation of bees in early spring.
Final Tips for Your Mason Bee House DIY Project
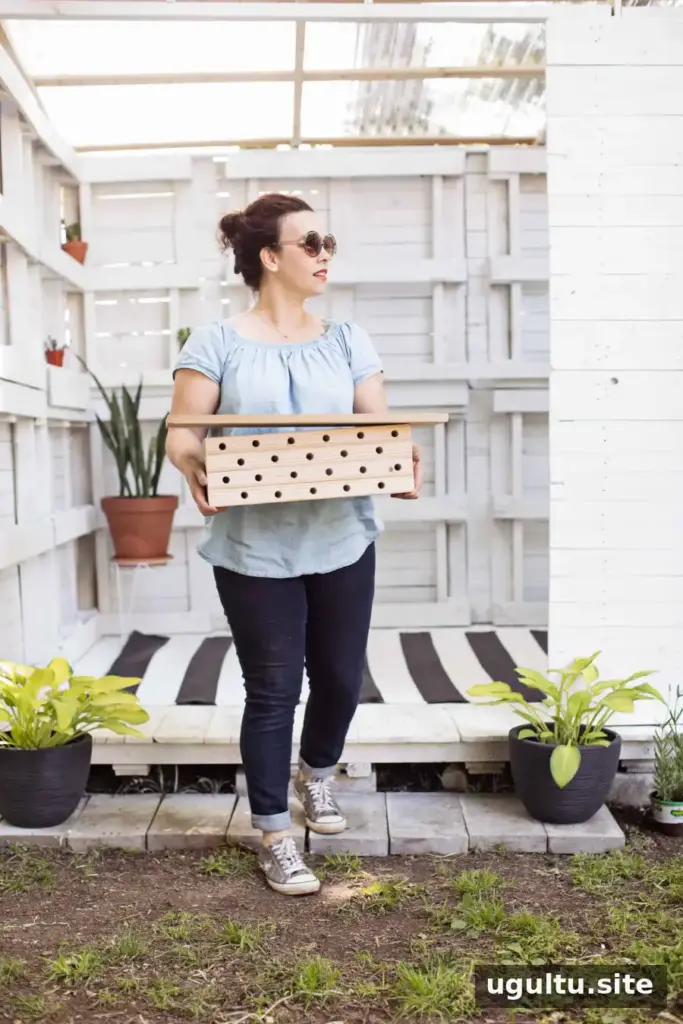
Before installing the house, check that the nesting holes are smooth, the roof is secure, and the mounting hardware is firmly attached. Avoid treated or strongly scented finishes, and choose a sheltered, stable location. These straightforward checks help make the Mason Bee House DIY build a practical addition to a pollinator-friendly garden.
— Rachel


