
 admin
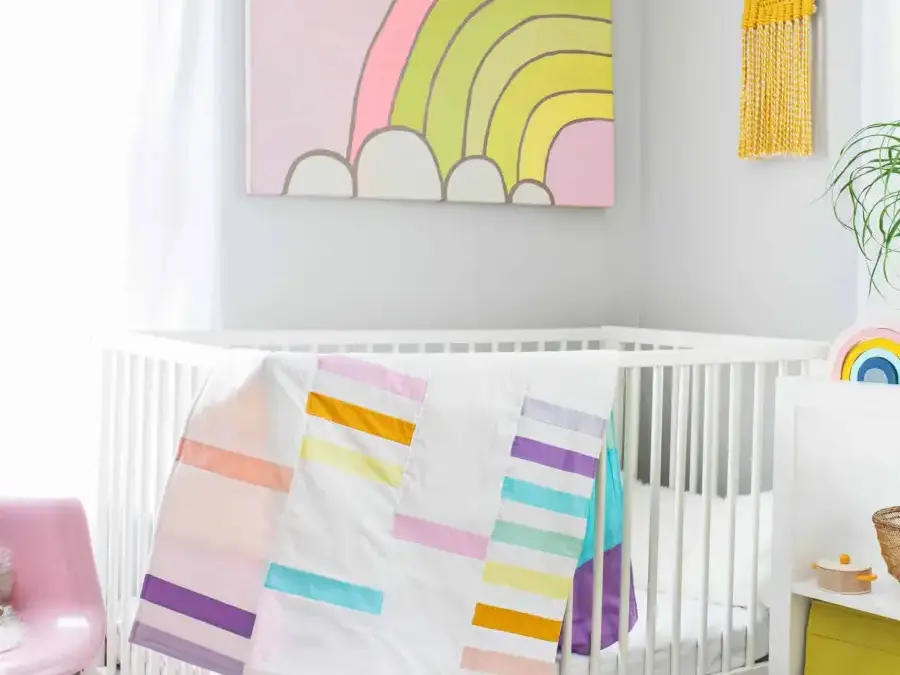
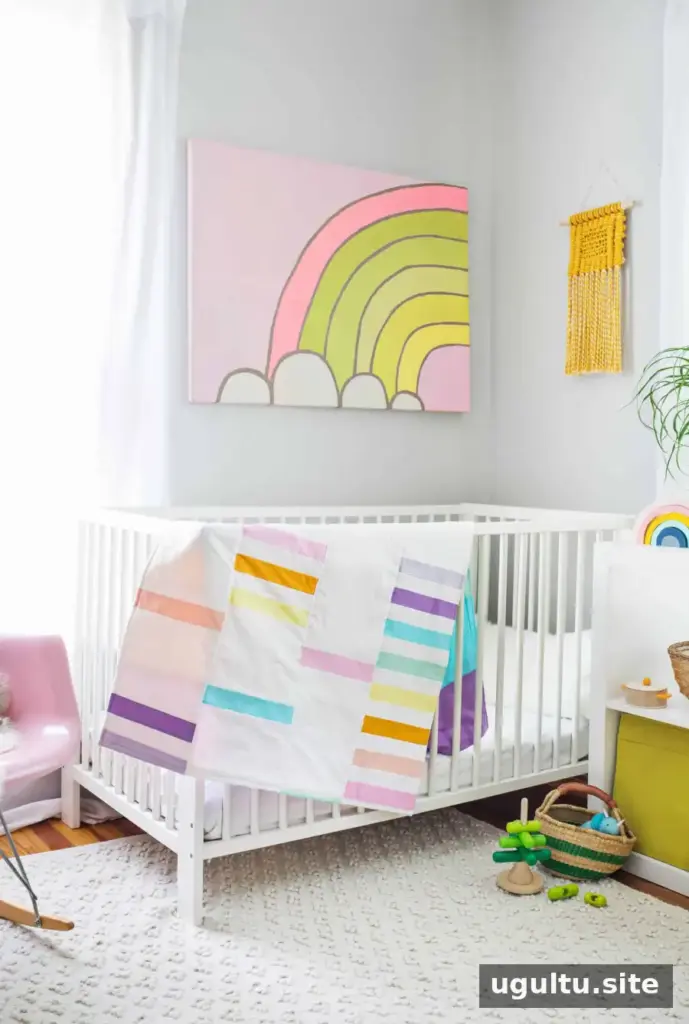
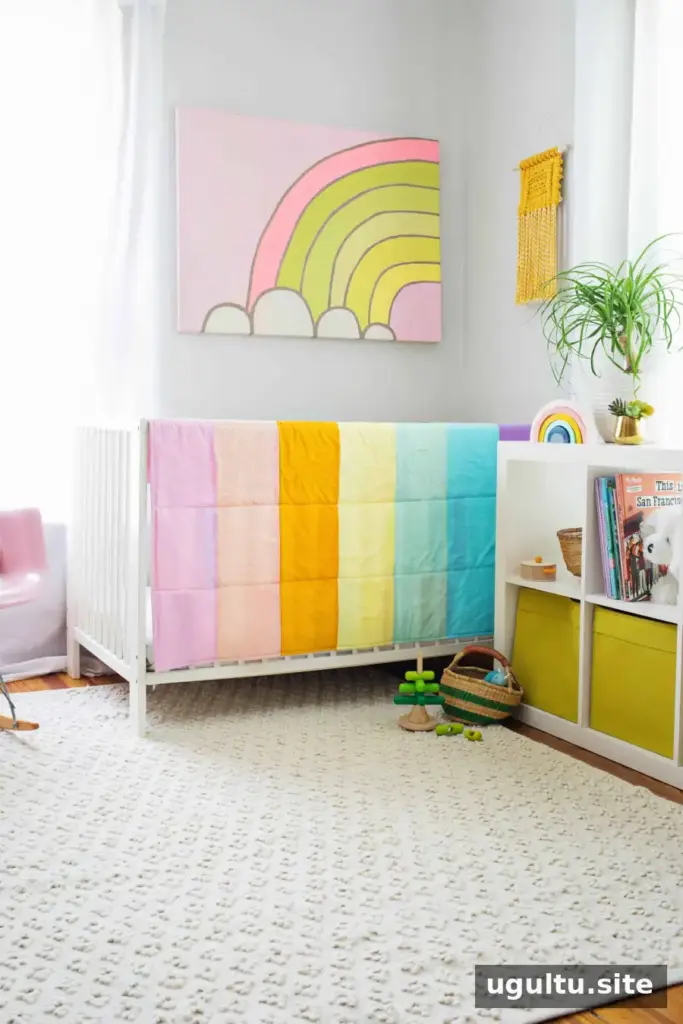
A DIY crib quilt is a thoughtful handmade project for welcoming a new baby or creating a useful keepsake. This modern pastel design is approachable for beginner quilters: it uses rectangular fabric pieces, larger blocks, and simple seams rather than extensive quilting. A striped reverse adds a bold detail, and the colors can be adapted to suit a nursery or a gender-neutral palette.
Use the pattern as written or adjust it to match your sewing skills. You can add more quilting, finish the edges with hand-stitched binding, or replace the larger blocks with smaller patchwork pieces. For a simpler backing, use one solid or printed fabric instead of piecing stripes. Before cutting, plan your colors and check that you have enough fabric for both the front and the back.
DIY Crib Quilt Supplies
Gather the following materials and tools before you begin:
- 1/3 yard of 100% cotton fabric in each of 8 different rainbow shades, for the smaller front rectangles and back stripes
- 1 yard of 100% cotton fabric in warm white or your preferred shade, for the larger blocks
- Crib quilt batting
- Sewing machine and 100% cotton thread
- Straight pins
- Cutting mat and acrylic or metal ruler
- Rotary cutter (optional, but recommended) or scissors
- Iron and ironing board
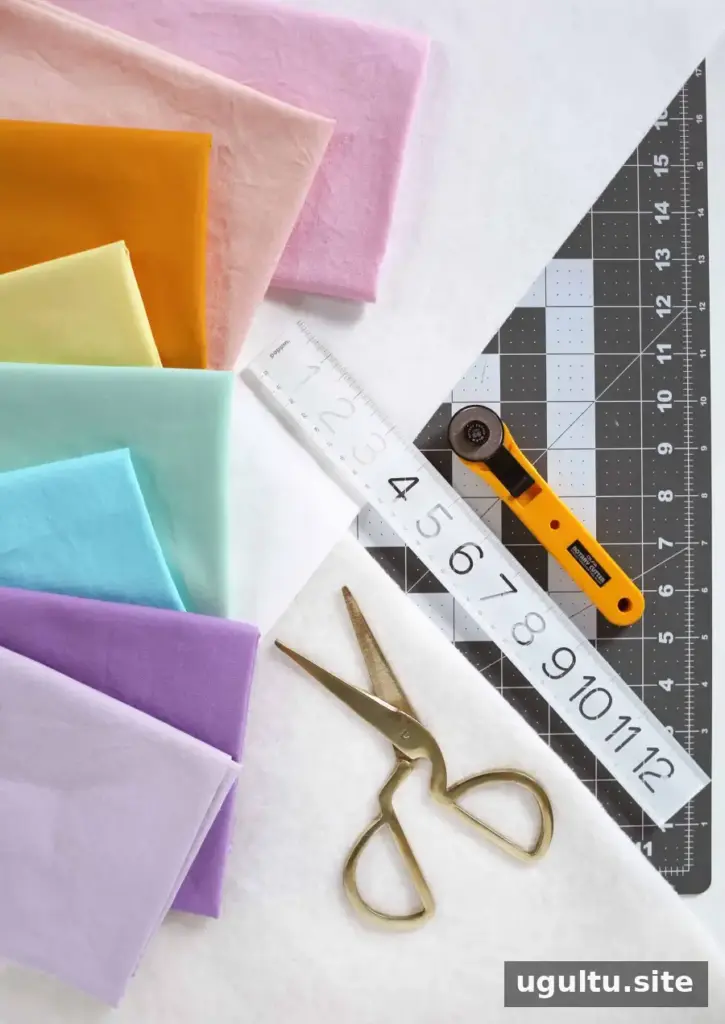
Wash the fabric first to preshrink it, then press out wrinkles. Smooth fabric is easier to measure and cut accurately. Keep your pieces organized by color as you work.
Cut and Arrange the Quilt Pieces
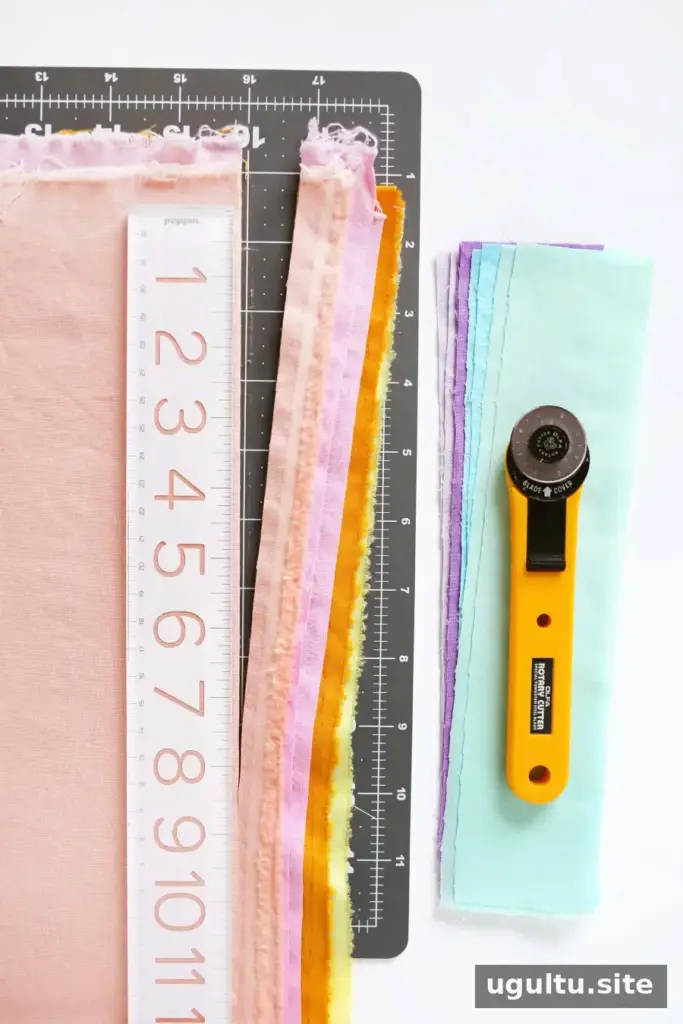
From each of the eight solid colors, cut one 8″ x 35″ piece and set it aside for the backing. Do not cut these pieces from the white fabric. Cut the remaining colored fabric into 2.25″ x 9″ rectangles. You may have more pieces than needed, so cut gradually if you want to avoid excess.
Arrange the colored rectangles in four columns on a flat work surface. Try different color orders and groupings before sewing. Place white blocks between some of the colored sections to give the design visual breathing room. Cut white rectangles that are 2.25″ x 9″ for the smaller gaps. For each larger white block, measure the gap and add 0.5″ to its length; the block should be 9″ wide. For example, a 6″ gap calls for a 6.5″ x 9″ piece.
Sew the Quilt Top
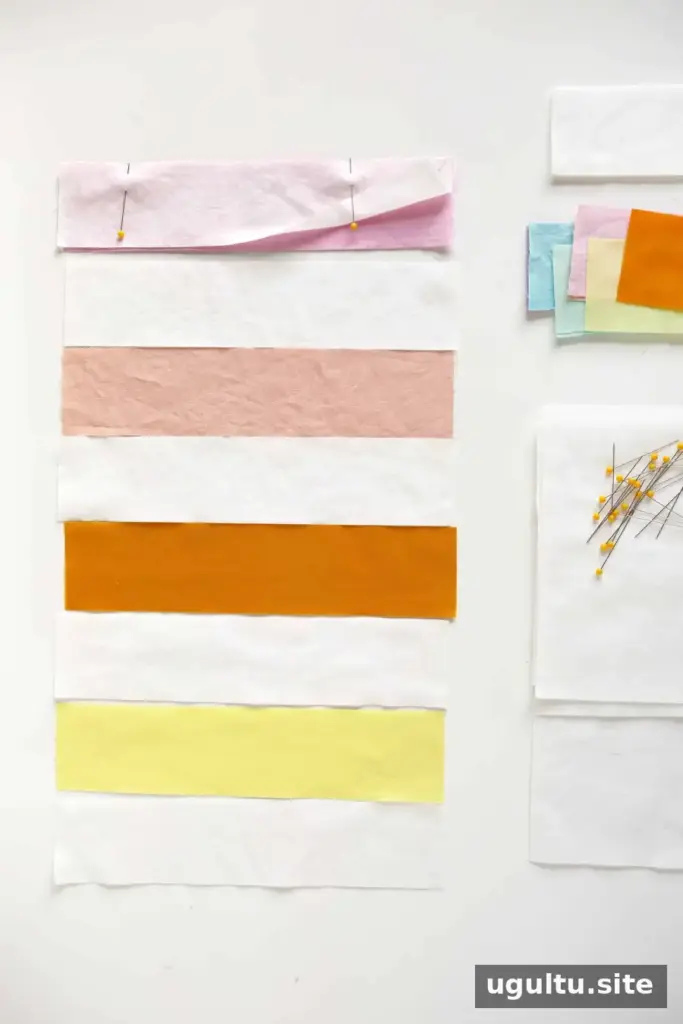
Pin the rectangles together in the order you arranged them. With printed fabric, place the right sides together; with solid fabric, align the pieces the same way even if the right and wrong sides are difficult to distinguish. Pin along the long edge where the pieces meet.
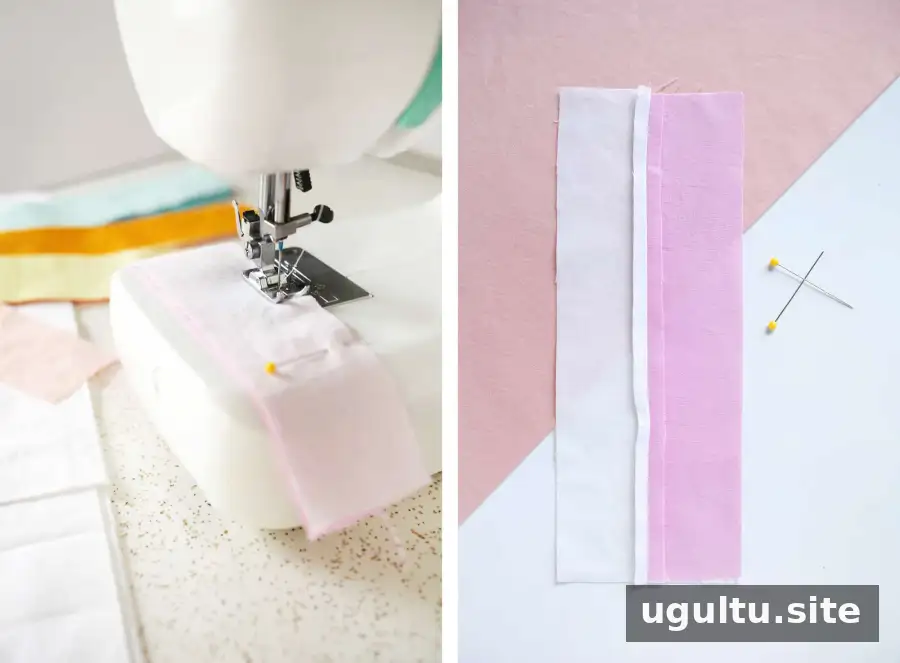
Sew along the pinned edge with a 1/4″ seam allowance. Backstitch at the beginning and end to secure the seam, then trim the thread. Open the pieces and press the seam flat. Pressing as you go helps the quilt top lie smoothly.
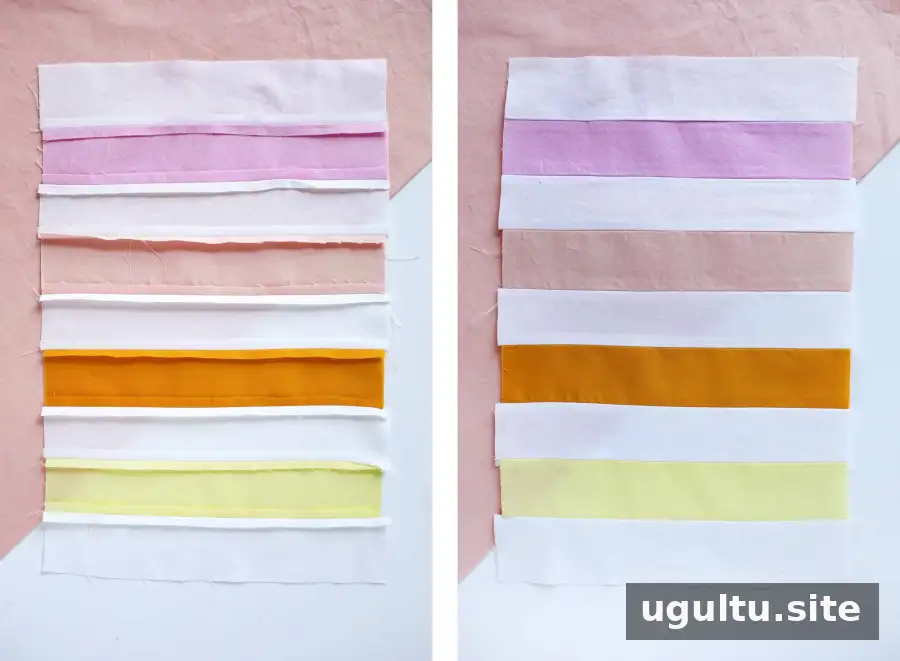
Continue joining the pieces in the planned order until each column is complete. Press the seams flat on the wrong side, then press the column on the right side. Keep the columns in order so the color layout stays consistent.
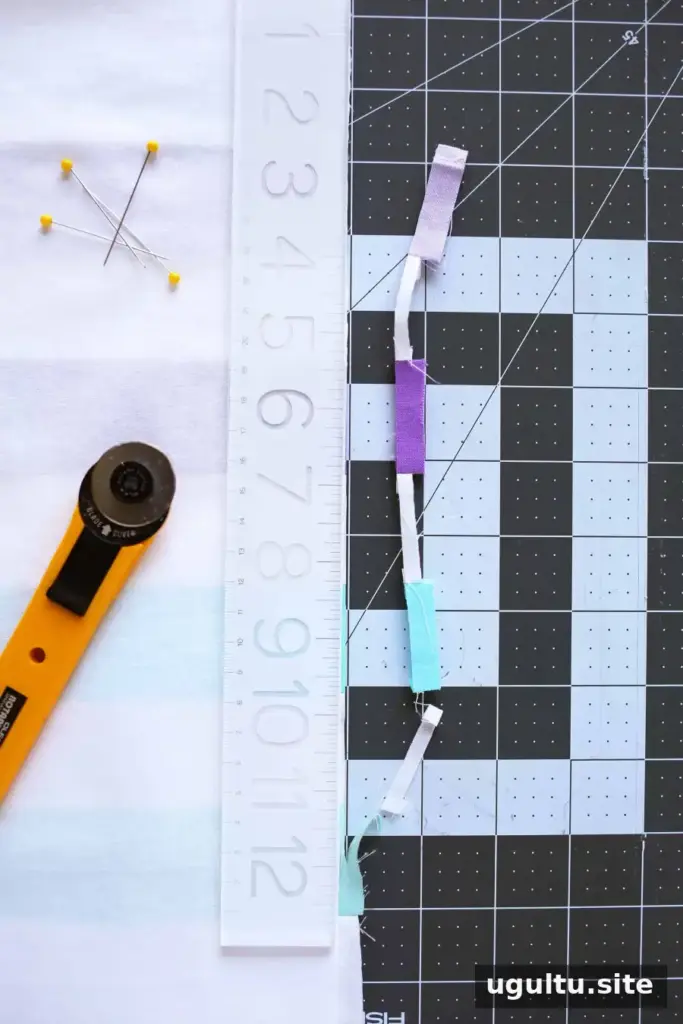
Trim uneven edges if needed, using a ruler and rotary cutter or sharp scissors. Straight, even edges make it easier to join the columns neatly.
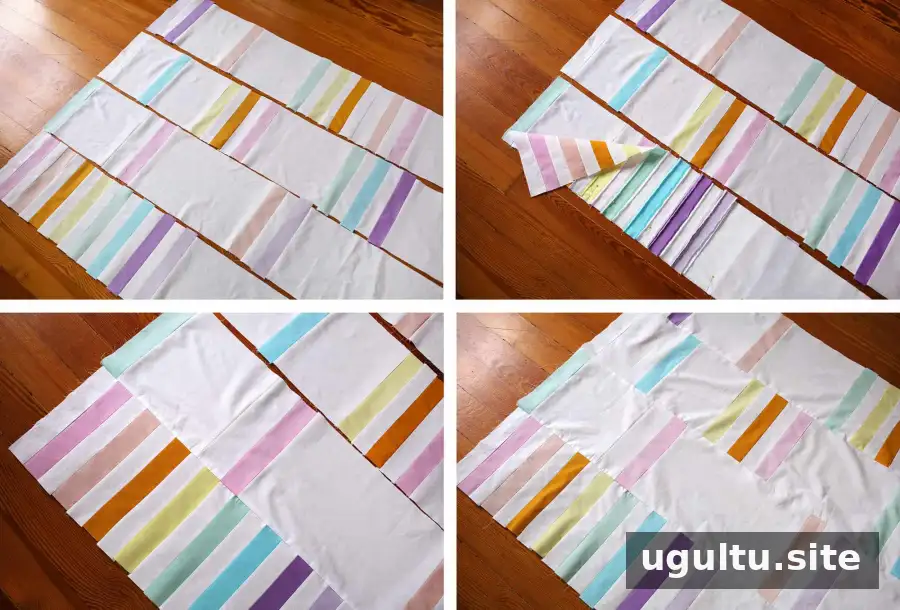
Place the columns side by side and check that the design looks right. Put the first column on the second with their right sides together and align the long edges. Pin the edges about every 5″. Sew with a 1/4″ seam allowance, backstitching at both ends. Open the columns and press the seam. Repeat to attach the third and fourth columns. The joined piece is the quilt top.
Make the Backing and Join the Layers
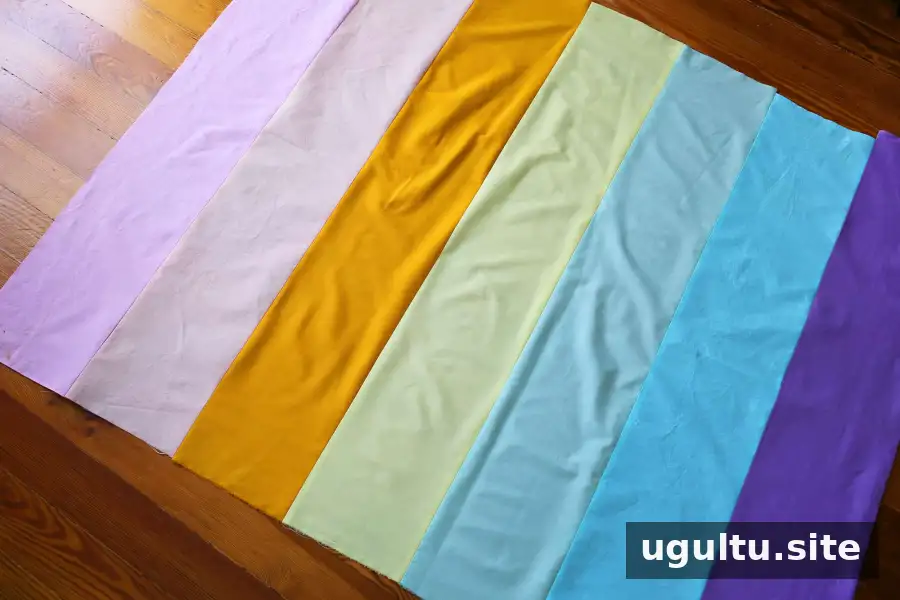
Arrange the 8″ x 35″ colored strips in your preferred order to make the backing. Pin the long edges, sew with a 1/4″ seam allowance, backstitch at the start and finish, and press the seams flat. Trim the backing edges. If you prefer a single piece of solid or printed fabric, use that instead.
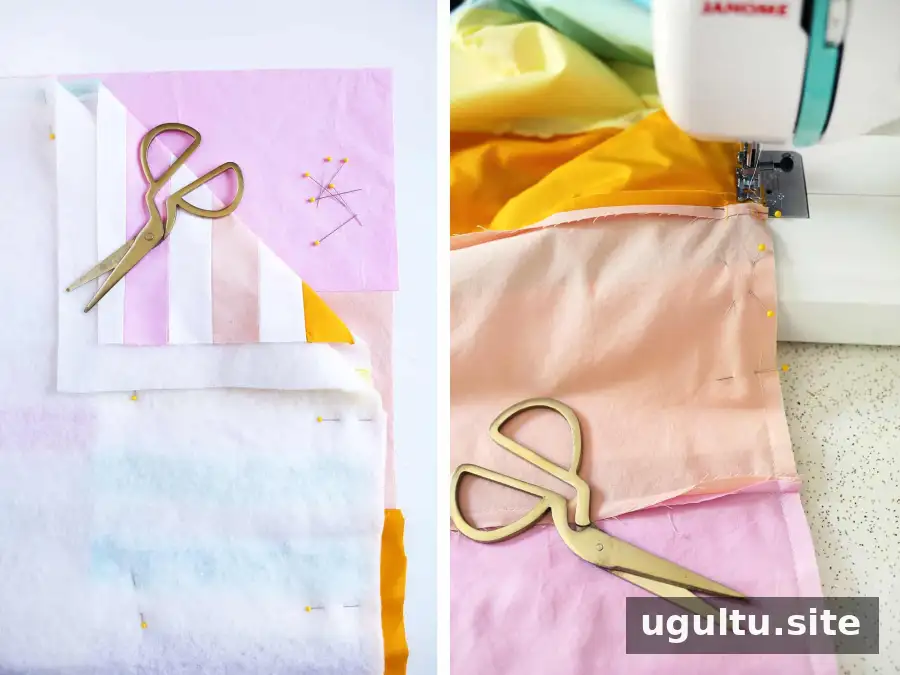
Place the backing on your work surface with its right side facing up. Lay the quilt top over it with the right side facing down, aligning one long edge and one short edge at a corner. Place the batting on top, aligned with the same corner. Pin the three layers from the center outward, spacing pins about 6″ apart. Along the edge, mark an opening by placing an X between two pins; leave this section unstitched so you can turn the quilt right side out.
Trim excess fabric and batting. Starting on one side of the marked opening, backstitch and sew around the perimeter through all three layers, 1/4″ from the fabric edge. Stop at the pin on the other side of the opening and backstitch again.
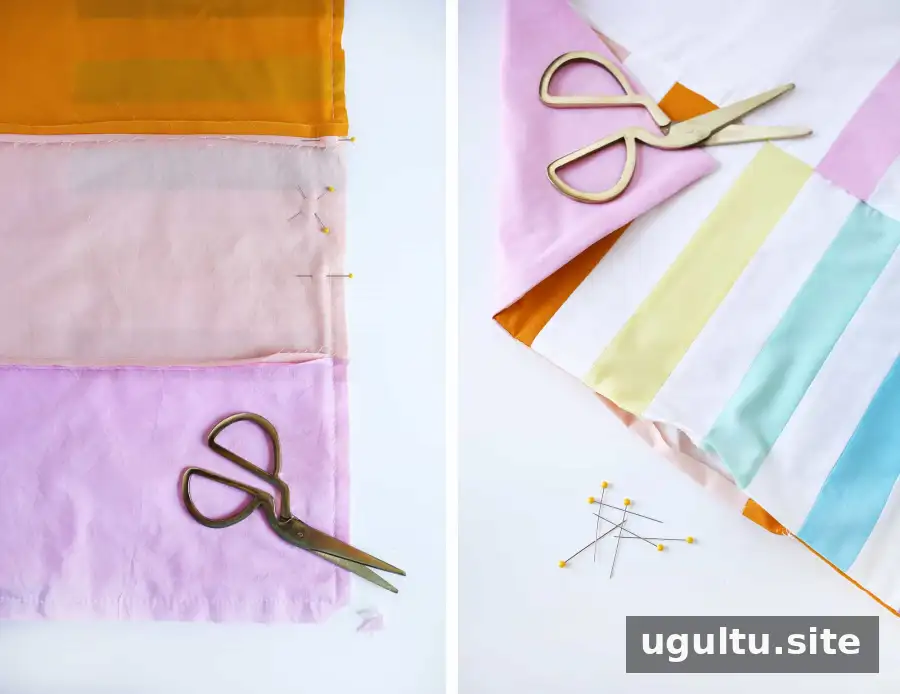
Remove the pins and trim the corners without cutting through the stitching. This reduces bulk and helps the corners turn neatly. Turn the quilt right side out and press the edges. Fold the raw edges of the opening inward and press them in line with the rest of the edge.
Quilt and Finish the Edges
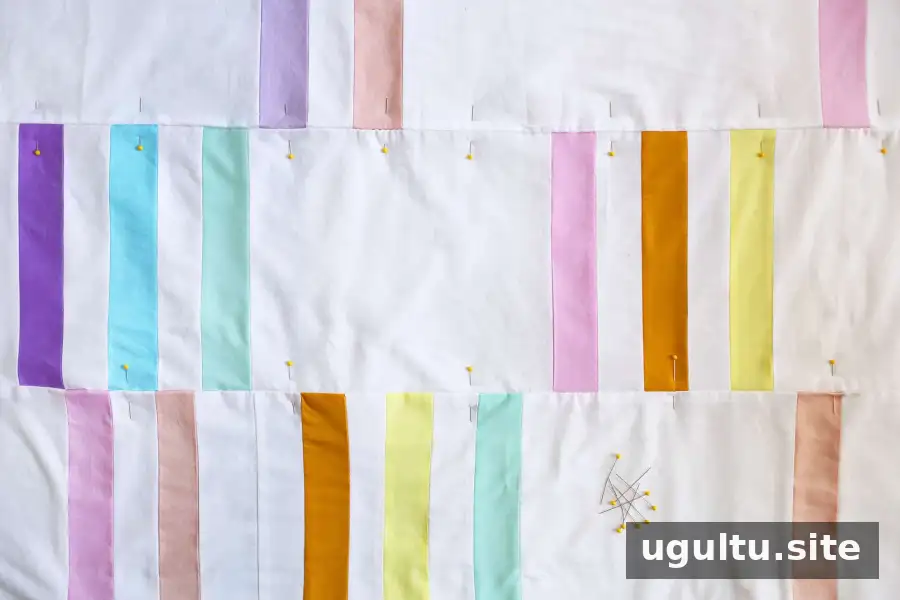
With the quilt top facing up, pin through all three layers along the long seams, spacing the pins 5″–6″ apart. Pin around the edges as well. Check that the layers are smooth and have not shifted before sewing.
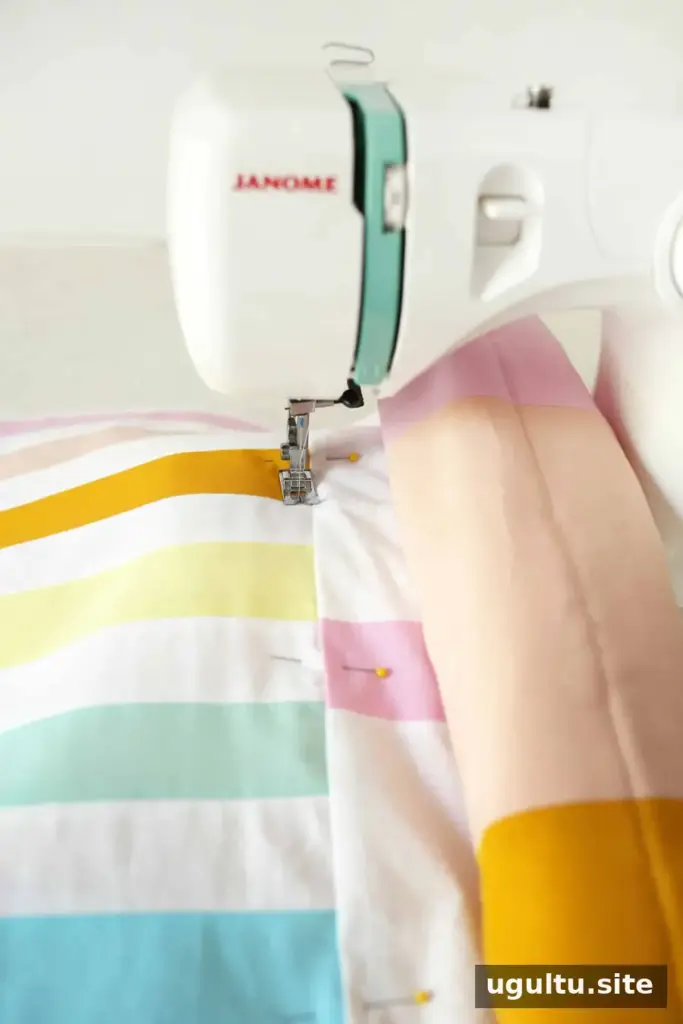
Begin with the center seam. Gently roll one side of the quilt toward the center so it fits under the sewing machine. Start about 1/4″ from the pressed edge and sew down the seam, using the seam line as a guide for a straight stitch.
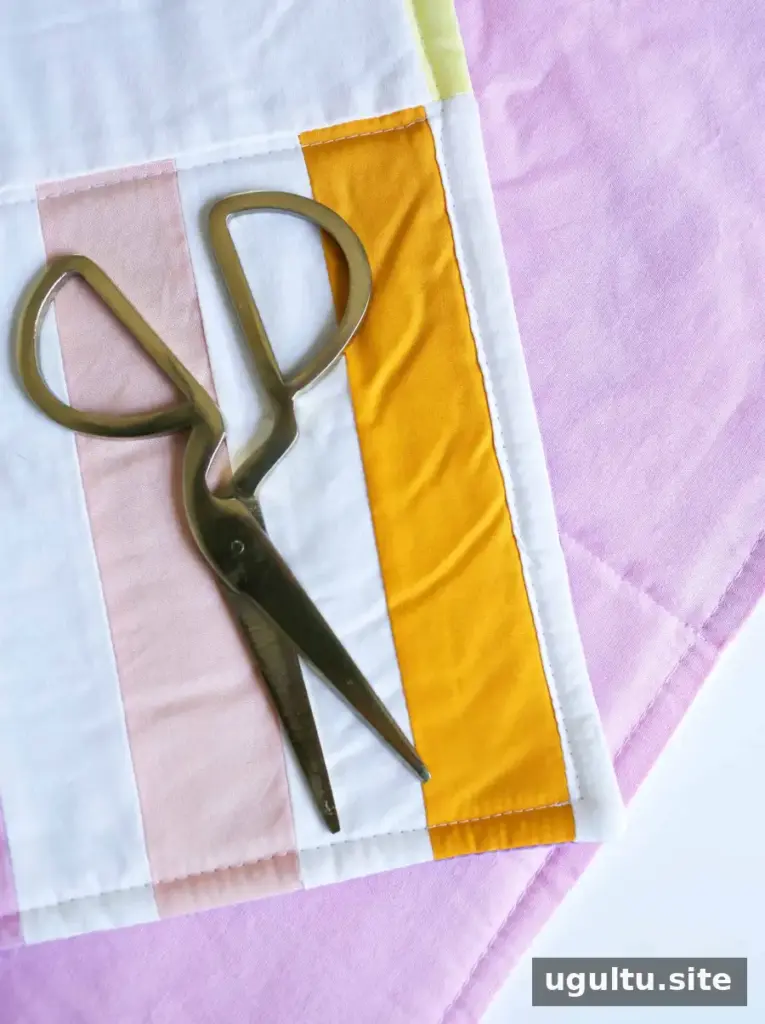
Unfold the quilt carefully and stitch along the remaining long seams, stopping about 1/4″ from the edges. Trim the threads and remove the pins. To close the opening, sew around the quilt perimeter about 1/4″ from the edge, backstitching where the stitching begins and ends.
Care and Safe Use
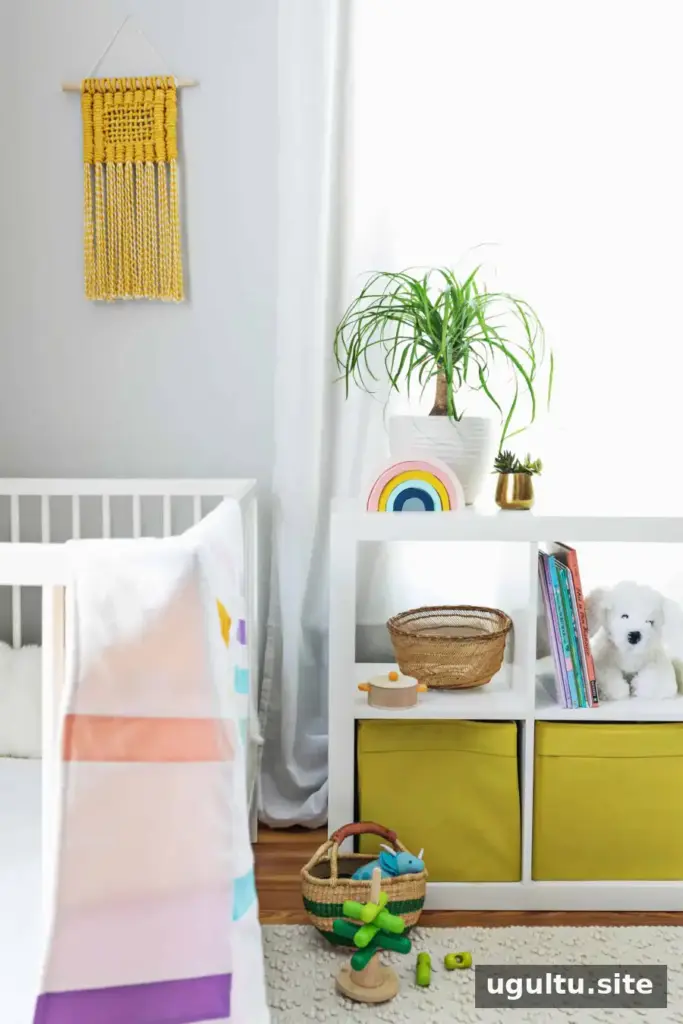
Machine wash in warm water and line dry or tumble dry on low. Follow the care instructions for the fabric and batting, and check the quilt after washing for loose threads or seams.
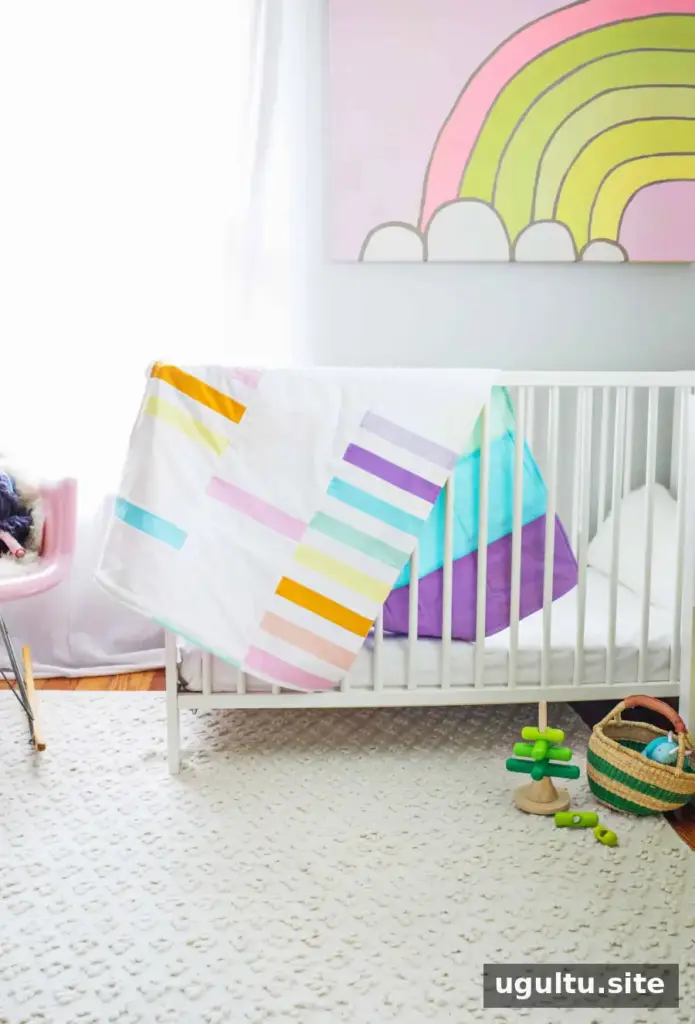
A finished quilt can be useful for supervised tummy time or cuddling with a toddler. For infant safety, do not place loose quilts or blankets in a baby’s sleep space; follow current safe-sleep guidance. This project can also be scaled into a larger lap or queen-size quilt by increasing the number of columns and their length, then calculating the additional fabric required.
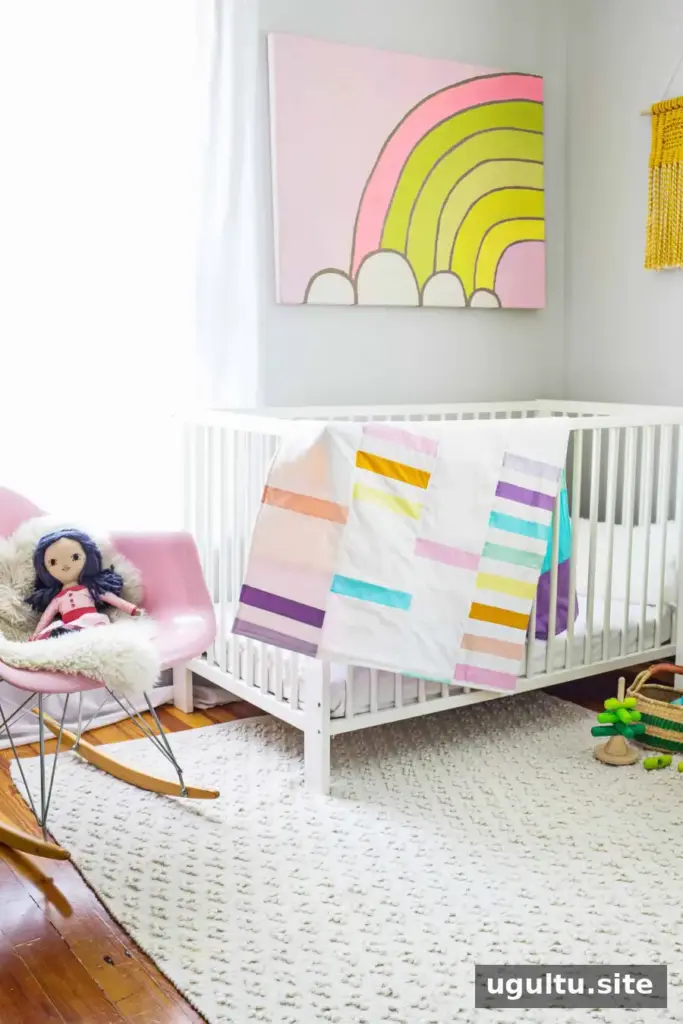
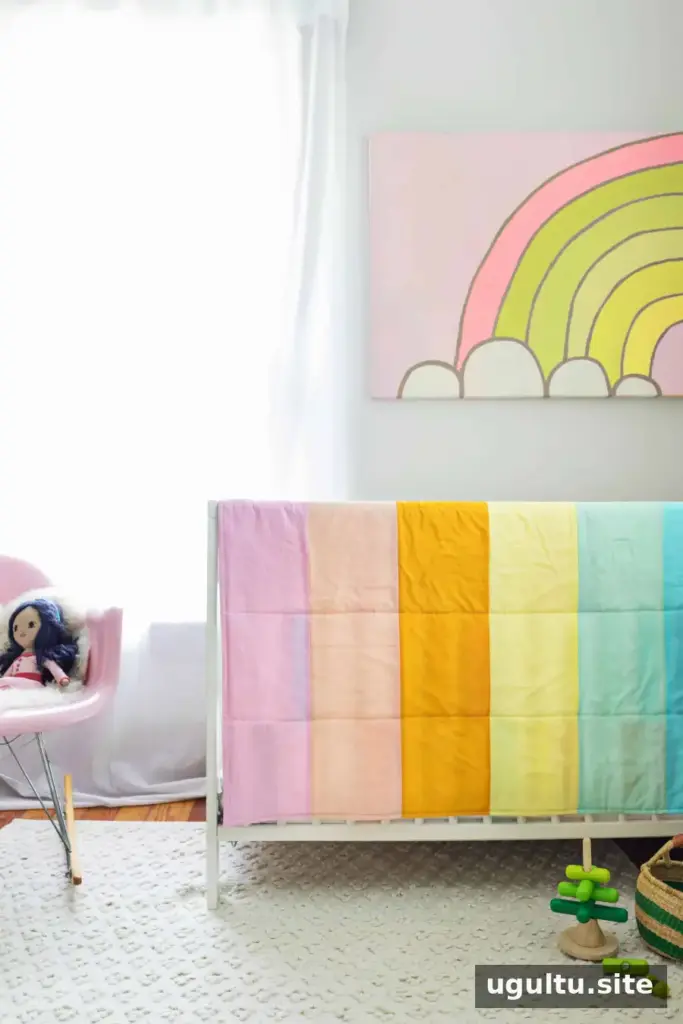
This DIY crib quilt combines simple rectangular patchwork with a colorful striped backing, making it a flexible sewing project for a nursery or handmade gift. Plan the layout before sewing, press the seams as you go, and use the same method to create a larger quilt when you are ready to scale up.


