
 admin
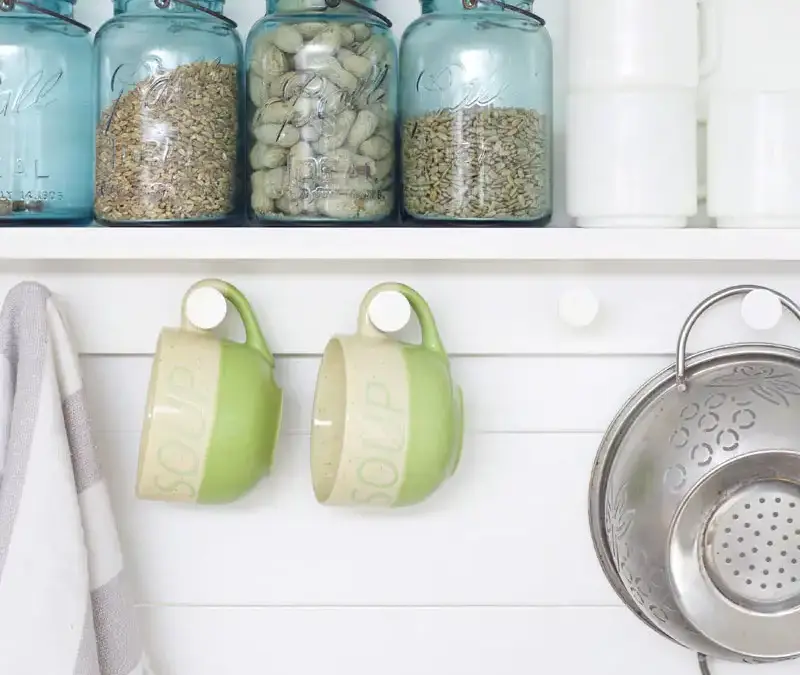
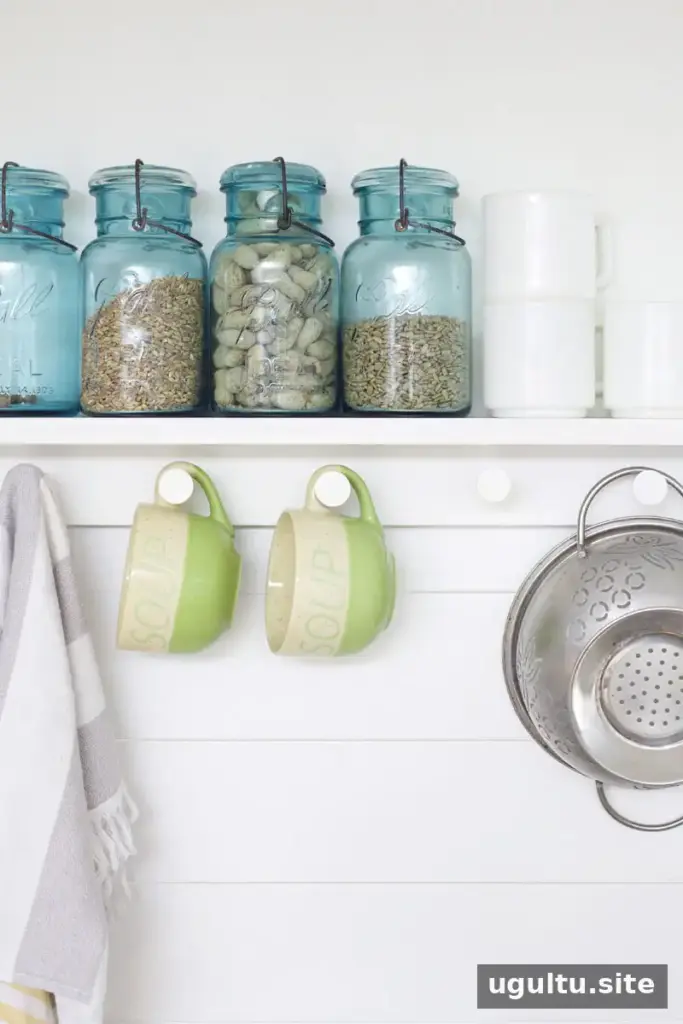
A DIY peg rail shelf is a practical way to add hanging storage and a little display space without taking up much room. It can hold items such as hats, jackets, towels, mugs, or kitchen utensils, making it useful in an entryway, kitchen, or bathroom. Building one yourself also lets you choose a length and finish that suit your wall and the items you plan to hang.
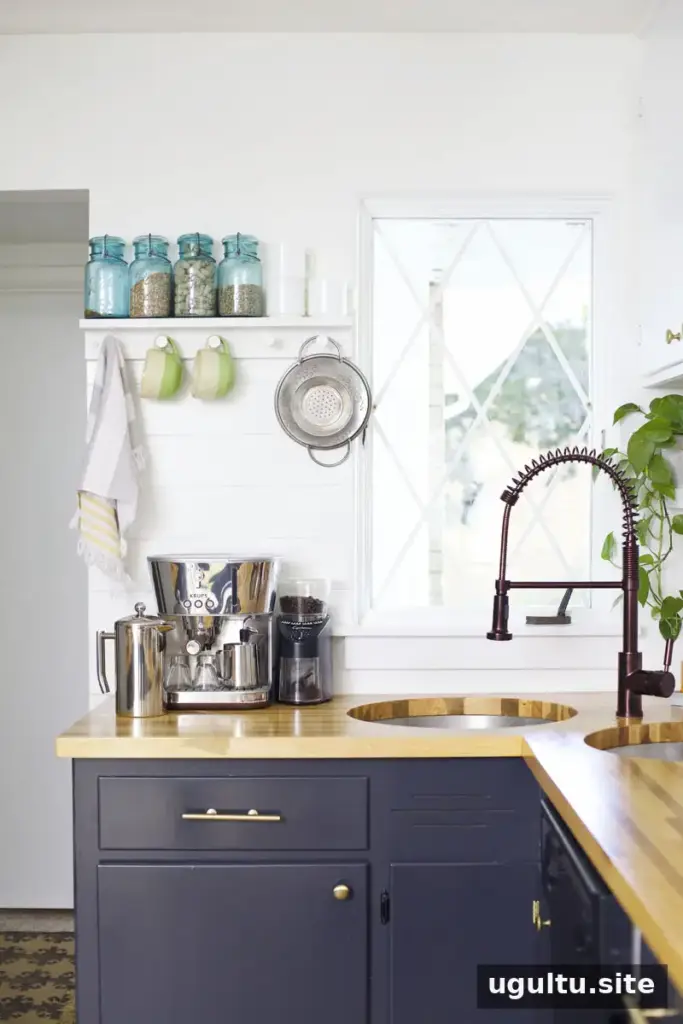
This design combines a simple wooden rail with a narrow shelf, painted white for a minimal look. The example was made to fit a space just under 24 inches wide, with both boards cut to 23 inches. Adjust the dimensions to suit your own space, and consider the size of your hanging items before choosing the pegs.
Cost note: If you need to buy all the tools as well as the materials, making this project may cost more than purchasing a ready-made rail. The listed project cost does not include tool purchases.
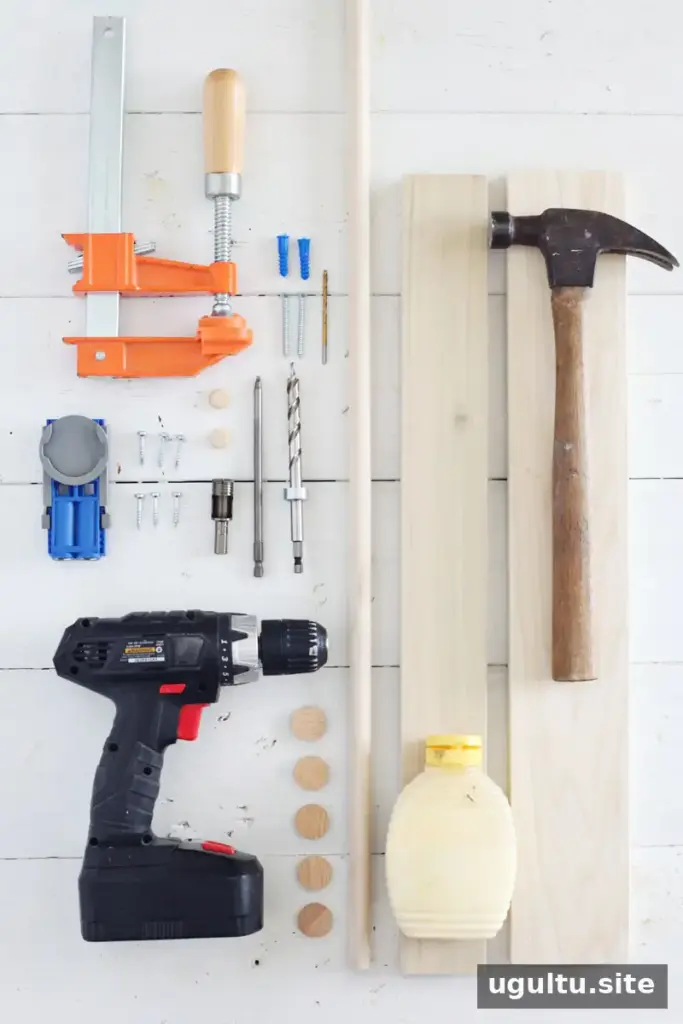
Materials
- 1″ x 3″ lumber, cut to the desired length; a 1″ x 3″ x 2′ piece was listed at $3.
- 1″ x 4″ lumber, cut to the desired length; a 1″ x 4″ x 2′ piece was listed at $4.
- Dowel rod in the diameter you need: $2.50.
- One wooden disc or wood plug, slightly wider than the dowel, for each peg: $1.
- Pocket-hole screws for joining the rail and shelf: $4 per pack; only a few are needed.
- Wall-mounting screws: $1.50 per pack; the example used two.
- Drywall anchors if the rail will not be secured to wall studs: $2 per pack.
- Button plugs sized to match the countersink bit: $2.50 per pack.
- 180-grit sandpaper: $3.
- Stain, primer, and paint as desired: up to $8.
- Wood glue: $4.
The estimated total is $35 if none of the materials are already available. The materials purchased for the example cost $13, since only the lumber and mounting screws were needed.
Tools
- Power drill and a drill bit for the mounting screws
- Pocket-hole jig and clamps
- A hole saw, Forstner bit, standard drill bit, or spade bit sized for the dowels
- Countersink bit, hammer, ruler or T-square, and pencil
Wood and peg selection: The example used 24-inch poplar boards. Denser wood is recommended over softwood to help the pegs stay secure over time. Poplar takes paint well, though its grain may not produce an even result when stained. The pegs were made with 5/8-inch dowels and 1-inch wooden discs. That combination may be too wide for some mug handles, so check the items you intend to hang before choosing peg dimensions.
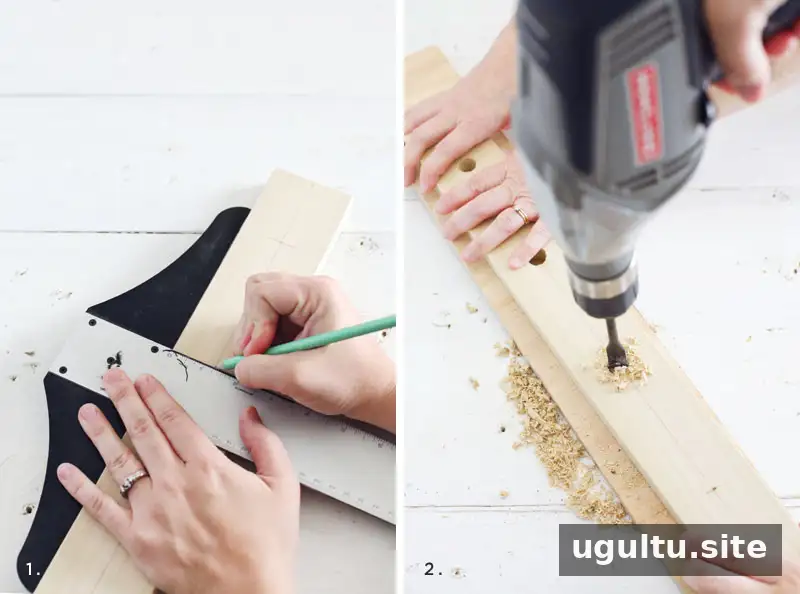
Before assembly, have the rail and shelf boards cut to your chosen length. A lumber yard may be able to cut them if you do not have a saw. The example boards were 23 inches long.
How to Make a DIY Peg Rail Shelf
1. Mark and drill the peg holes
Mark each peg position along the rail. In the example, the two outer pegs were positioned 2.5 inches from the ends. Drill holes at the marks using a bit that matches the dowel diameter. A spade bit was used for this project, but it chipped the wood and required filler; a Forstner bit or self-feeding hole saw can make cleaner holes. Test the bit on scrap wood first if possible.
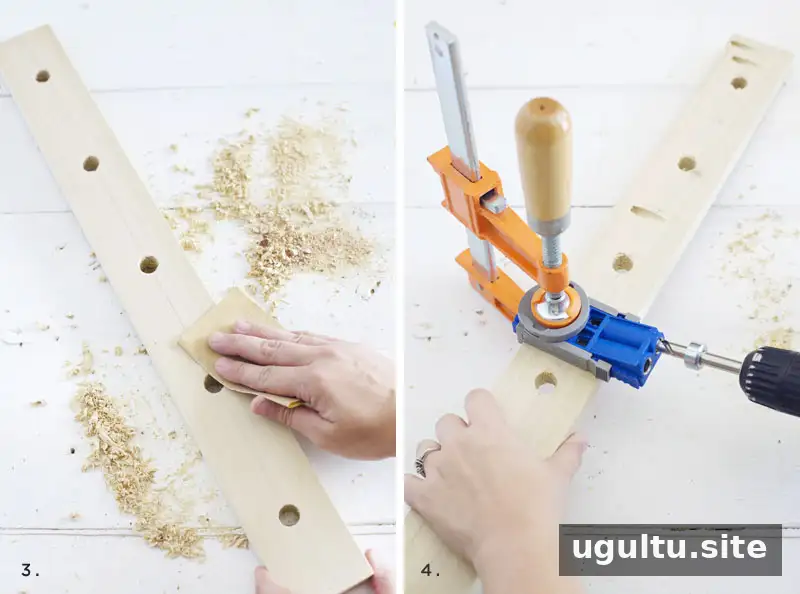
2. Sand the rail. Smooth the whole rail with 180-grit sandpaper, paying attention to the edges and the areas around the holes.
3. Drill pocket holes. Clamp the rail securely and use a pocket-hole jig to make holes on the less visible side of the wood. Four pilot holes were used for the 23-inch rail.
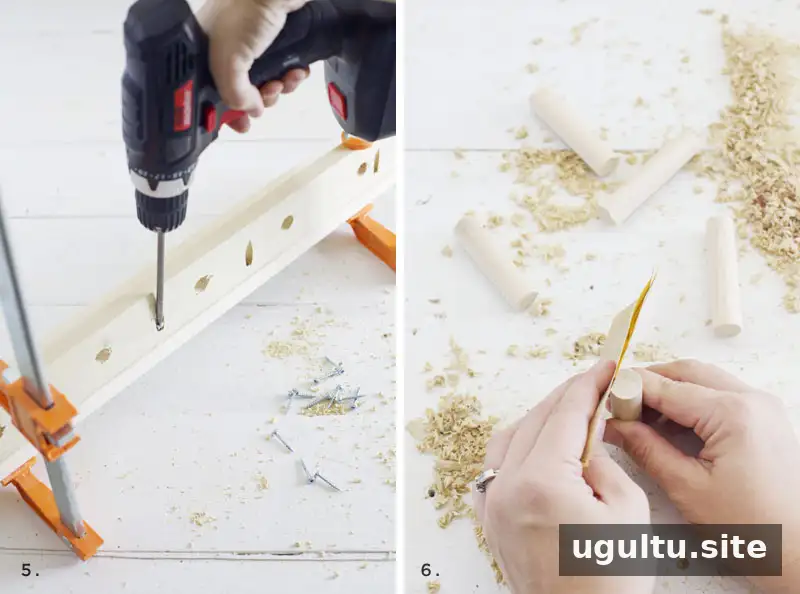
4. Attach the shelf to the rail. Clamp the two boards together in position, then drive pocket-hole screws through the prepared holes. Keep the boards aligned as you tighten the screws.
Fit and finish the pegs
5. Cut the dowels. Cut every dowel to the same length and sand the ends smooth. The example pegs were 2.75 inches long. If you do not have a saw, ask whether the lumber yard can make the cuts.
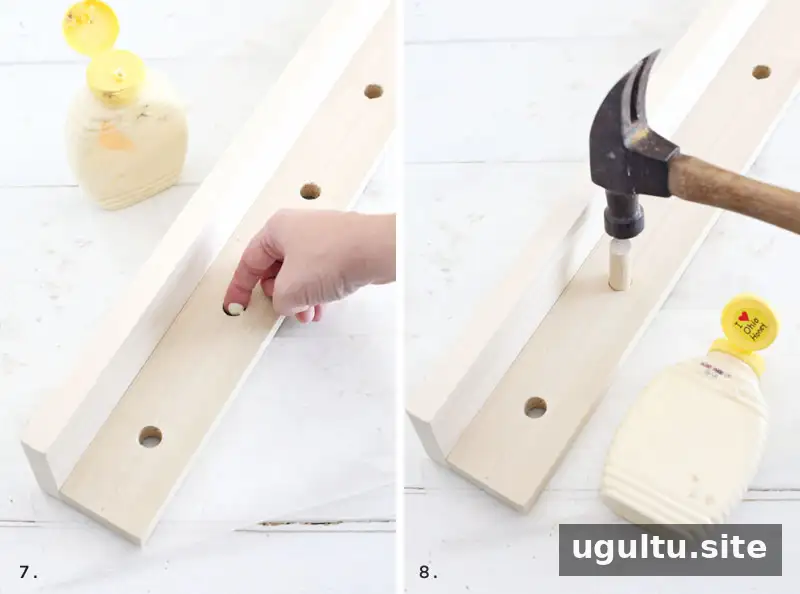
6. Glue the pegs into place. Apply wood glue inside each hole, then tap the dowels in carefully with a hammer. Make sure none of them protrude through the back of the rail and that each one extends the same distance from the front. Check alignment before the glue sets.
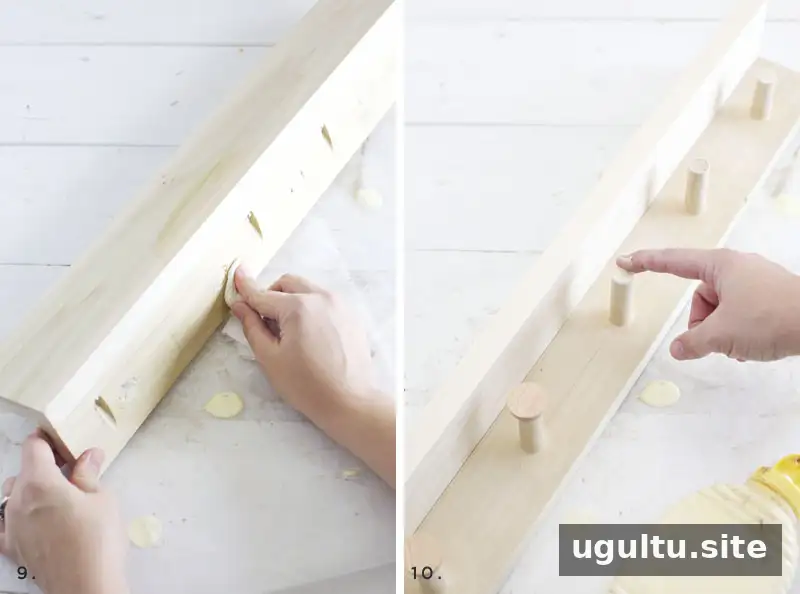
Wipe away glue that has squeezed out at the back of the rail. Apply glue to the exposed ends of the dowels and press a wooden disc onto each one. Clean away any excess glue before it dries.
7. Paint or stain the assembled rail. The example was finished with primer and paint. After applying a thick coat of primer, the shelf was wet-sanded with 400-grit wet/dry paper before painting. Follow the directions for your chosen finish and allow it to dry fully before mounting.
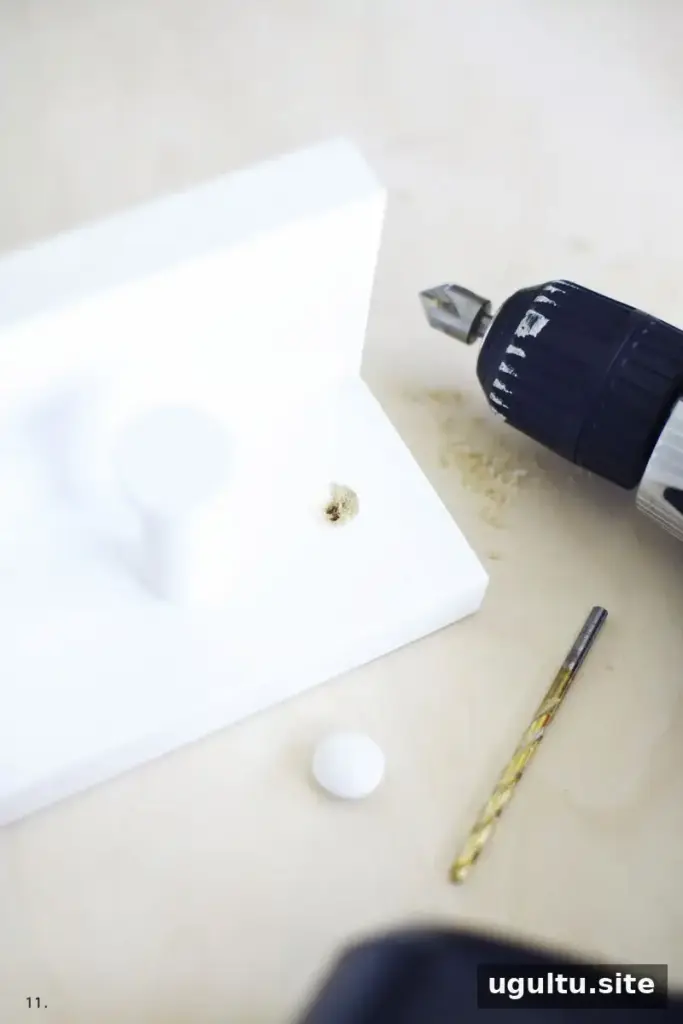
8. Prepare the mounting holes. Drill pilot holes where the rail will attach to the wall. Use a countersink bit to create space for the button plugs, and test that the plugs fit before installing the rail.
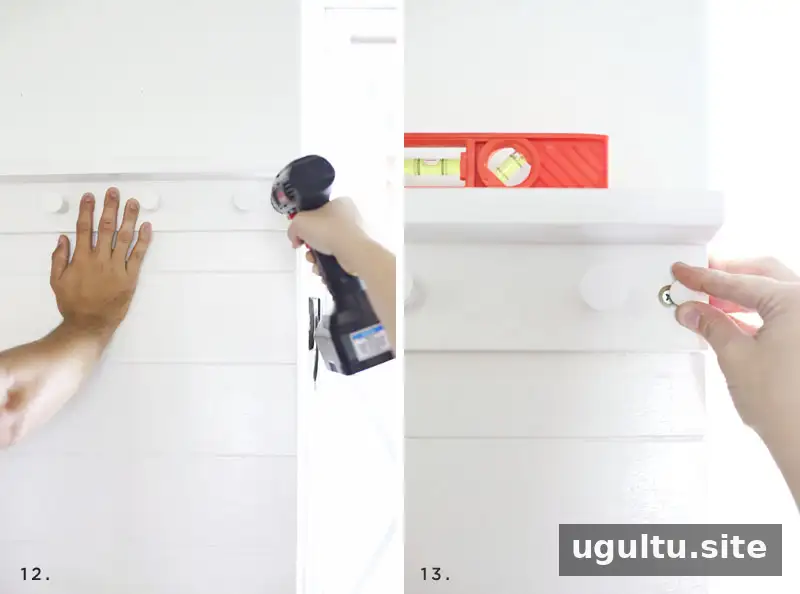
9. Mount and conceal the screws. Hold the shelf level while fastening it to the wall. When mounting into drywall rather than studs, use anchors rated for the load you expect the shelf and hanging items to carry. Follow the anchor packaging instructions, and do not exceed its stated capacity. Cover the screw heads with button plugs; a correctly sized plug may fit snugly without glue.
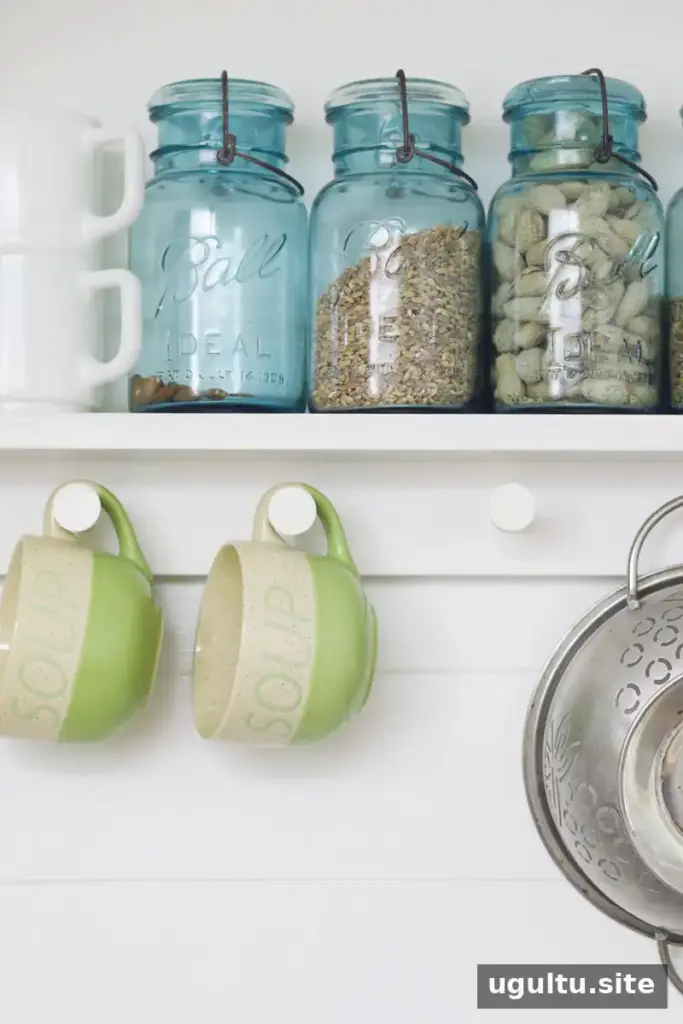
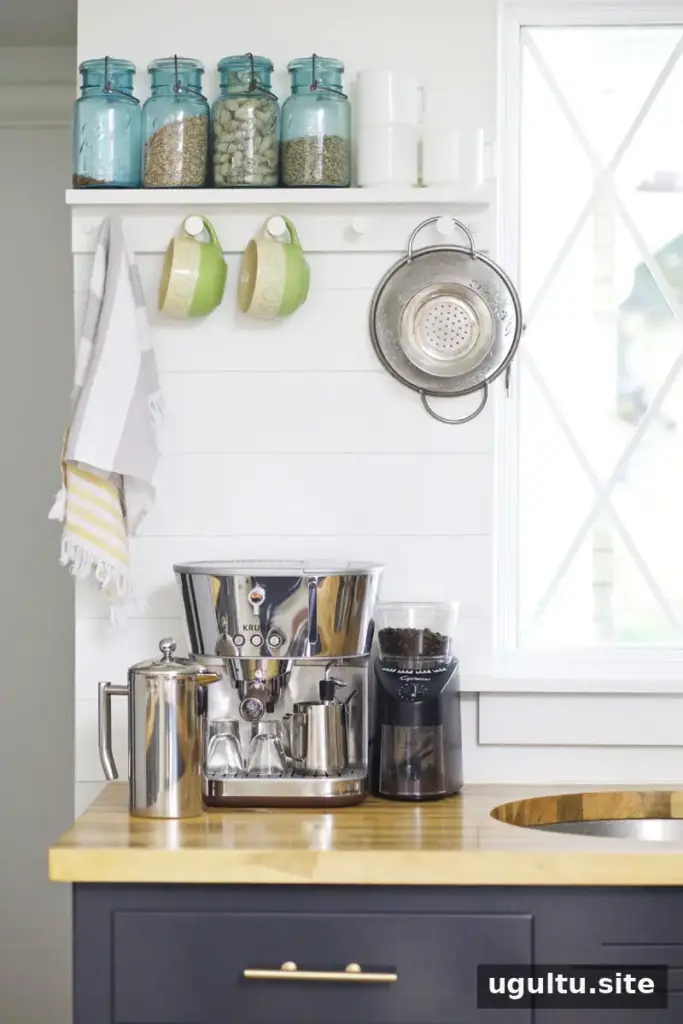
Wooden discs give the pegs a contemporary appearance. If the dowel-and-disc combination does not suit the items you want to hang, a traditional Shaker-style peg is another option to consider.
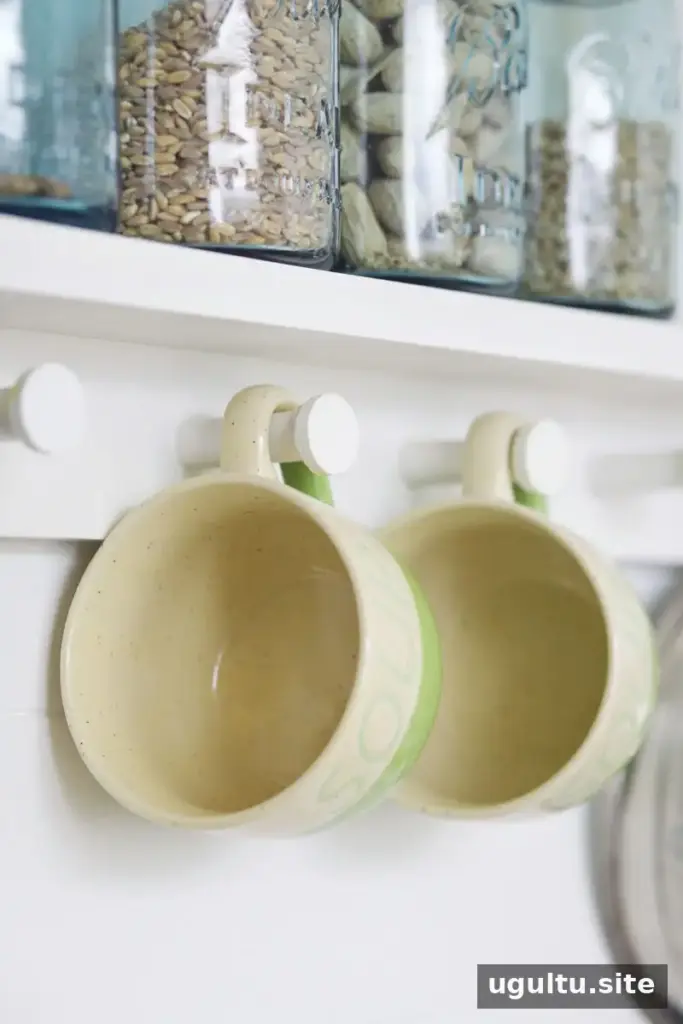
The finish can be customized to match the room. For a decorative shelf holding simple canisters, mugs, or utensils, the peg caps could be painted in a contrasting color. Before styling the shelf, make sure the paint has cured and the rail is securely mounted. With adaptable dimensions, peg sizes, and finishes, this DIY peg rail shelf can be tailored to the needs of your space. — Mandi


