
 admin
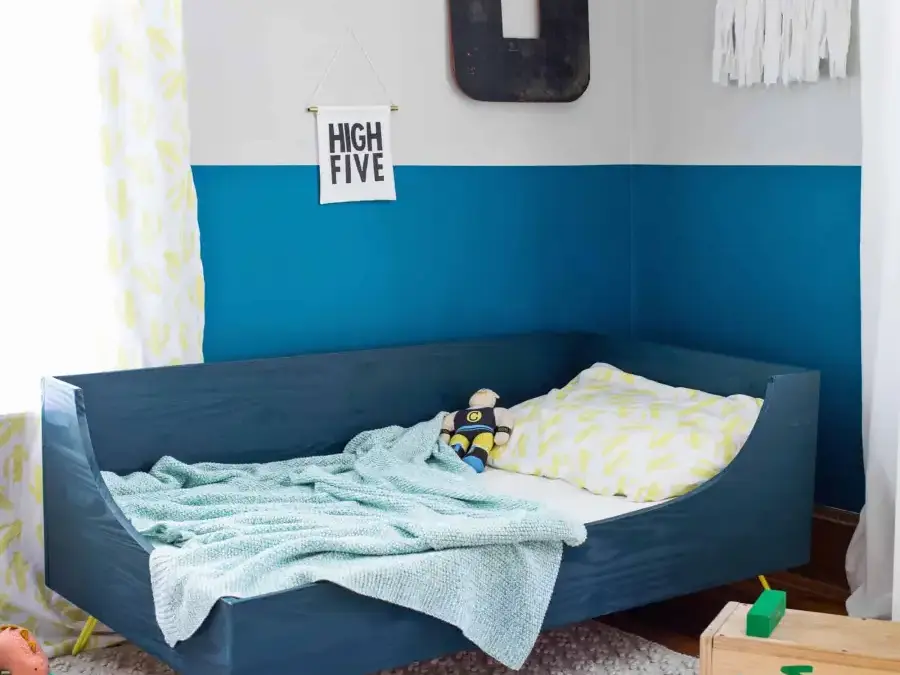
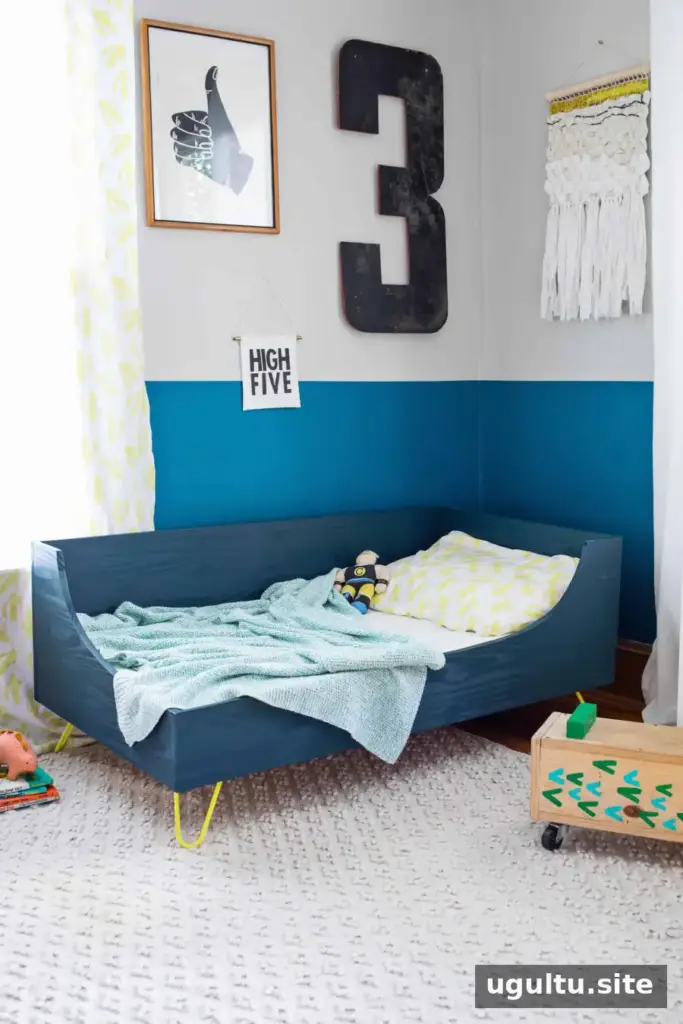
When a child outgrows a crib, a DIY toddler bed can be a practical next step—especially in a small or shared bedroom where a twin bed may take up too much space. This modern design pairs a curved wooden frame with hairpin legs and is sized for a standard crib mattress. Before starting, check that the mattress fits the finished frame securely and review the measurements and material notes below, as a few dimensions in the original plan need clarification.
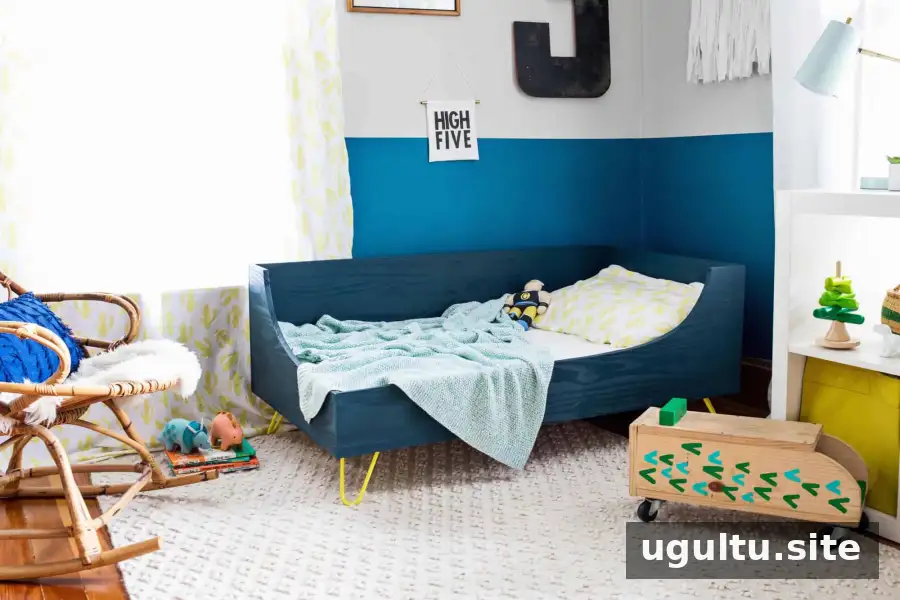
Materials and tools for this DIY toddler bed
Gather the following supplies before cutting. Check each board for damage and confirm the lumber dimensions at the store, since nominal and actual board sizes can differ.
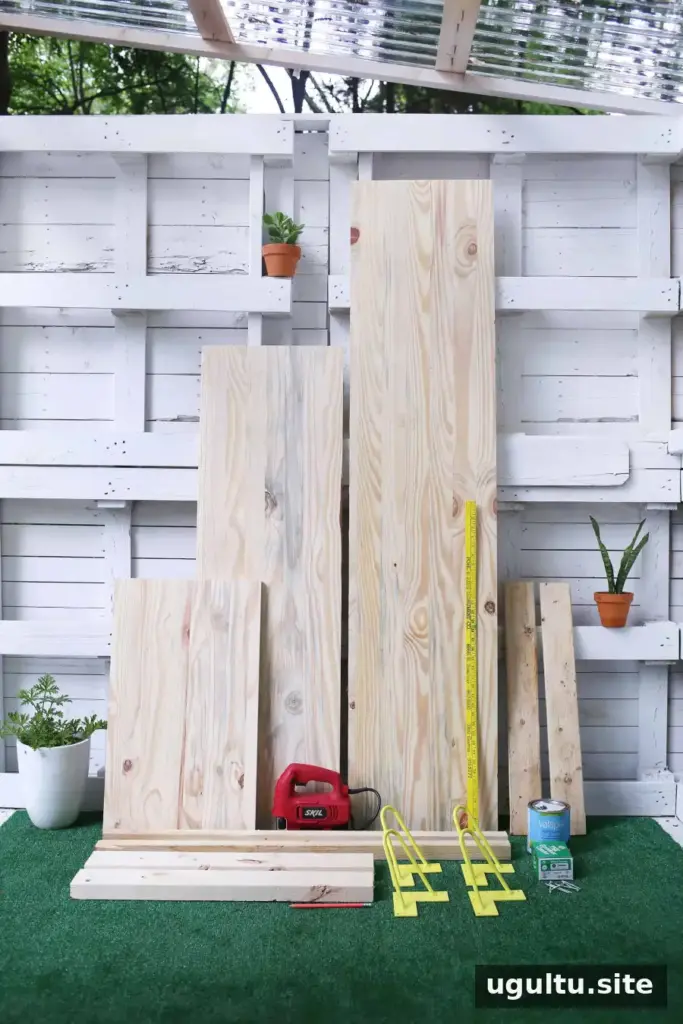
- One 1″ x 16″ x 6′ paint-grade panel
- One 1″ x 16″ x 8′ paint-grade panel
- One 2″ x 2″ x 8′ common pine board for side-slat support
- One 2″ x 6″ x 8′ common pine board for frame support
- Four 1″ x 3″ x 8′ common pine boards for bed slats, or Ikea bed slats as used in this project
- Four 6″ powder-coated hairpin legs
- Sixteen #8 x 3/4″ screws for the legs
- Power drill, clamps, and jigsaw with a blade for cutting curves
- Power sander or 80- and 120-grit sandpaper
- Wood putty, one quart of paint, and a brush or small roller
- Protective eyewear
Cut list and mattress fit
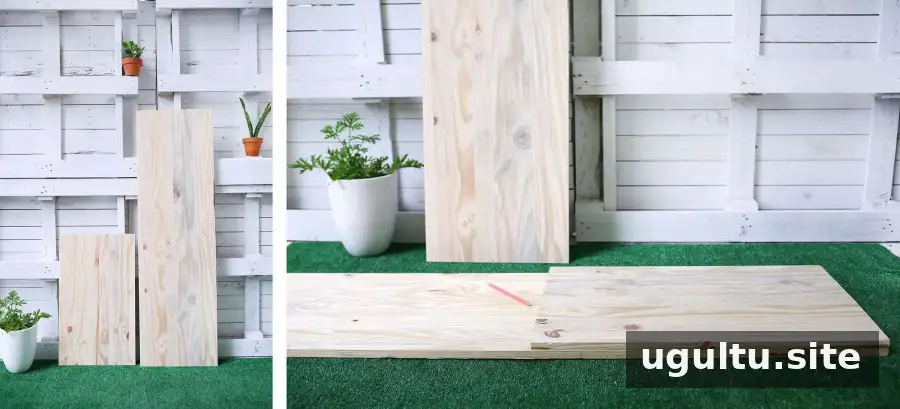
Cut the 1″ x 16″ x 8′ panel into one 27.5″ piece and one 53.5″ piece; there will be a leftover section. Cut the 2″ x 6″ x 8′ board into two 27.5″ pieces. Cut the 2″ x 2″ x 8′ board in half. Cut the four 1″ x 3″ x 8′ boards into 27.5″ lengths to make 12 slats. The plan states that the frame fits a standard crib mattress.
Shape the curved side panels
The 27.5″ and 53.5″ pieces cut from the 8-foot panel form two sides of the frame and are not cut further. Use the shorter piece as a template: align it flush with one end of the 1″ x 16″ x 6′ panel and mark its length lightly in pencil.
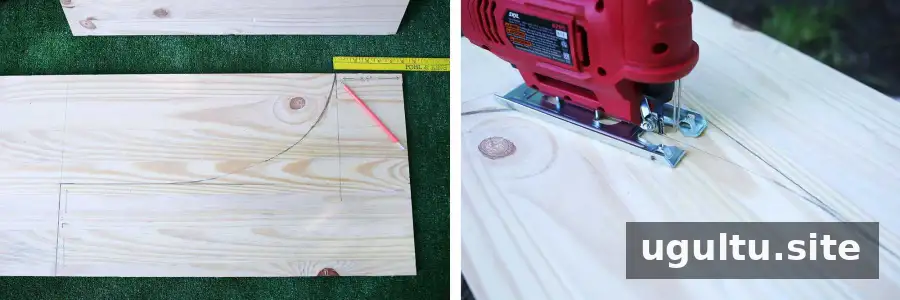
From that mark, measure 7″ in from one edge and draw a line. Measure 5.5″ from the top-right corner to establish the starting point for the curve. Lightly sketch a smooth, ramp-like curve between the guide marks, then darken the line once the shape looks right. Clamp the panel securely to a work surface or sawhorses, wear protective eyewear, and cut slowly with the jigsaw.
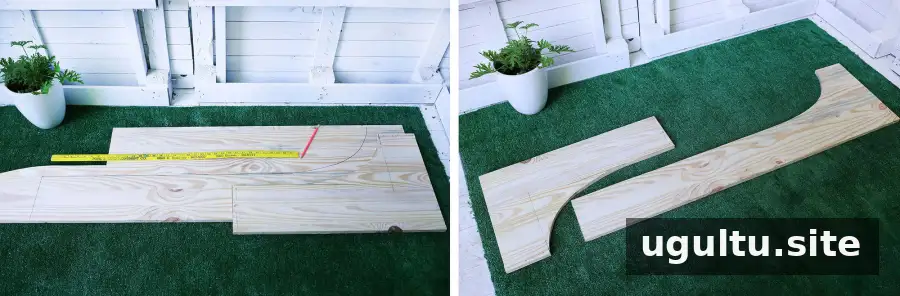
Measure 53.5″ from the other end of the panel and mark a right angle, then measure 7″. Use the first curved piece as a template to trace the curve onto the longer section. Align the template’s 5.5″ side with the appropriate top corner, extend the curve to the 7″ mark, and cut along the marked line. Sand the cut edges to remove splinters.
Assemble and reinforce the frame
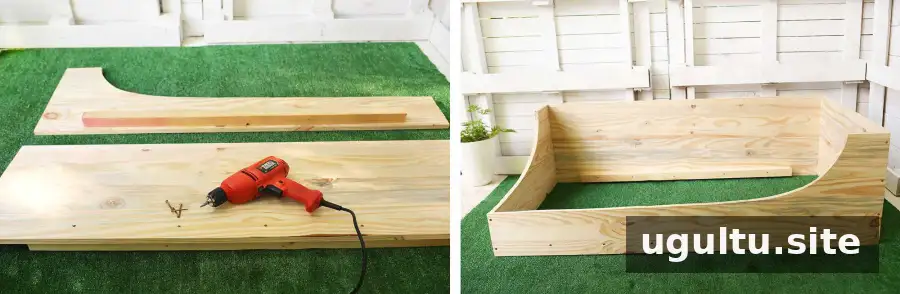
Choose which corner will have the low curve. Attach the 2″ x 2″ side supports to the opposite side of the long panels, positioned about 2″ above the bottom edge. The original project describes these supports as 36″ long, while the cut list calls for cutting the 8-foot board in half; confirm the intended length before assembly. Clamp each support in place and secure it from the outer face, using five screws along each long side. Fill the visible screw holes later with wood putty.
Join the long panels to the short panels, keeping the short panels inset. Use two screws at the low corner and three at the other corners, checking that the joints are square as you work.
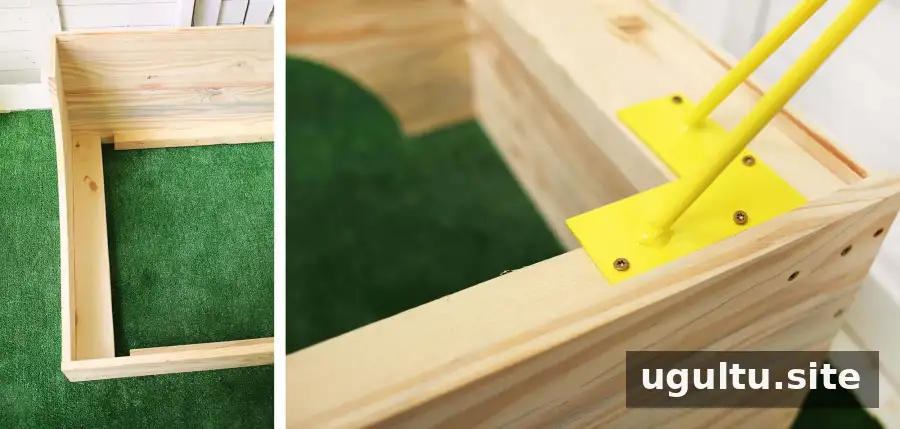
Fit the two 27.5″ frame-support pieces at the short ends, flush with the tops of the side supports, and screw them in place. The source list identifies these pieces as 2″ x 6″, but the assembly directions refer to 2″ x 4″ pieces. Verify the correct board size before cutting or attaching the supports. These pieces reinforce the frame and provide a base for the legs.
Attach the legs and bed slats
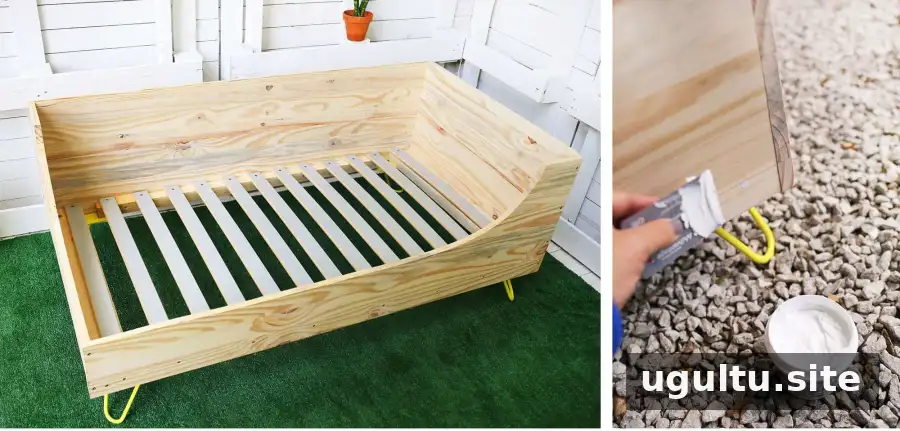
Carefully turn the frame upside down. Position the four hairpin legs about 2″ in from each short end and against the inside of the long sides. Mark the screw holes, pre-drill, and fasten the legs with the specified screws. Turn the frame upright with care, then space the slats evenly and secure each one at both ends.
Sand, finish, and check the bed
Fill screw holes and gaps at the joints with wood putty and allow it to dry. Sand the frame smooth, then paint or stain it according to the product instructions. Let the finish dry fully before placing the mattress on the frame.
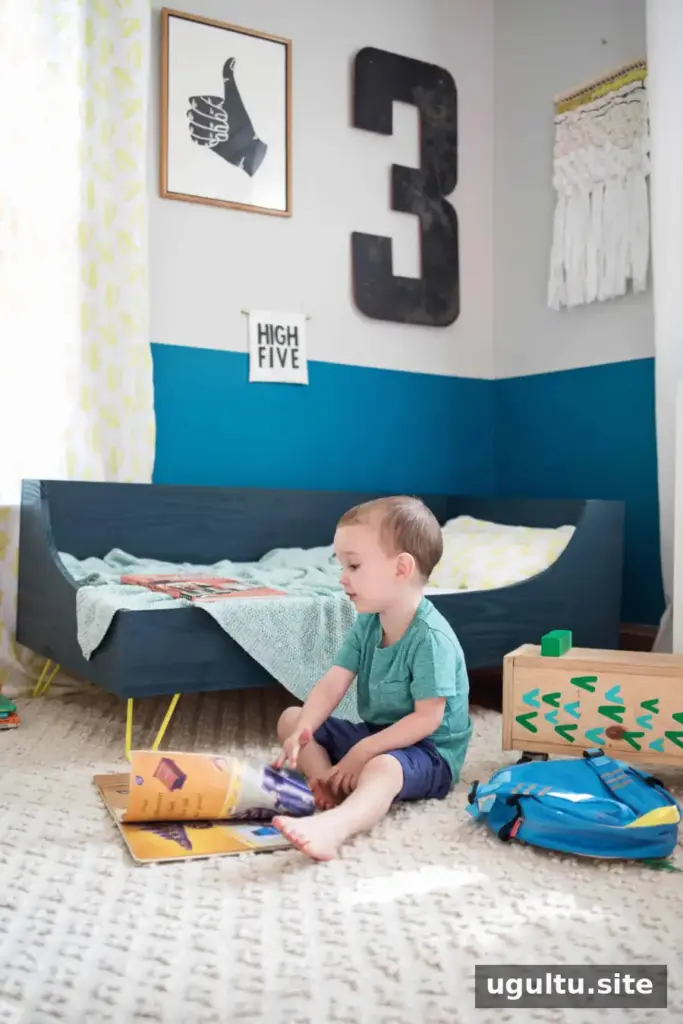
Before use, check that the frame is stable, all screws are secure, and the mattress fits without unsafe gaps. Recheck the joints and fasteners periodically, particularly after moving the bed. Follow applicable child-bed safety guidance and the paint or finish manufacturer’s instructions.
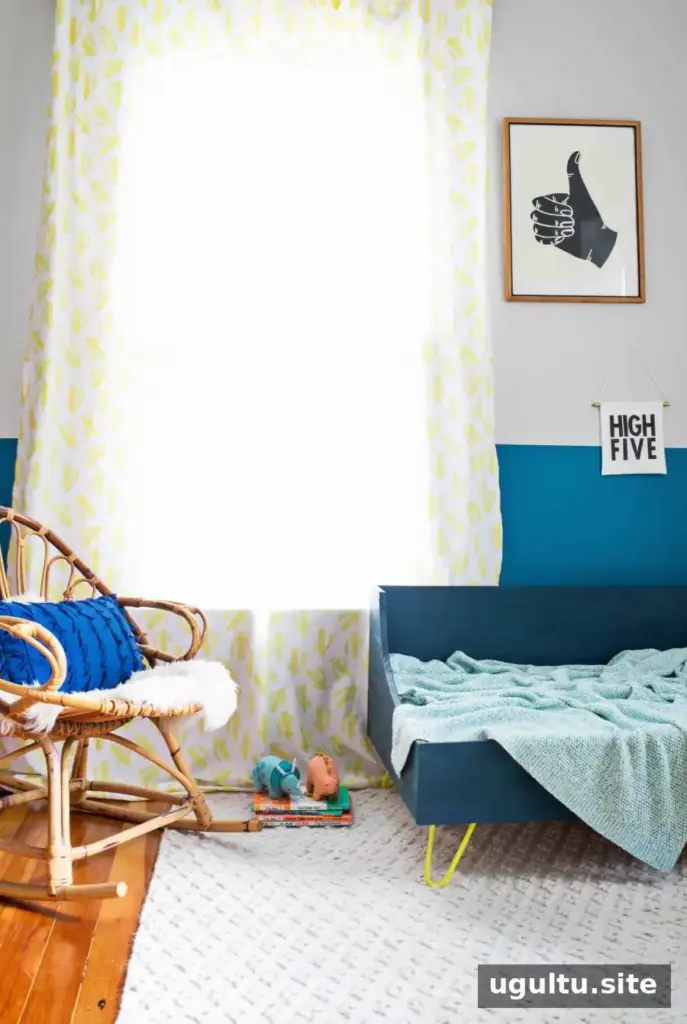
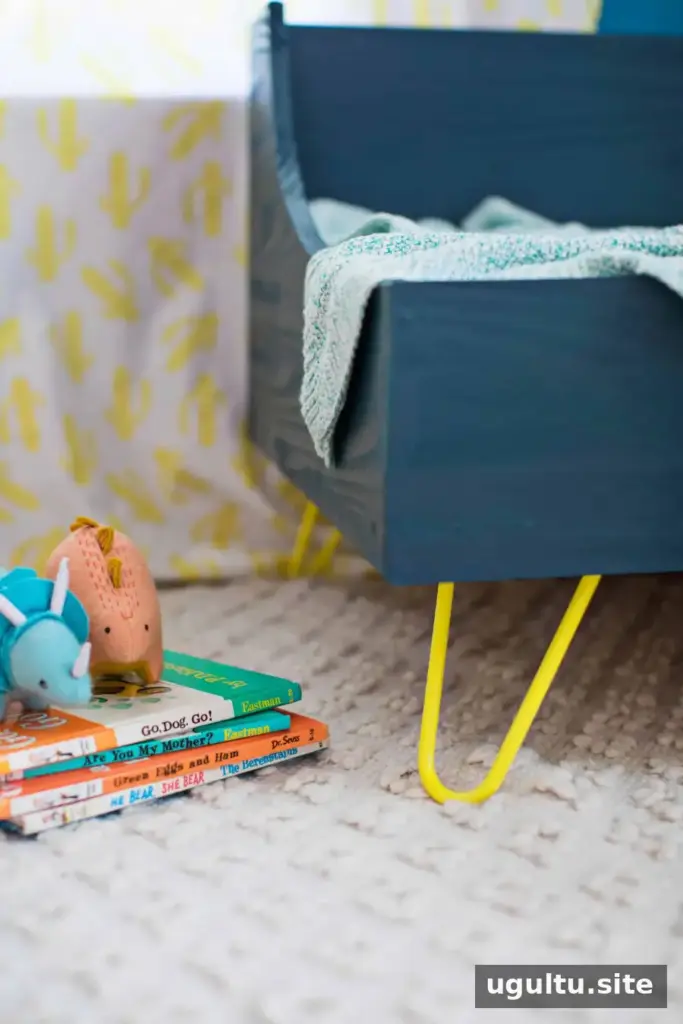
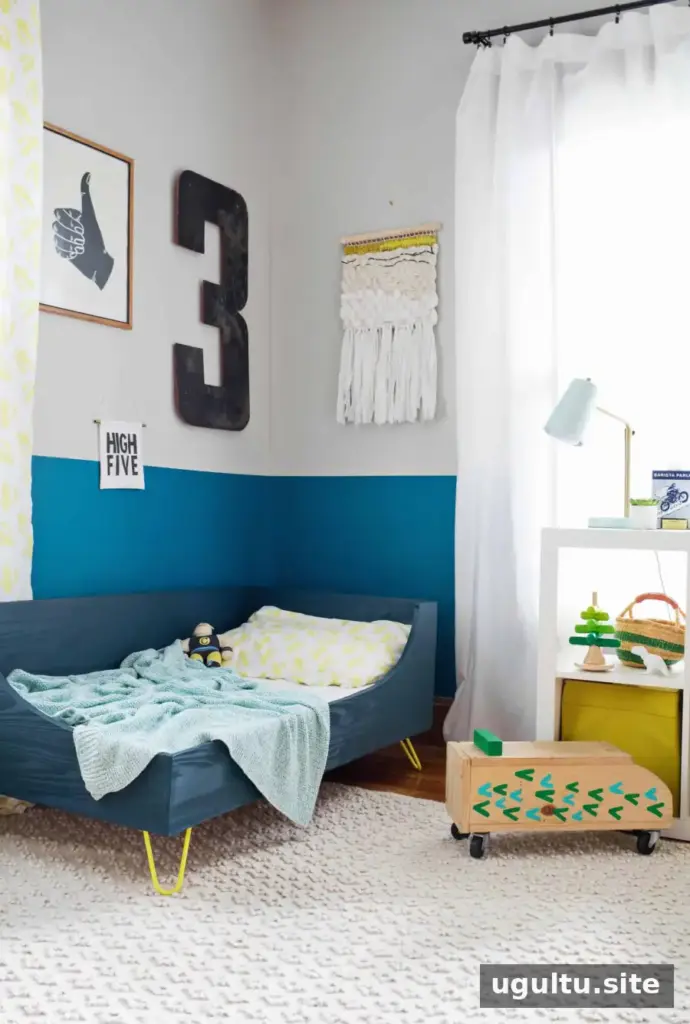
The example bed was painted a darker shade of teal to blend with the wall, with a light-blue blanket and yellow legs adding contrast in a shared children’s room. —Rachel
Conclusion
This DIY toddler bed combines a compact crib-mattress-sized frame, a curved profile, and reusable hairpin legs. Measure carefully, resolve the support-board discrepancies before cutting, and make a final stability and mattress-fit check before the bed is used.


