
 admin
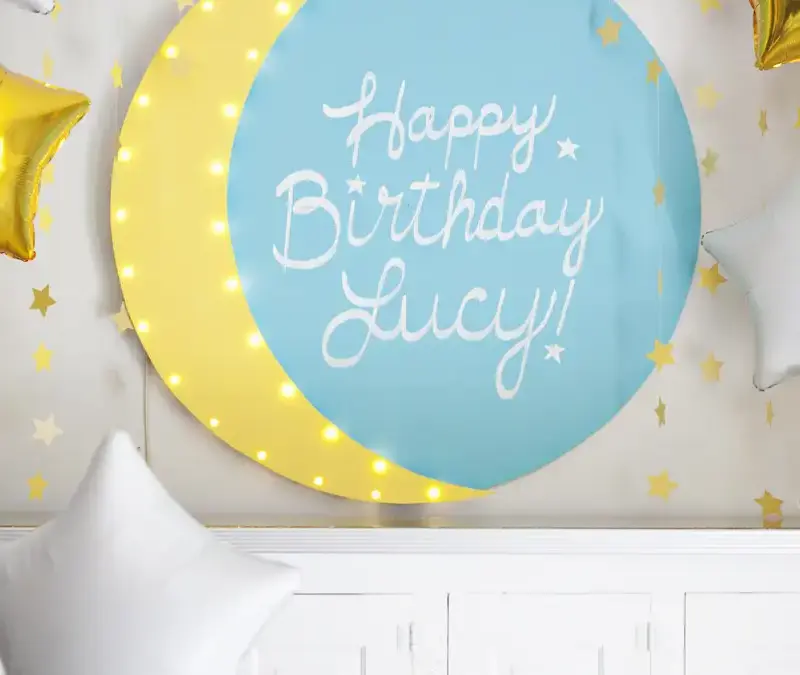
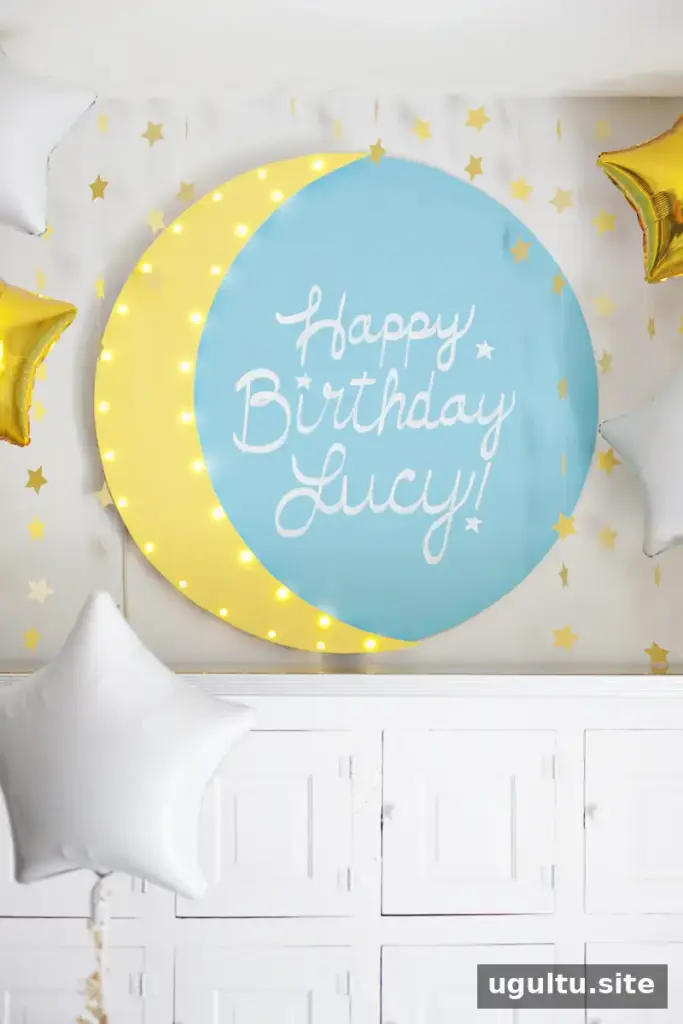
A moon and stars birthday party can feel special without requiring an elaborate setup. For a toddler’s second birthday, a simple night-sky theme brought together favorite treats, handmade decorations, and details inspired by a child’s interest in the moon. The ideas below can be adapted for a small family gathering or a larger celebration.
Planning a Moon and Stars Birthday Party
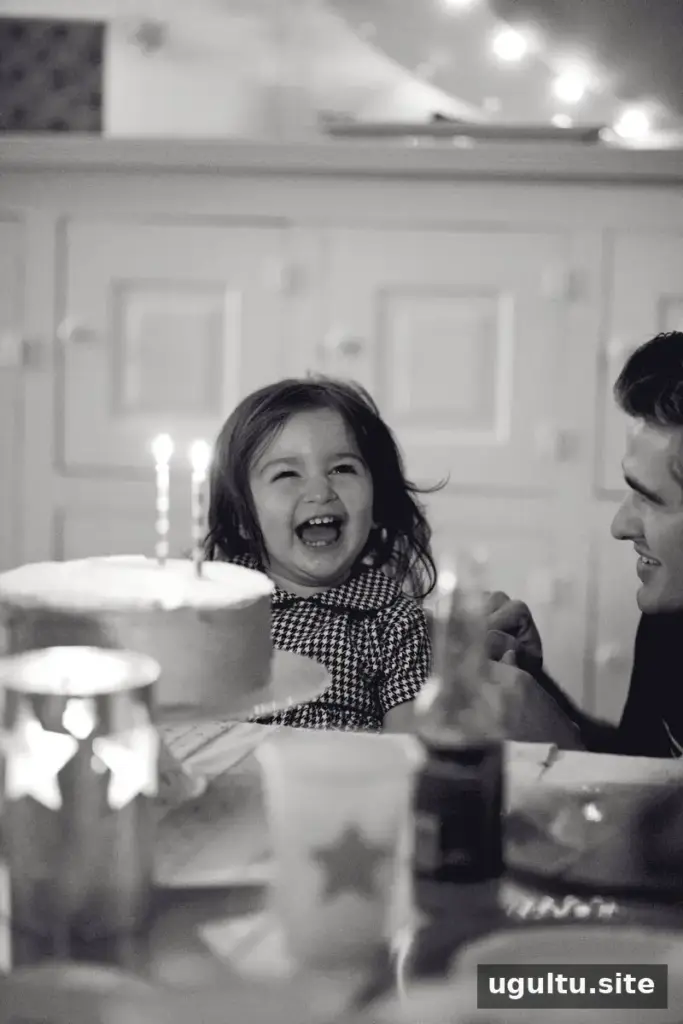
The moon theme suited the celebration because the birthday child enjoyed spotting the moon in picture books and in the night sky. Choosing a theme connected to a child’s interests can make party planning more meaningful and help guide choices for colors, food, and decorations.
Rather than aiming for an extravagant event, the plan focused on a few inexpensive details: a lit crescent moon sign, star garlands, themed treats, and a decorated table. Start with one or two standout decorations, then build the rest of the look around them to keep the project manageable.
Food and Drinks for a Moon-Themed Party
The Food
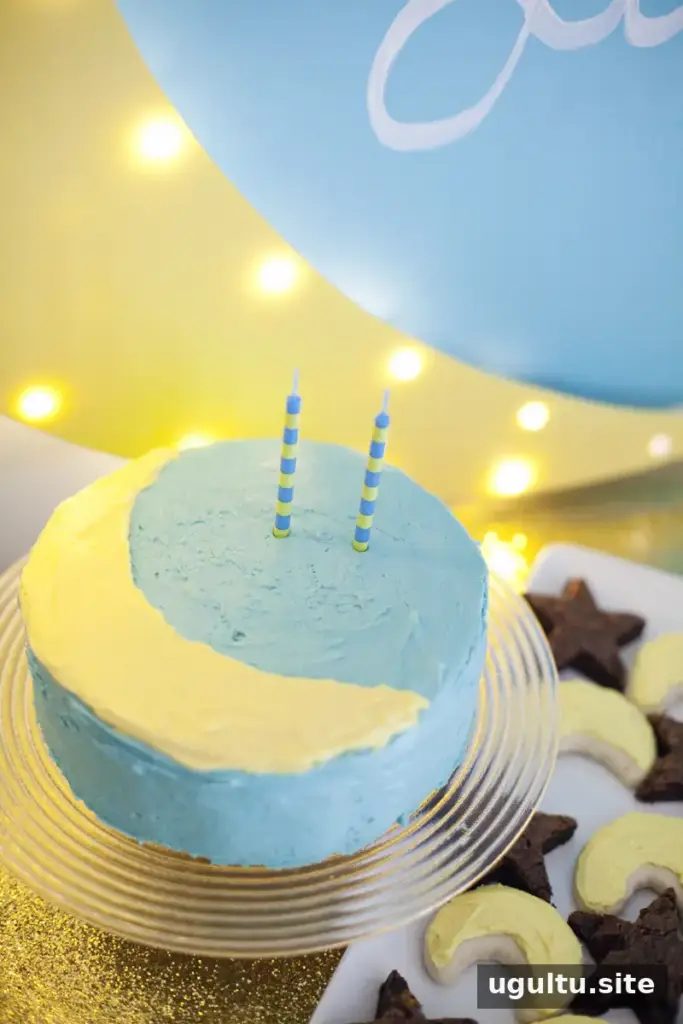
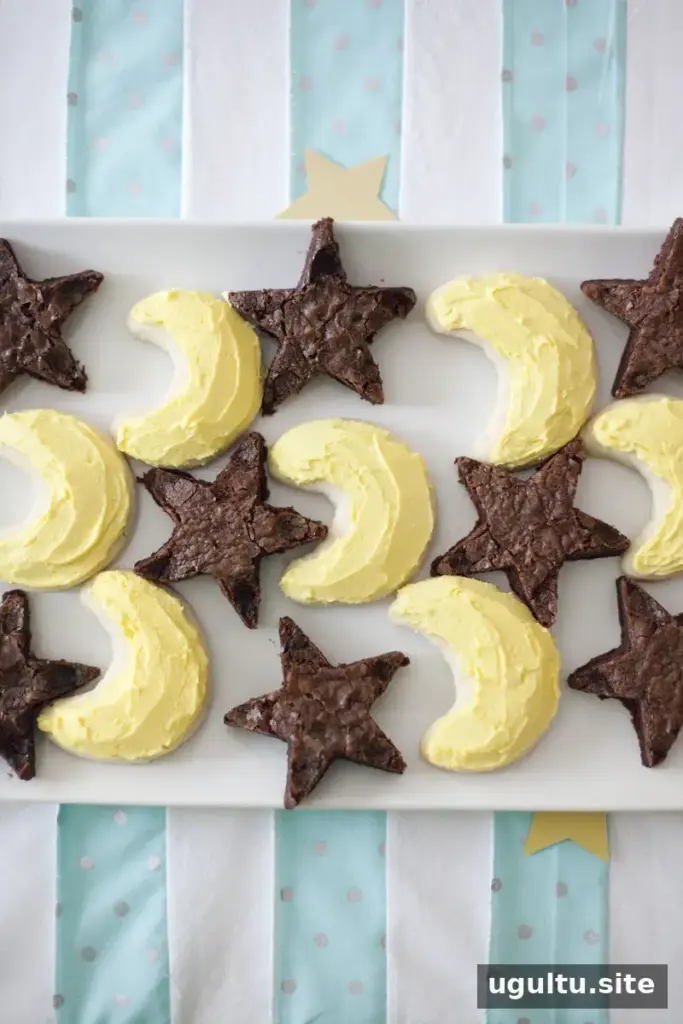
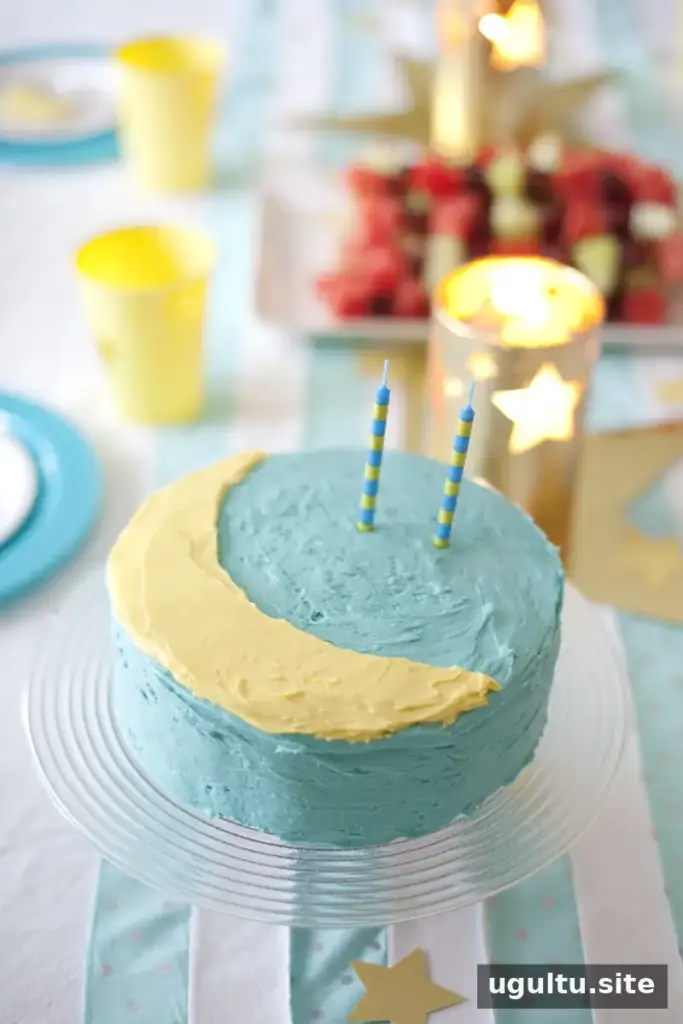
The centerpiece was a two-layer, 8-inch carrot cake with cream cheese frosting colored turquoise and yellow to match the decorations. Star-shaped brownies and crescent moon sugar cookies added easy-to-recognize theme details. A round cookie cutter can be gently reshaped to make a crescent cutter if the desired size is unavailable; take care when handling or bending the metal.
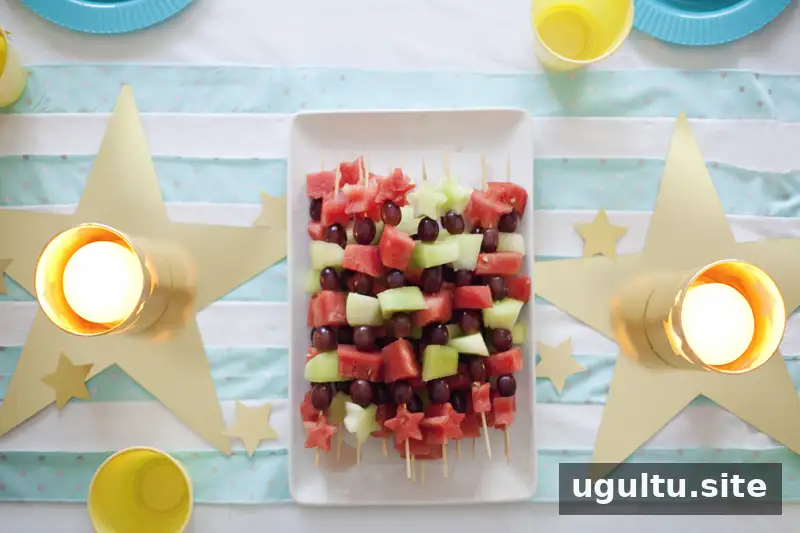
A vegetable tray and fruit skewers with melon and grapes offered lighter options alongside the sweets. Cutting fruit into shapes can create extra scraps, so consider serving the fruit in simple pieces to reduce waste. If scraps are saved for another use, refrigerate them promptly and handle them safely.
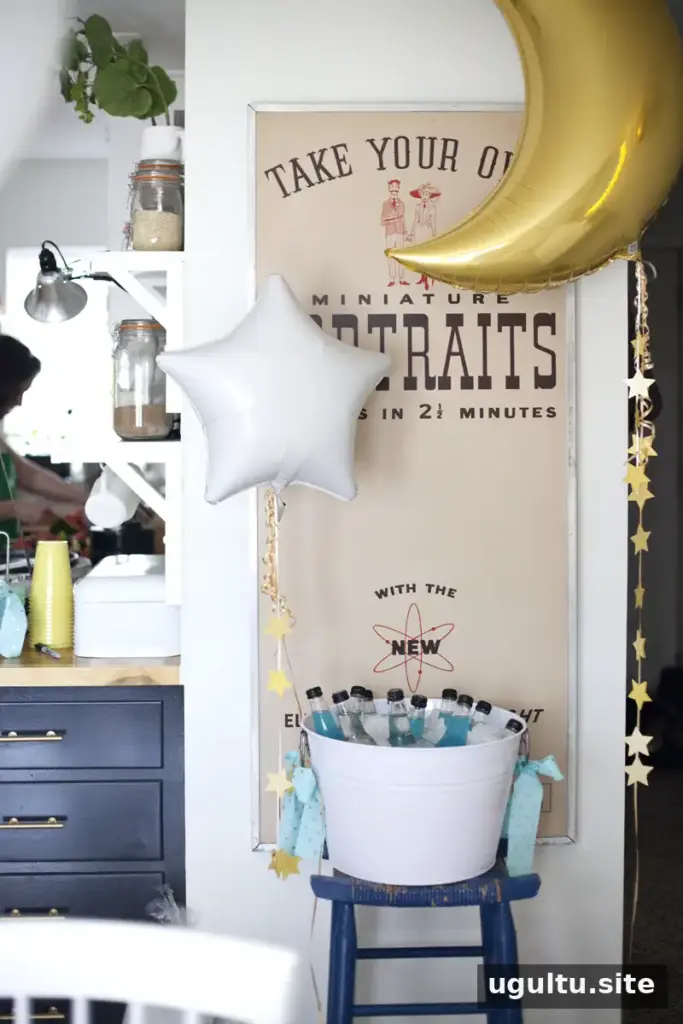
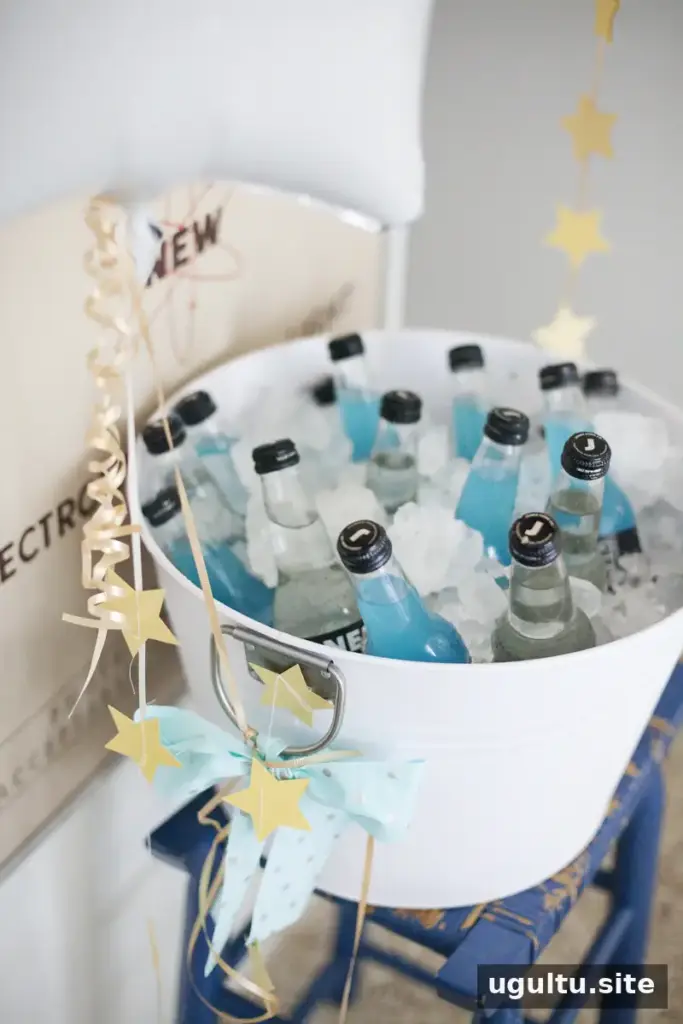
Pizza served as the main meal, with a playful nod to the familiar lyric about the moon and a pizza pie. For drinks, berry lemonade and cream soda continued the party’s color palette. When choosing food and beverages for young children, check ingredients and serve age-appropriate portions.
Sky-inspired treats such as blue cotton candy are another possibility, but a small menu is often easier to prepare and serve. A few themed foods can make the table feel cohesive without creating unnecessary work.
Make a Simple Fabric Table Runner
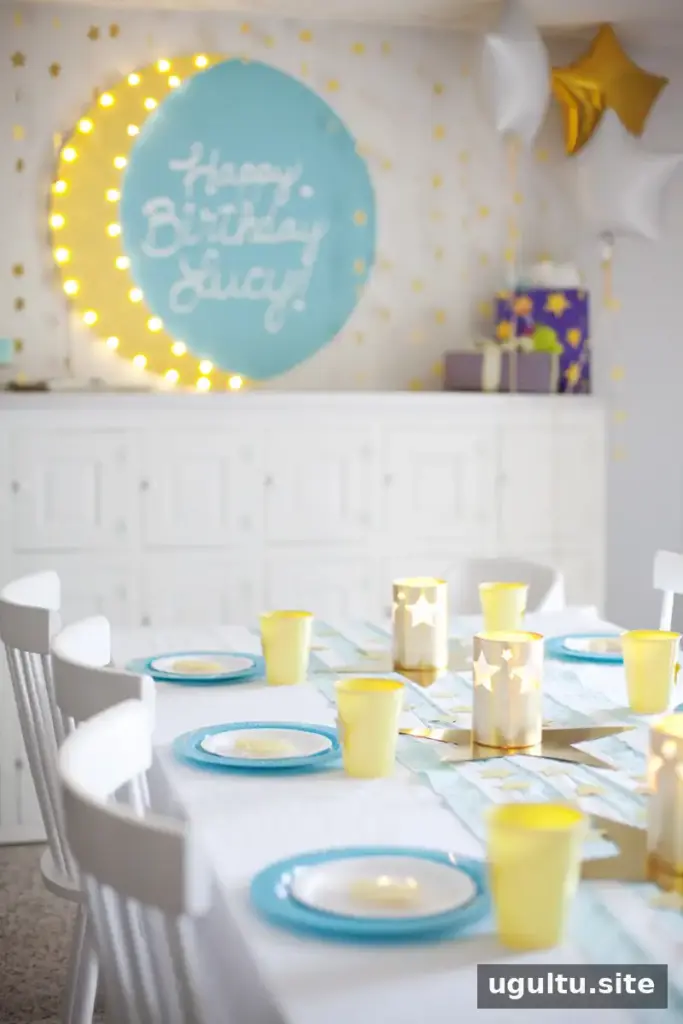
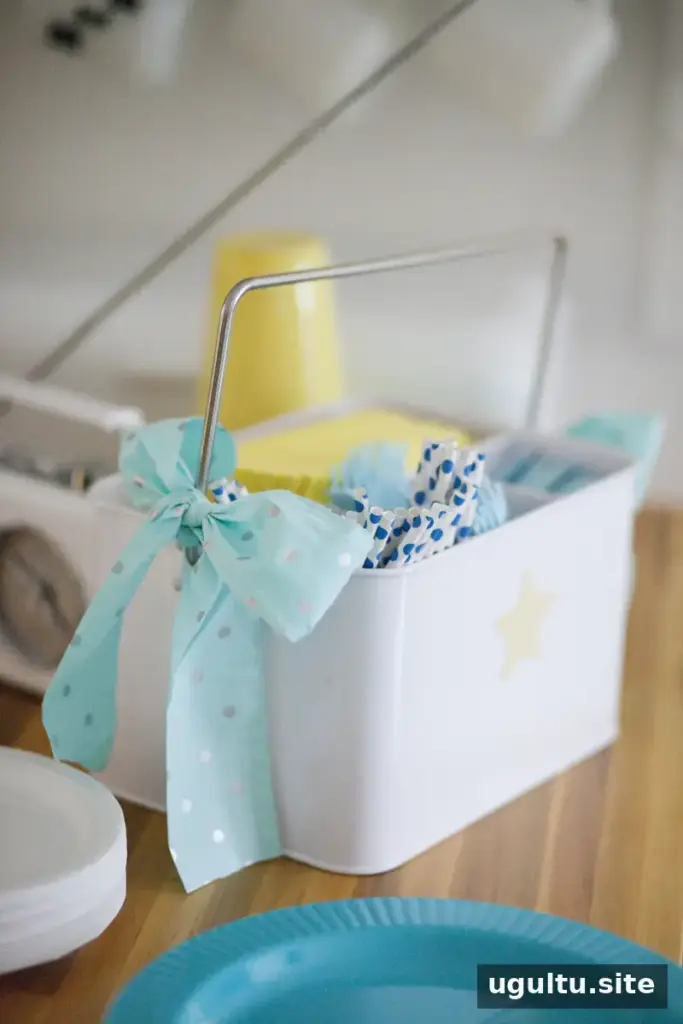
A blue polka-dot fabric runner tied the table decorations together. One yard of fabric was cut into strips, with leftover pieces used to decorate the drink and utensil buckets. The strips were joined with a serger, which made this version more time-consuming.
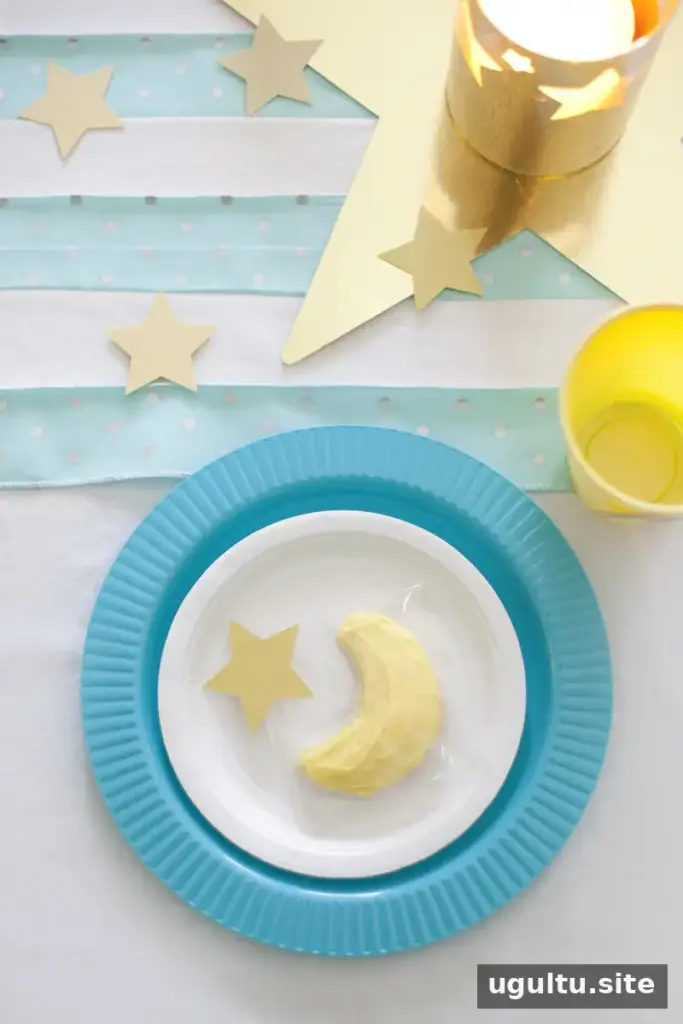
For a quicker alternative, join shorter strips into long lengths and lay them over a fabric tablecloth instead of sewing the strips into a finished runner. This approach can achieve a similar layered look with less preparation.
DIY Marquee Moon Sign
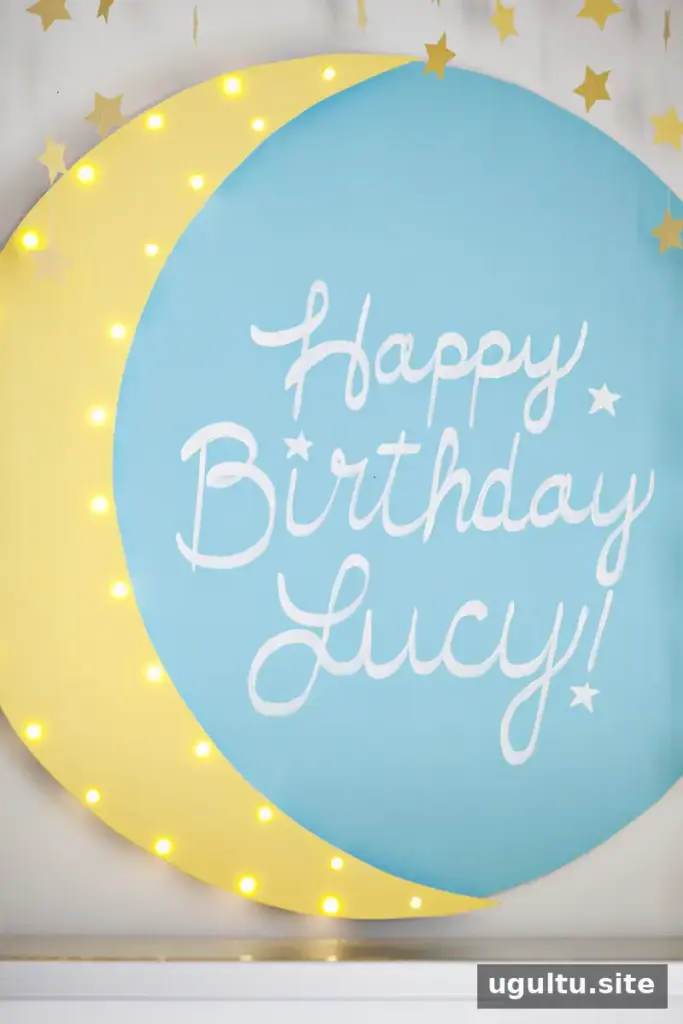
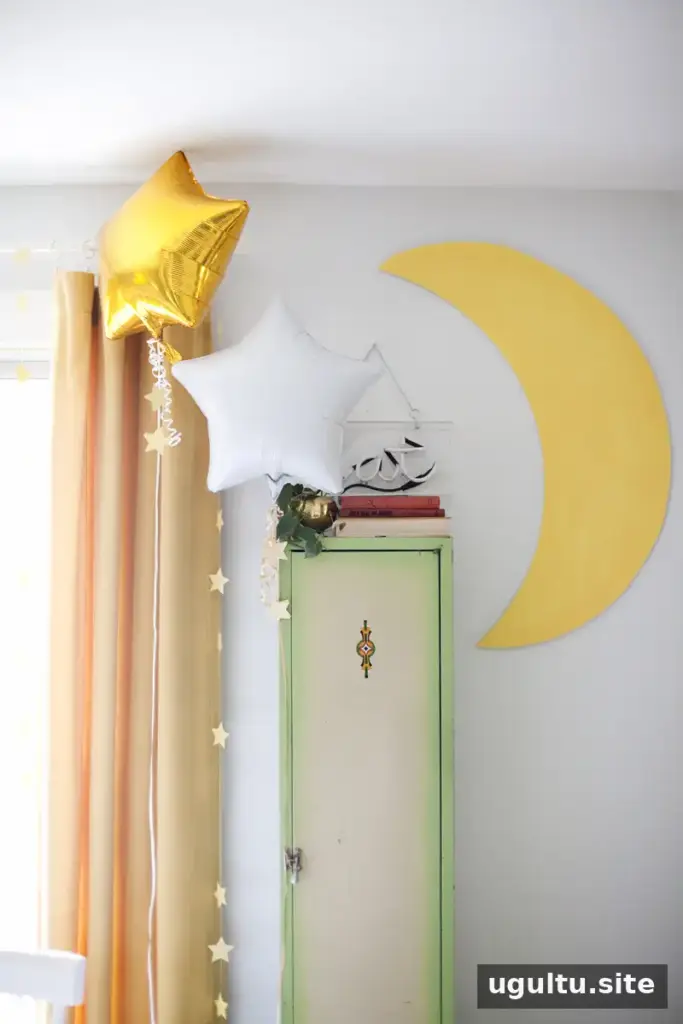
A crescent moon marquee sign made from foam board served as a focal point for the room. Use LED string lights to reduce heat and fire risk, and keep the project and any tools out of children’s reach.
Supplies:
- One large piece of foam board, sized for the sign
- Permanent glue and duct tape
- Paint in the colors of your choice
- LED string lights
Tools:
- Pen or pencil and a medium permanent marker
- Paintbrush
- Craft knife and cutting mat
- Ruler and compass
Step 1: Draw and cut out a circle for the background using a compass and craft knife on a cutting mat. Use the circle as a template to shape the crescent.
Step 2: Paint the background and crescent, then let them dry fully before adding the lights.
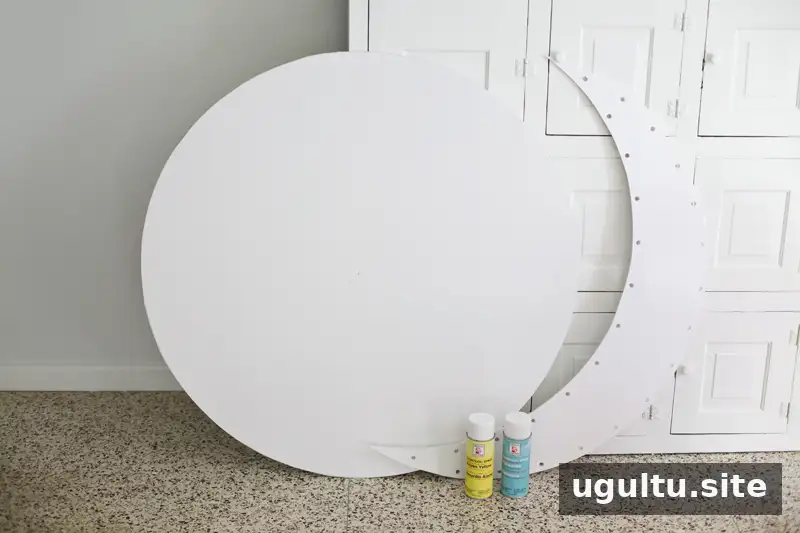
Step 3: Measure and mark evenly spaced positions for the lights. Make small holes at the marks with a sharp pencil or another suitable tool. Foam board can tear if drilled, so test a discreet spot first and work carefully.
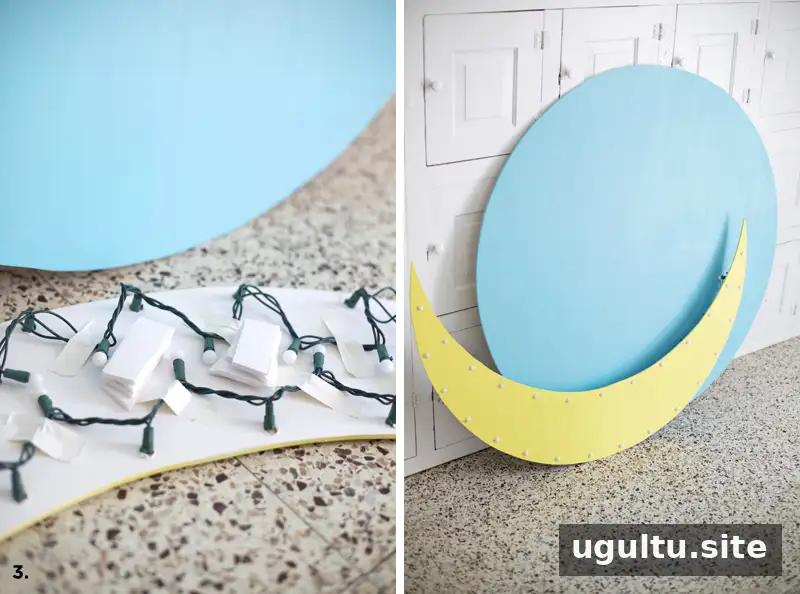
Step 4: Push the LED bulbs through the holes and secure the wires at the back with duct tape.
Step 5: Glue stacked pieces of scrap foam board to the back of the crescent to create space behind the lights. Once dry, glue the crescent to the background and weigh it down with books until the adhesive sets.
Step 6: Sketch a birthday message in pencil, then paint over it with white acrylic paint. Allow the sign to dry completely before displaying it.
Make Star Garlands
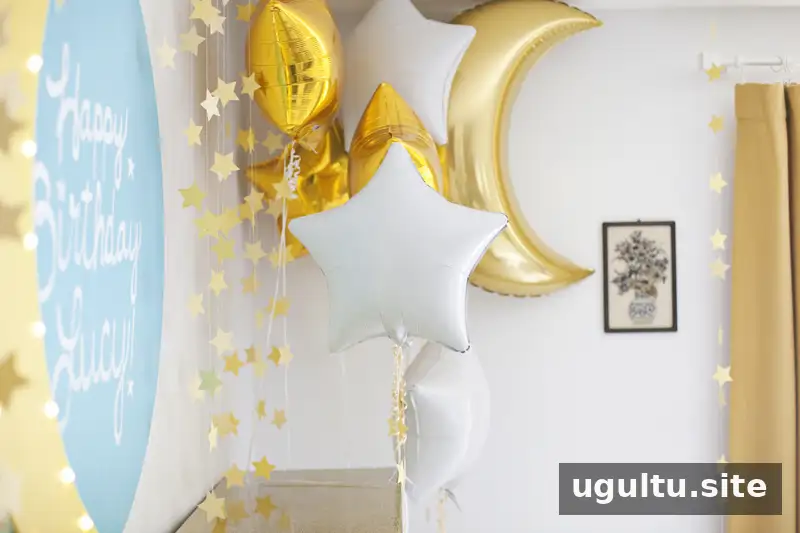
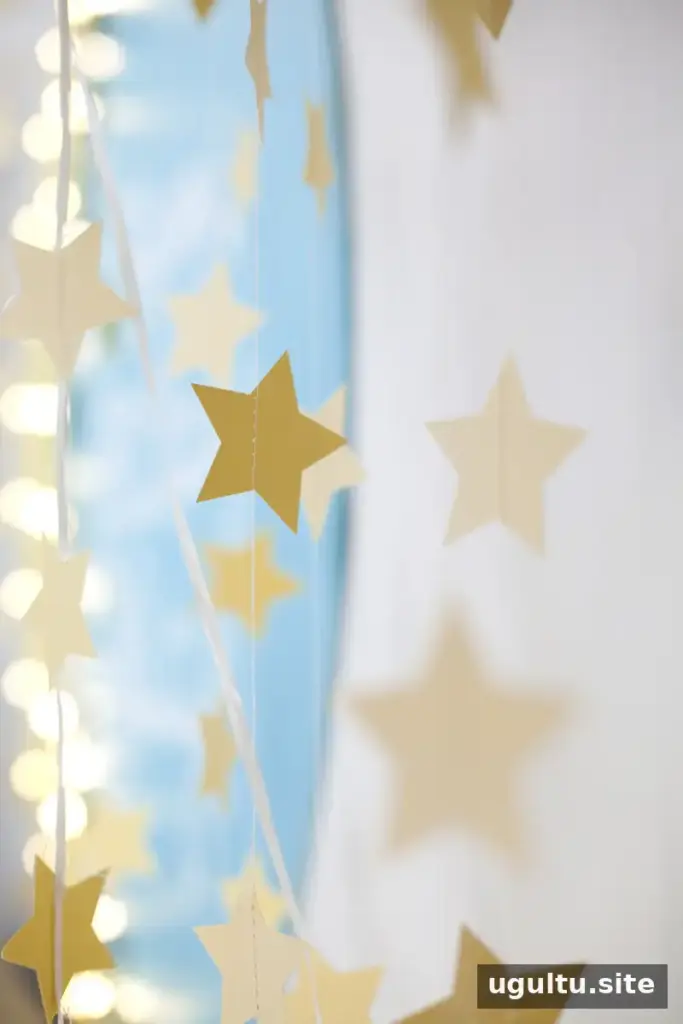
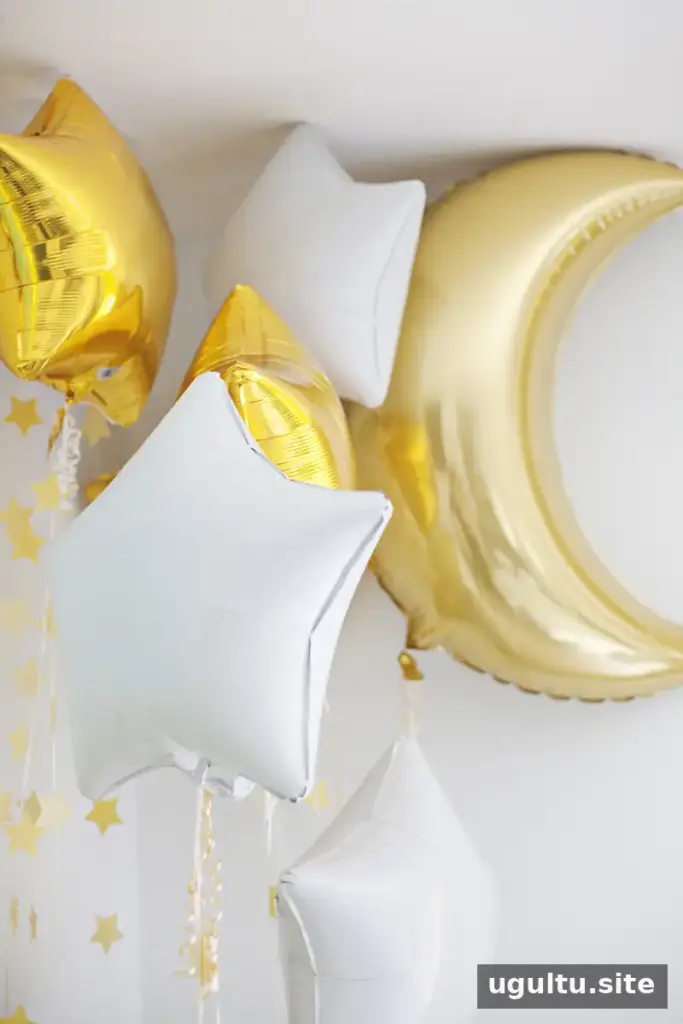
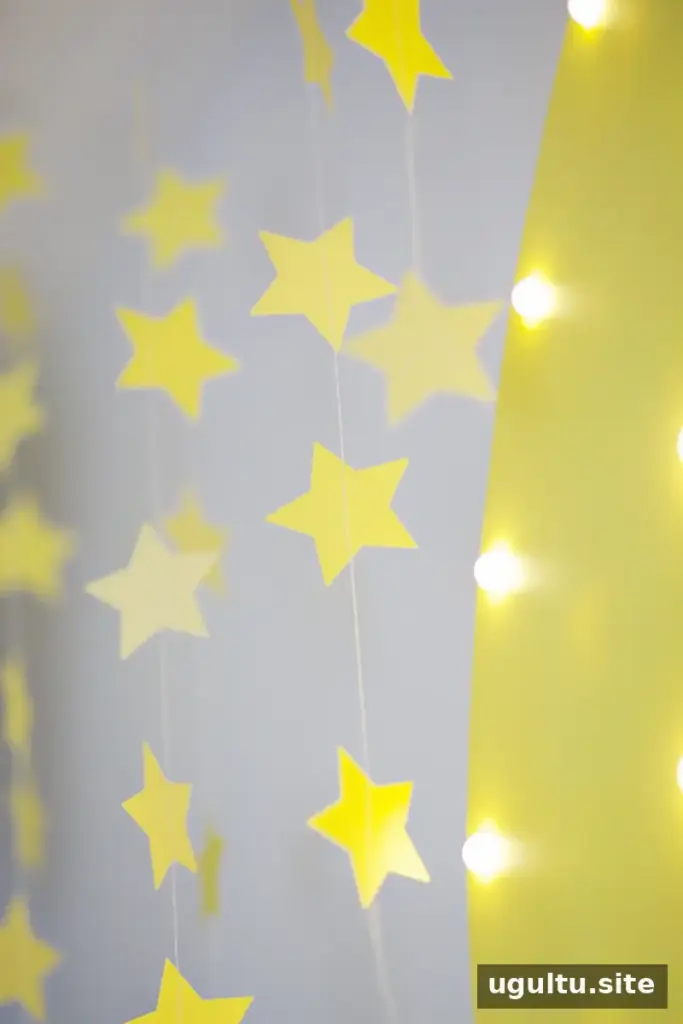
Cut stars from cardstock with a craft punch, making only as many as needed for the space. To create a garland, stitch the stars through a sewing machine with small gaps between them. Tape the first star to the ceiling with suitable tape, and use stitched stars on ribbons to help weigh down foil balloons.
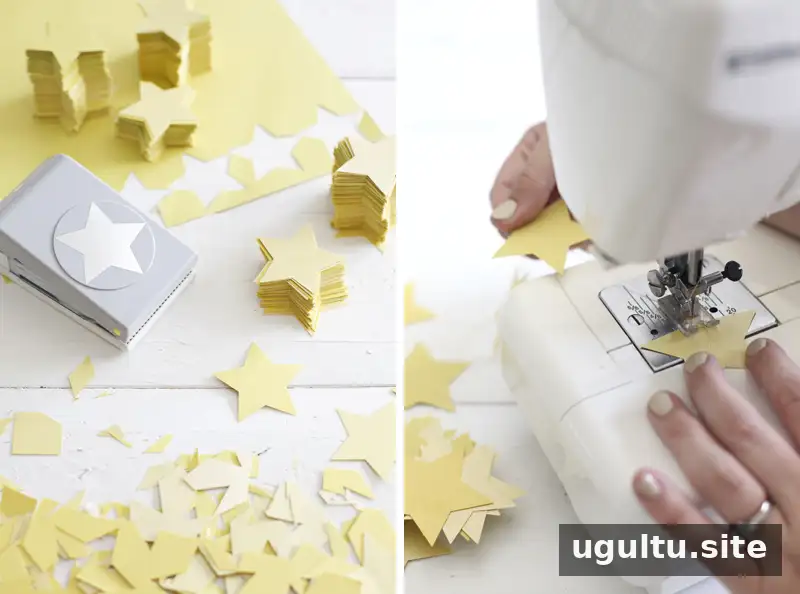
Tip: To leave a gap between sewn stars, raise the presser foot, pull the stitched star away from the needle, and position the next star beneath the foot. Pull the first star gently as you begin stitching the next one.
Paper can dull a sewing-machine needle. Consider using a separate needle for paper crafts, then replace it with a fresh needle before sewing fabric. A medium-weight needle can work for cardstock; thicker materials may require a different needle.
Gold-Leaf Star Candle Holders
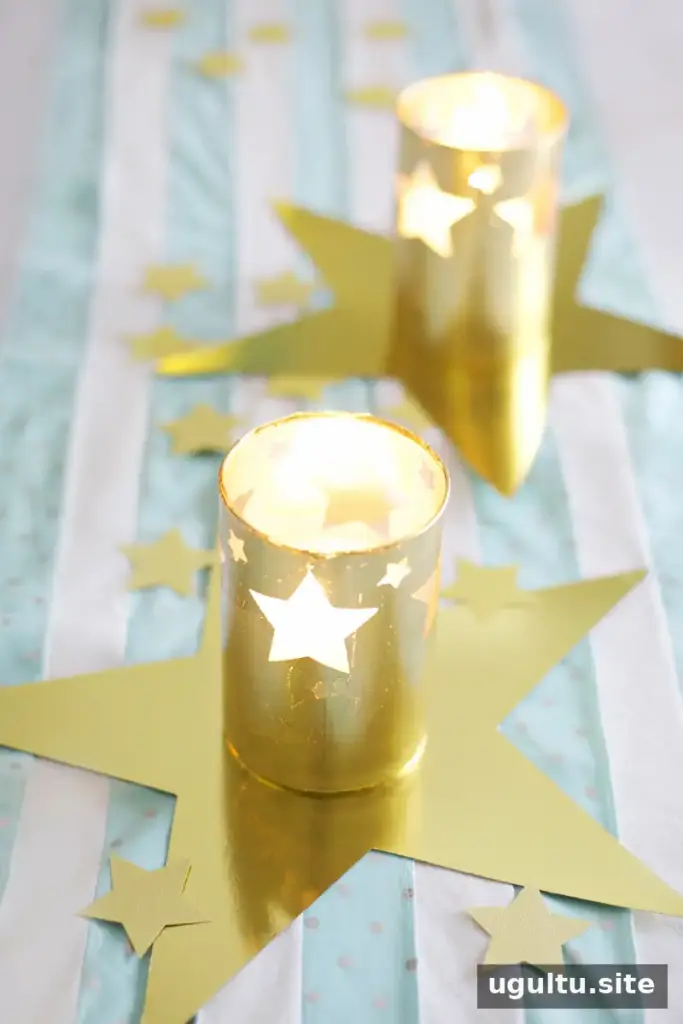
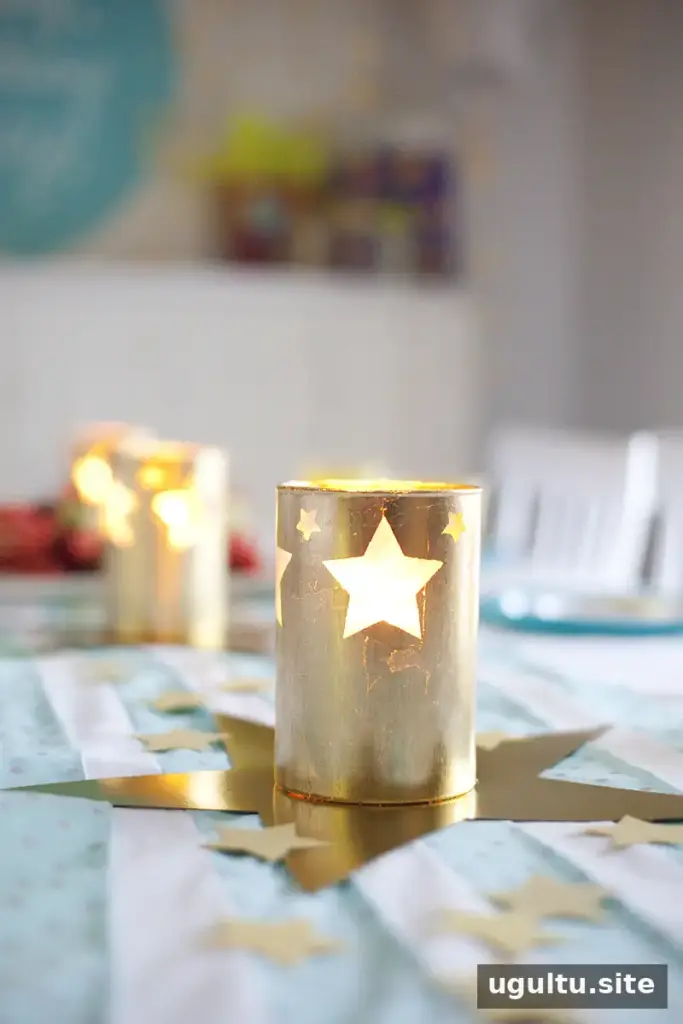
Three hurricane-style candle holders decorated with gold stars added height and shine to the table. The holders were placed on decorative gold stars.
Supplies:
- Glass or plastic hurricane holders
- Gold-leaf kit with sizing, metal-leaf sheets, and sealant
- Masking tape and wax paper
Tools: Paintbrush and star punch.
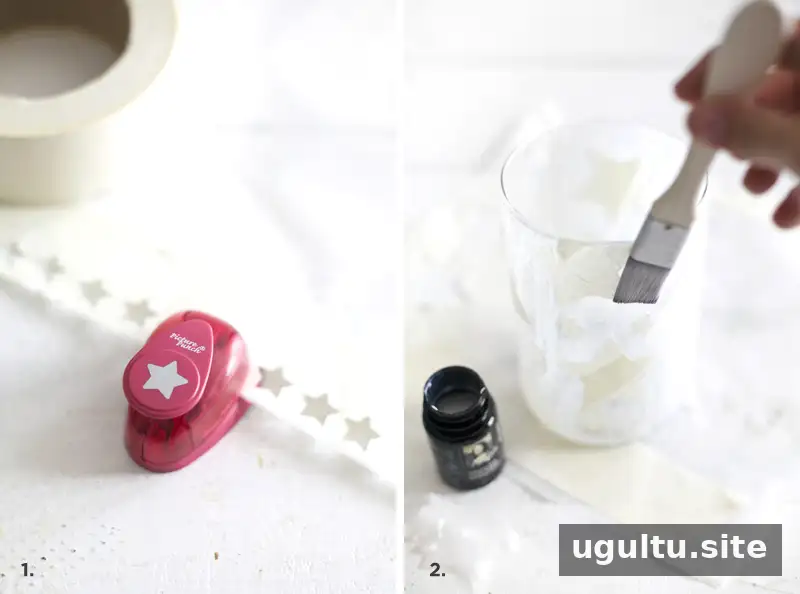
Step 1: Stick masking tape to wax paper and punch out star shapes. Peel off the tape stars and place them on the holders in the pattern you want.
Step 2: Brush a light coat of sizing over the surface and tape shapes. Good-quality masking tape helps the stars stay in place during application.
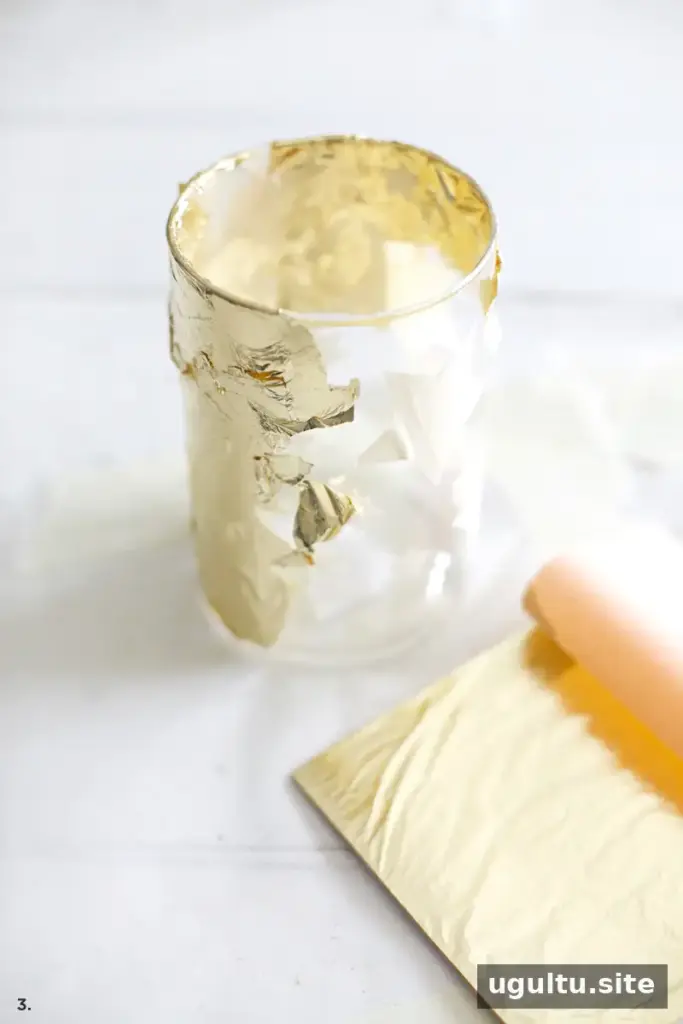
Step 3: Let the sizing set for about 30 minutes. Apply the gold-leaf sheets, rub them gently with a soft cloth, and remove the masking-tape stars. Follow the kit’s instructions for applying sealant and allowing the finish to dry. Use glass holders for real candles; choose LED candles with plastic holders, and never leave a flame unattended.
Final Ideas for a Moon and Stars Birthday Party
A moon and stars birthday party can come together with a few well-chosen elements: simple themed food, a fabric table runner, a glowing crescent sign, and star garlands. Reusable decorations, such as the gold-leaf holders, can also be saved for future celebrations. Keep the setup comfortable for the child, allow enough time for handmade projects to dry, and prioritize safe lighting and age-appropriate food.
—Mandi


