
 admin
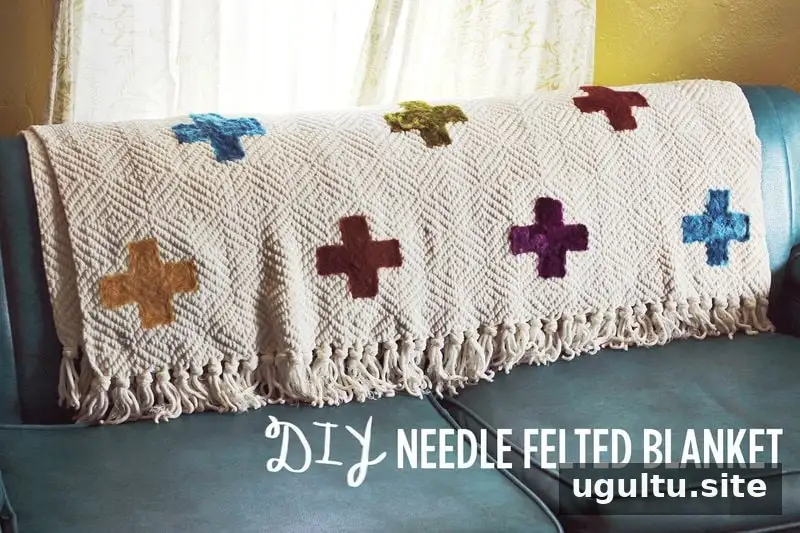
Needle felting is a hands-on way to add a soft, textured design to a blanket using wool roving and a felting needle. This project uses a repeating Swiss cross pattern, but the same basic method can be adapted to other simple shapes. With a stencil to guide each motif and a felting mat to protect the work surface, you can build the design one section at a time.
Needle Felting Supplies
Gather these materials before you begin:
- A felting needle tool
- A felting mat
- Wool roving
- Contact paper
- Stiff paper for making a template
- Scissors
Use a stable, flat work area, and keep the felting mat beneath the section you are working on. Felting needles are sharp, so handle the tool carefully and keep your fingers clear of the needle’s path.
How to Needle Felt a Swiss Cross Blanket
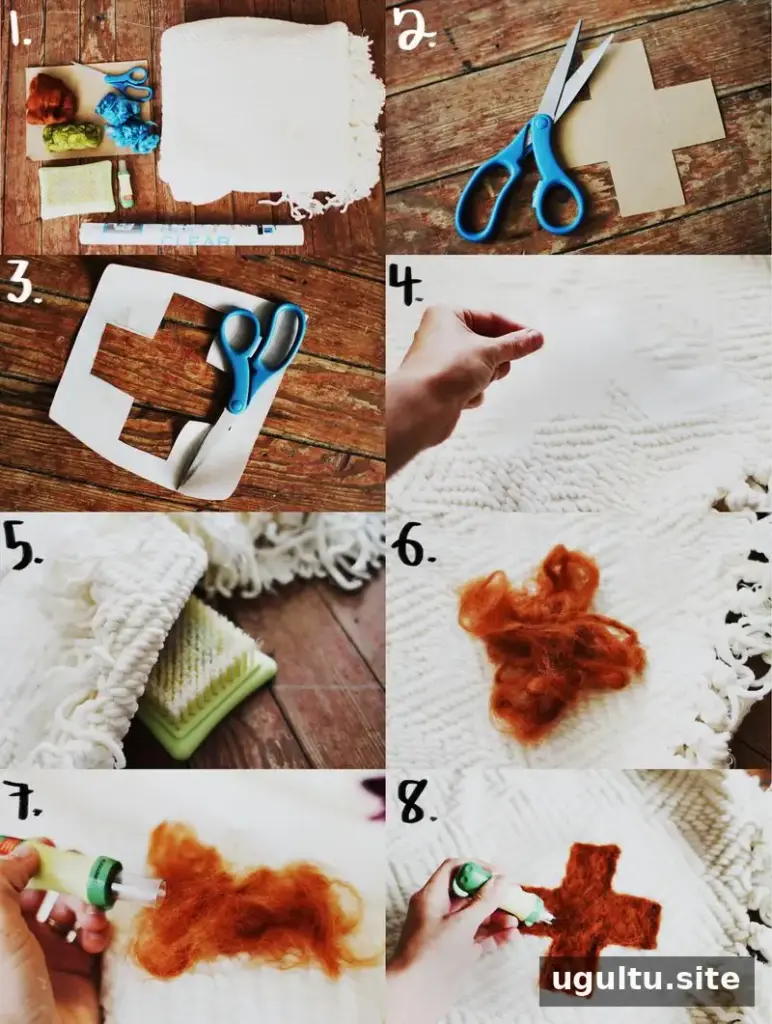
Follow these steps to create a repeating design across your blanket:
- Make a paper template. Cut a Swiss cross shape from the stiff paper. Aim for clean, even edges so the repeated motifs have a consistent look.
- Prepare the contact-paper stencils. Trace the template and cut out as many stencils as you need. The contact paper will help define each design as you work.
- Position the first stencil. Place it on the blanket where you want the first cross to appear, smoothing it into position.
- Protect the surface below. Slide the felting mat underneath the blanket, directly beneath the stencil. Check that the needle will pass into the mat rather than the table.
- Add the wool roving. Fill the stencil area with wool. It does not need to cover every part perfectly at first; you can adjust the fibers as you felt them.
- Felt the design. Repeatedly press the needle tool through the roving and blanket. Work carefully across the shape so the fibers become attached to the blanket. Keep the needle upright and your hands out of the way.
- Repeat the pattern. Move the stencil to the next position and continue until you have covered the desired area. Check the spacing as you go to keep the layout balanced.
- Finish the design. When the motifs are complete, set the design by spraying it with water and ironing on the wool setting. Check the blanket’s care instructions first, and use a suitable heat setting for its fabric.
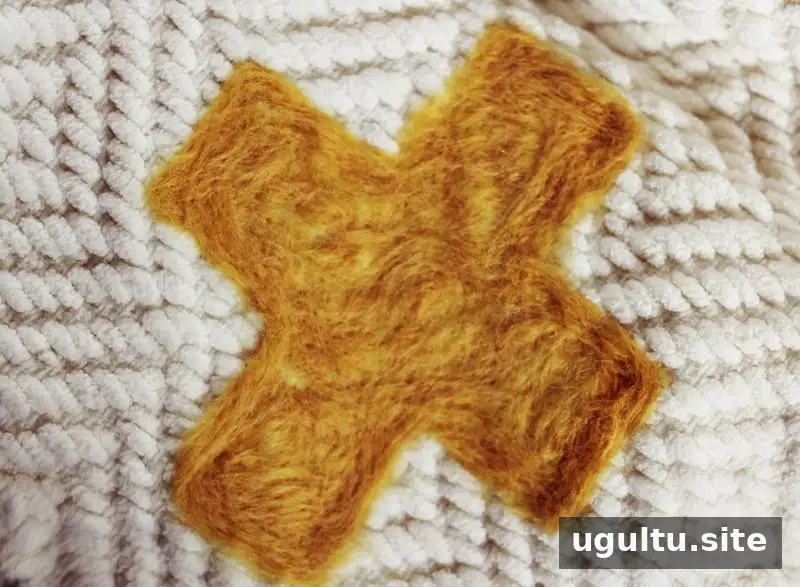
Finishing and Care Tips
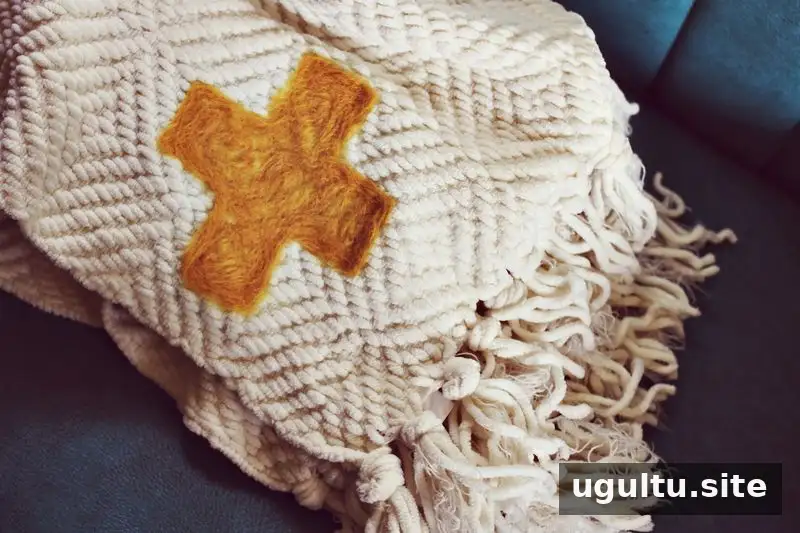
The finished blanket has a raised, fluffy cross pattern. Before treating the entire project, check the water-and-iron finishing method on a discreet area and avoid moving the stencil while adding the wool. If a section looks uneven, adjust the roving and continue felting gently rather than pressing harder in one spot.
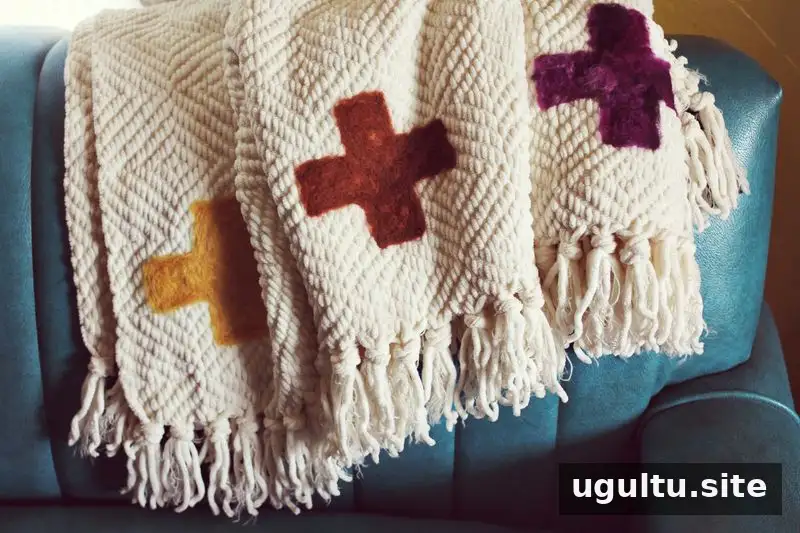
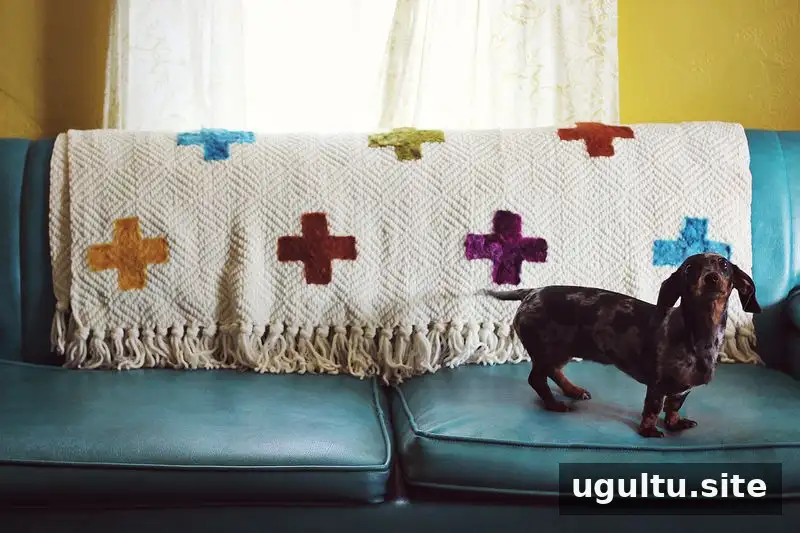
Make the Design Your Own

A repeating Swiss cross is just one option for needle felting. You can use the same stencil approach with other uncomplicated shapes, changing the size, spacing, or arrangement to suit the blanket. For a tidy result, plan the layout before you start and make a few matching stencils. Needle felting offers a straightforward way to add a custom wool design while working at your own pace.
Design and text: Elsie


