
 admin
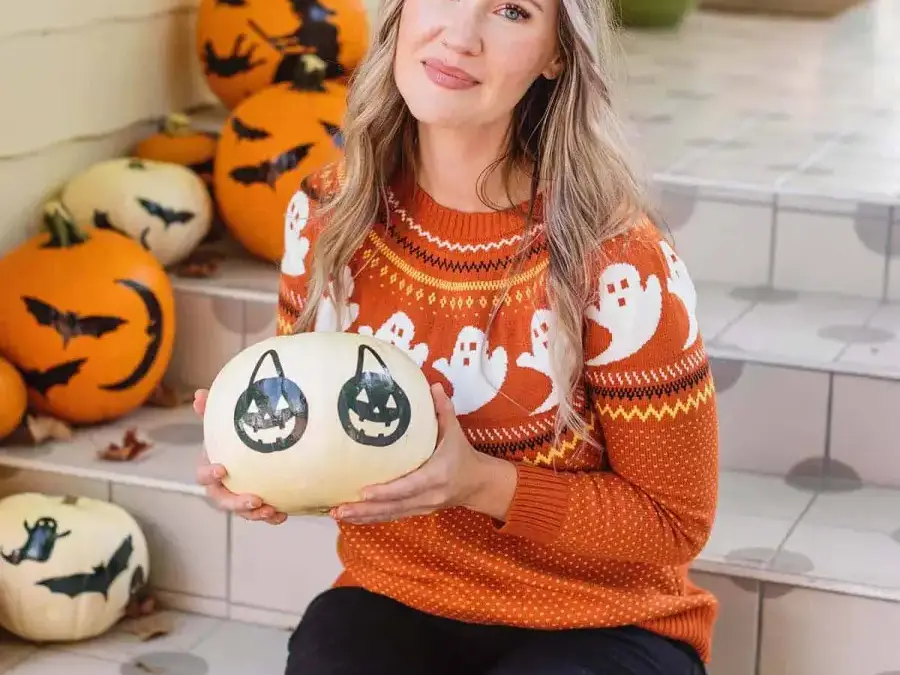
No-carve pumpkin decor is an easy way to add seasonal designs to your home without using knives or creating the mess that comes with carving. Printable temporary tattoo paper can wrap around a pumpkin’s curved surface more smoothly than thicker stickers, making it a useful option for decorating real or faux pumpkins.
Why try no-carve pumpkin decor?
Carved pumpkins are a familiar Halloween decoration, but they are not the only way to create a festive display. This technique uses printed designs and damp cloth instead of cutting tools, so it is approachable for a range of crafting skill levels. It also gives you more flexibility: you can choose small motifs, arrange several designs together, or decorate pumpkins in different sizes.
Temporary tattoo paper is thin and flexible, which helps it follow the pumpkin’s contours. For best results, choose a spot with a relatively smooth surface and make sure the pumpkin is clean and dry before applying the design.
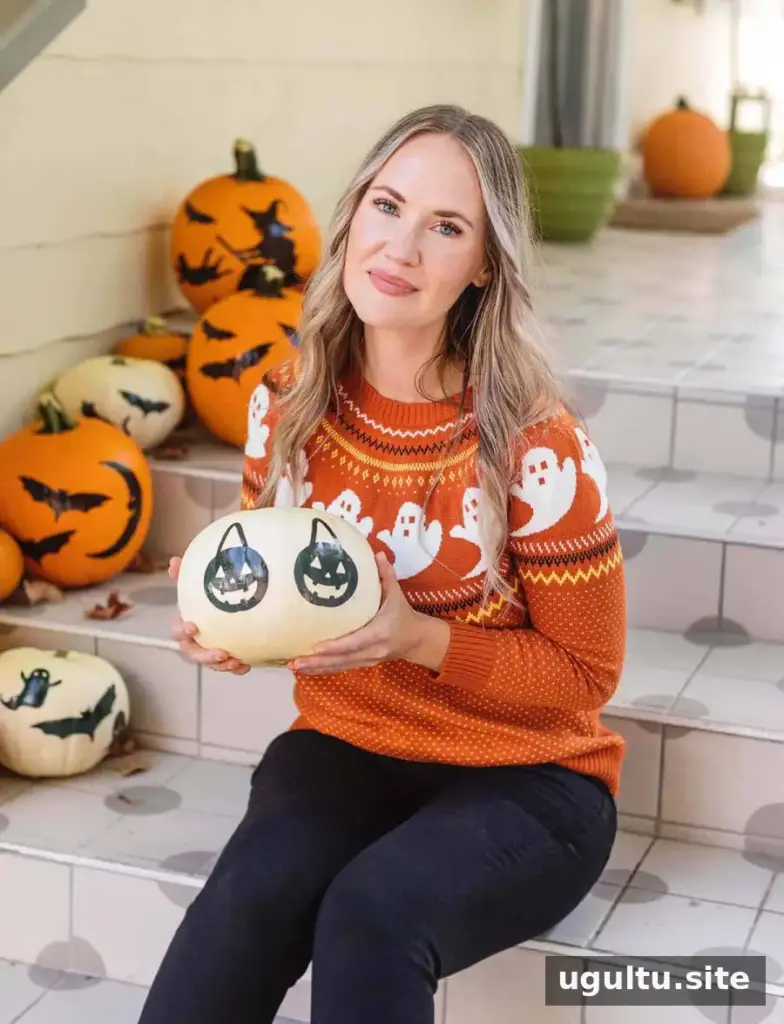
Materials for pumpkin tattoos
Gather the following supplies before you begin. Check that the tattoo paper is compatible with an inkjet printer, and follow the paper manufacturer’s printing and application instructions.
- An inkjet printer
- Inkjet-compatible temporary tattoo paper
- Scissors
- A clean washcloth or rag
- Water
- Real or faux pumpkins
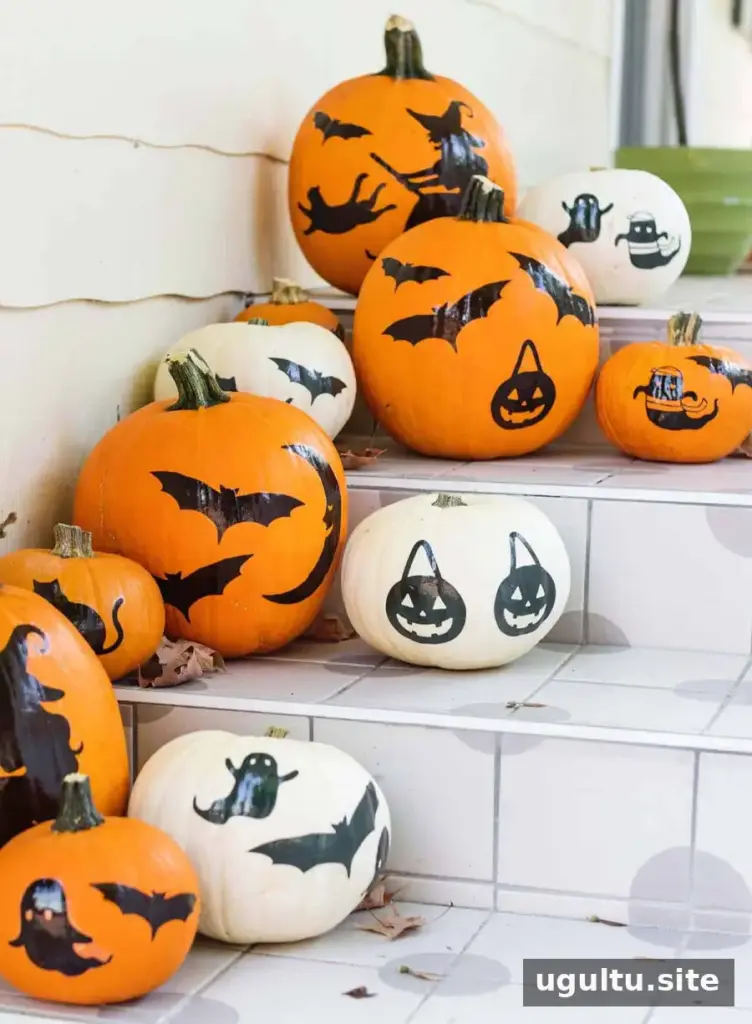
How to apply printed designs
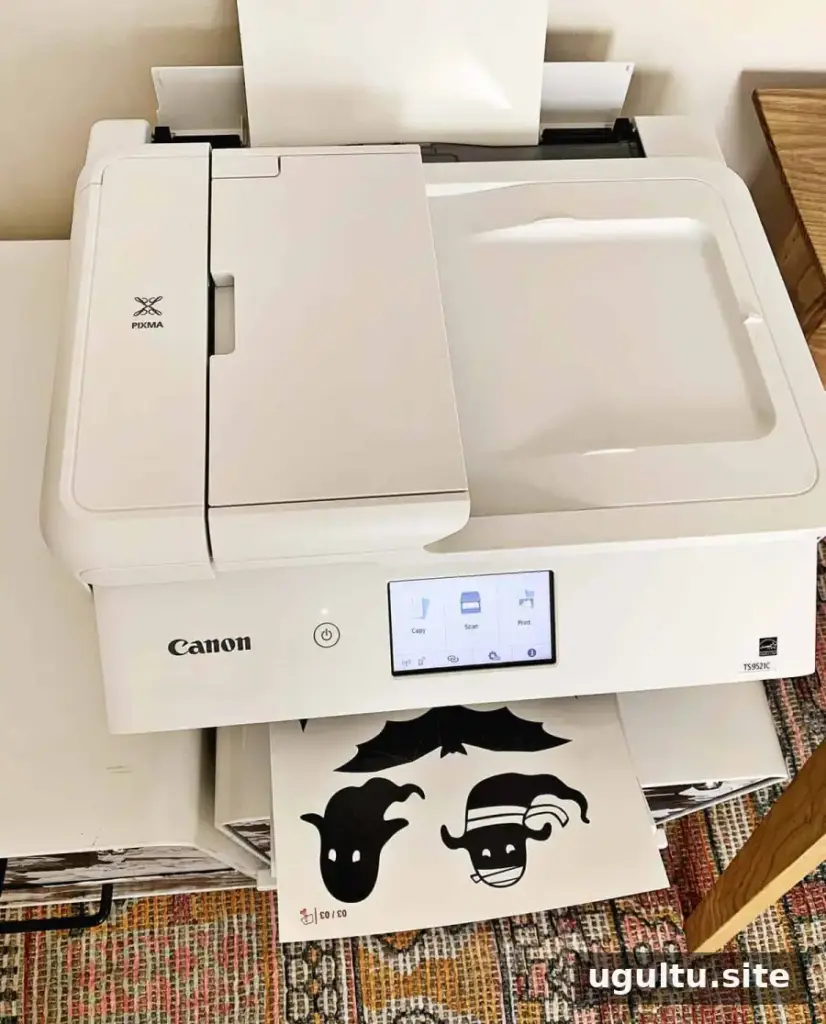
1. Print your designs
Print the chosen artwork onto the tattoo paper, following its package directions. If your design includes words or other elements that need to read in a particular direction, mirror the artwork before printing. Check the paper instructions to confirm which side should be printed on.
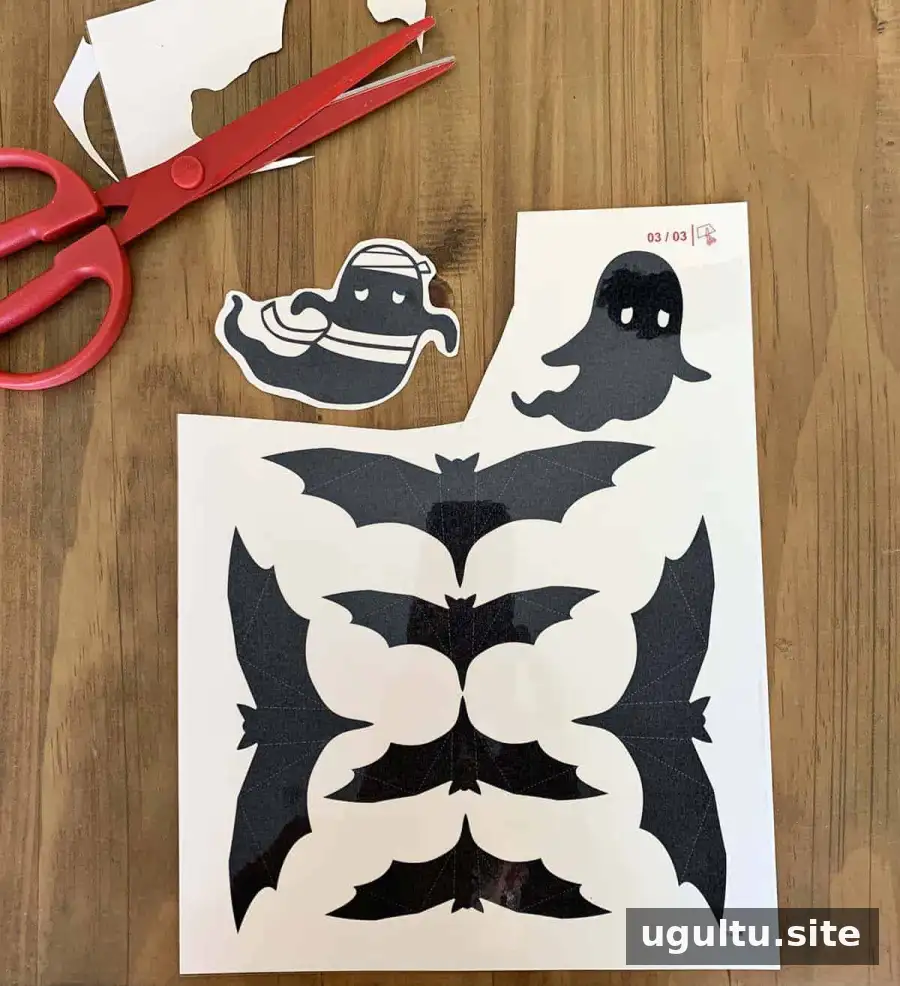
2. Cut out each design
Carefully cut around the artwork, leaving only a small border if needed. Trimming close to the design can make it easier to position the transfer neatly on a curved pumpkin.
3. Position the design
Peel away the plastic coating as directed by the paper’s instructions. Place the design against the pumpkin and press it gently into position. Avoid shifting it once it is in contact with the surface.
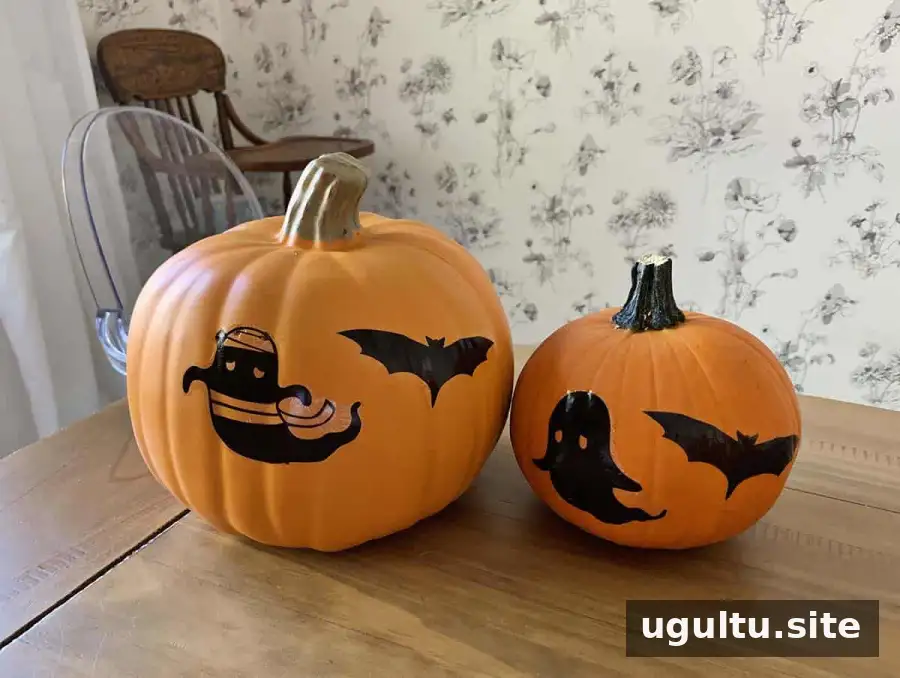
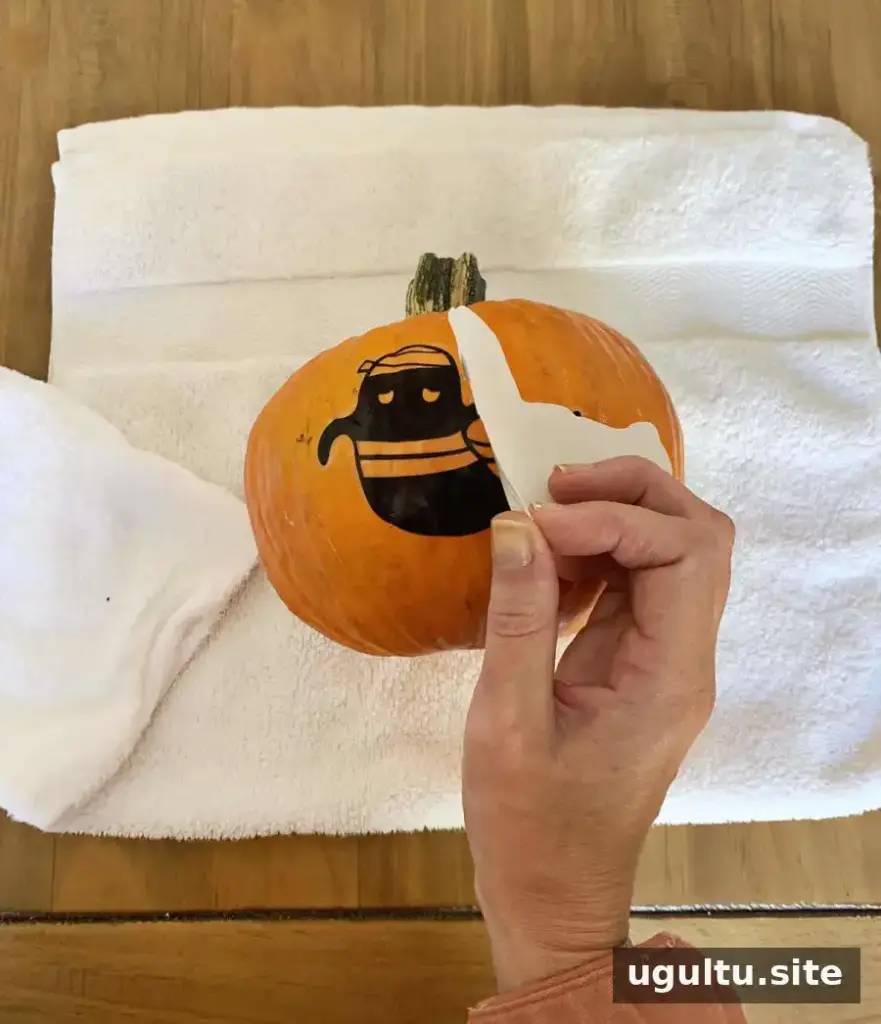
4. Dampen and transfer
Use a damp—not dripping—cloth to lightly blot the back of the paper. Follow the product instructions for how long to keep it damp, then carefully peel the backing away to reveal the image. If an edge has not transferred, press it gently rather than rubbing the design.
5. Repeat and let the design settle
Apply the remaining designs one at a time. Handle the decorated pumpkins gently while the transfers settle, and avoid wiping or scrubbing the images.
Use real or faux pumpkins
The technique can be used on both real and faux pumpkins. A real pumpkin’s surface may allow the thin paper to sit more naturally, while results on faux pumpkins can vary depending on their texture and finish. If you are unsure how the transfer will look, test it on a less visible area first.
Choose the type of pumpkin based on where you plan to display it and whether you want to keep it for future seasons. Faux pumpkins can be stored and reused, while real pumpkins are a seasonal option that should be checked regularly for signs of deterioration.
Display and care tips
Temporary tattoo designs are not permanent or weatherproof. Rain and other moisture can cause the ink to bleed or wash away, so display decorated pumpkins indoors or in a sheltered spot protected from precipitation. Keep them away from surfaces that could be marked if the design becomes wet.
For a balanced arrangement, combine a few larger motifs with smaller details and leave some of the pumpkin visible. This simple planning step can help the designs stand out without overcrowding the surface.
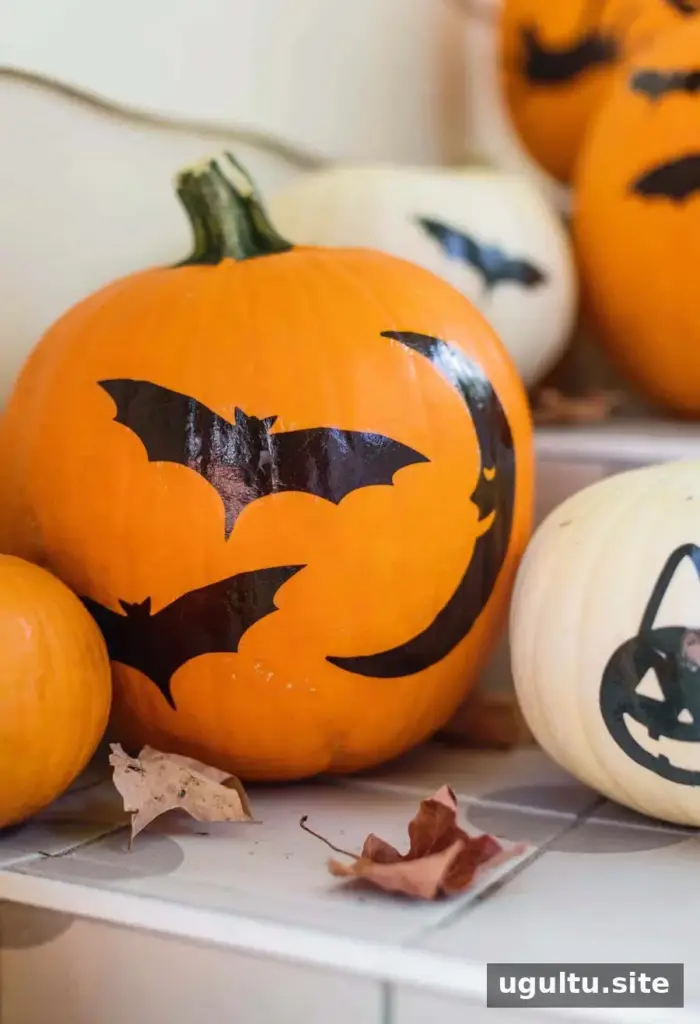
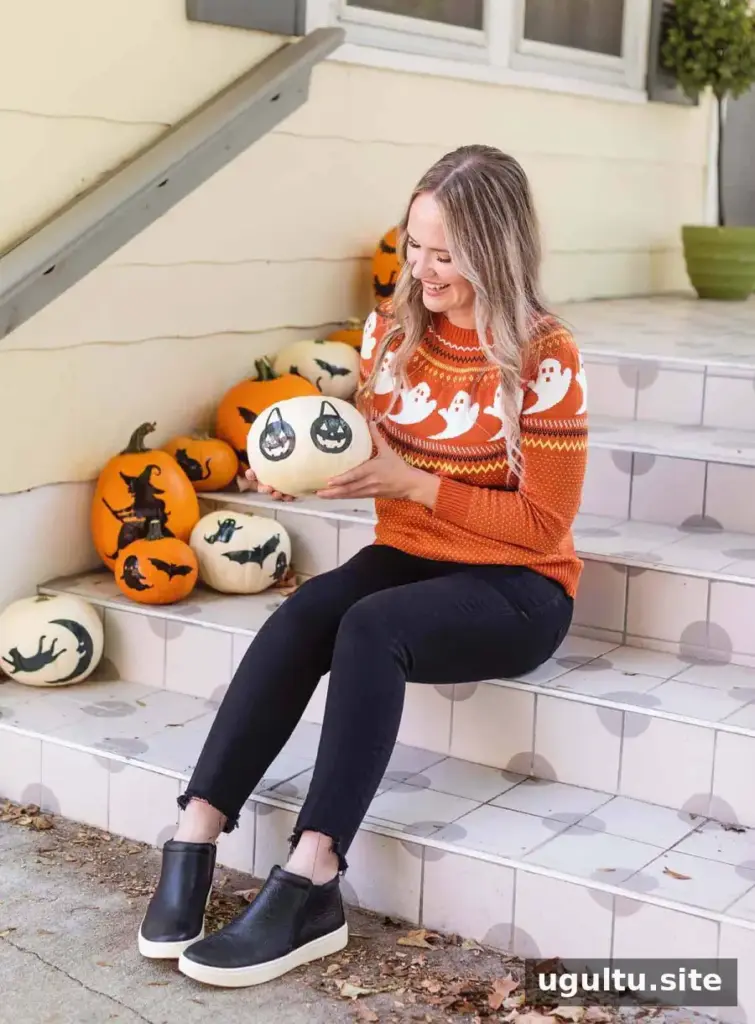
With a printer, compatible tattoo paper, and a damp cloth, no-carve pumpkin decor can be a straightforward way to create a personalized autumn display. Keep the finished pumpkins dry, follow the transfer paper directions, and enjoy the designs indoors or under a protective overhang.
Project by Emma.


