
 admin
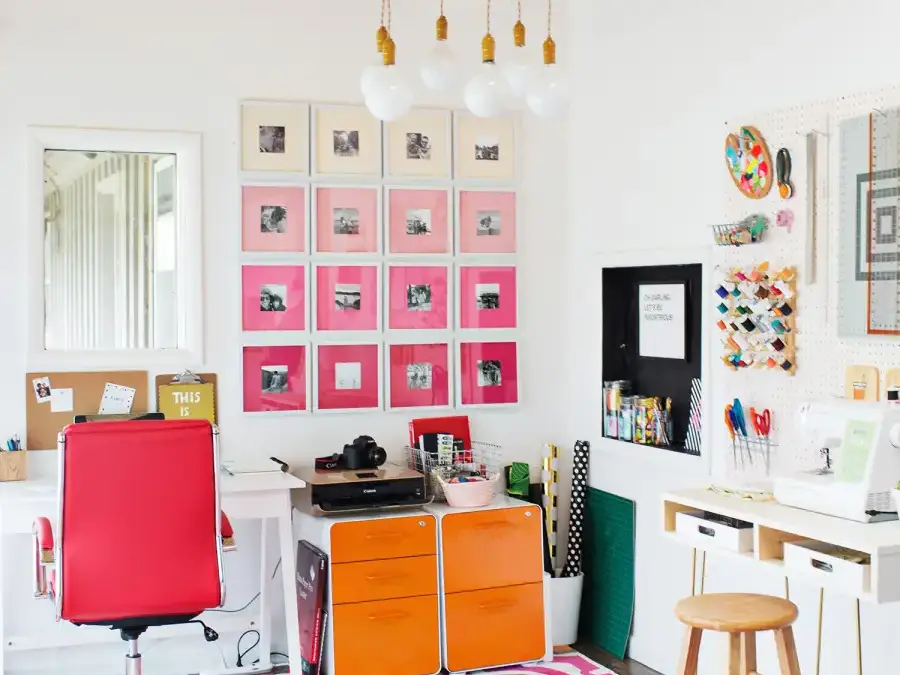
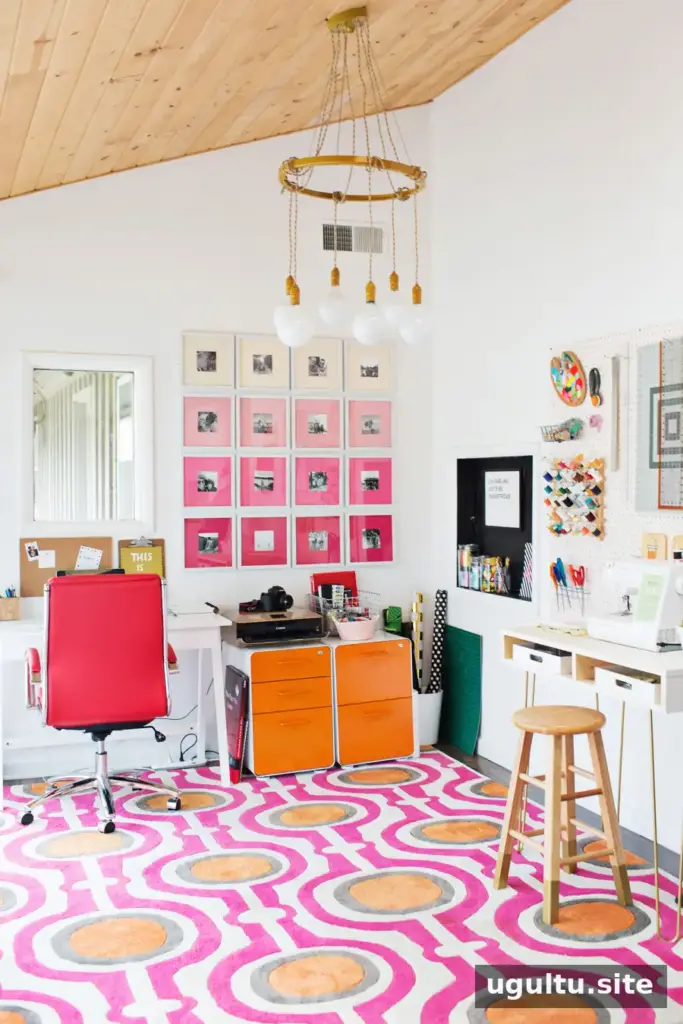
An ombre gallery wall is a colorful way to display favorite photos while giving a home office or other room a clean, coordinated look. This project uses framed pictures and colored paper to create a gradual shift in color, offering a more organized alternative to a traditional bulletin board.

The original display idea was a hand-painted bulletin board for keeping lists, notes, and calendars close to the desk. Having reminders nearby can be useful when working, but a board covered with scattered papers may feel visually busy.
A painted board with circles in colors that matched the office looked appealing at first, but over time it felt cluttered. Only a small portion was regularly used for notes, while much of the remaining space was left empty or filled with unrelated items.
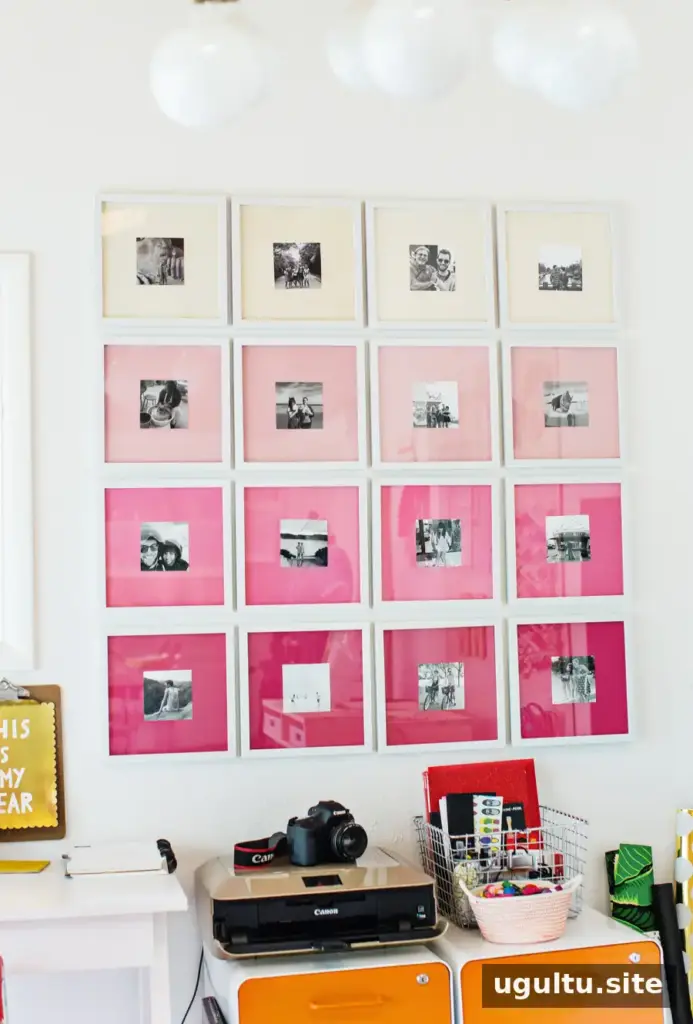
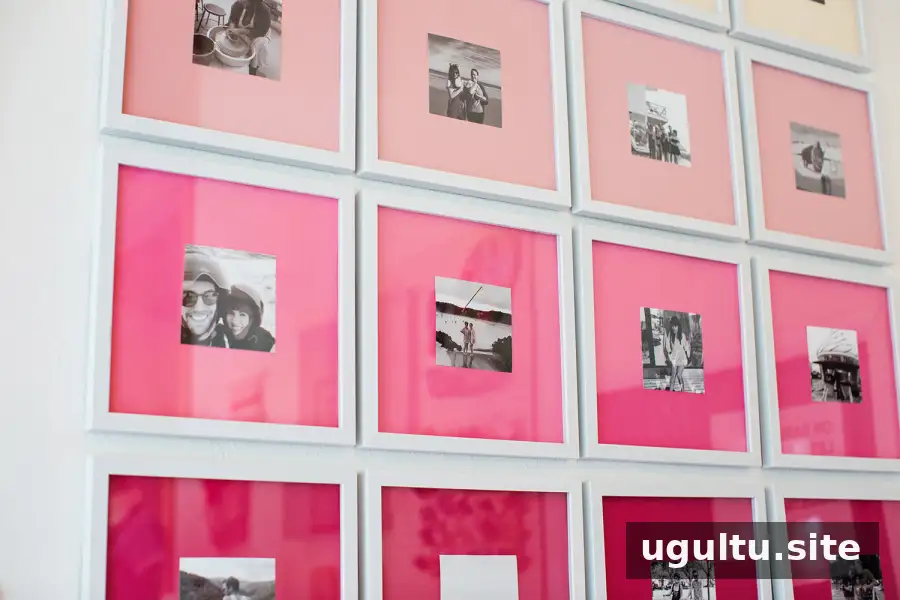
Replacing the board with a photo arrangement made it possible to keep the color while introducing cleaner lines. The finished wall also brings photographs of friends, family, and trips into view near the desk. Choose images that make the space feel personal without overcrowding it.
Planning an Ombre Gallery Wall
This ombre gallery wall uses 16 square frames and colored paper arranged in a gradual progression from red through pink to a warm cream tone. Poster paper is an affordable option, and it can be cut to fit different frame sizes. Before cutting, lay the papers and frames out on the floor to decide how many of each color you need and how the colors will transition.
Supplies:
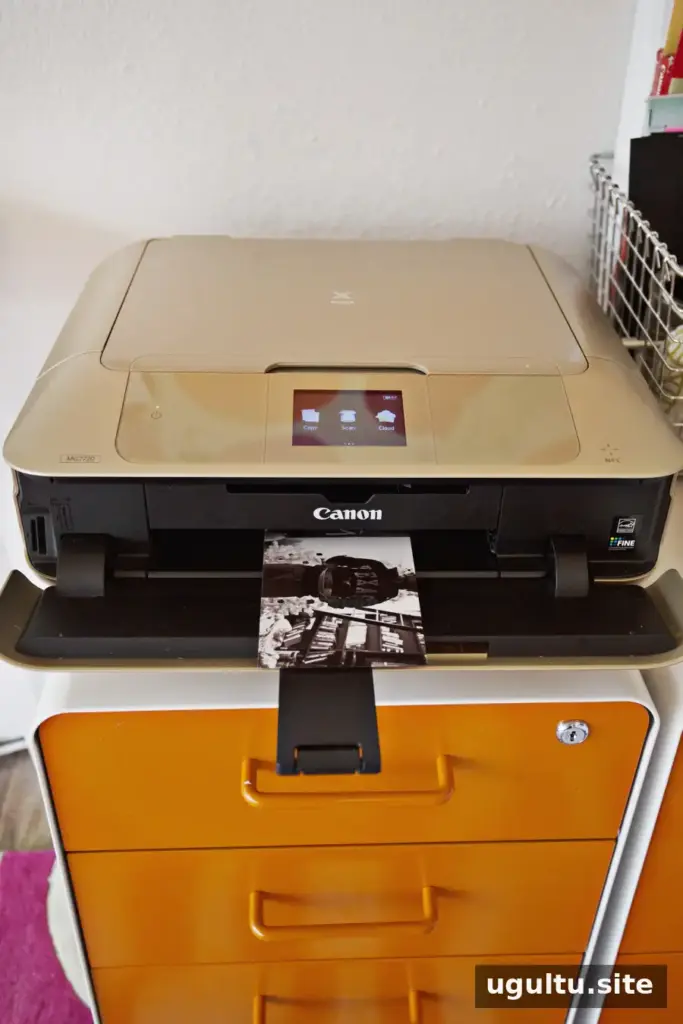
- Printed photos, including 4×6 prints if they suit your frames
- Photo frames; the example uses 16 square frames
- Poster board or colored paper to fit inside the frames
- Scissors and a ruler
- Glue dots
- A level, including a smartphone level if needed
- Removable picture-hanging strips
Check the frame dimensions before buying or cutting paper. If you want a similar color sequence, select four shades that move gradually from one end of the palette to the other. Using paper inserts also makes it easy to adjust the colors later without replacing the frames.
How to Make the Ombre Gallery Wall
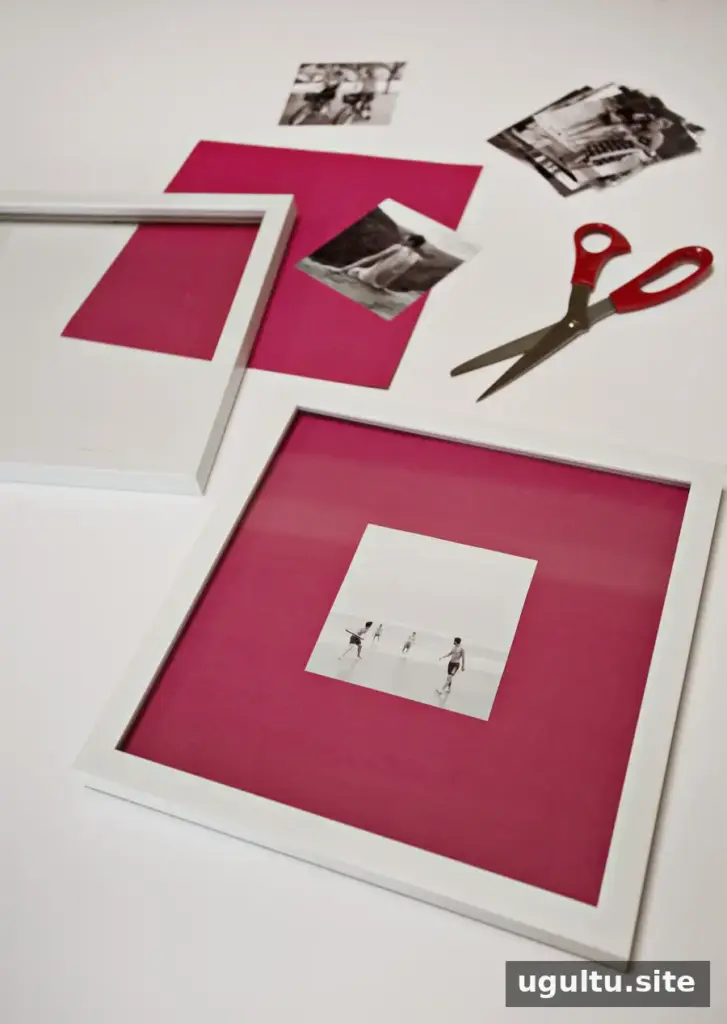
Step 1: Cut the colored paper. Measure each frame’s backing or insert, then cut the paper to fit. Plan the number of frames for each shade so the color progression looks intentional.
Step 2: Print and prepare the photos. Print your chosen images and trim them if necessary. For a balanced display, consider how each photo’s colors and subject matter will look beside the colored backgrounds.
Step 3: Assemble the frames. Use a ruler to find the center of each paper insert, then attach the photo with a couple of glue dots. This keeps the image positioned consistently while leaving the colored paper visible around it.
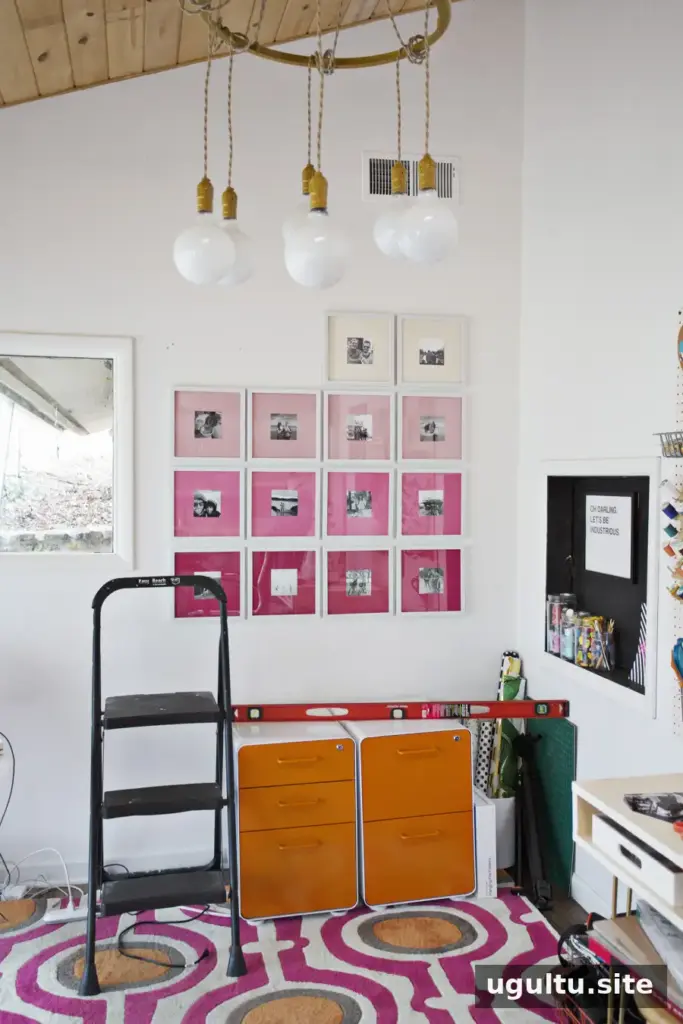
Step 4: Hang the frames. Removable hanging strips can reduce the number of holes in the wall and make future changes easier. Follow the product instructions and check that the strips are suitable for both the frame weight and wall surface. Nails and a hammer are another option when appropriate.
Use a level rather than relying on sight alone. With 16 frames, small alignment differences can become noticeable. Mark the layout lightly before hanging, and measure the gaps between frames so the rows and columns feel even.
Finishing the Display
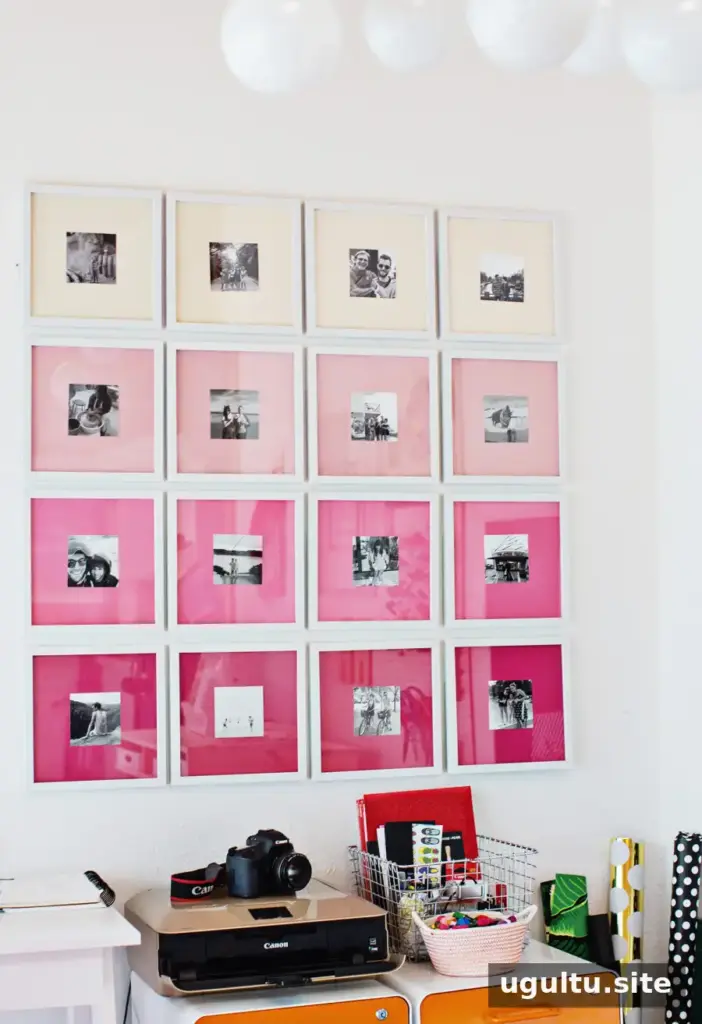
Once the frames are in place, step back and check the overall color flow and spacing. The project took about three hours after the supplies were ready, though the time can vary depending on how much measuring and adjusting is needed. A little planning before hanging can make the final arrangement easier to install.
An ombre gallery wall is a straightforward way to combine personal photographs with a coordinated color scheme. Adapt the number of frames, paper shades, and layout to suit your space, and keep a level handy for a tidy finish.
— Emma


