
 admin
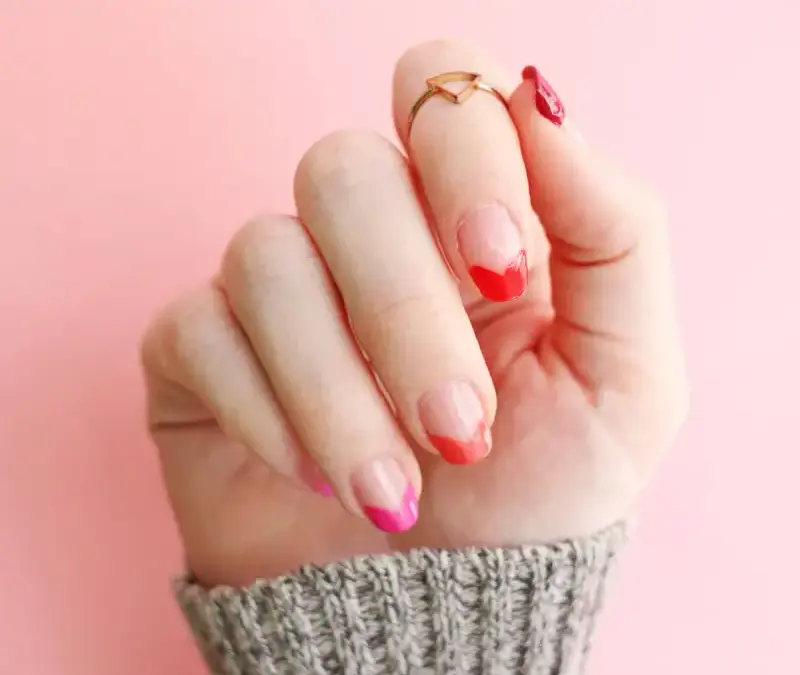
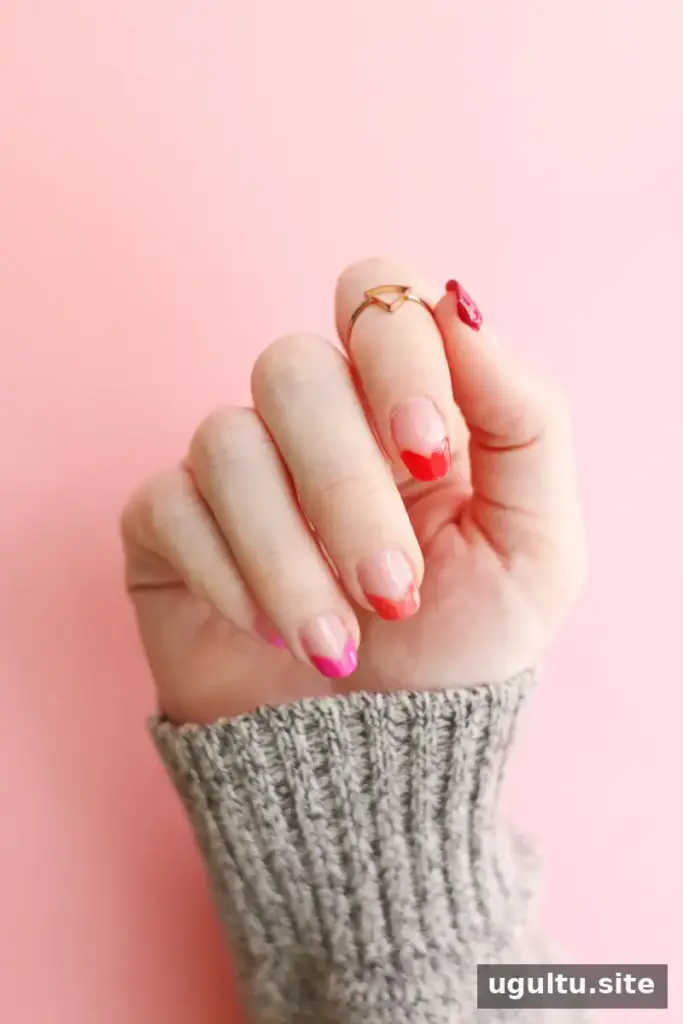
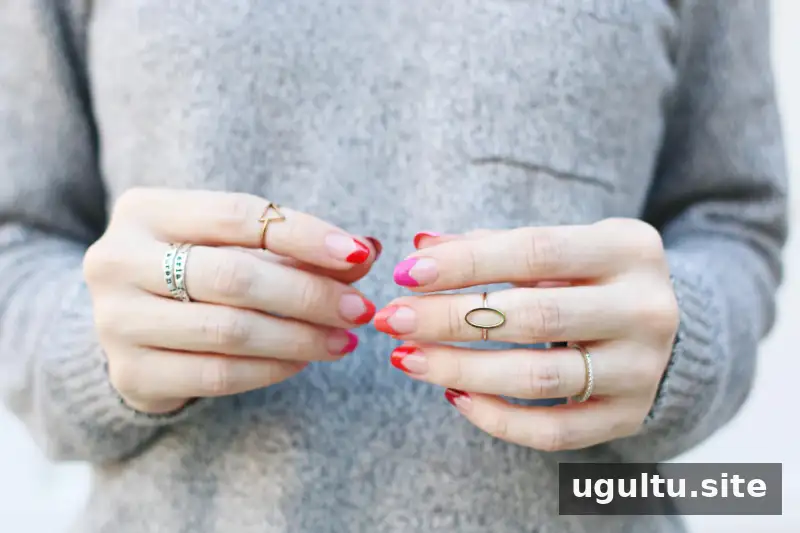
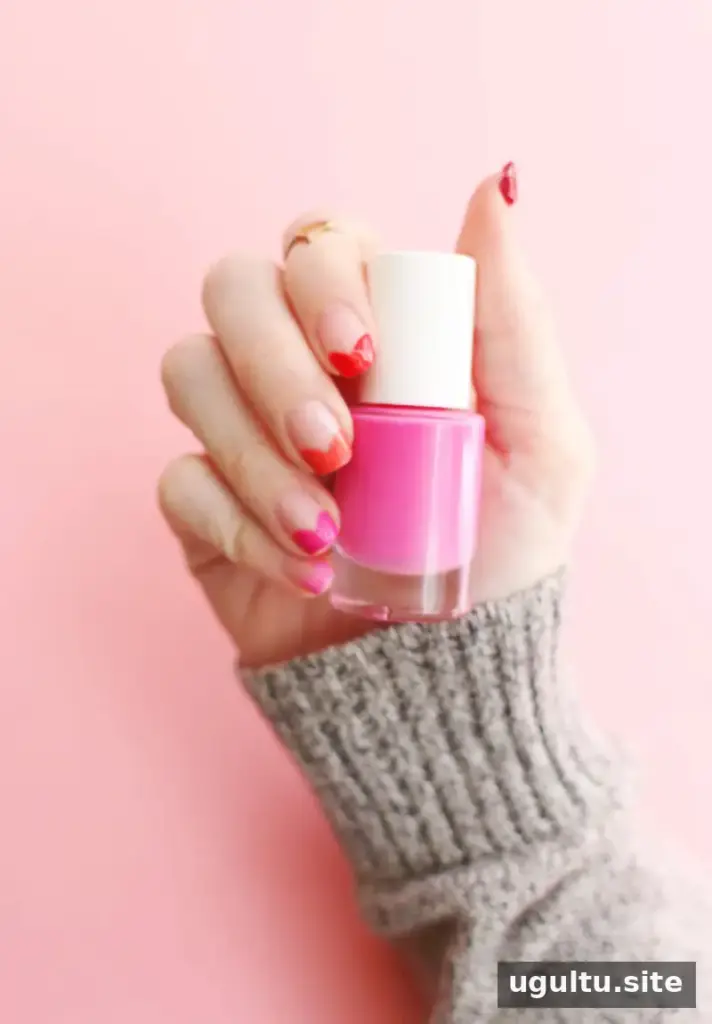
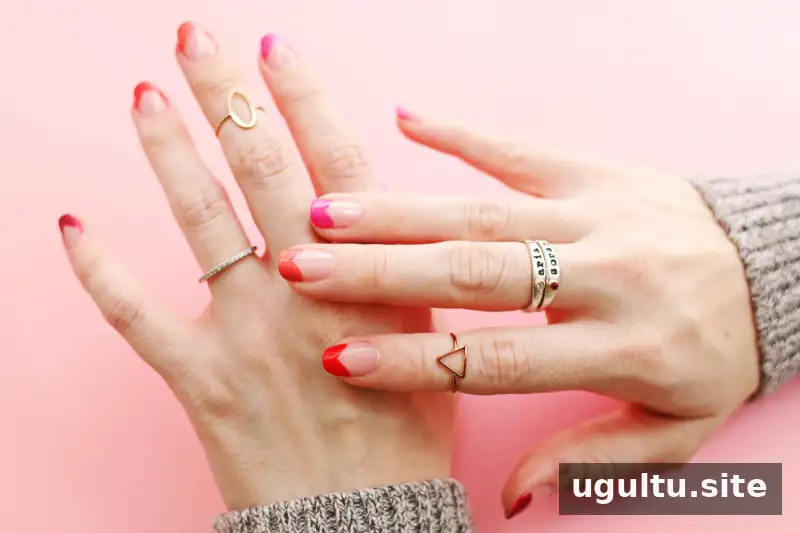
Ombre heart nails offer a playful alternative to a classic French manicure, with curved heart-shaped tips and a mix of pink, peach, and red polish. This simple nail art design suits Valentine’s Day, but you can adapt the colors for any season or occasion. The look is easiest to create when your nails are clean and dry and your polish shades are ready before you begin.
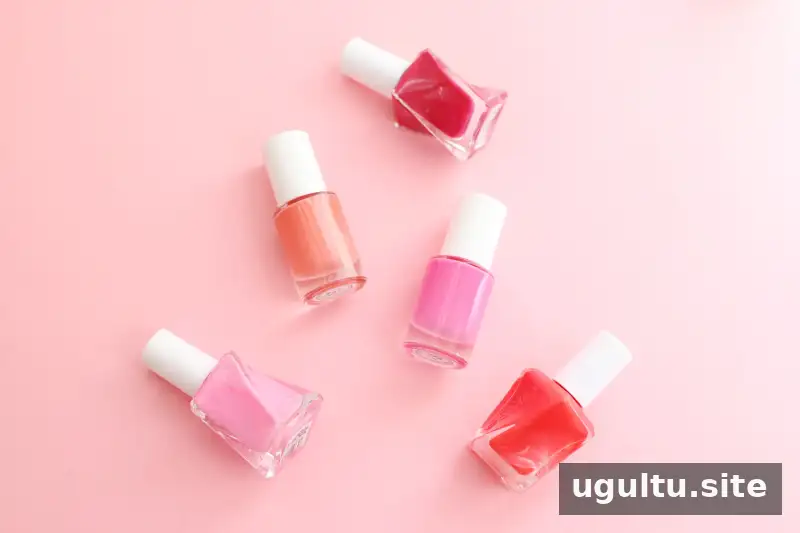
Supplies for Ombre Heart Nails
Gather these basic supplies before starting. Having everything within reach makes it easier to shape both sides of each heart tip while the polish is workable.
- An assortment of pink, peach, and red nail polish
- Glossy top coat
- Nail polish remover
- A small, stiff makeup brush for cleanup
How to Create the Heart-Shaped Tips
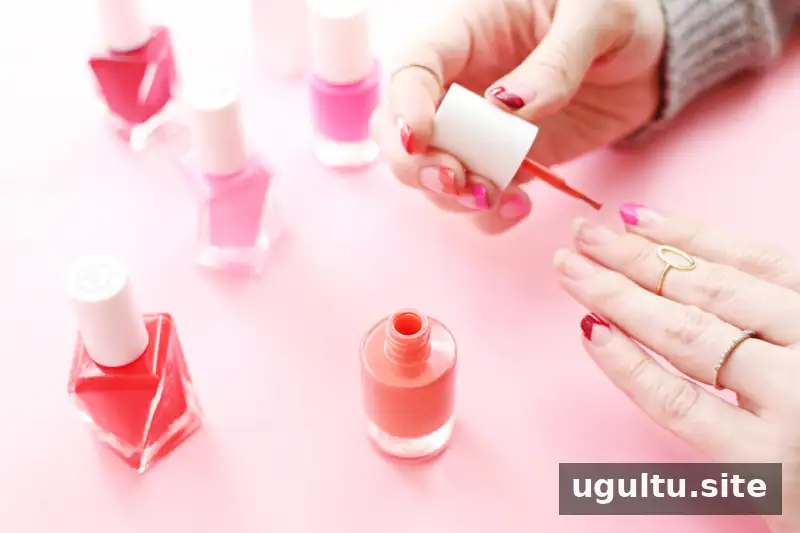
Choose a color order for your manicure. Arrange several pink, peach, and red shades from light to dark across your nails to create an ombre effect from one nail to the next. For a simpler version, use a single polish color instead. Before painting, make sure each nail is clean and free of oily residue so the polish can apply evenly.
To form each heart tip, paint one curved stroke along one side of the nail, beginning near the outer edge and guiding the brush toward the tip. Repeat on the other side so the two curved strokes meet in a point at the center. Use a steady motion for smoother edges, and keep the heart tips similar in size for a balanced look.
Apply two coats to each heart tip, allowing the first coat to dry before adding the next. Thin, even coats are generally easier to control than one thick layer. Let the design dry completely before moving on to the top coat or cleanup.
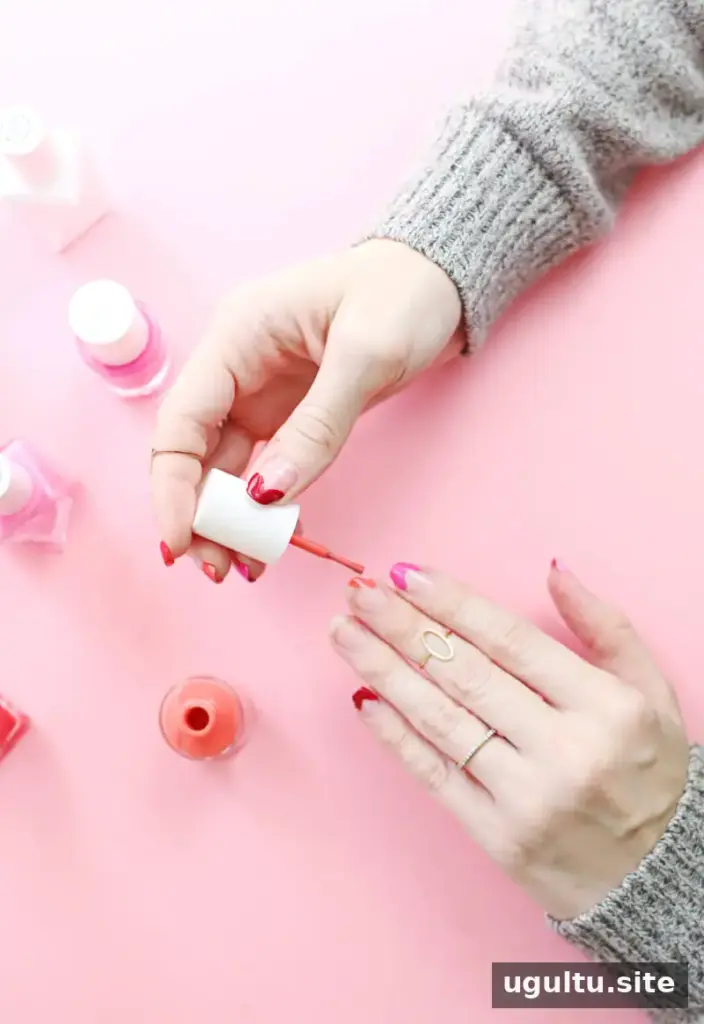
Add a Glossy Finish
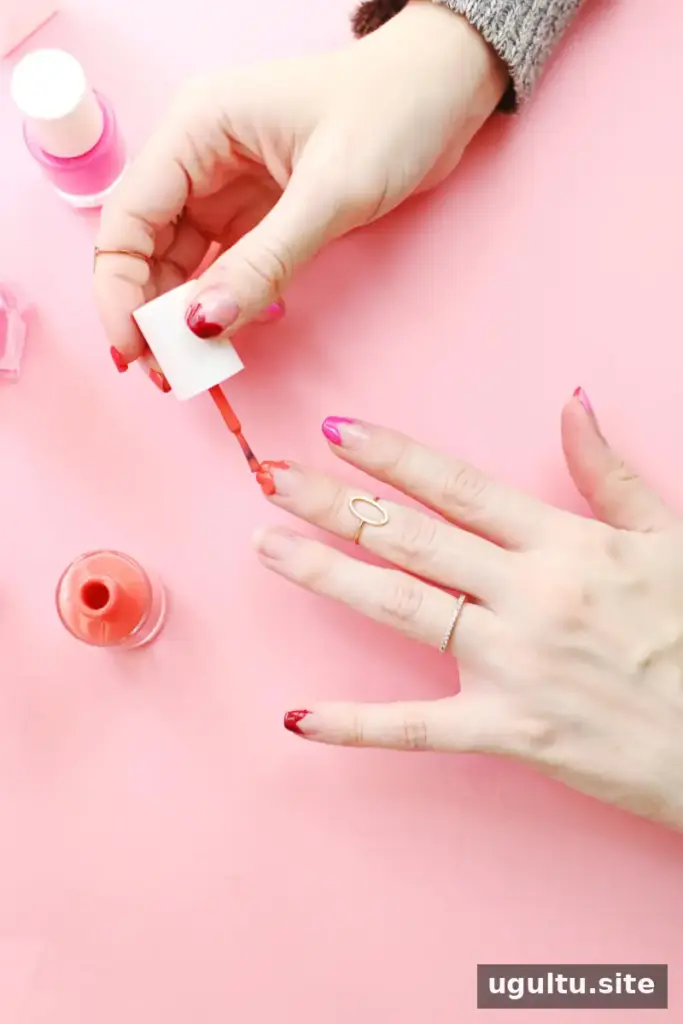
Once the polish is dry, apply a generous layer of glossy top coat over each nail. It helps smooth the painted tips and gives the manicure an even shine, including the unpainted parts of the nail. Brush carefully over the edges of the design to help seal the polish, and avoid pressing hard enough to drag the color.
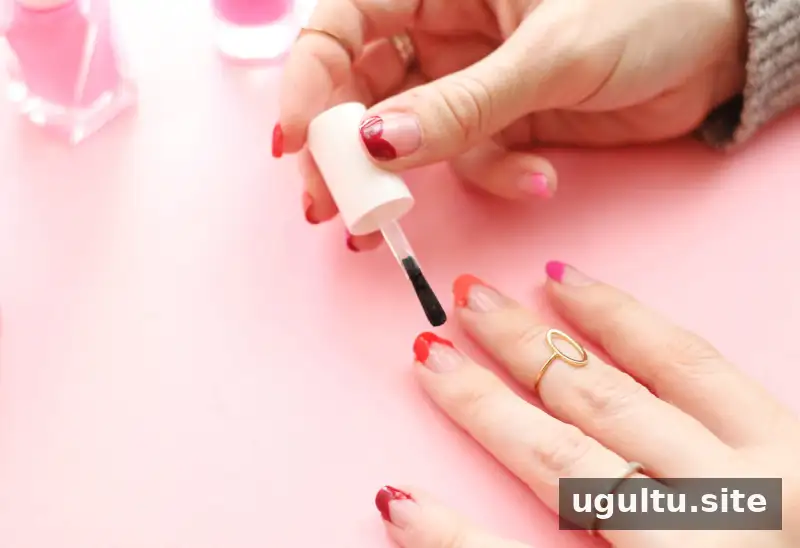
Clean Up and Customize Your Manicure
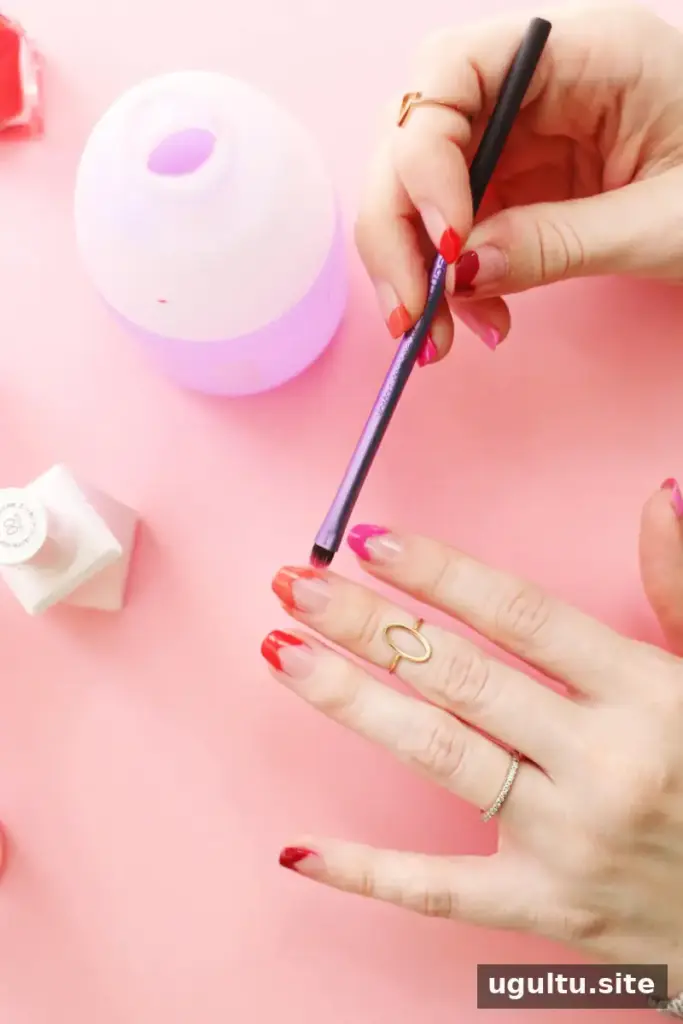
A little polish around the skin is easy to tidy once the design has dried. Dip a small, stiff makeup brush into nail polish remover, then carefully trace around the nail to remove stray color. Use a light touch and avoid flooding the nail with remover, which could disturb the finished design.
After cleanup, your ombre heart nails are ready to wear. You can keep the design minimal with one shade, use a different color on each nail, or arrange several shades in a light-to-dark sequence. For extra decoration, add a small amount of glitter polish to the tips after the heart design is dry, then seal it with another layer of top coat.
Final Tips for Ombre Heart Nails
For a neat result, work on one hand at a time and allow enough drying time before touching the design. If painting with your non-dominant hand feels tricky, make smaller strokes and pause between coats rather than trying to perfect the shape in one pass. Ombre heart nails are easy to personalize, and a little variation in the curves can give the manicure a relaxed, handmade finish.


