
 admin


A sequined lips sweatshirt DIY is a simple way to add a bright, eye-catching detail to a plain top. With a lips pattern, three colors of sequin trim, and quick-dry fabric glue, you can create the design without sewing. The key is to work in small sections and arrange the trim carefully so the shape stays neat.
Supplies for a Sequined Lips Sweatshirt DIY
Gather these materials before you begin. Having the trim and pattern ready makes it easier to work while the glue is fresh.
- Quick-dry fabric glue
- Sequin trim in white, pink, and black
- A lips pattern
- Washable fabric chalk or a marking pen
- Scissors
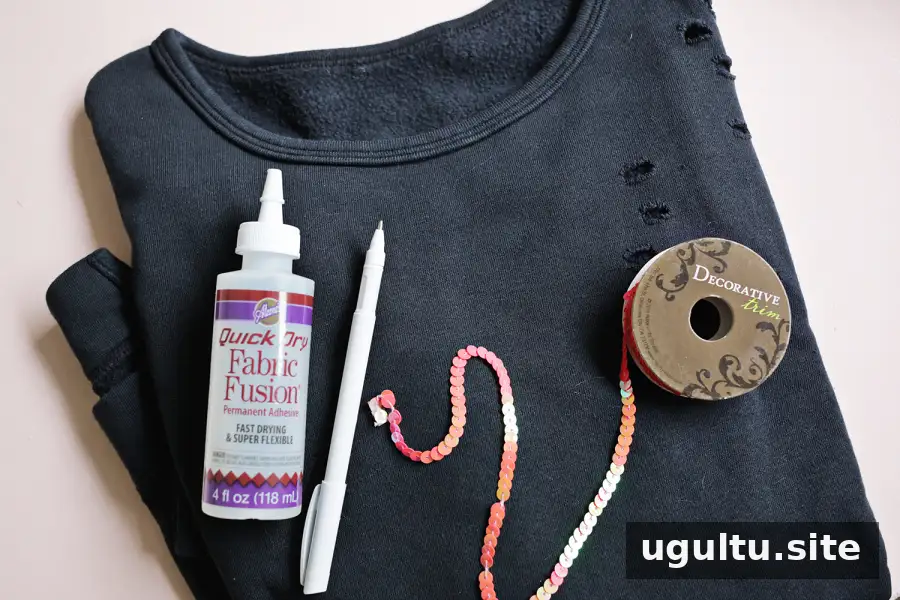
Before applying glue, check that it is suitable for the fabric of your sweatshirt and follow the product directions. A small test on an inconspicuous area can help you check how the glue behaves on the material.
Mark the Lips Design on the Sweatshirt
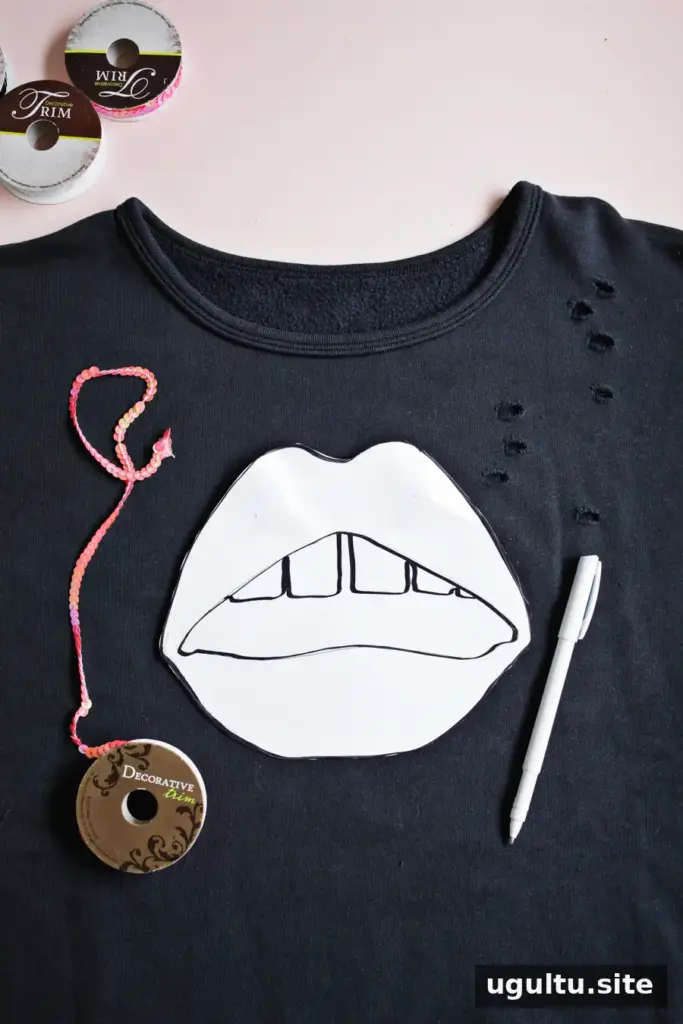
Print and cut out the lips pattern. Position it on the sweatshirt where you want the finished design to sit, then trace around its outside edge using washable fabric chalk or a marking pen. Check the placement while the sweatshirt is lying flat so the outline does not shift.
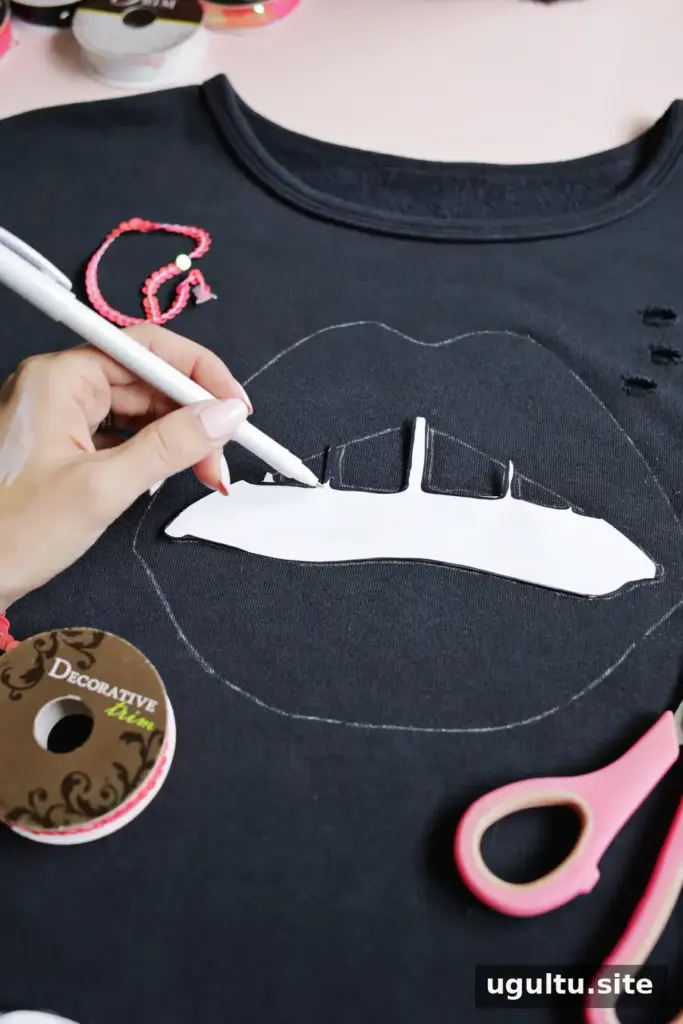
Cut out the teeth section of the pattern and use the remaining shape to mark the additional lines. These outlines act as guides for the different sequin colors, so make sure the teeth and mouth areas are easy to distinguish before gluing.
Fill the Teeth and Mouth with Sequin Trim
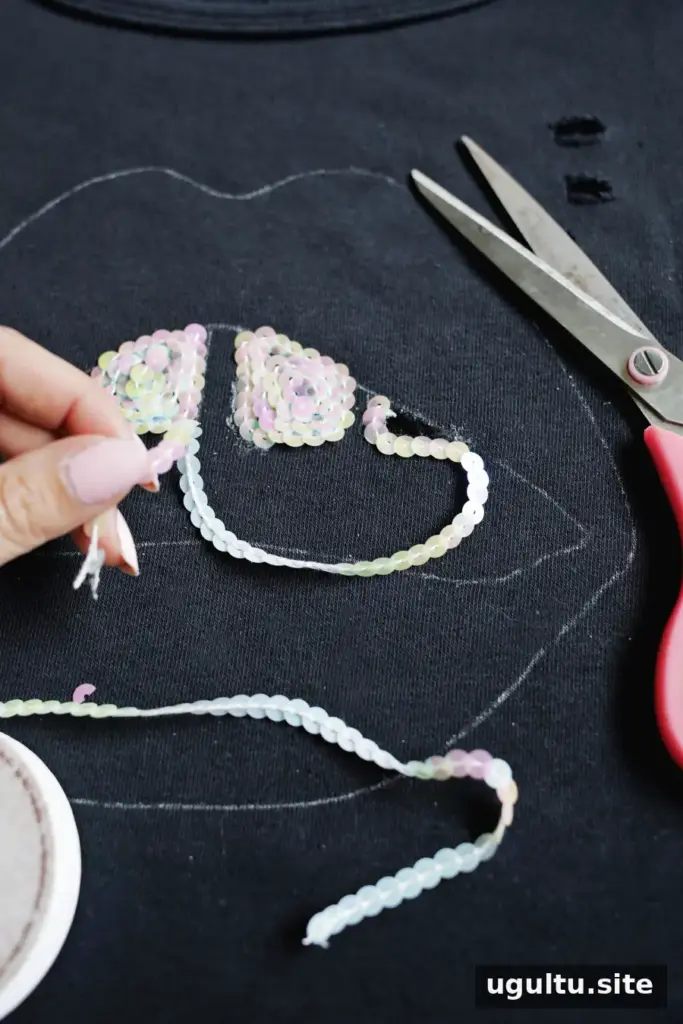
Start with the white trim. Apply glue along the outline of one tooth, then press the trim onto the glue to follow the shape. Add another line of glue just inside the first row and continue laying down trim, slightly overlapping the rows. Work inward until the tooth is filled. Cut the trim at the end and secure its edge with glue to help prevent it from unraveling. Repeat for each tooth.
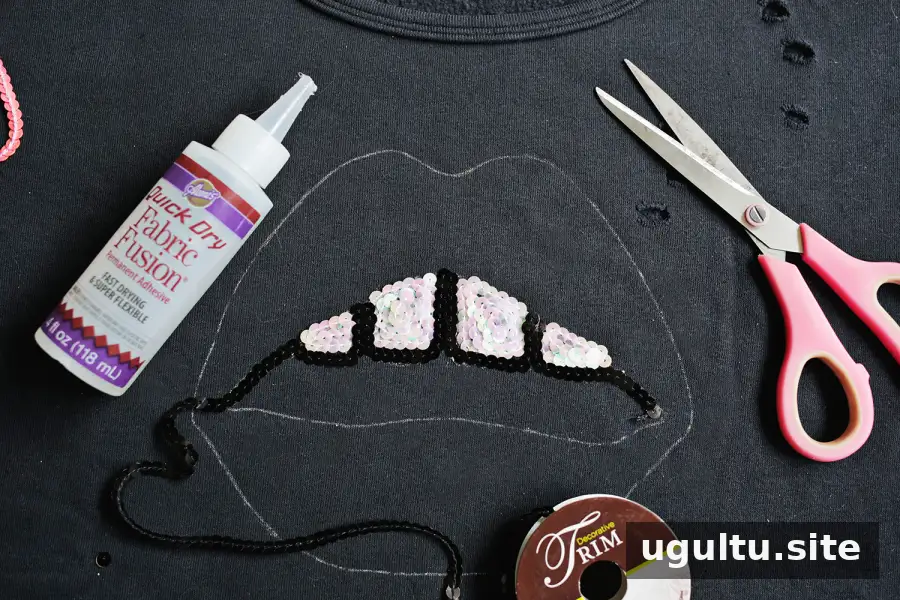
Use the black trim for the dark area of the mouth. Trace its outline with glue, place the trim along the line, and continue working inward in rows until the space is filled. If the glue begins to dry before you add the sequins, apply it in shorter sections so it remains tacky as you work.
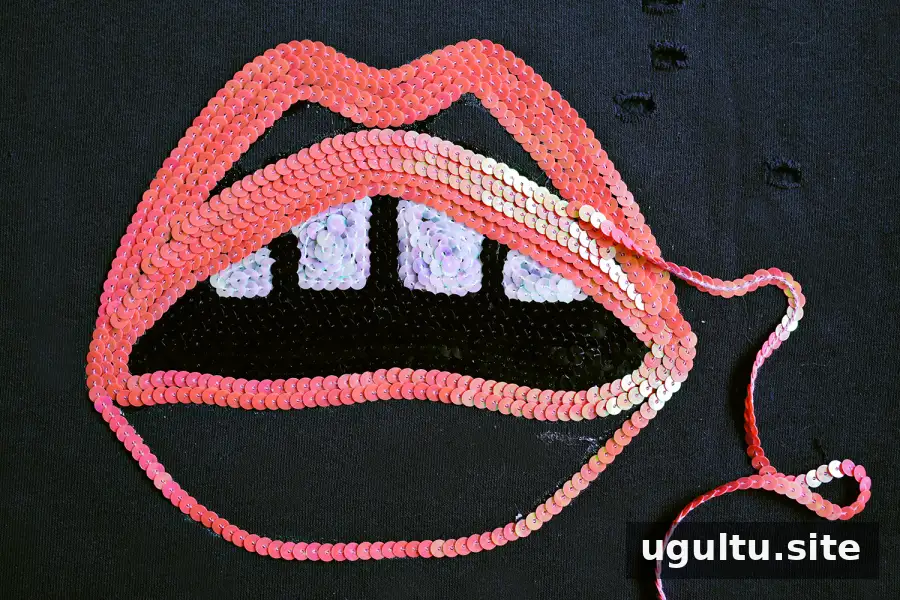
Finish with the pink trim. Outline the teeth and the outer edge of the lips, then fill the upper lip by laying the trim in closely spaced rows. When the top section is complete, cut and secure the end. Start a new length of trim to fill the lower lip.
Care Tips for Your Finished Sweatshirt
Allow the glue to dry for the time stated on its packaging before wearing or washing the sweatshirt. Hand washing is a gentle option. If you choose to use a washing machine, the original project suggests a cold, gentle cycle; check the glue and garment care instructions first. Avoid rough handling that could loosen the trim.
Make the Design Your Own
This design can also be made on a T-shirt or tank top if you prefer a lighter garment. Whichever item you choose, lay it flat while working and take time to keep the rows of trim close together. A little patience around the curves helps create a clean, polished outline.

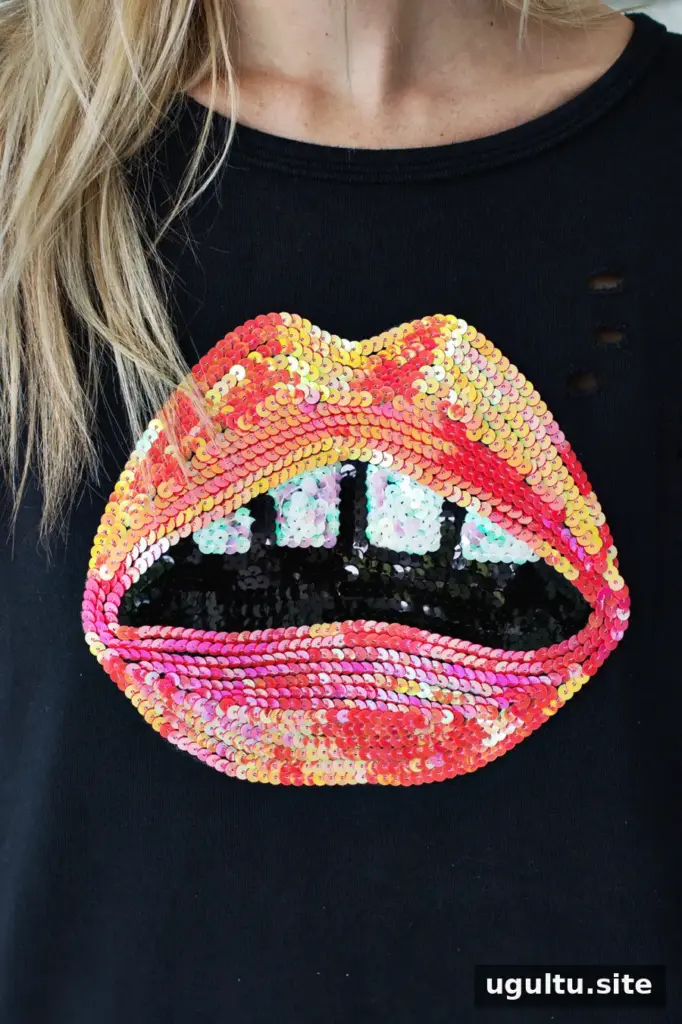
This sequined lips sweatshirt DIY turns a basic top into a sparkling statement piece using a straightforward glue-and-trim technique. Prepare the pattern, mark each section clearly, and build the design with small rows of sequins for a more even finish. Project by Laura.


