
 admin
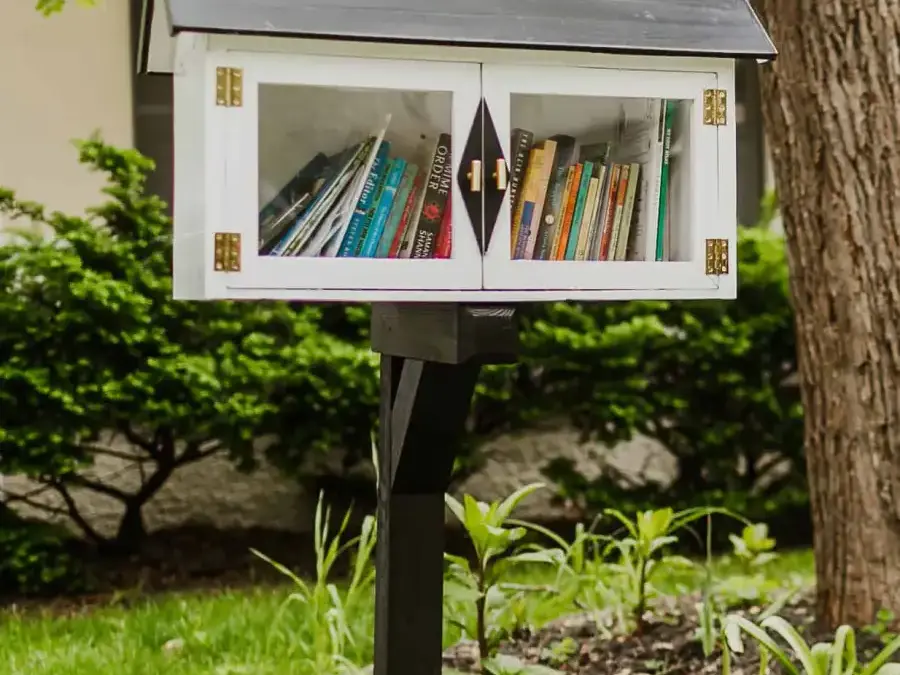
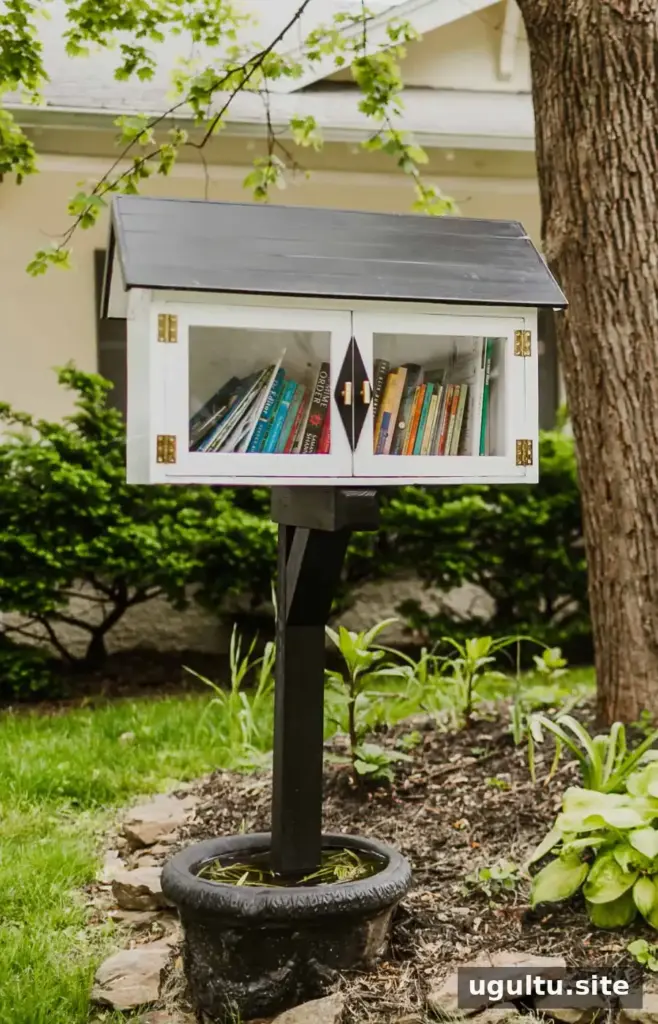
A DIY little free library can give neighbors a simple way to share books and discover something new. This small book-sharing house was built for a Springfield bed-and-breakfast known as the holiday house, then installed in Missouri where passersby could reach it easily.
The idea is straightforward: people can leave a book, take one to read, or do both. A neighborhood library is most useful when it is easy to access, protected from the weather, and positioned so visitors do not need to enter private areas.
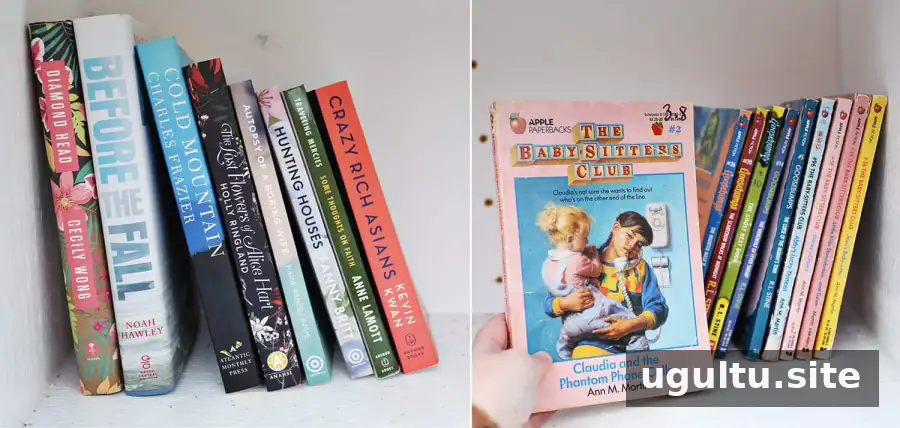
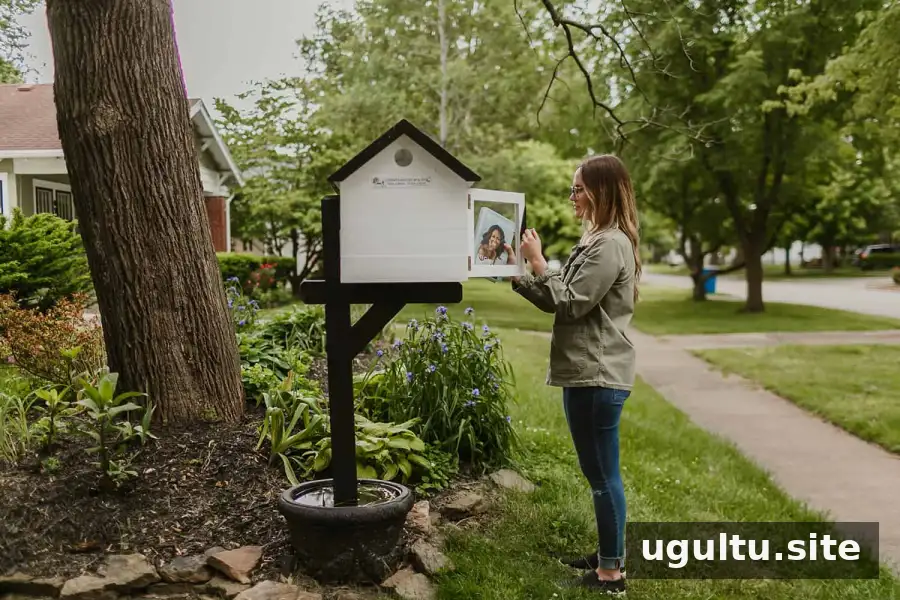
The library was stocked with previously read books and childhood favorites shortly before public libraries temporarily closed. While it was being filled, a neighbor out for a walk asked whether books were being added or taken. After hearing that the shelves were being stocked, he said he planned to return and browse.
DIY Little Free Library: Materials and Tools
Gather the supplies and tools before starting. Check that your work area is level, wear suitable eye and hearing protection, and follow the operating instructions for power tools.
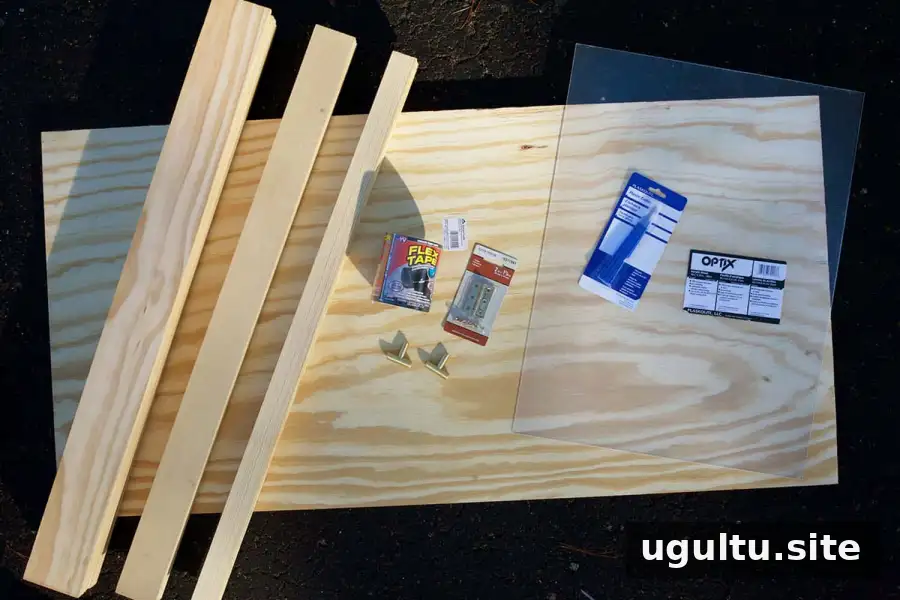
Materials:
- Three 2′ × 4′ × 3/4″ plywood sheets
- Two 2′ × 4′ × 1/4″ plywood sheets
- Twelve 3.5″ × 4′ × 3/4″ boards
- Ten 2.5″ × 4′ × 1/2″ boards
- Eleven 1.5″ × 4′ × 1/2″ boards
- One 18″ × 24″ × .080″ acrylic sheet
- Two 1/2″ × 1/2″ × 3′ boards
- Waterproof tape
- Waterproof caulk
- Exterior paint
- Four hinges
- Two door catches
- Two small handles
- Wood glue
Tools:
- Circular saw
- Miter saw
- Jigsaw
- 2.5″ hole saw
- Drill
- Nail gun
- Measuring square and measuring tape
- Plastic or acrylic cutter
Build the Library Body and Roof
Cut the bottom, back, and side pieces from 3/4″ plywood. The bottom board measures 14″ × 3′, and the back board measures 13″ × 3′. Cut the side boards to 14″ × 22″, then make two 35º cuts at the top of each side to form the roof pitch. Measure and mark each piece before cutting.
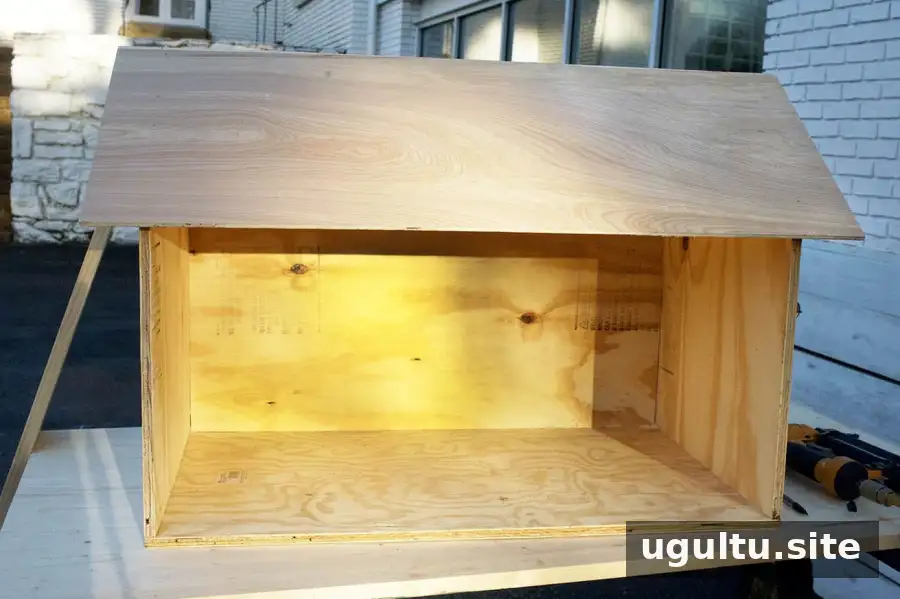
Use wood glue and a nail gun to attach the back and sides to the bottom. Cut the 1/4″ plywood into two 14″ × 40″ pieces and attach them at the top to form the roof.
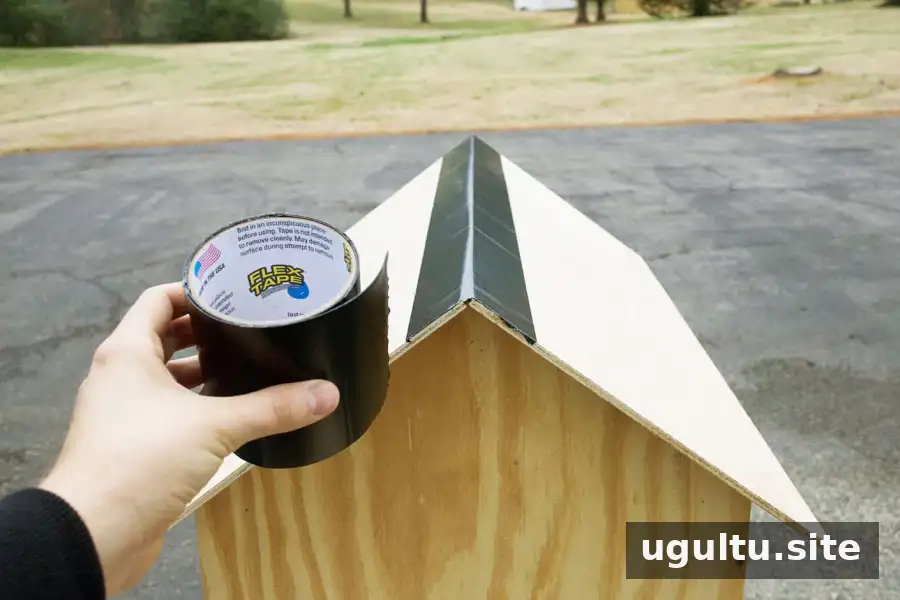
Seal the roof seam with waterproof tape. Waterproof caulk is another option. Whichever method you use, inspect the seam periodically and reseal it if you notice gaps or water getting inside.
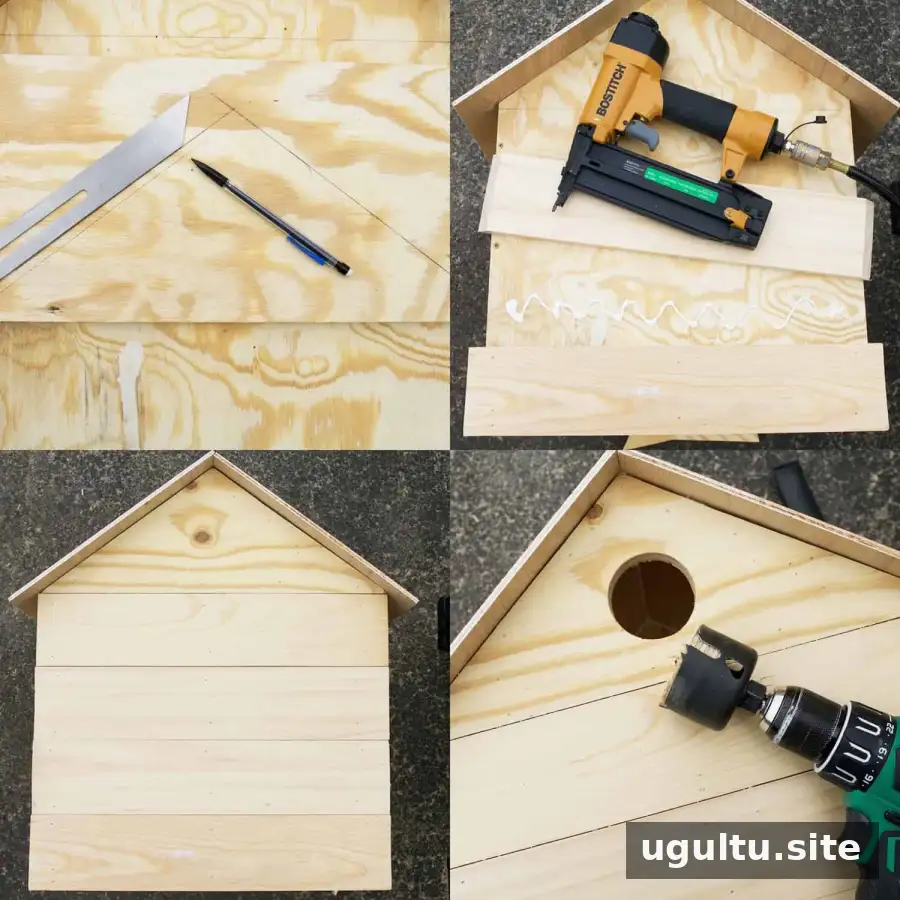
Cut the 3.5″ × 4′ × 3/4″ boards to fit the back and sides, making 45º cuts at the ends. Attach them with glue and a nail gun. For the angled upper sections of the sides, trace each opening onto leftover 3/4″ plywood, cut out the pieces, and fasten them in place. Use a 2.5″ hole saw to make a small window in each side.
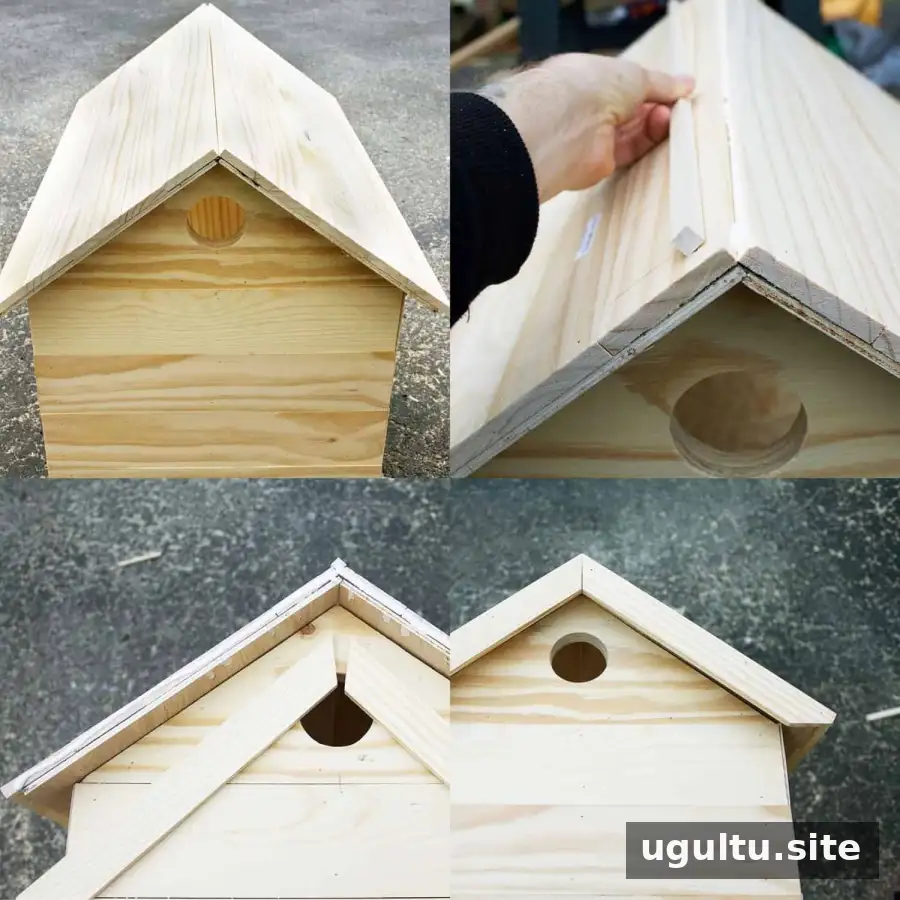
Cut eight of the 2.5″ × 4′ × 1/2″ boards to match the roof length and attach them. Add a piece of 1/2″ × 1/2″ × 3′ board along the top to cover the gap left by the roof boards. Cut the 1.5″ × 3′ × 1/2″ boards to 14″, with 45º cuts at the top, and attach them as shown.
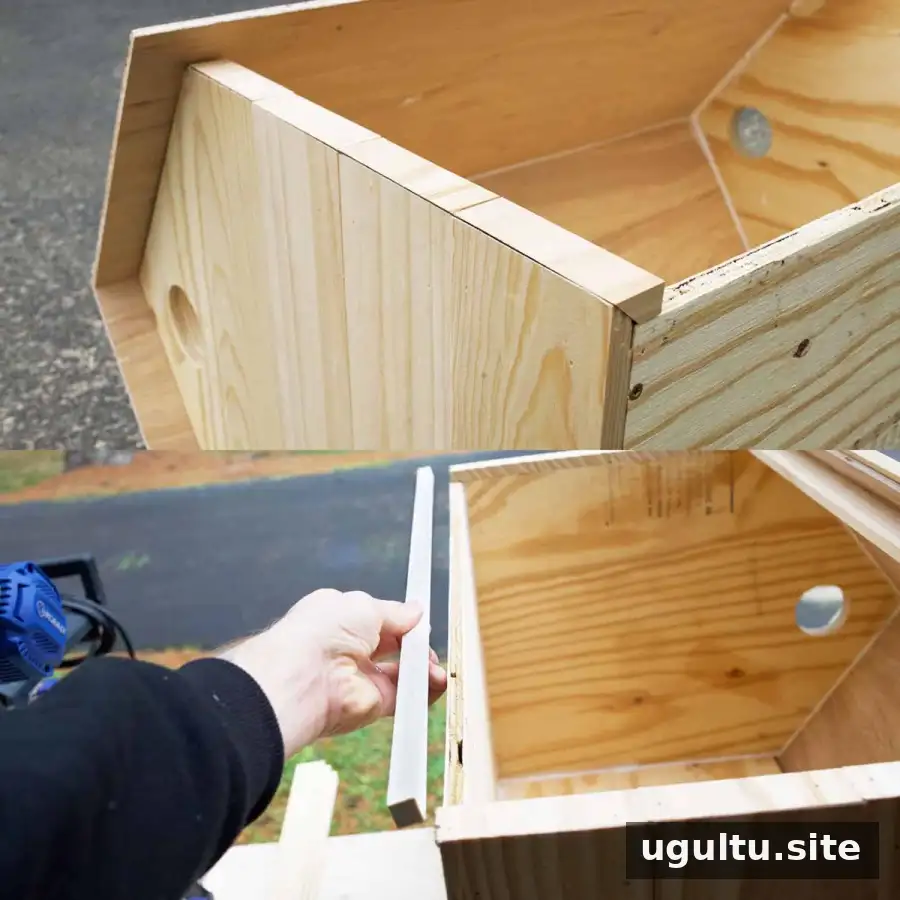
Cut 1″ pieces from the 3.5″ × 3/4″ wood, adding 45º cuts at both ends, and attach them to the front. Add another piece of 1/2″ × 1/2″ × 3′ board along the lower front edge.
Make and Attach the Doors
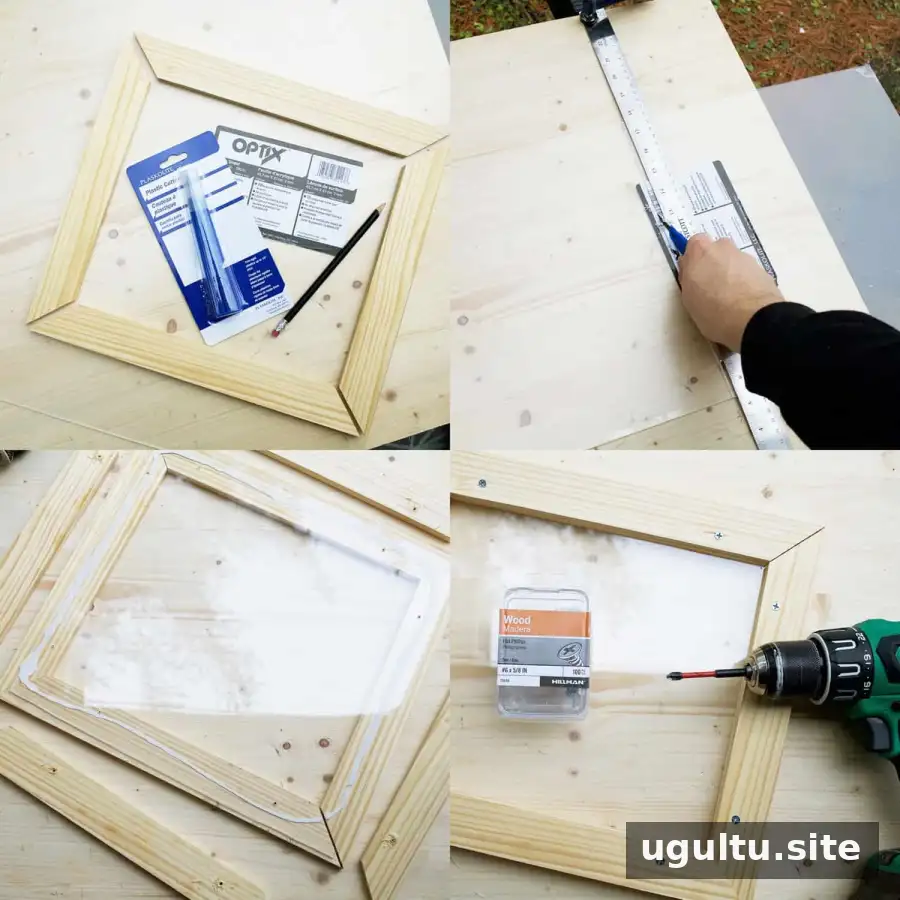
Measure the front opening before making the doors. They should fit inside the opening so their closed surfaces sit flush with the library’s outer front edge. Cut the door components to suit those measurements.
For each door, cut eight pieces from the 1.5″ × 3′ × 1/2″ boards, with 45º cuts at both ends. Cut the acrylic sheet to fit between the wooden pieces. Attach the acrylic with glue and screws, pre-drilling the holes to reduce the chance of cracking the panel. Repeat for the second door.
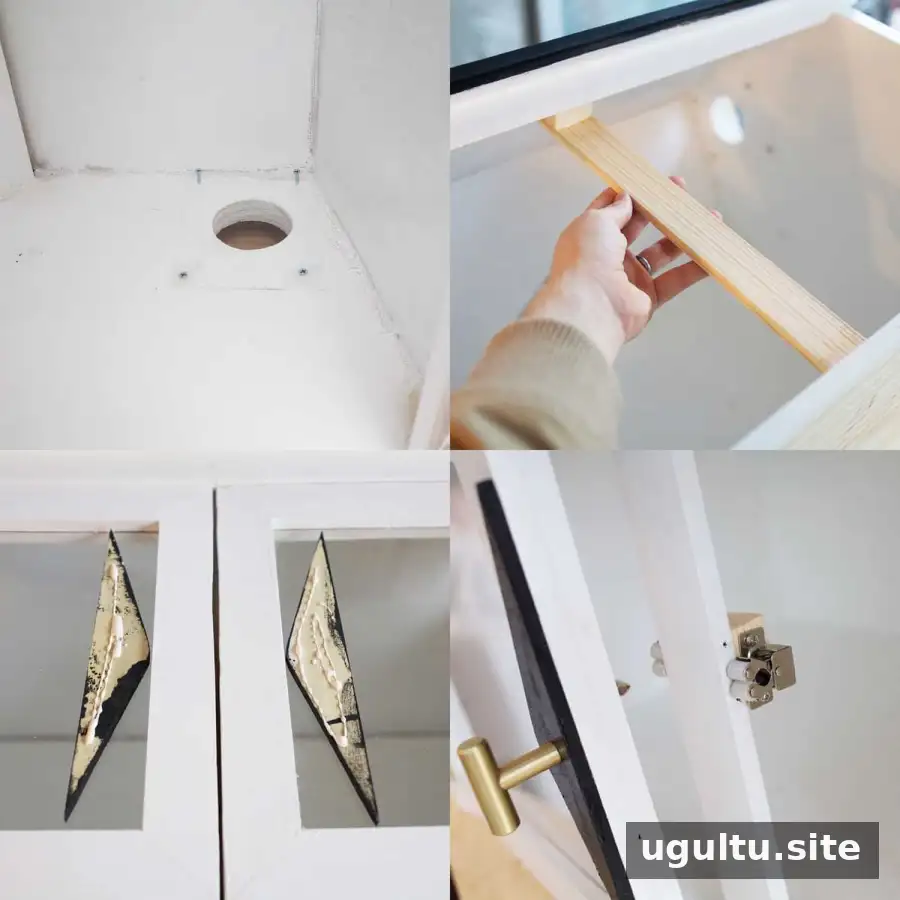
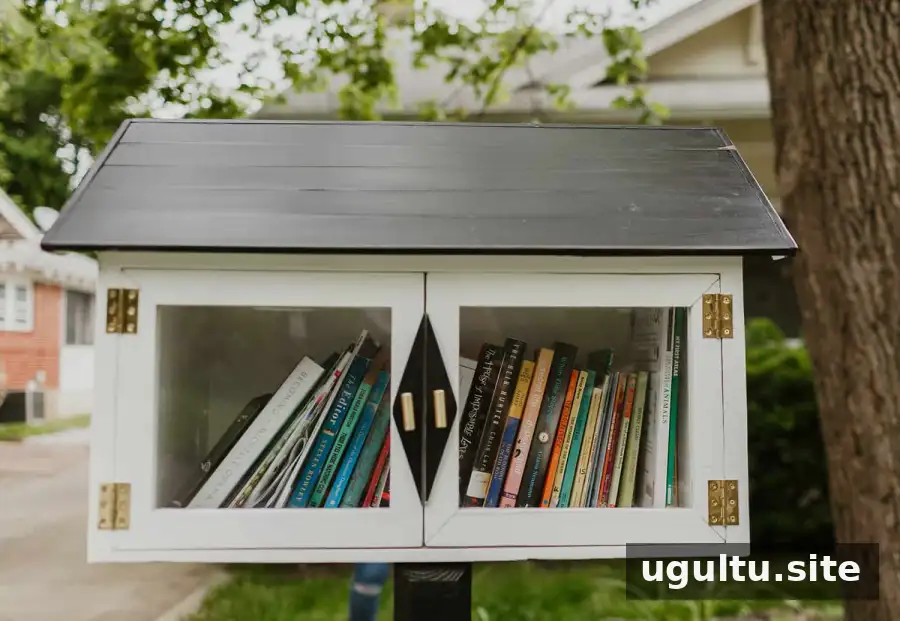
Paint the assembled library with exterior paint; this project used white for the body and black for the roof. Cut two small acrylic pieces and attach them inside the circular side windows. Install the doors with the hinges, add a 1.5″ × 3′ × 1/2″ board between them, and fit the door catches.
To add decorative details to the doors, trace a design onto leftover 1/4″ plywood, cut it out with a jigsaw, and attach it with glue and a nail gun. Finish by adding the handles. Allow the paint and adhesives to cure according to their product directions before placing books inside.
Choose a Stable, Accessible Location
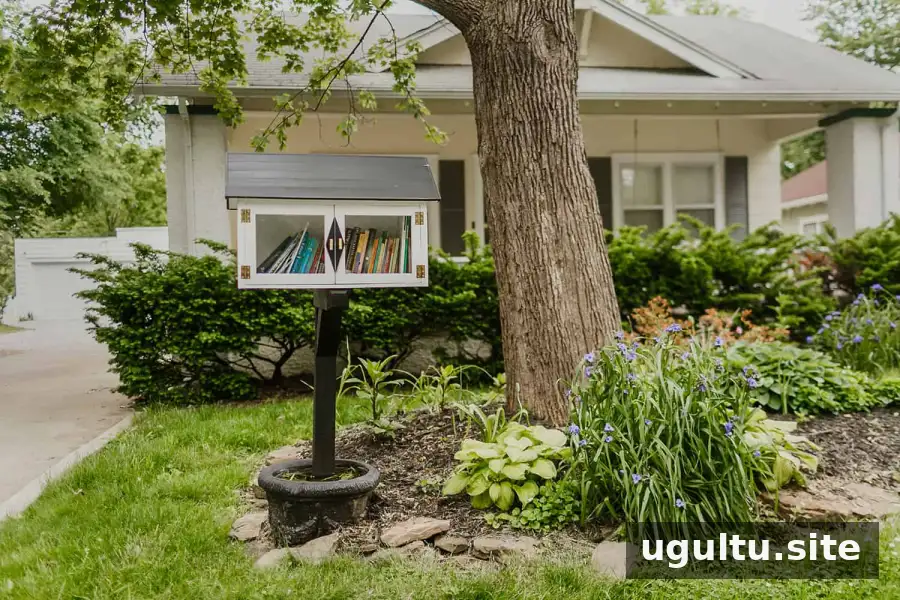
The completed library was transported to Missouri for installation. The goal was to secure it without making it a permanent fixture in the yard, while keeping it accessible from the sidewalk and away from the private areas of the property.
A reused cement planter provided a base. It was filled with cement and a mailbox stand, and the library was attached to the stand. The assembly was painted black so it blended into the yard and could tolerate ordinary outdoor dirt.
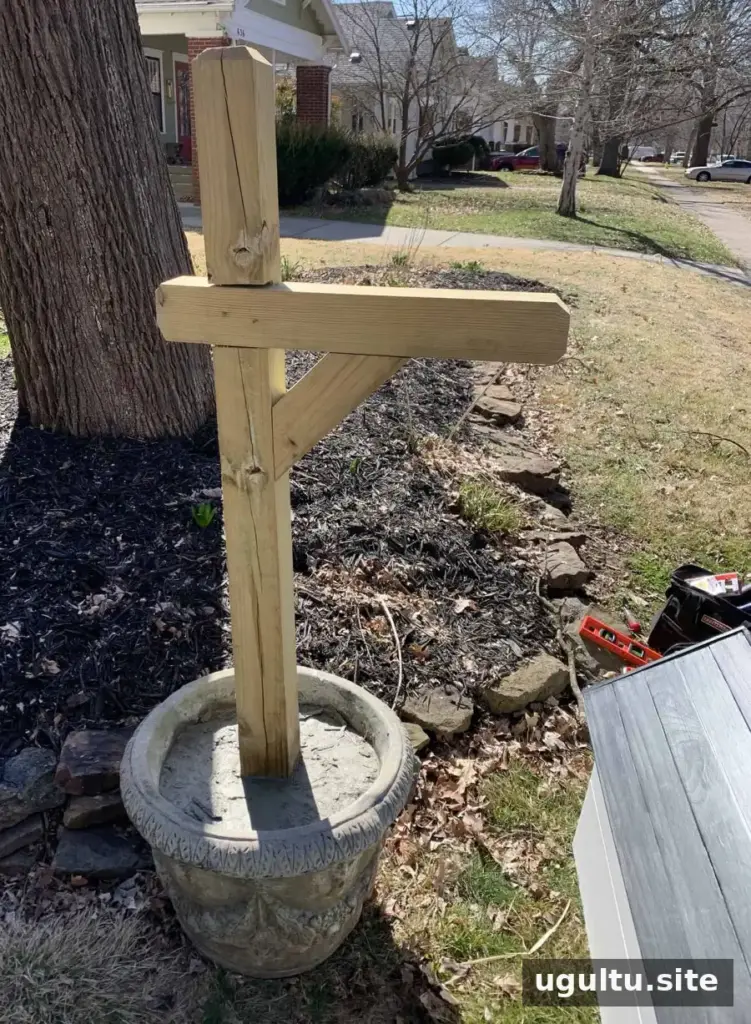
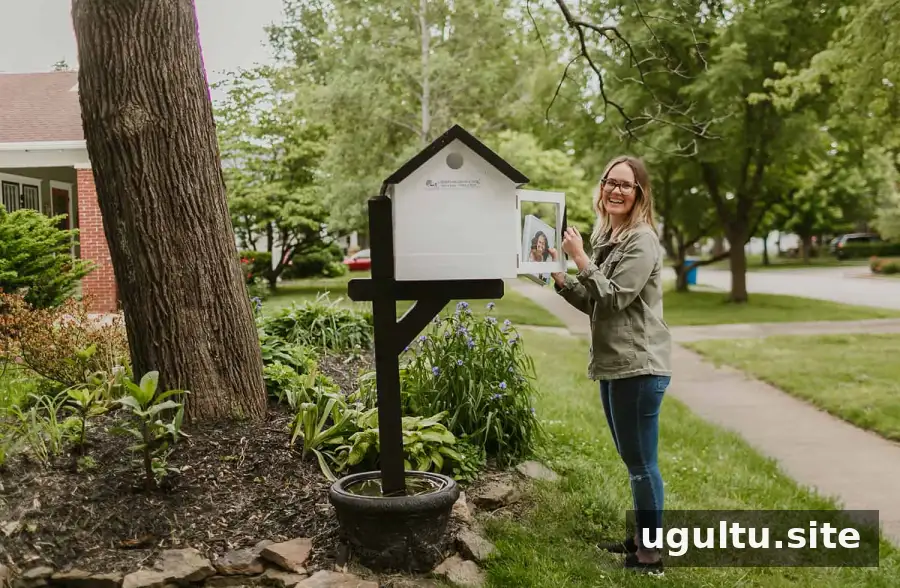
The library was placed at the edge of an existing mulch bed. This position left room for lawn maintenance and kept the heavy structure away from the driveway. The slight slope beside the sidewalk was also considered when choosing the location.
Before installing a neighborhood book box, check that it is stable, does not obstruct the public sidewalk, and can be reached without requiring visitors to enter private spaces. Consider how lawn care, weather exposure, and nearby vehicles may affect the placement.
Enjoy Your Neighborhood Book Exchange
A small outdoor library creates a convenient place to pass along finished books and find new reading material. Add books in good condition, check the structure and door hardware occasionally, and keep the shelves from becoming overcrowded. This DIY little free library project is credited to Emma & Elsie.


