admin
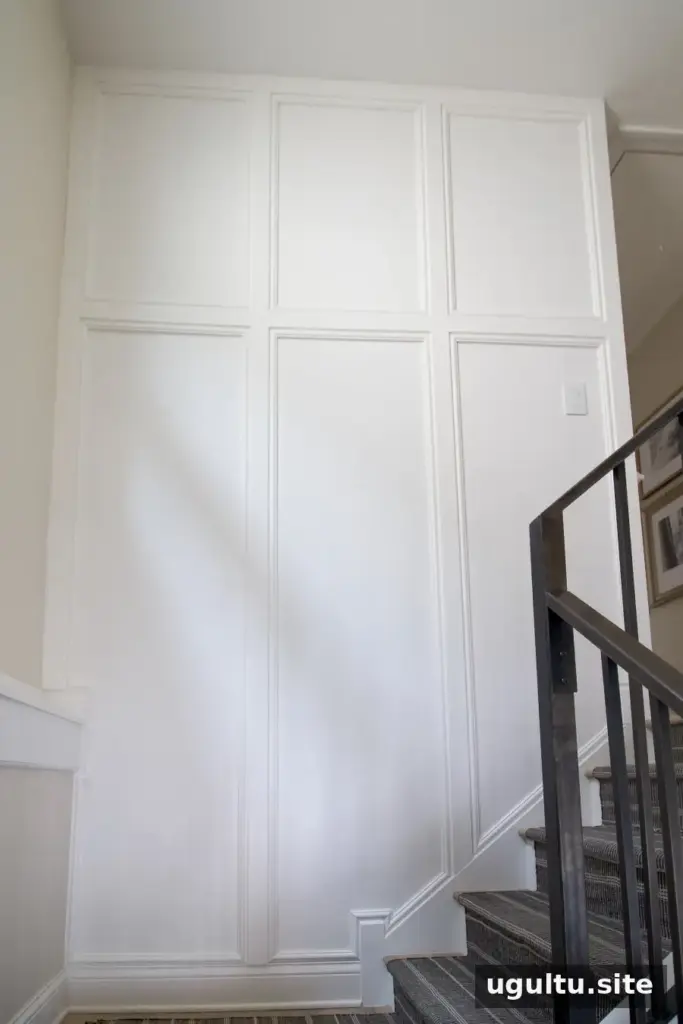
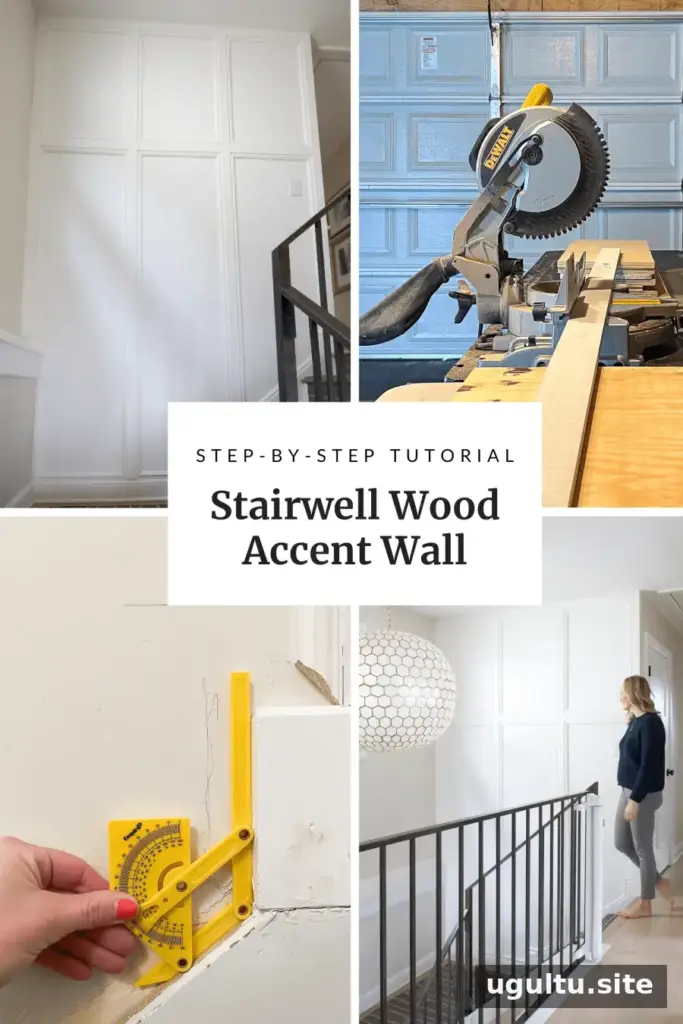
A stairwell accent wall can turn a tall, otherwise plain space into a more finished feature. This project uses 1×3 MDF boards and decorative molding, painted Benjamin Moore “Simply White” in a satin finish. The sloped staircase made the lower trim more challenging than a standard accent wall, so careful measuring and planning were essential.
Planning the Stairwell Accent Wall
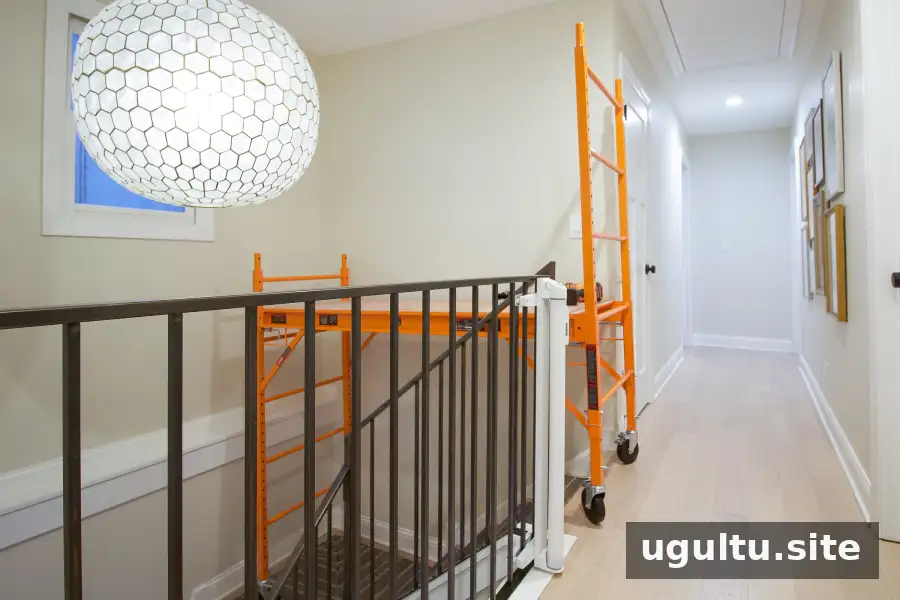
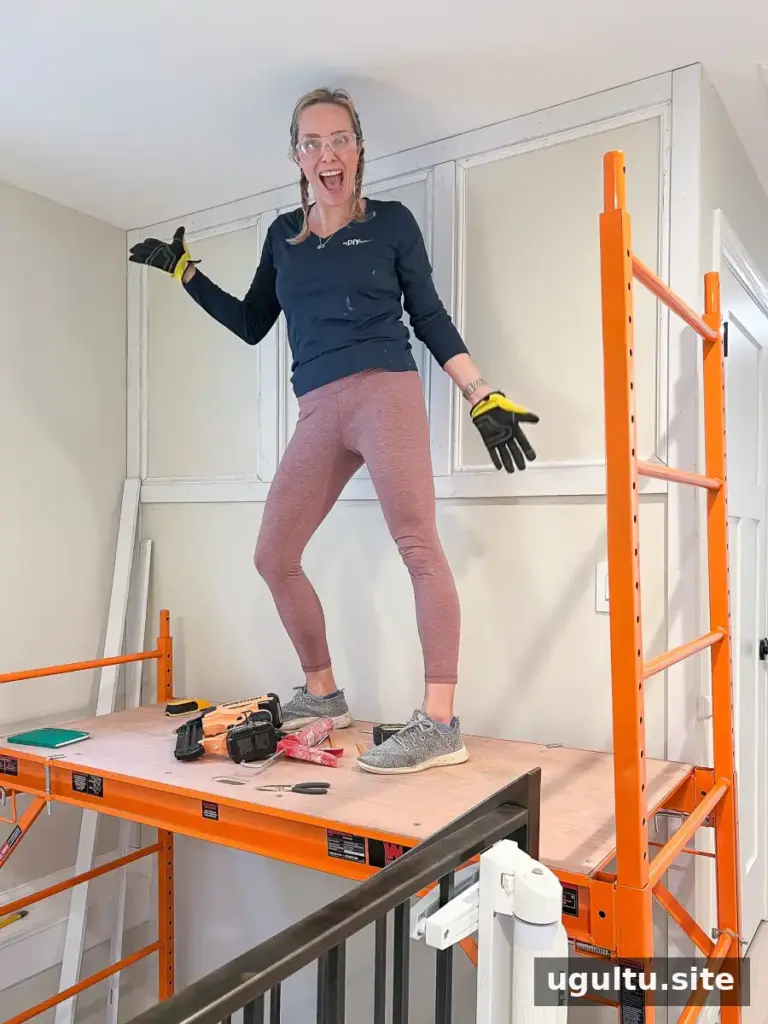
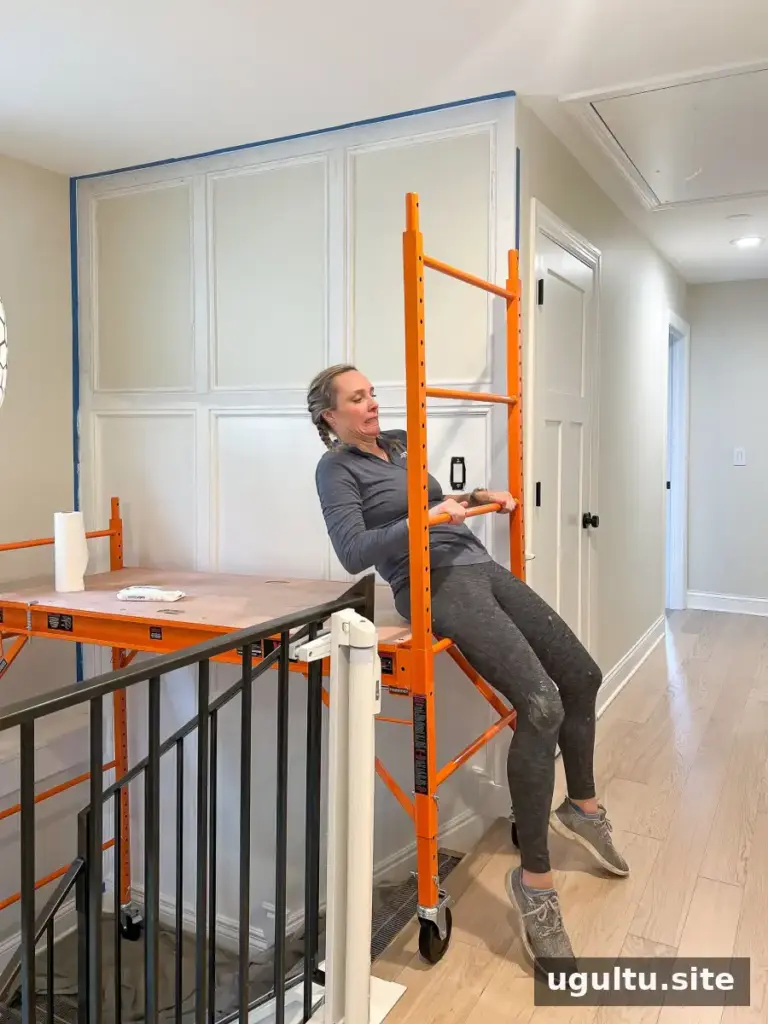
The wall rises between the first and second floors, making access and layout important considerations. Scaffolding was used to reach the upper area instead of working from a ladder. The setup and removal were handled with help from a second person.
Working at height and on or near stairs calls for extra care. Use equipment only as directed by its manufacturer, make sure it is stable and suitable for the location, and do not work alone if the setup requires assistance. If the height or scaffold arrangement feels unsafe, hire a qualified professional.
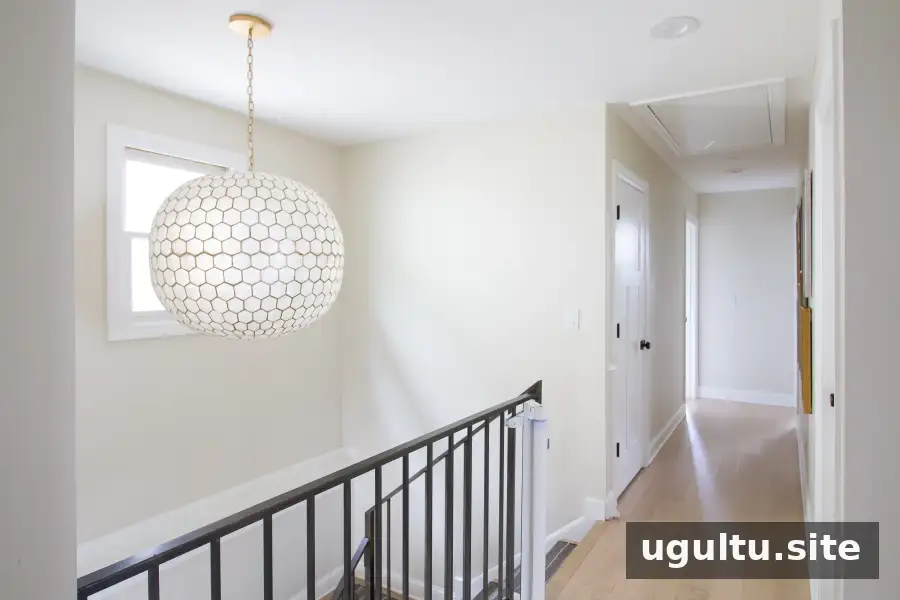
The design combines larger boards around the outside of the wall with horizontal and vertical pieces, followed by molding inside the resulting sections. Sketching the layout and noting measurements before cutting can help reduce mistakes, especially where the wall meets the stair angle.
Stairwell Accent Wall Supplies
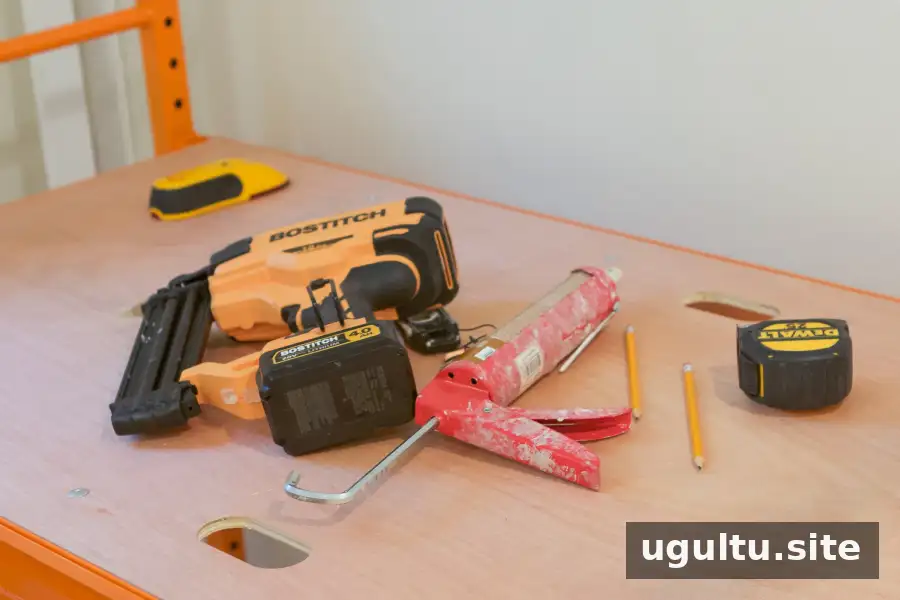
The project used common trim and painting supplies, along with scaffolding for access and a protractor for checking angles. Confirm that materials and fasteners are appropriate for your wall and follow the instructions for any adhesive or power tool.
- 1×3 MDF
- Molding
- Scaffolding
- White paintable caulk
- Liquid Nails
- Brad nailer
- Caulk gun
- Painter’s putty
- Compound miter saw
- Protractor
- Benjamin Moore “Simply White” paint in a satin finish
- Purdy paint brush
- Paint roller and tray
- Painter’s tape
- Tape measure
- Spirit level
Set Up the Scaffolding Carefully
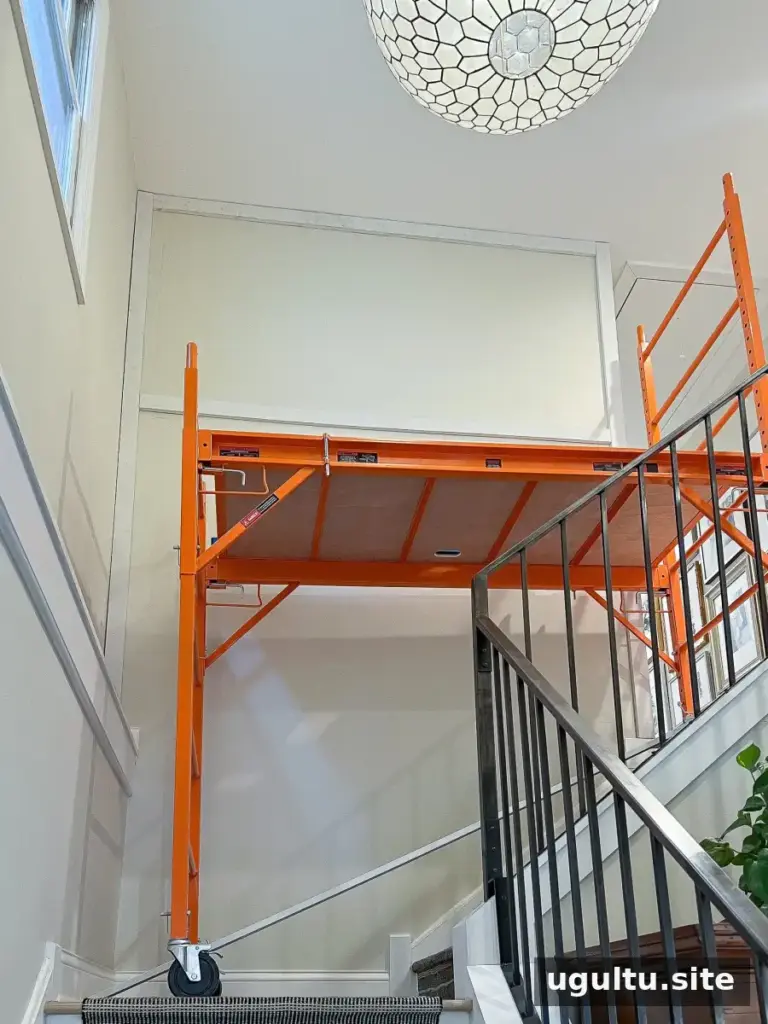
Assembling and taking down the scaffolding was a two-person task. Because it occupied a central area of the home, it was moved back to the garage after each work session. Keeping the work area clear and planning how equipment will be stored can make a multi-day project easier to manage.
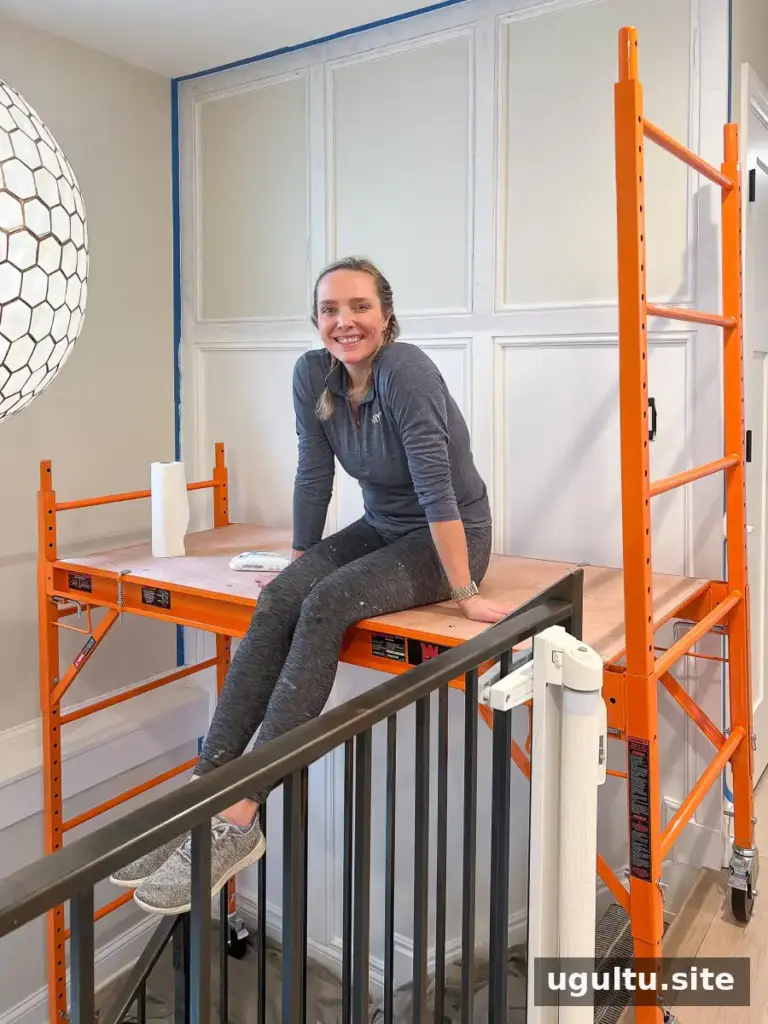
The original setup used one set of legs in the hallway at a lower position and the other on the landing at a higher position. This arrangement should not be treated as a universal setup: use only a scaffold configuration approved for the surface and stair conditions, and check stability before climbing.
Install the Main Boards and Inner Trim
The larger 1×3 boards were installed first: pieces ran along the outside of the wall, with one horizontal and two vertical boards forming the main layout. Most of these were straight cuts. A level helped keep the boards aligned, particularly because the walls were not perfectly straight.
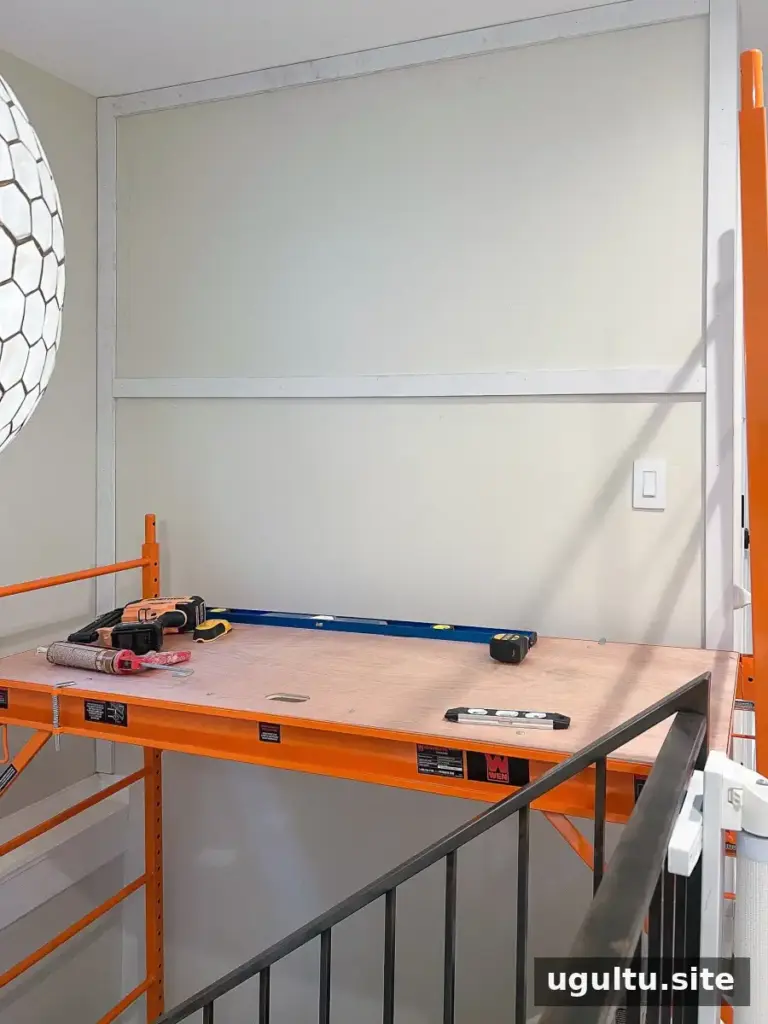
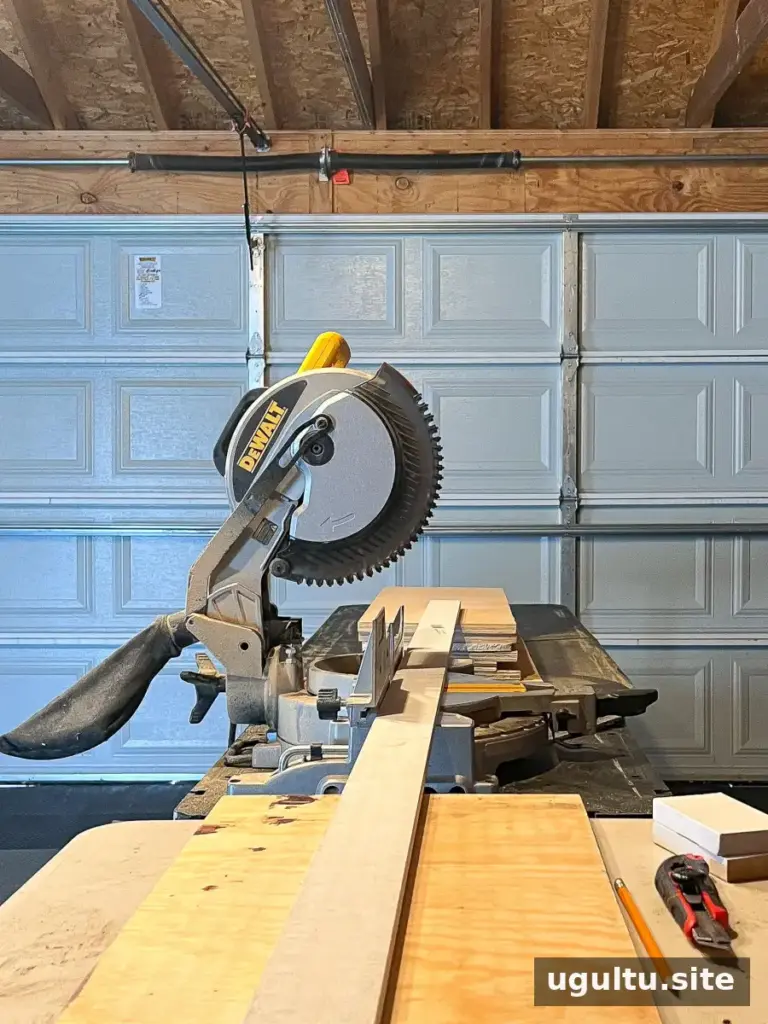
Next came the molding inside the larger sections. The ends were cut at 45-degree angles to create mitered corners. Since the molding had two different profiles, it was helpful to mark each measurement and sketch the direction of the cut before using the saw. A small diagram can prevent confusing the inside and outside edges of a trim piece.
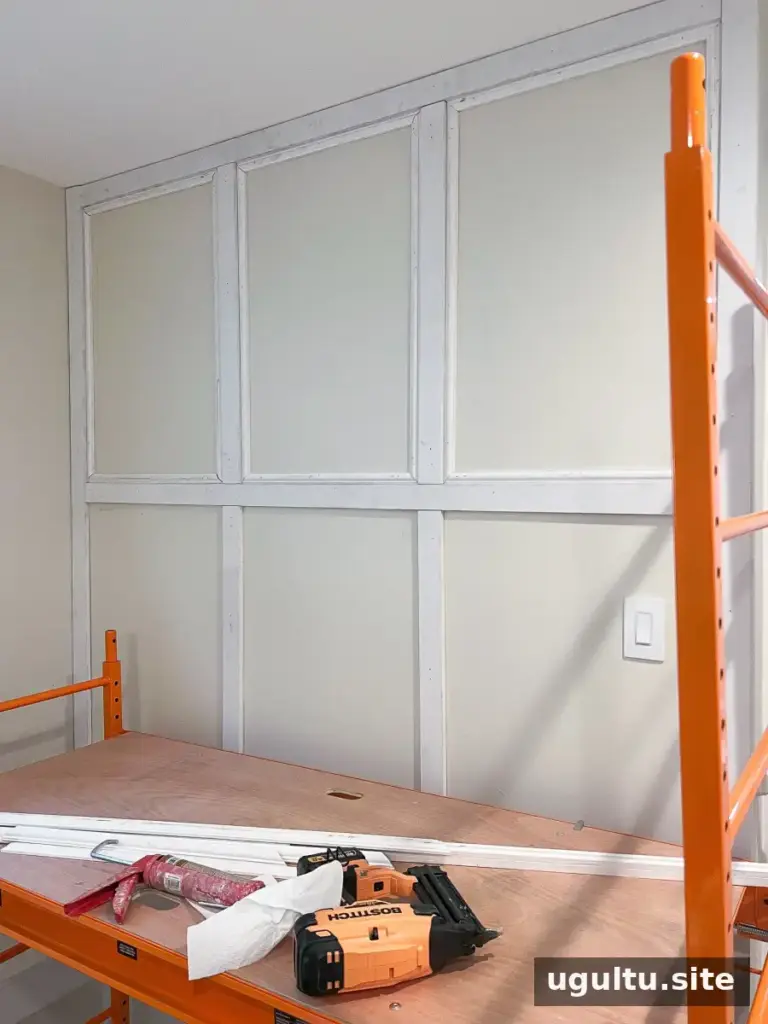

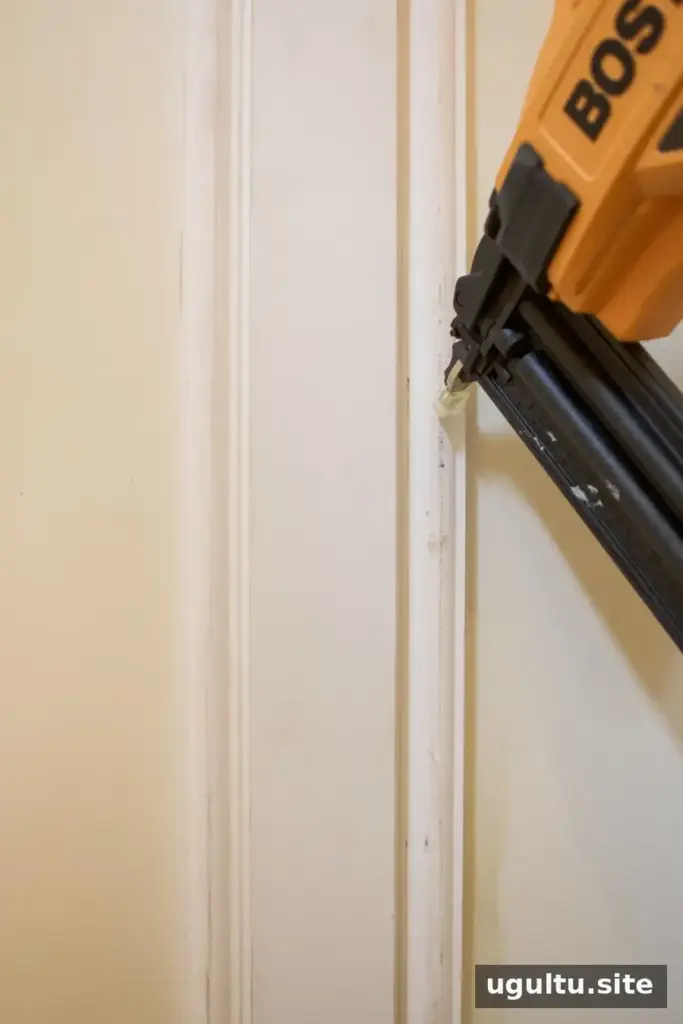
The trim was attached with adhesive and brad nails. Fastening methods depend on the wall, trim, and product instructions; use suitable fasteners and take care to avoid hidden wiring or plumbing. Test-fit pieces before applying adhesive, since adjustments are easier before the trim is fixed in place.
How to Calculate the Staircase Angle Cuts
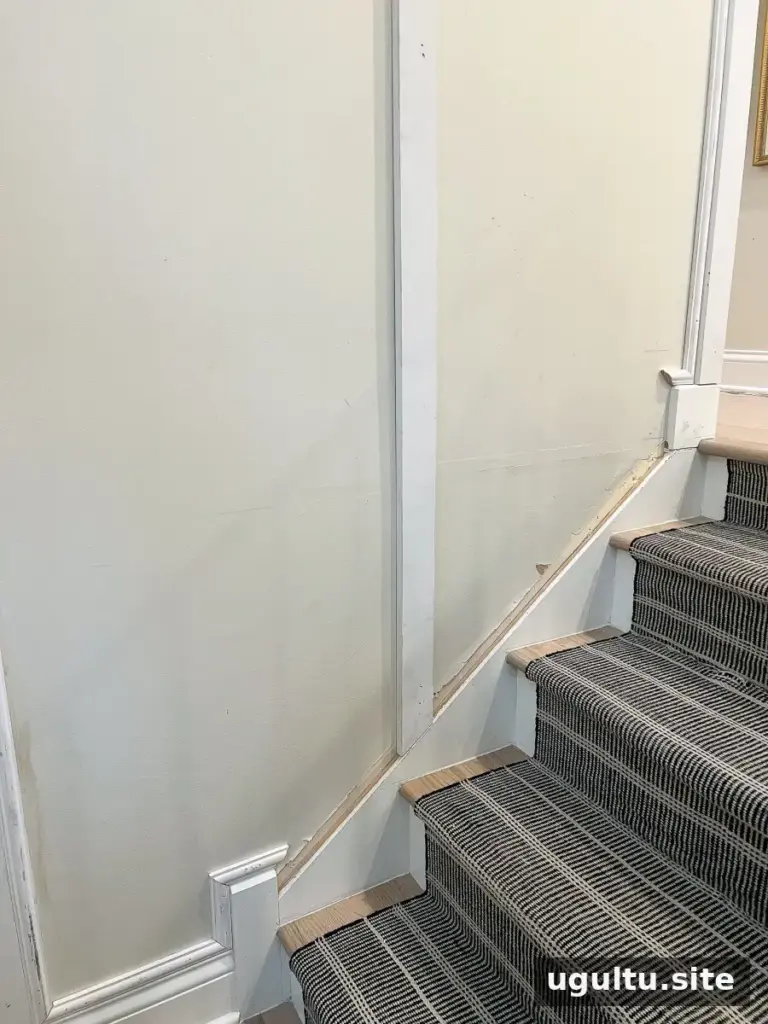
The bottom trim followed the slope of the stairs, so its cuts required different angles from the square upper sections. A protractor was used to measure each corner. For a symmetrical joint, the cut angle in this method is found by subtracting the measured corner from 180 degrees, then dividing the result by two.
Obtuse angles
For an obtuse corner measuring 129 degrees:
- 180 − 129 = 51
- 51 ÷ 2 = 25.5 degrees
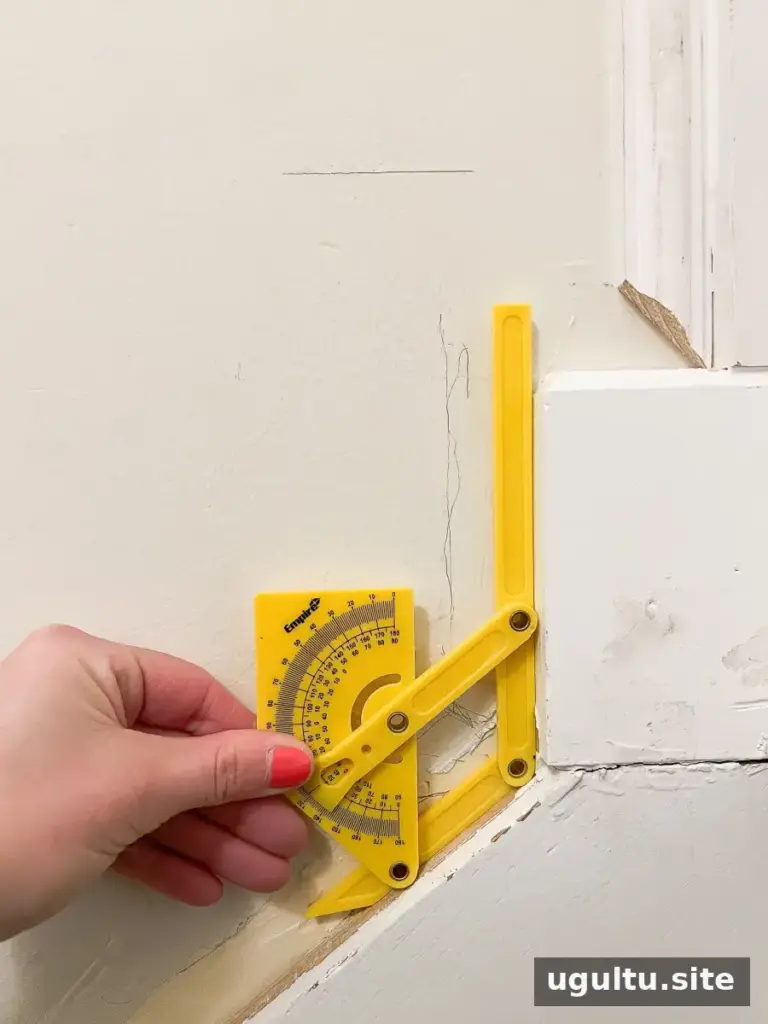
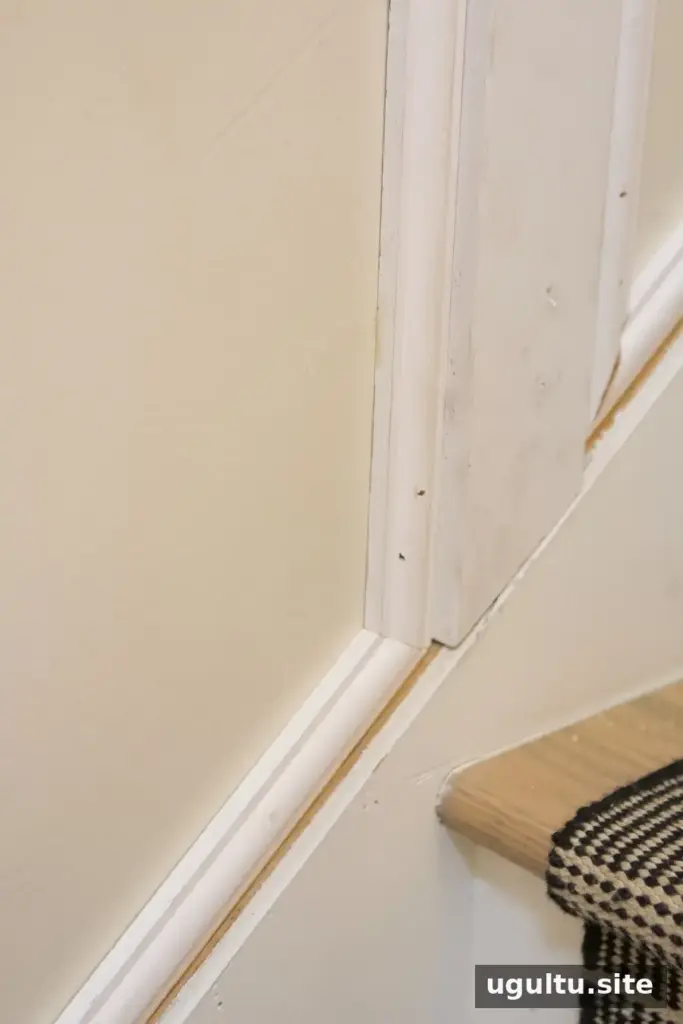
The resulting cut was 25.5 degrees. Measure the actual corner on your own wall rather than assuming it matches this example, and make a test cut on scrap material when possible.
Acute angles
For an acute corner measuring 52 degrees:
- 180 − 52 = 128
- 128 ÷ 2 = 64 degrees
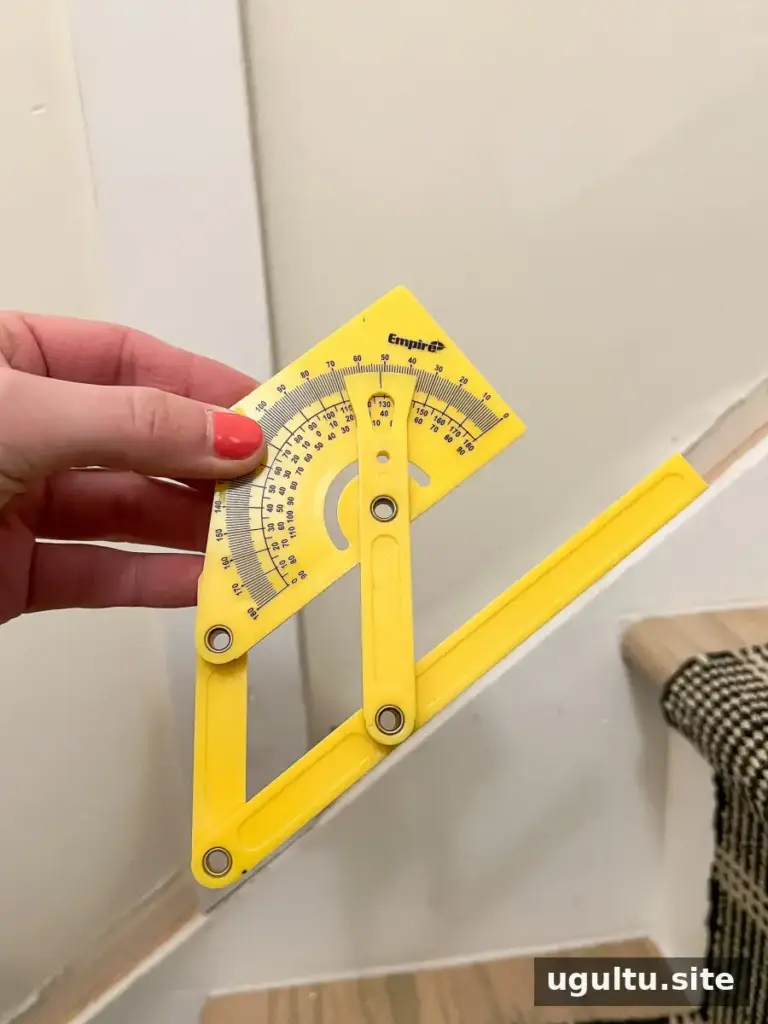
The required 64-degree cut exceeded the miter saw’s stated maximum of 50 degrees. In this project, a scrap-wood fence was attached with carpet tape and cut at 45 degrees on both sides. With the fence providing a 45-degree reference, the saw was set to 19 degrees to reach the intended 64-degree cut:
- 64 − 45 = 19 degrees
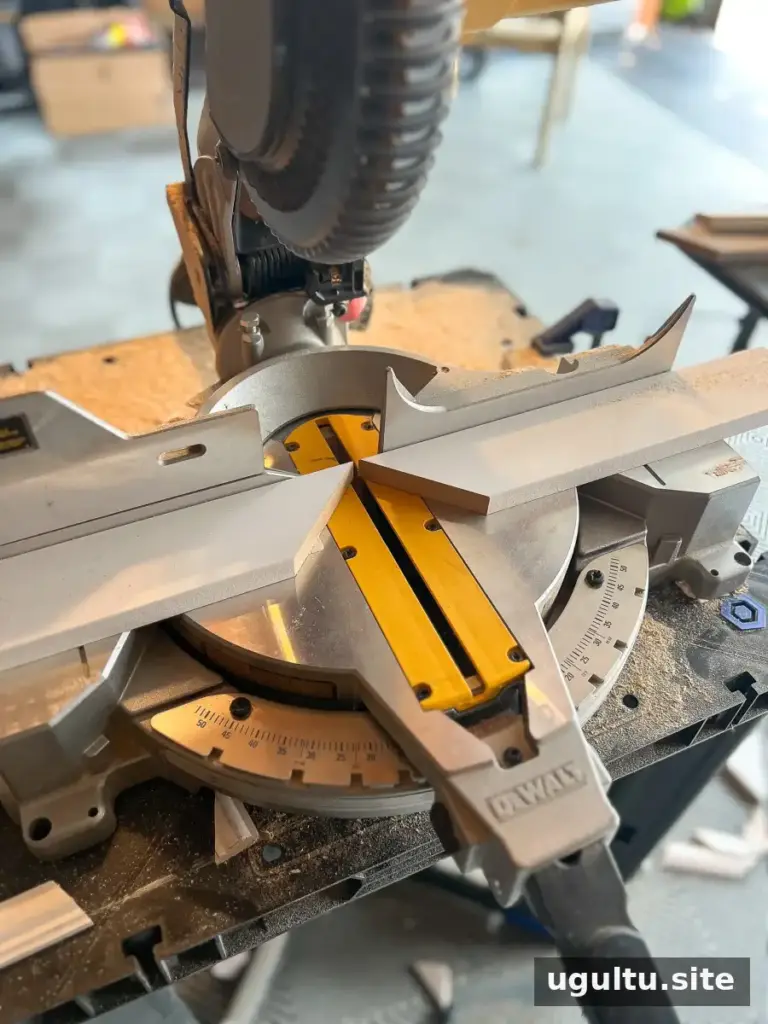
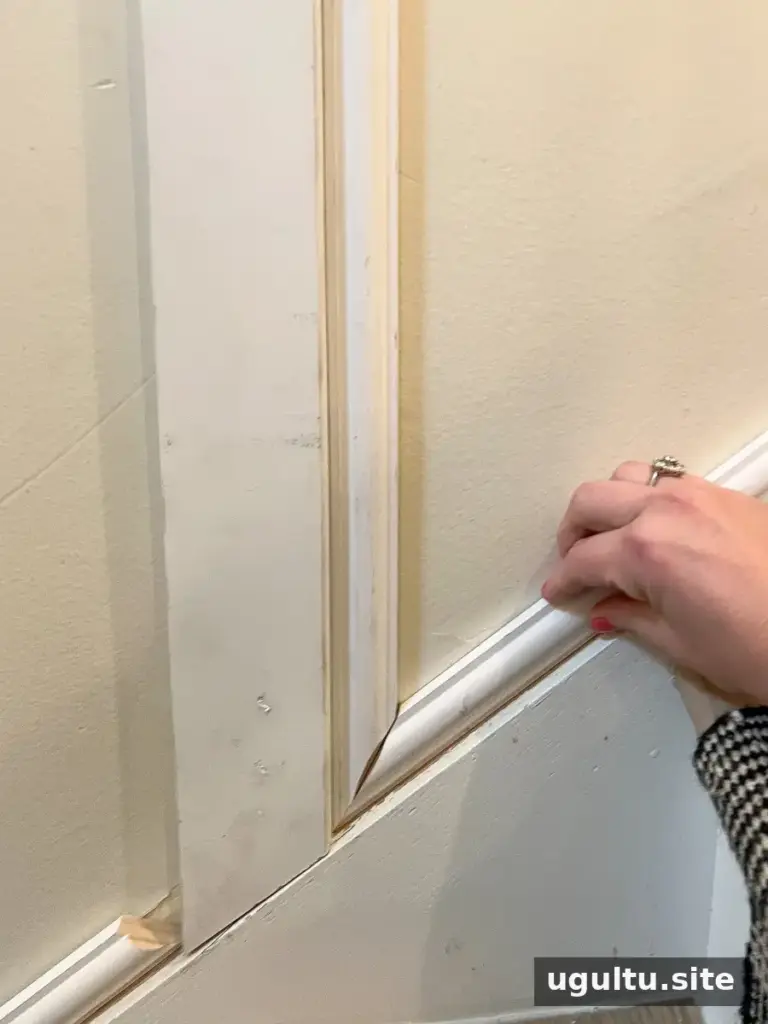
This setup is specific to the saw and method used. Do not add a fence or accessory unless it can be secured safely and is compatible with your saw. Follow the tool manufacturer’s instructions, keep hands clear of the blade, and consult a qualified woodworker if you are unsure.
Fill, Caulk, and Paint
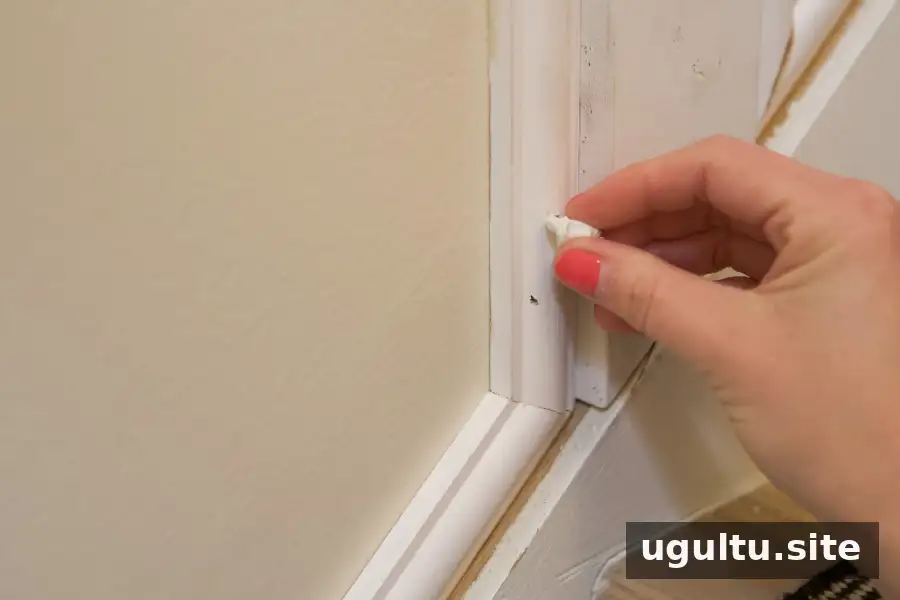
After installation, painter’s putty was used to fill nail holes, and paintable caulk was applied along seams and where the trim met the wall. Caulking these transitions helps create a more continuous finished appearance. Allow the caulk and putty to dry according to their product directions before painting.
The wall received three light coats of Benjamin Moore “Simply White” in a satin finish. Applying thin, even coats and allowing sufficient drying time between coats can help produce a neater result.
The Finished Stairwell Accent Wall
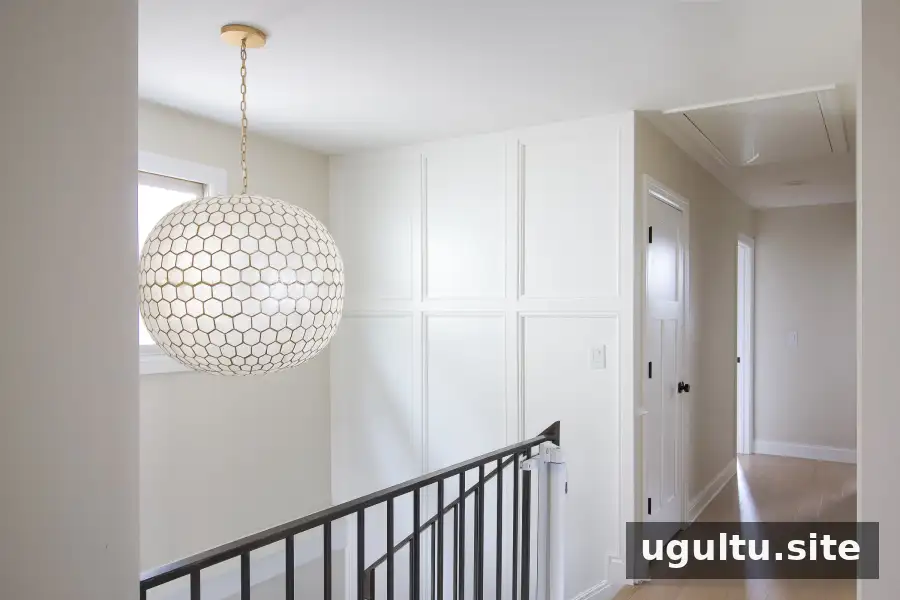
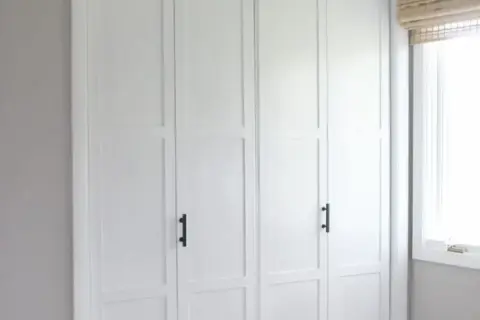
The white finish keeps the feature subtle, while the added molding gives the tall wall more definition. The trim helps the stairwell feel more intentional and less like an undecorated builder-grade space.
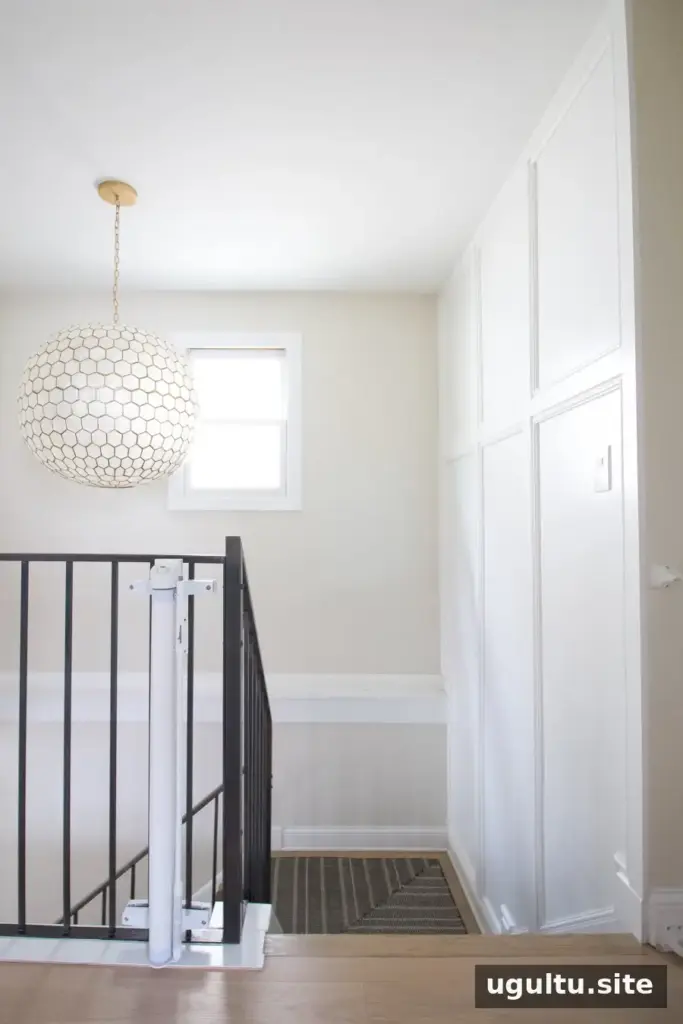
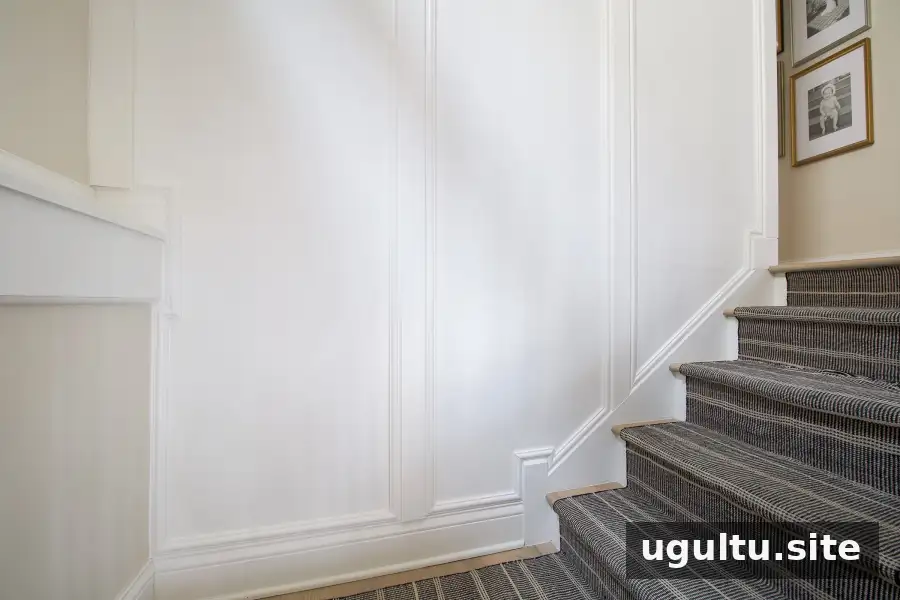
Before and After
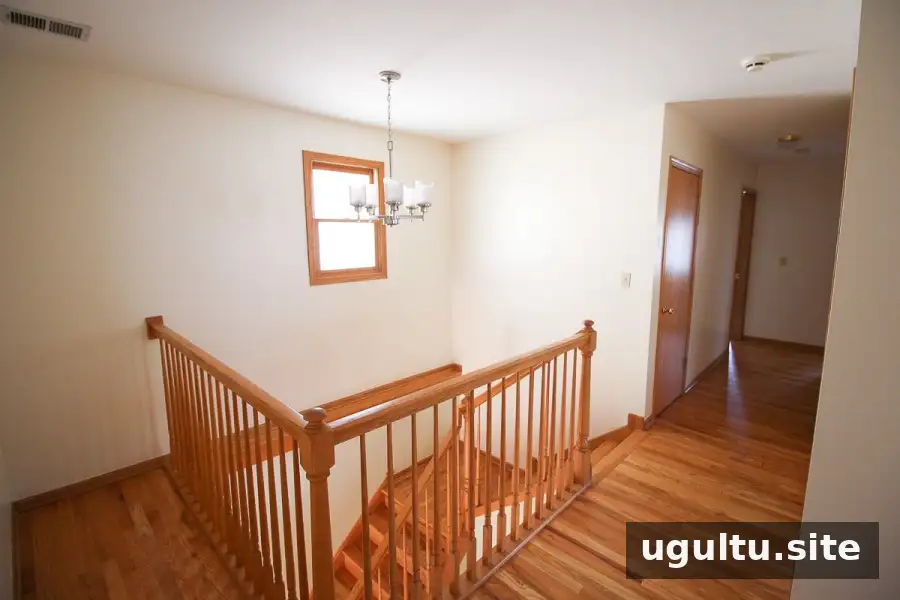
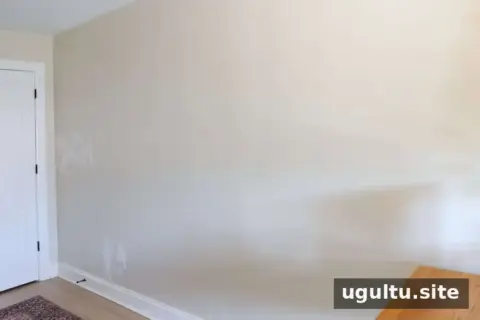
The stairwell looked very different when the home was purchased in 2019. The completed trimwork gives the area a clear focal point while keeping the existing light color scheme.
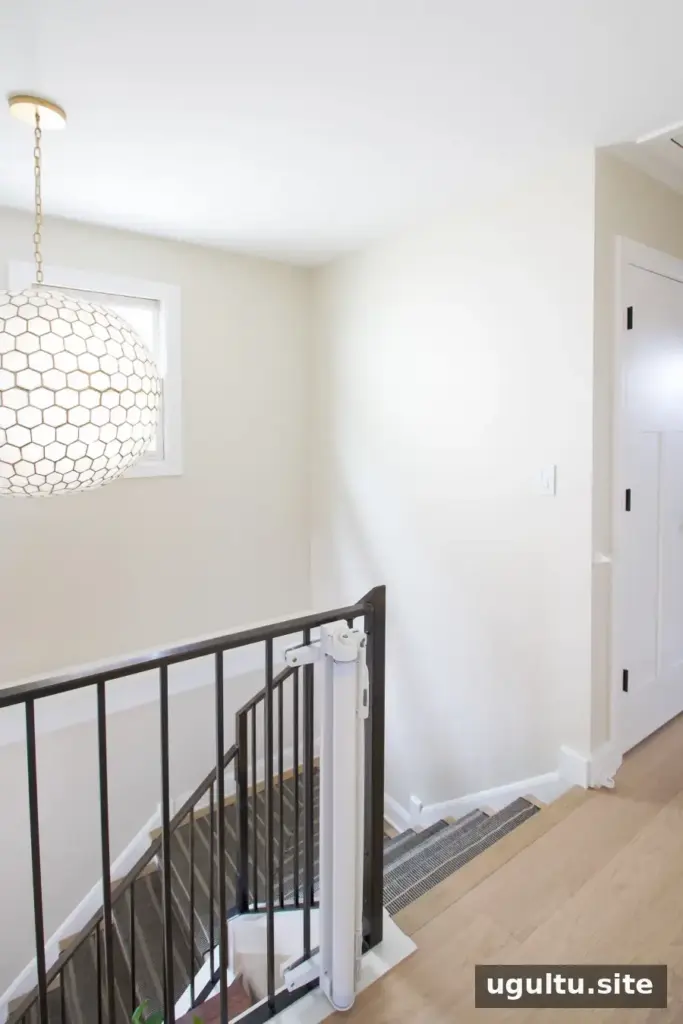
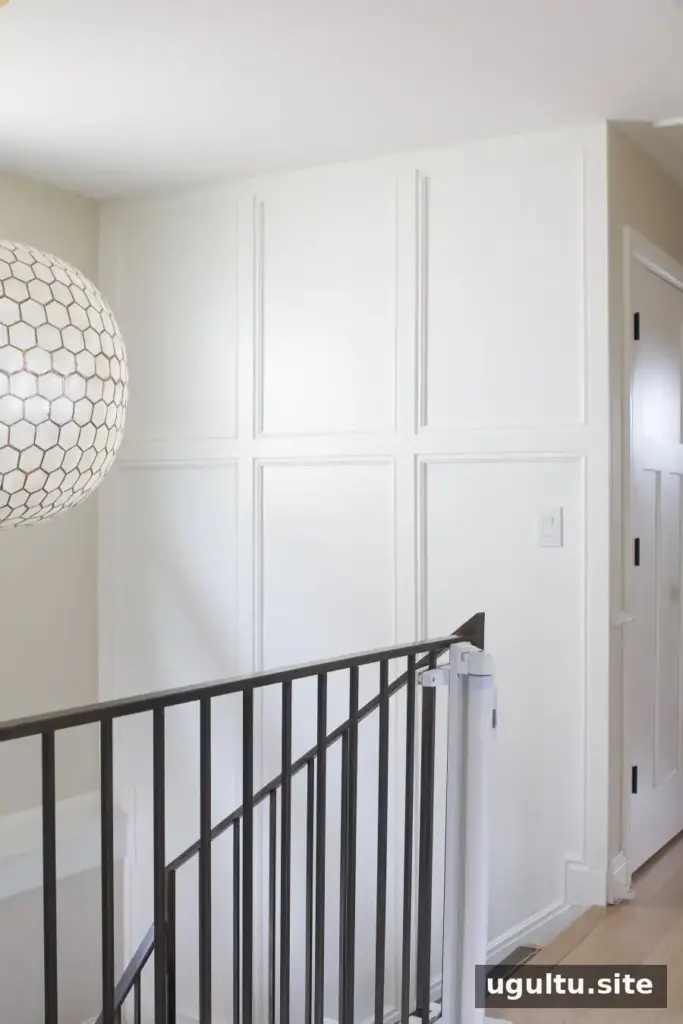
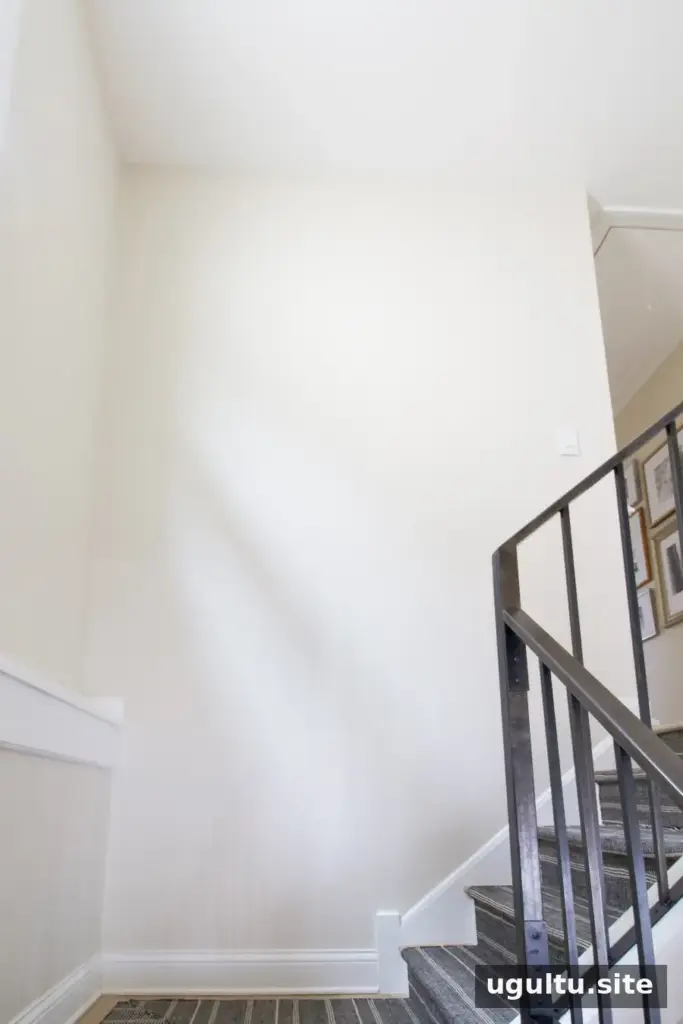
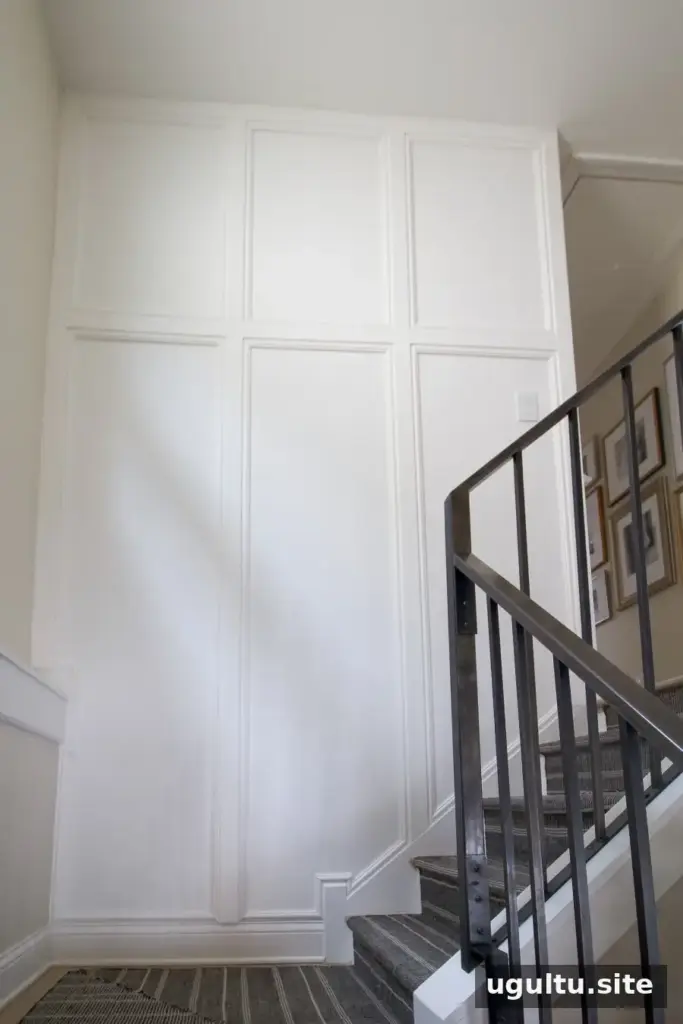
Stairwell Details
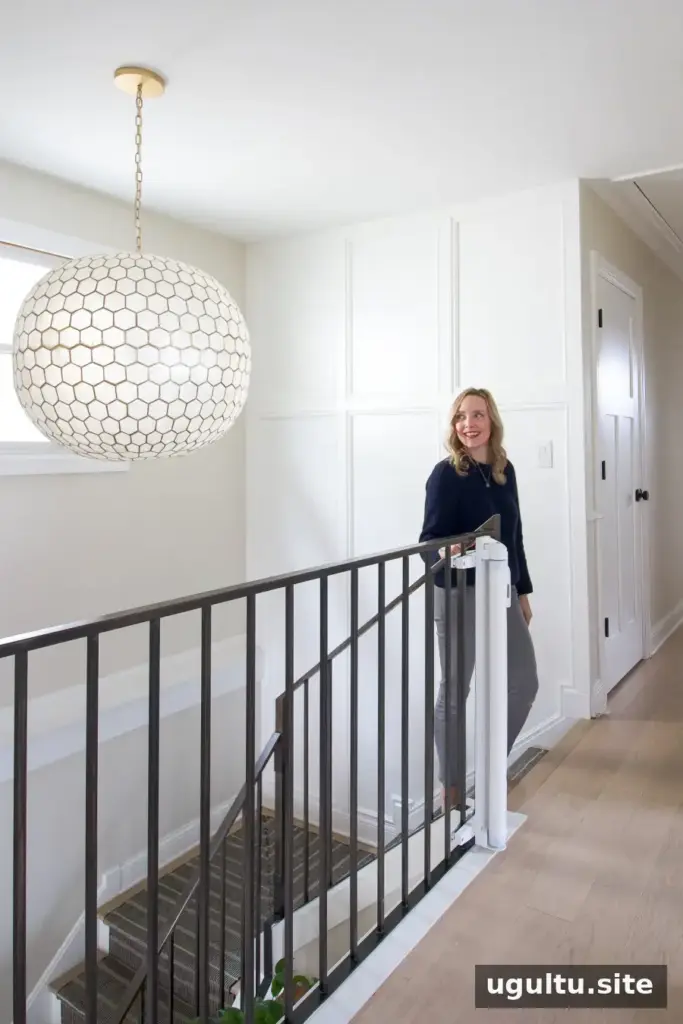
Other details associated with the space include the following:
- Paint colors: Benjamin Moore “Simply White” in satin and “Ballet White” in eggshell
- Stair runner
- Metal railing
- Chandelier, 29-inch size
- Hallway gallery wall
- Baby gate at the top of the stairs
Project Takeaways
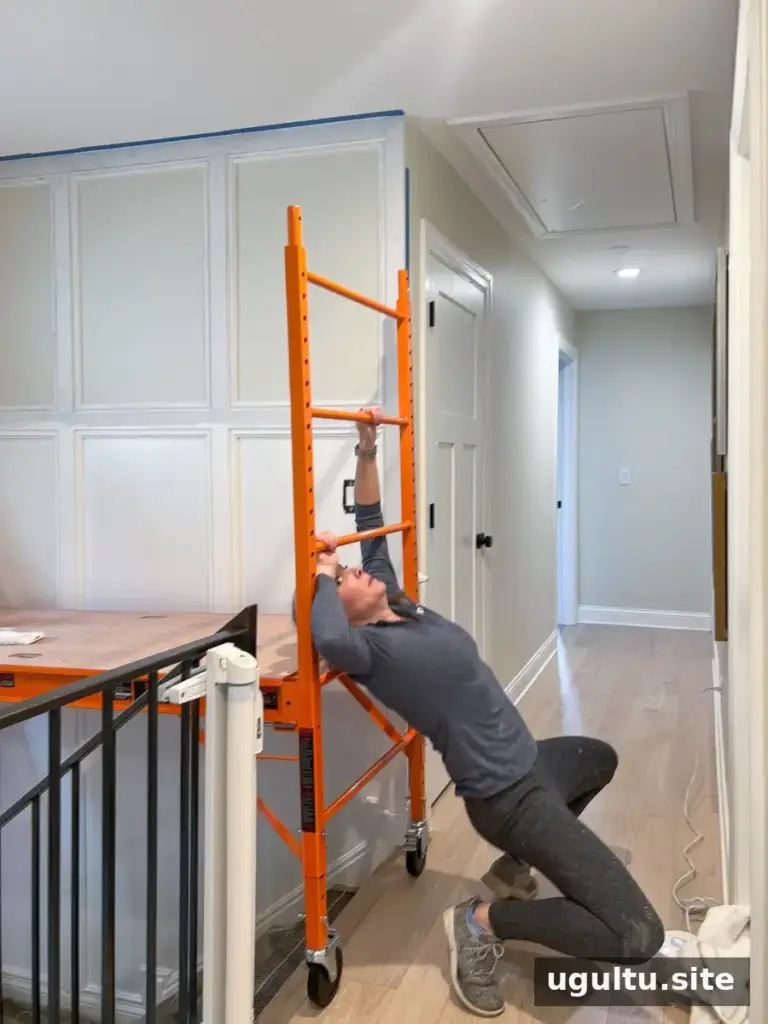
This project involved repeated trips up and down the scaffolding, measuring, cutting, and fitting trim. Having one person remain at the work area while another handles measurements or cuts may reduce unnecessary climbing, provided both people can work safely.
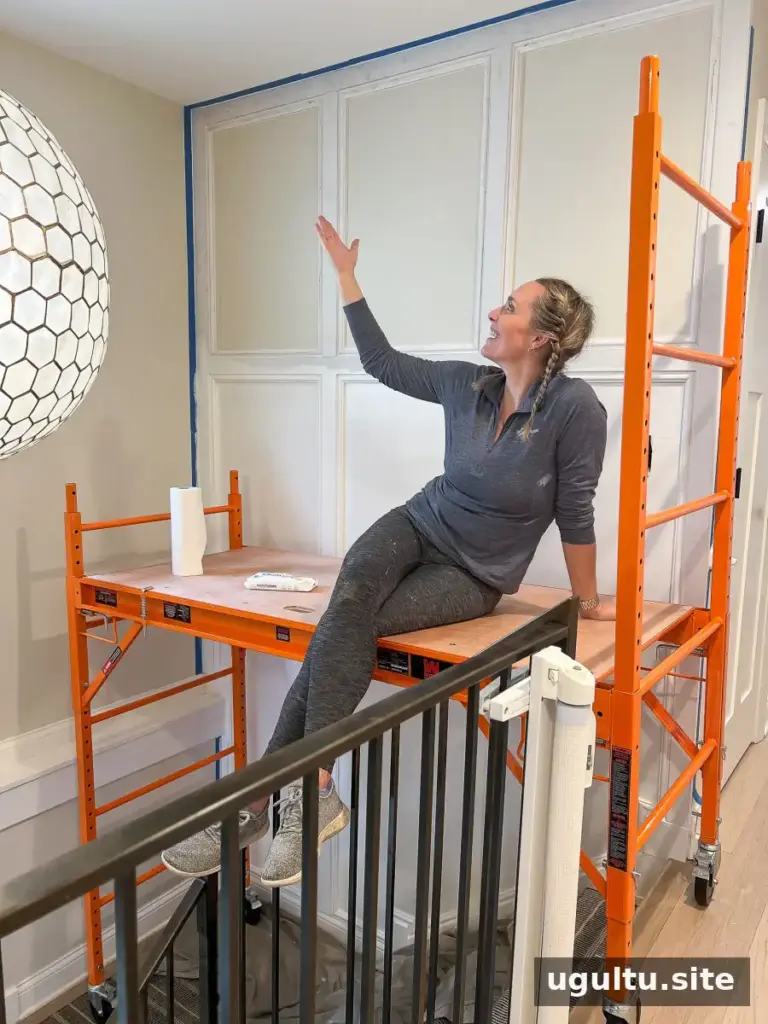
Breaking the work into shorter sessions made it possible to complete the project around other responsibilities, although a longer, well-planned work period may be more efficient. Before starting, consider access, storage, cutting space, and how the work area will be kept clear between sessions.
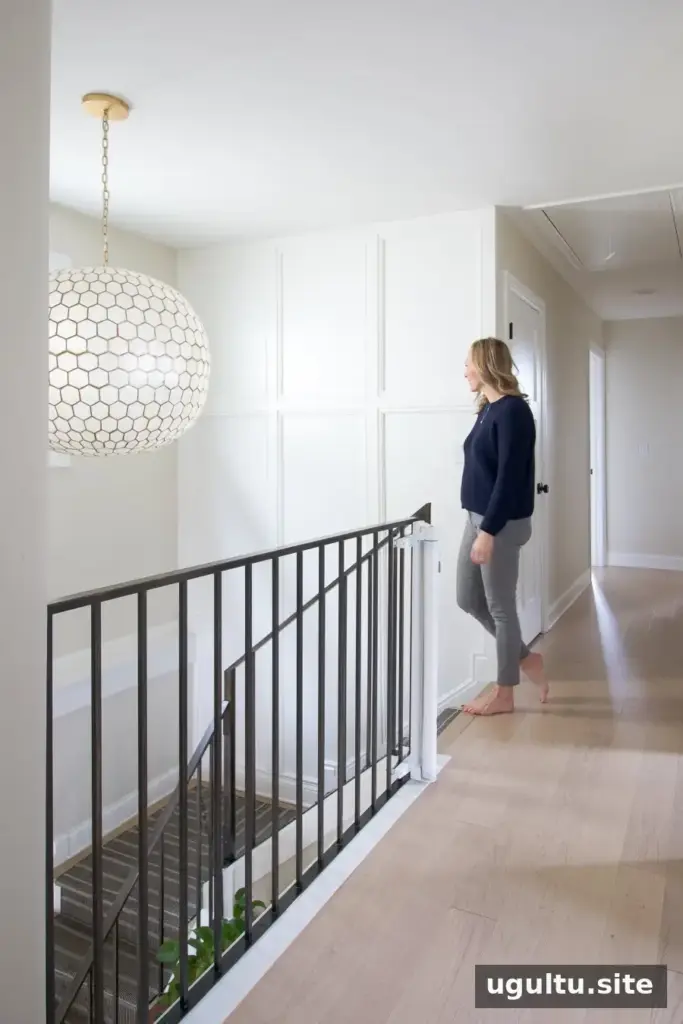
The finished stairwell accent wall adds character to a frequently used part of the home. Accurate measurements, a level for the main boards, and test cuts for the angled trim are useful steps for anyone planning a similar project. Prioritize safe access and tool use throughout.