
 admin
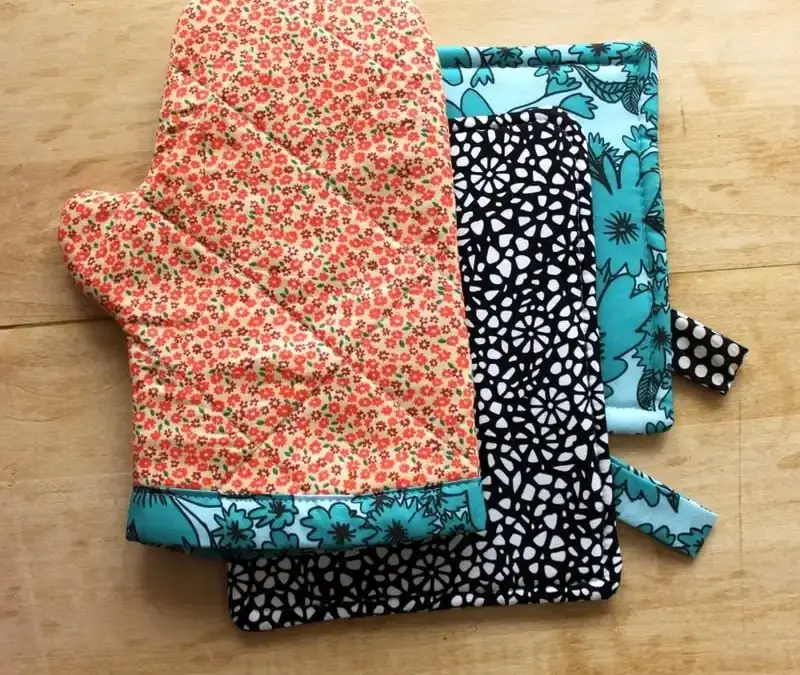
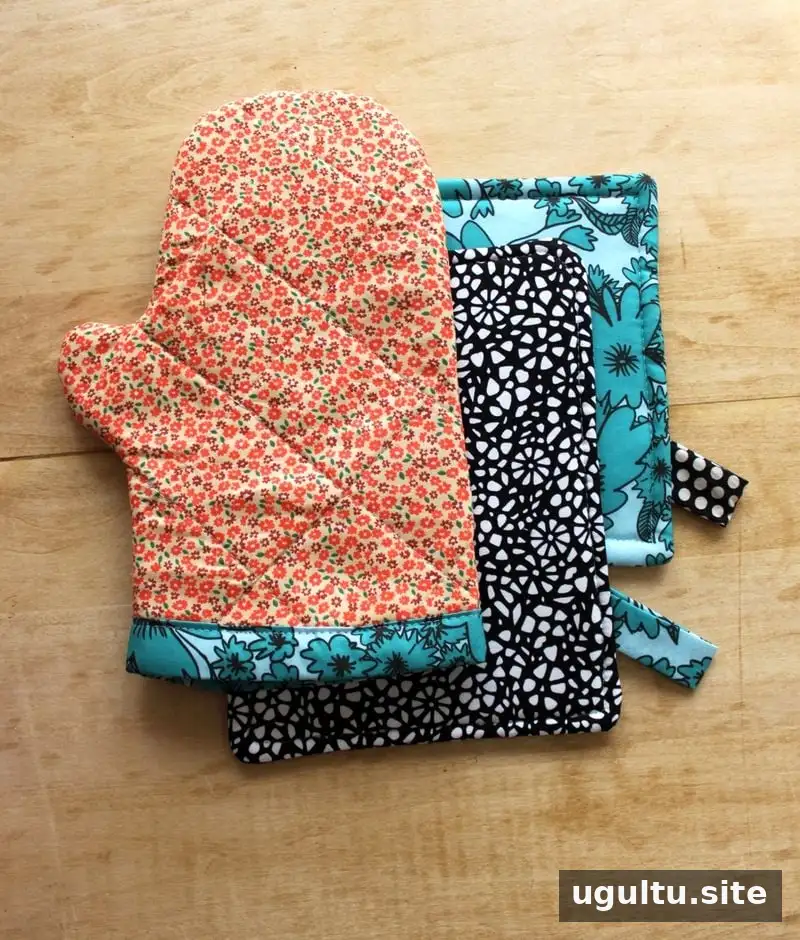
A DIY oven mitt and hot pad set is a useful sewing project for refreshing kitchen essentials or making a coordinated housewarming gift. The steps are manageable for beginners, and choosing fabrics with complementary prints can help the finished pieces look polished even if the seams are not perfectly straight.
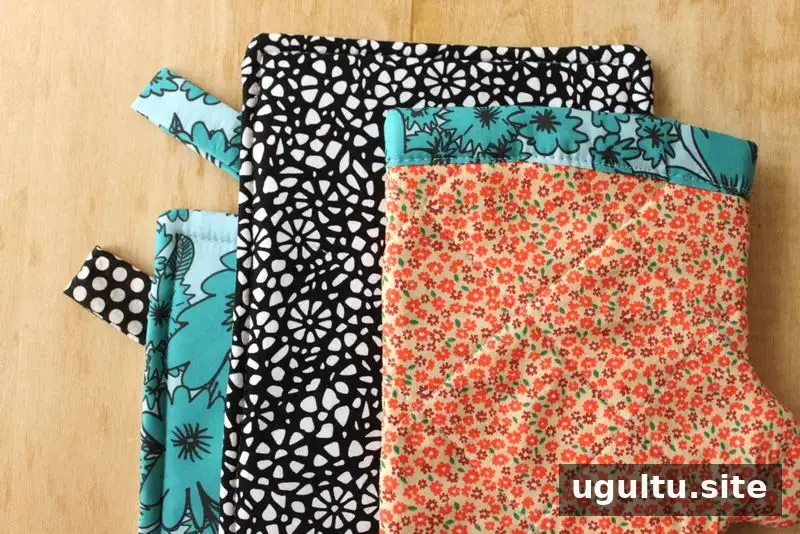
Start with the oven mitt, which involves a few more steps than the hot pad. Before cutting, check that your insulated lining is intended for projects exposed to heat.
How to make a DIY oven mitt
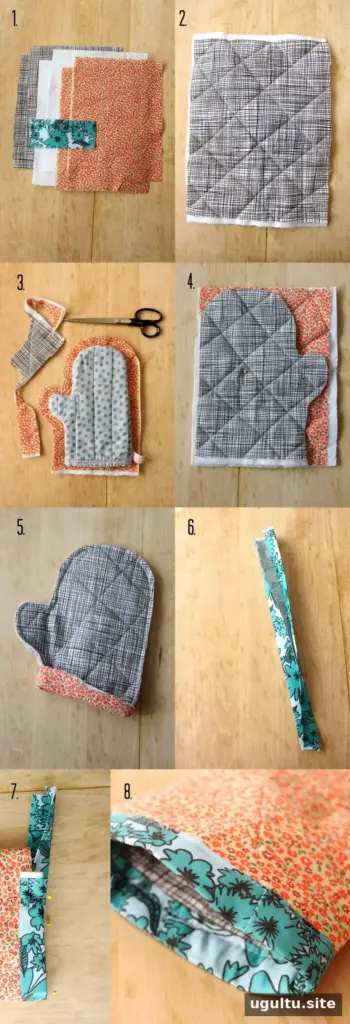
For one mitt, prepare two pieces each of outer fabric, inner fabric, and insulated lining, each measuring about 14 x 8 inches. You will also need a 3 x 17-inch strip of fabric for the lower hem, plus straight pins, an iron and ironing board, a sewing machine, thread, and shears.
- Make two fabric sandwiches. For each one, place an outer fabric piece face down, add a piece of insulated lining, then place an inner fabric piece face up. Pin the layers together.
- Quilt the layers by sewing diagonal lines from the center toward one edge, then begin again at the center and sew toward the opposite edge. Starting in the middle helps reduce shifting and bunching. Repeat with the second sandwich. Chalk lines can help keep the stitching evenly spaced, but precise lines are not essential.
- Use an existing oven mitt as a template and trace around it on one sandwich. If tracing your hand instead, leave about 1 inch of extra room around it.
- Place the cut piece over the uncut sandwich with the inner fabric sides facing each other. Pin the layers, then sew around the inside edge of the cut shape to join them.
- Trim around the sewn edges and turn the mitt right side out. Take care not to cut through the stitching.
- Fold the long hem strip in half lengthwise and press it. Open it, fold both long edges toward the center, and press again.
- Wrap the folded strip around the lower opening of the mitt and pin it in place. Stitch along the upper edge of the hem. When the ends meet, tuck the raw end under and sew it neatly to the starting end.
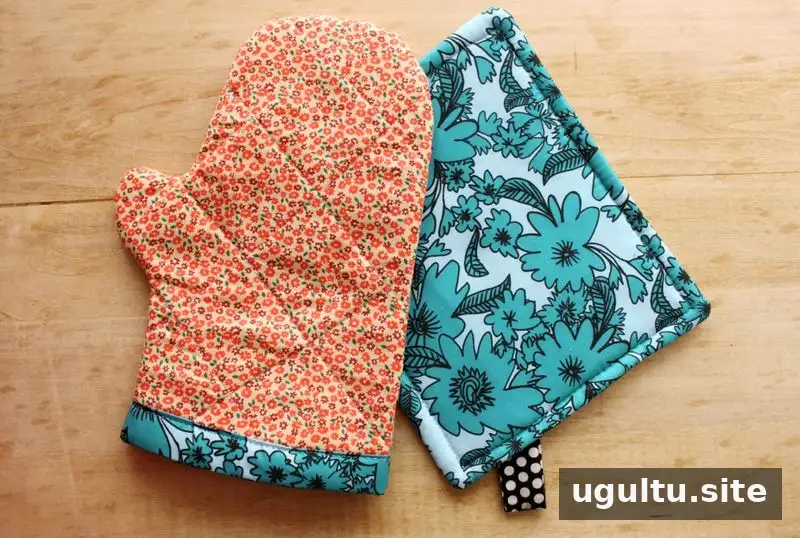
The hot pad is quicker to sew, so making several in coordinating fabrics can be a practical way to use leftover material. Keep the layers flat as you pin them to help avoid uneven thickness.
How to sew a coordinating hot pad
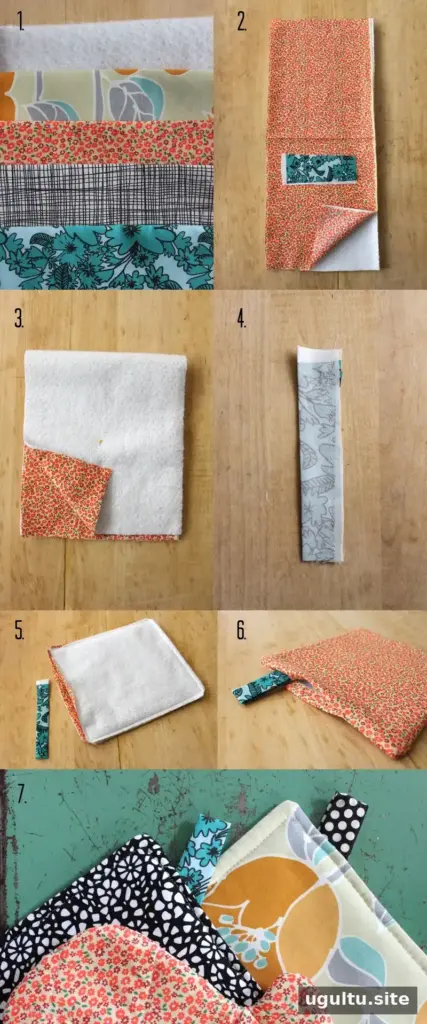
Choose two coordinating fabrics, or three if you want a different fabric on each side. The front and back pieces can be sized to suit your needs; the example pieces measure about 8 x 10 inches. Cut two pieces of insulated lining to the same size, along with a 3 x 6-inch piece of fabric for the hanging loop. If starting with one long piece of fabric, cut it in half rather than folding it over to avoid a pucker at the fold.
- Layer the hot pad pieces in this order: one piece of insulated lining, one fabric piece facing up, the second fabric piece facing down, and the other piece of insulated lining. Pin the layers together.
- Fold the loop fabric in half lengthwise with the right sides together and press. Sew along the long edge, turn the strip right side out, and press it again.
- Starting near a corner, sew around the inside edge of the layered hot pad. Stop when you return to the same side, leaving an opening about the width of a hand.
- Trim the corners without cutting into the stitches. Turn the hot pad right side out and press it flat.
- Fold the loop in half and place its raw ends inside the opening. Pin it in place, making sure enough of the ends are tucked inside to be caught by the stitching.
- Topstitch around the hot pad, about 1/4 inch from the edge, closing the opening and securing the loop.
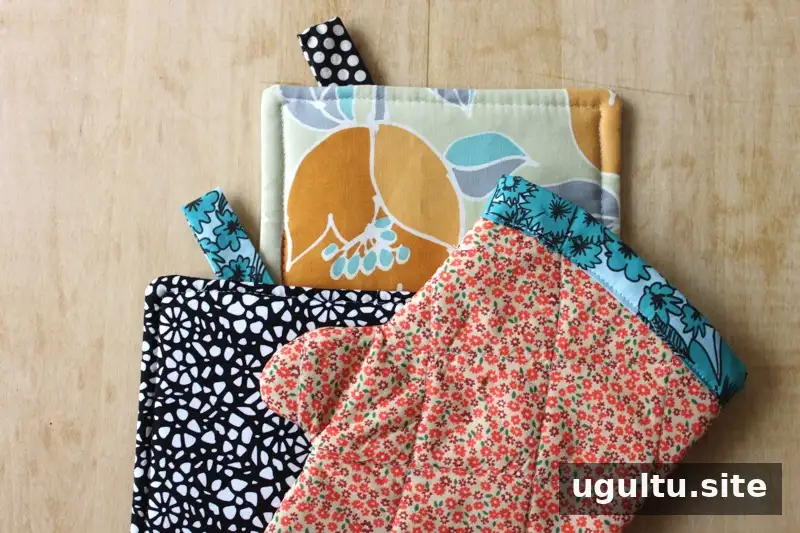
A handmade oven mitt and hot pad can add a personal touch to a kitchen and make a thoughtful housewarming present. For safe use, follow the care guidance for the insulated lining and inspect the finished seams and layers regularly. —Rachel
Conclusion
This DIY oven mitt and hot pad project uses straightforward sewing techniques and flexible fabric sizes, making it easy to coordinate the pieces with your kitchen. Choose heat-appropriate insulated lining, sew the layers securely, and check the finished items before using them around hot cookware.


