admin

An oversized rainbow wall hanging makes a cheerful accent for a bedroom, playroom, or another space in your home. This DIY uses pool noodles as the base, yarn for color, and flexible copper tubing to help the finished rainbow hold its shape. Read through the steps and prepare your materials before starting; checking each layer as you go helps create an even, well-fitting design.
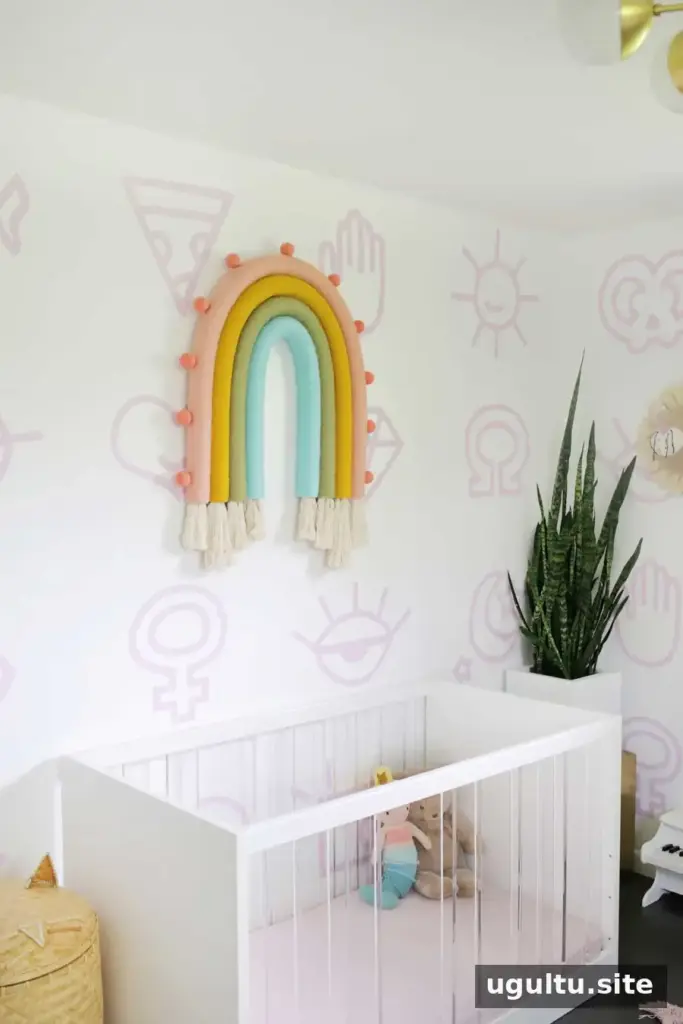
Materials for an Oversized Rainbow Wall Hanging
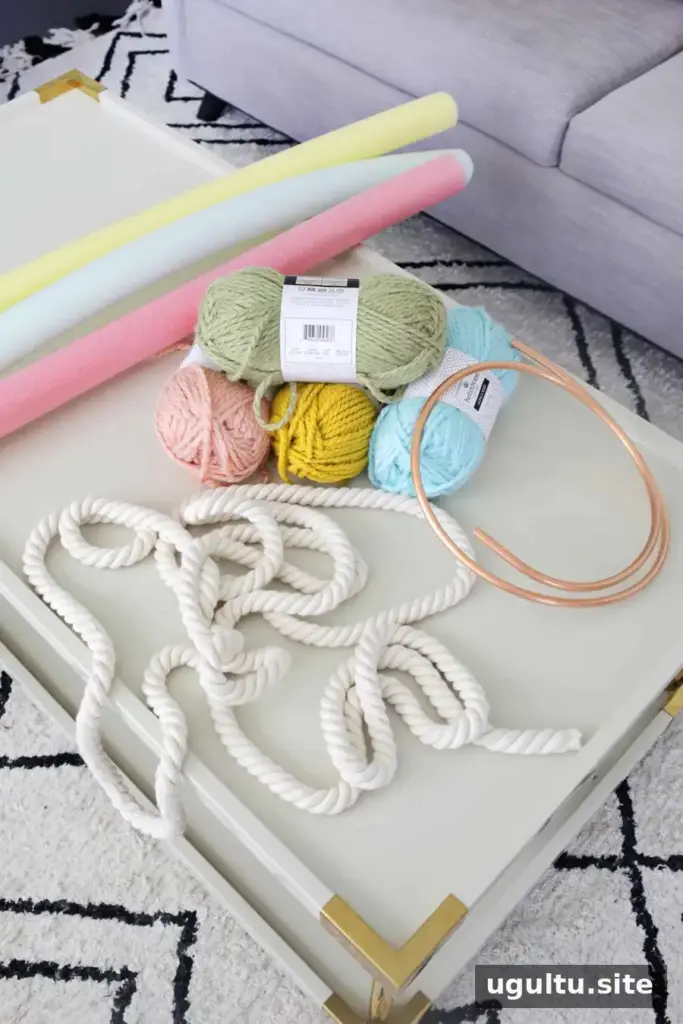
Gather the supplies and tools below before you begin. Choose yarn colors that work well together, and make sure the rope is thick enough to create a noticeable fringe.
- 5 pool noodles
- Thick cotton rope
- Thick yarn in your preferred colors
- 10 feet of 3/8-inch copper coil tubing
- 4 cm wool felt balls
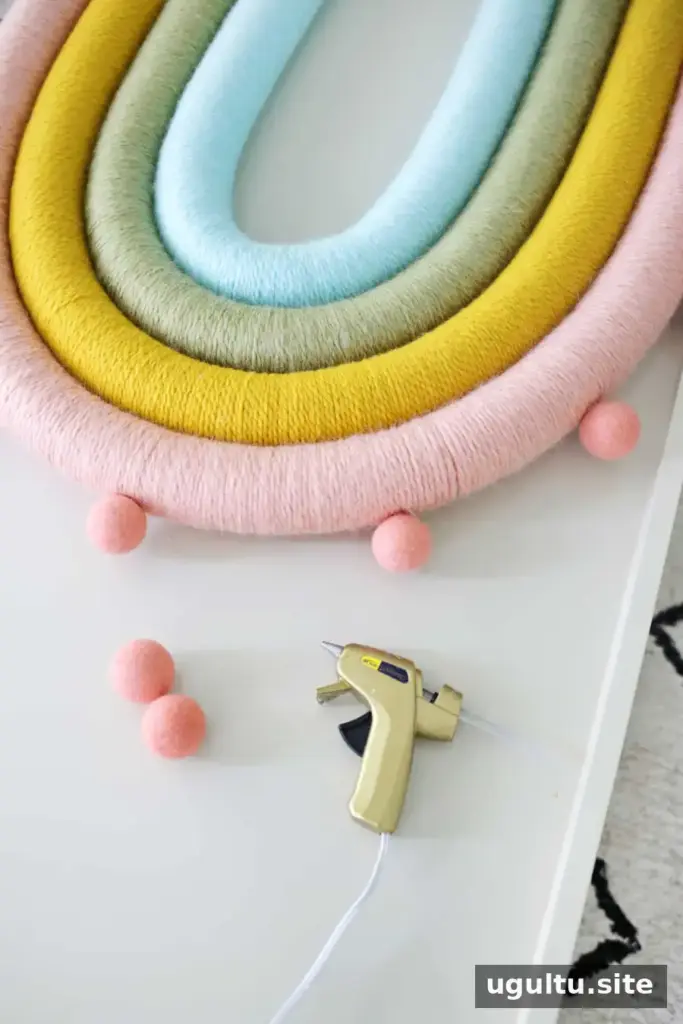
- A hot glue gun
- An X-Acto knife and scissors
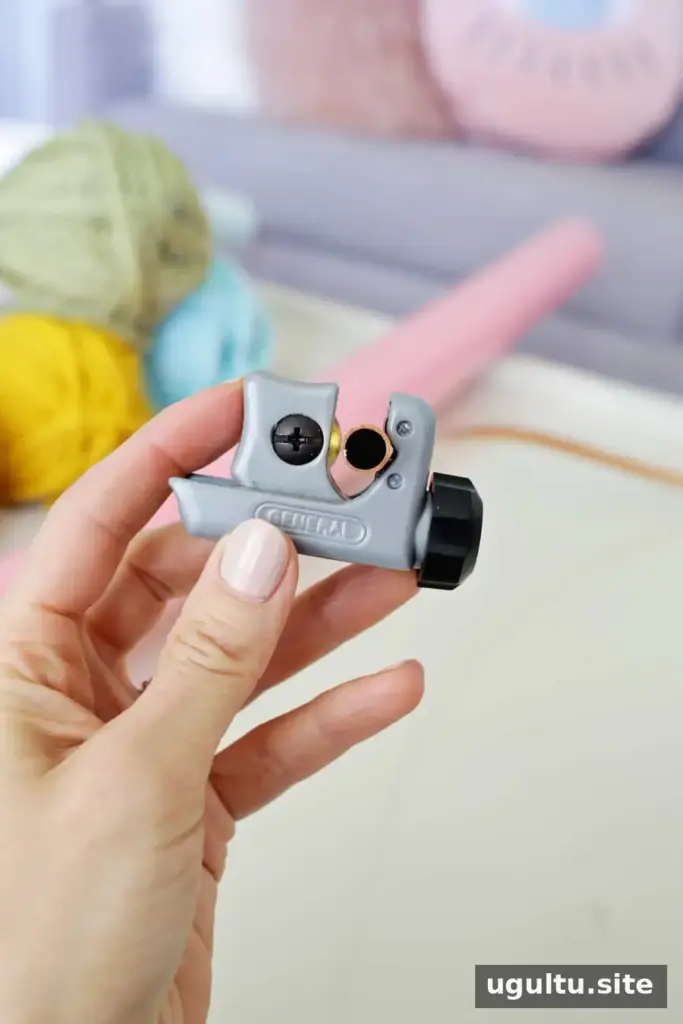
- A mini pipe cutter
- A cat brush or pet brush for separating the rope tassels
Prepare the Rainbow Base
First, decide how long you want the outer rainbow layer to be. This measurement determines the overall size of the wall hanging. If a pool noodle is too short, cut an 8-inch section from another noodle and hot-glue it to the end of a full-length noodle to extend it.
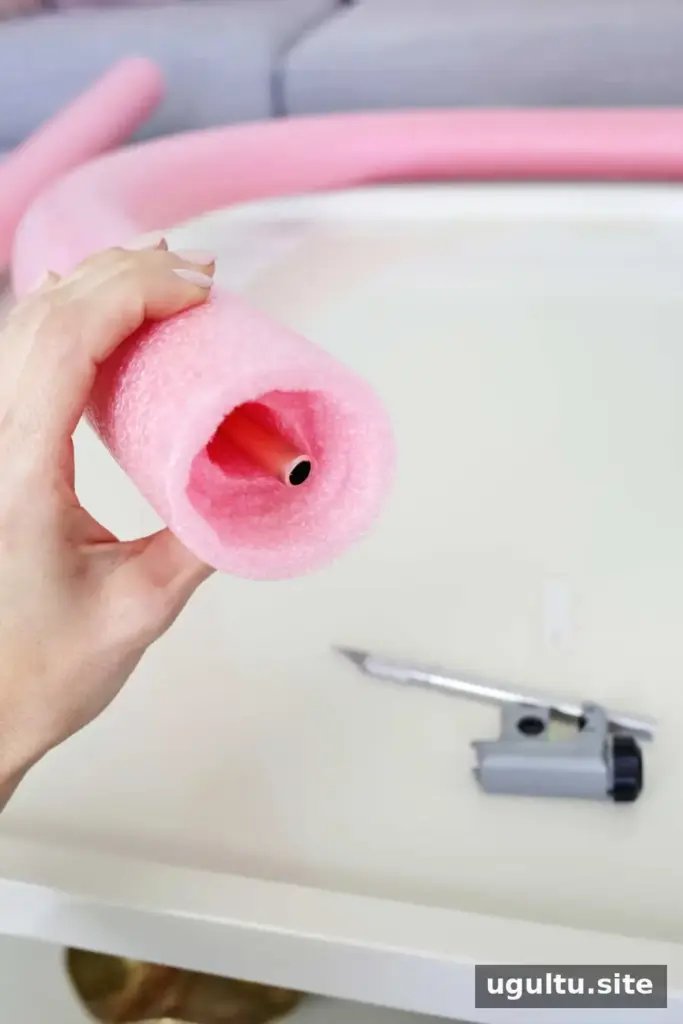
Cut a piece of copper coil tubing about 2 inches shorter than the noodle. This keeps the tubing from protruding at either end. The coil serves as a bendable support: it can be shaped into an arch and helps the noodle retain its form. For a larger rainbow, a thicker coil may offer more support, although it can be harder to bend.
Check that the tubing fits inside the noodle. At each end, use an X-Acto knife to remove some of the inner foam from roughly the last 1 inch. The extra space will make it easier to add the rope fringe later. Work carefully with the knife and keep your hands clear of the cutting path.
Wrap Each Layer With Yarn
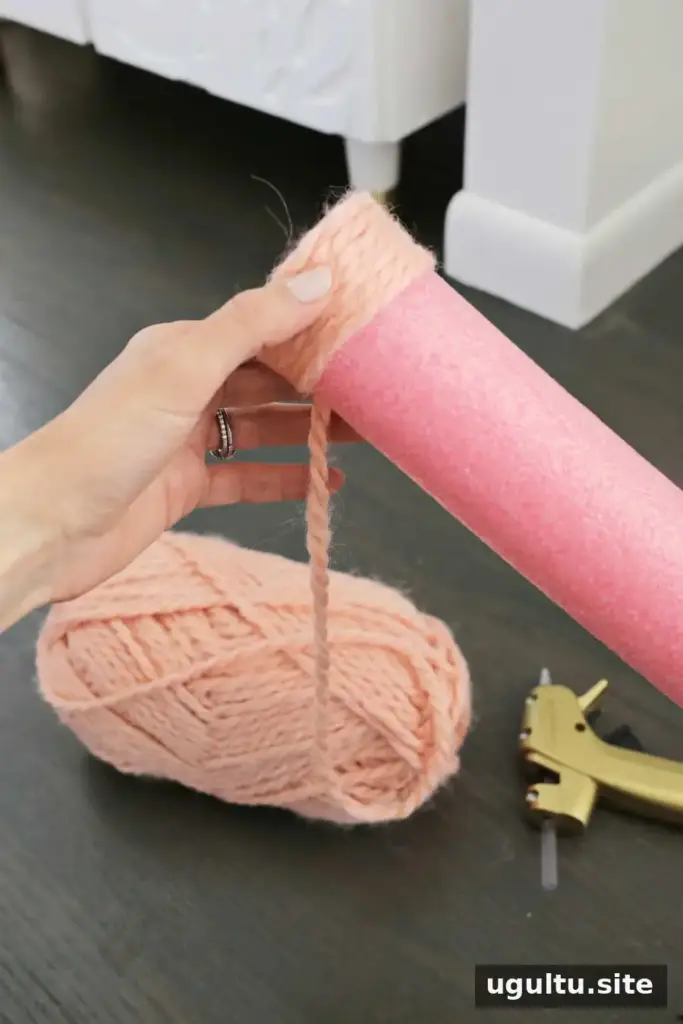
Hot-glue the yarn end near one end of the noodle. Rather than winding yarn around the noodle by hand, hold the yarn steady and rotate the noodle to wrap it. This can make the covering process easier and more consistent.
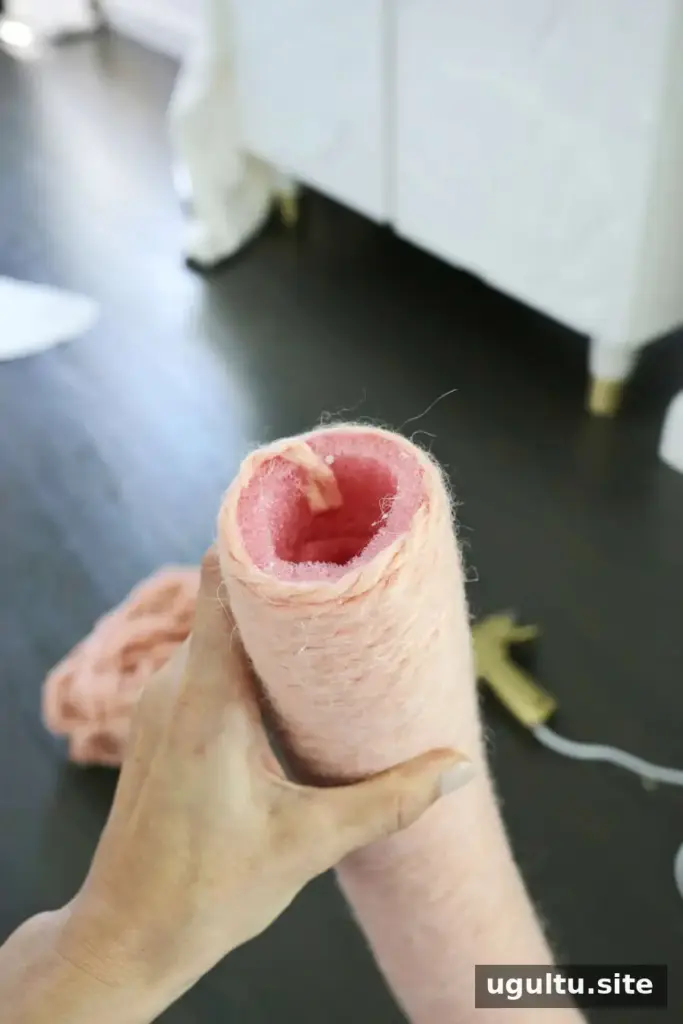
After covering about 3 inches, push the yarn back toward the starting end so the strands sit tightly together. Keep the foam fully covered; closely packed yarn is less likely to reveal gaps when the noodle is bent. Continue in sections until you reach the far end, securing the yarn with glue near the final inch. Tuck and glue the end into the noodle opening.
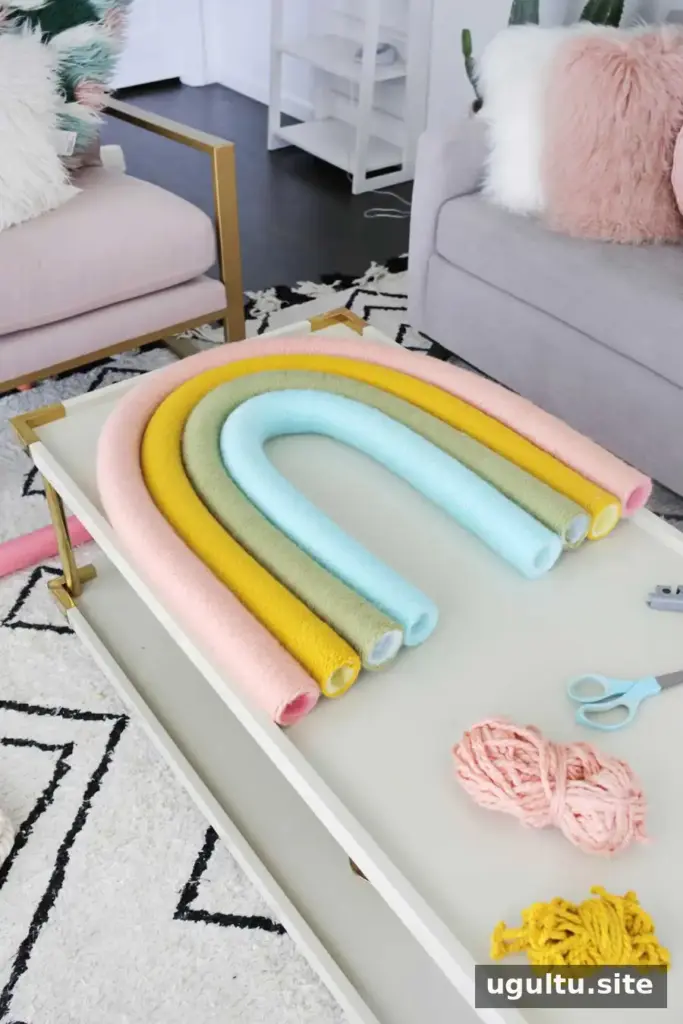
Slide the copper tubing into the wrapped outer noodle and gently bend it into an arch. The shape can be taller and narrower or shorter and wider. Wrap the next noodle in another color, then test it inside the outer layer before trimming it. Yarn changes the finished thickness, so checking the fit before cutting helps prevent a layer from ending up too short.
Repeat the wrapping and fitting process until you have four rainbow layers. Use the remaining copper tubing inside one of the inner noodles to provide additional support.
Add a Hanger and Assemble the Layers
Before gluing the layers together, make a hanger from yarn that matches the third layer. Tie one end around the noodle near the 1 o’clock position and the other near 11 o’clock, with both knots at the back. The yarn between the two points forms a hanging loop. Adding it now is easier than attaching it after assembly.
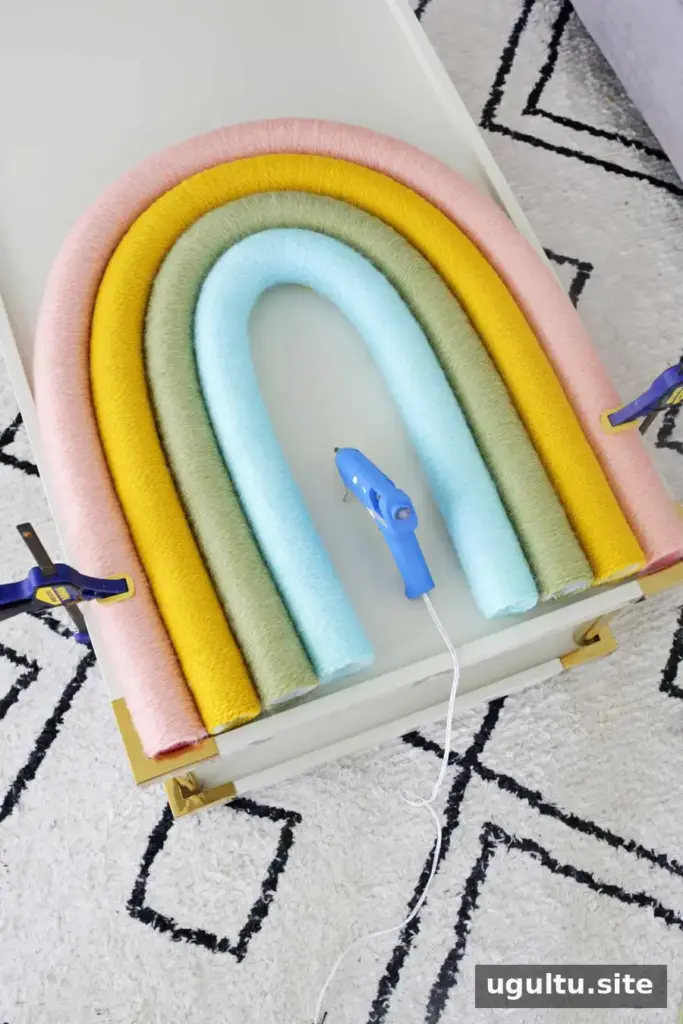
Keep the outer layer steady on a flat surface using clamps or stable supports such as heavy books. Apply a generous amount of hot glue where each noodle touches the next, and attach the layers one at a time. Allow the glue to set before moving the piece.
Make the Rope Fringe and Finish
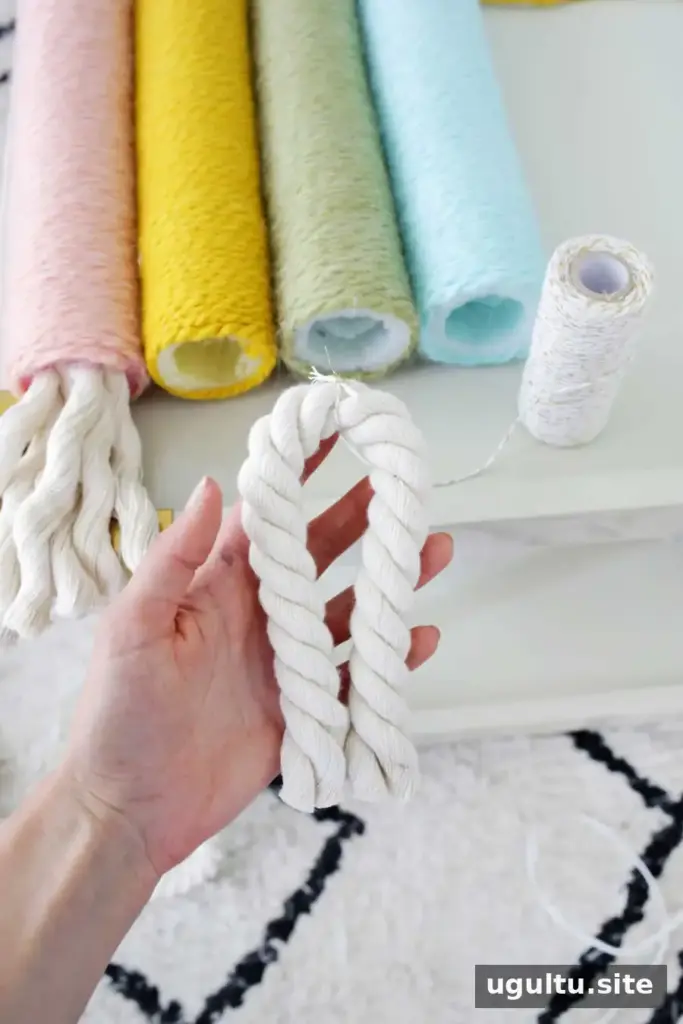
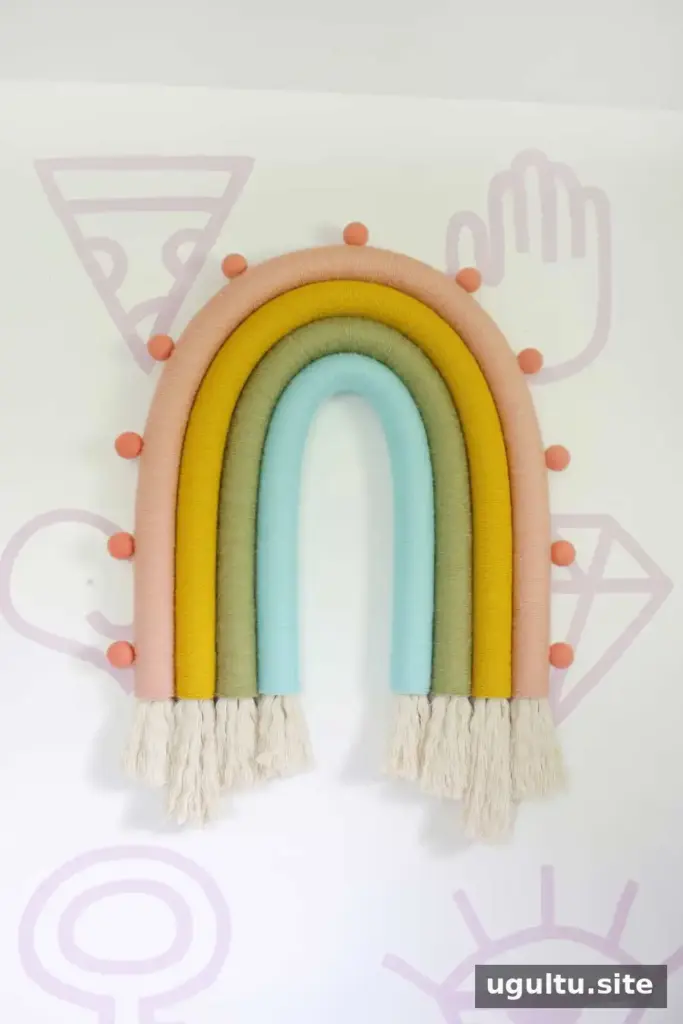
Cut the thick cotton rope to twice the length you want each tassel to be. Tie twine around the midpoint to hold the strands together, then apply hot glue inside a noodle opening and press the folded center of the rope into place. If you cannot find thick rope, use three or four strands cut to twice the desired tassel length and tie them together at the center.
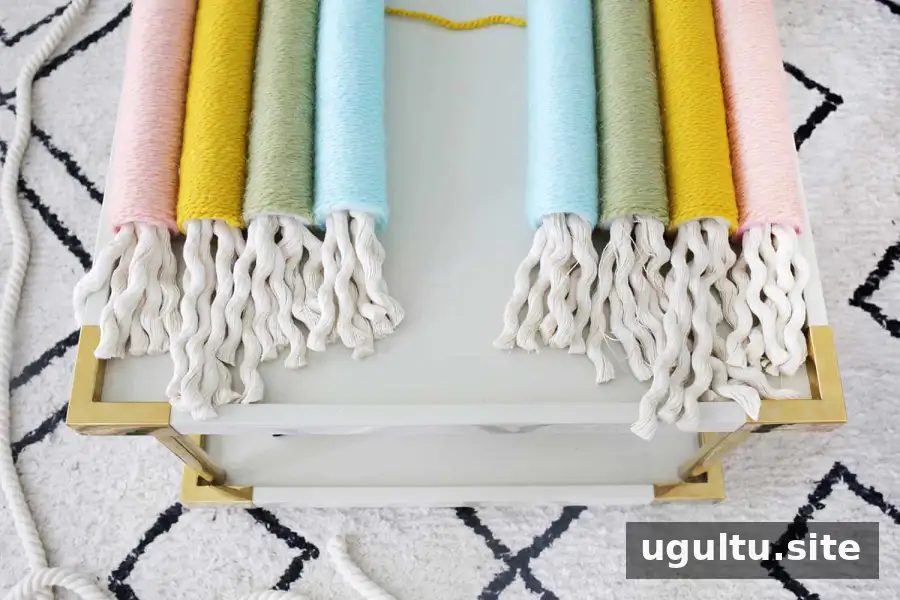
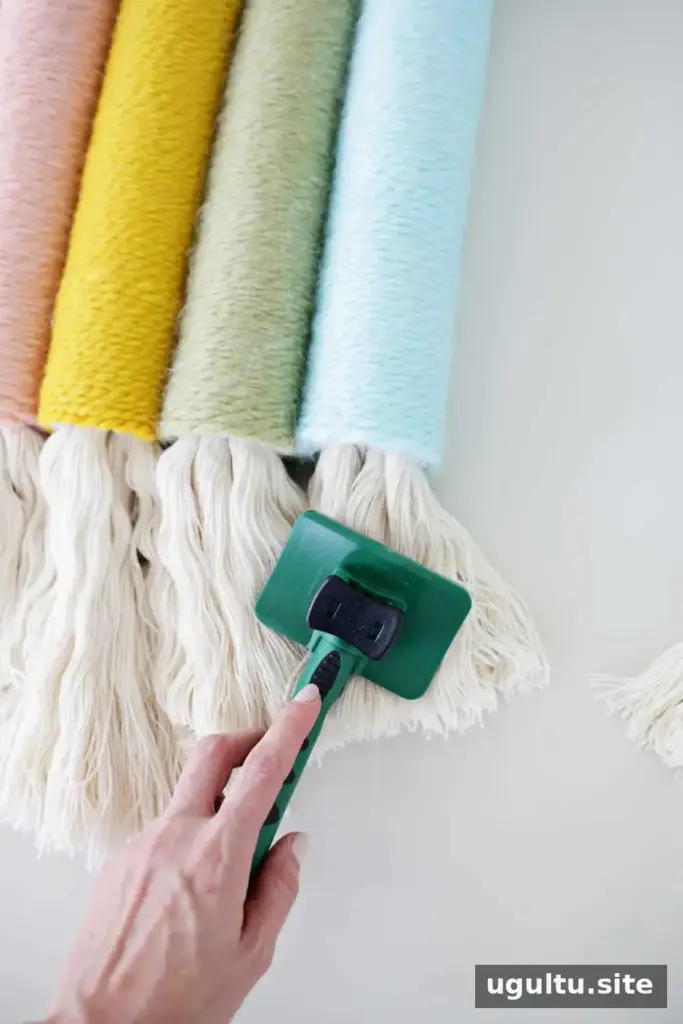
Tassels can be different lengths or uniform. Leave the rope strands as they are for a curled texture, or brush them out with a pet brush for a fuller look. Glue the 4 cm felt balls around the rainbow’s outer edge to complete the decoration.
Display and Safety Tips
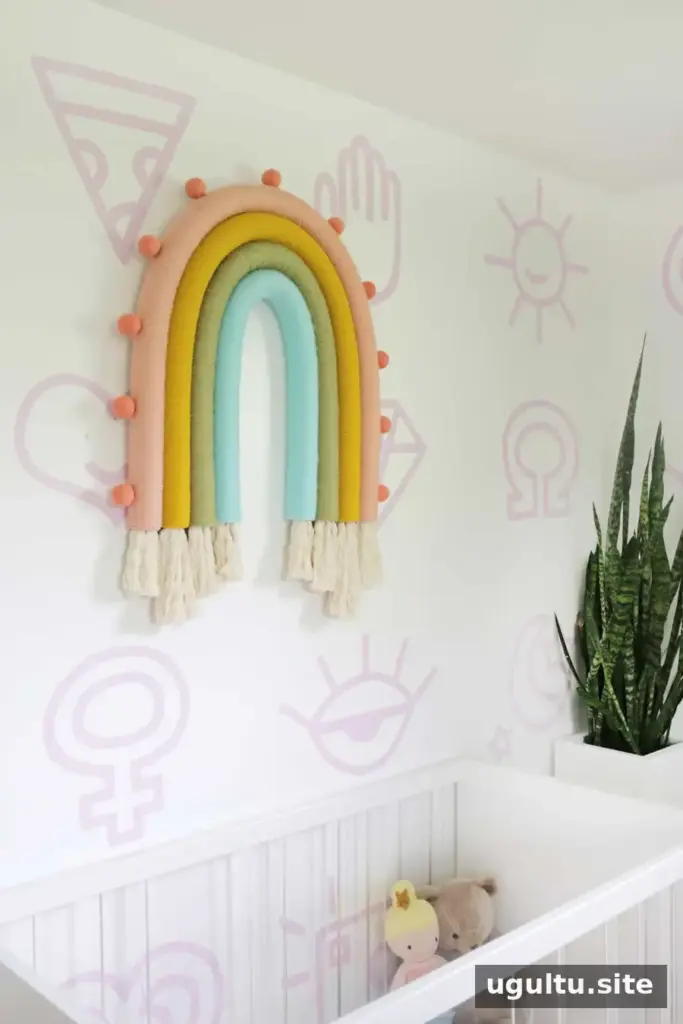
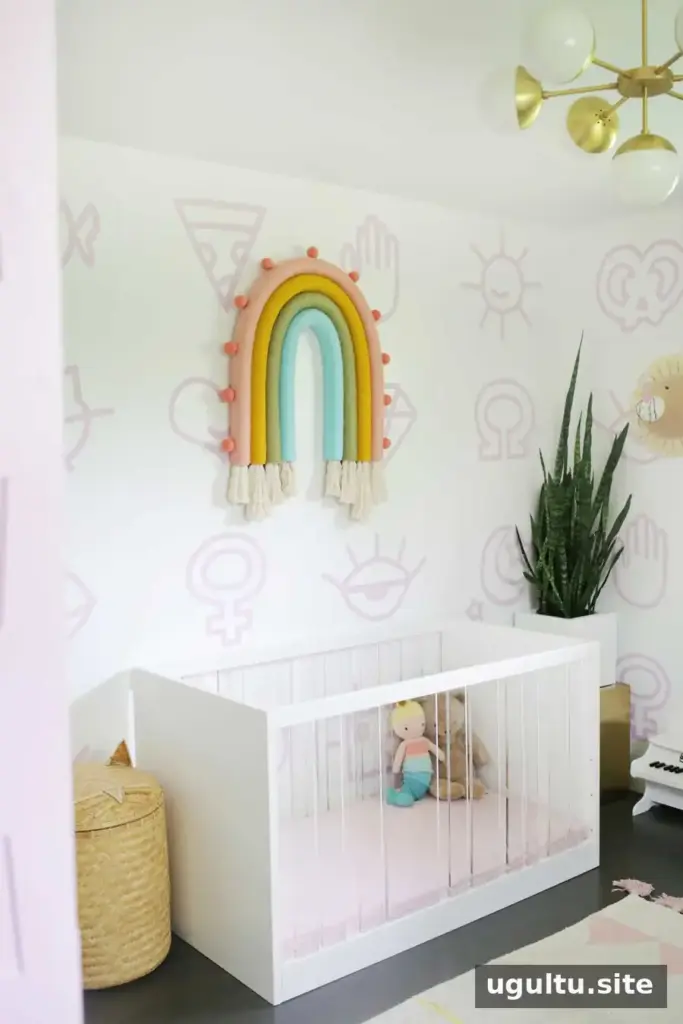
Hang the finished oversized rainbow wall hanging from a secure fixing suited to the wall and the weight of the completed piece. Check that the yarn hanger and glued layers feel firm before displaying it. Keep the craft tools and hot glue out of children’s reach while assembling.
This is decorative wall art, not a toy. Felt balls and other attached pieces can pose a choking risk if they come loose, especially for babies and young children. Use securely attached components, place the hanging out of reach, and inspect it occasionally for loose parts.
Designed by Laura.