
 admin


A padded headband can add a little height and texture to an everyday outfit or complement a dressier look. This padded headband DIY uses a plastic base, upholstery foam, and stretch fabric to create a covered accessory you can customize with your favorite color or pattern.
Choose fabric with some stretch so it can slide over the foam and headband. Velvet is one option, and its texture can help the finished headband stay in place compared with smoother fabrics.
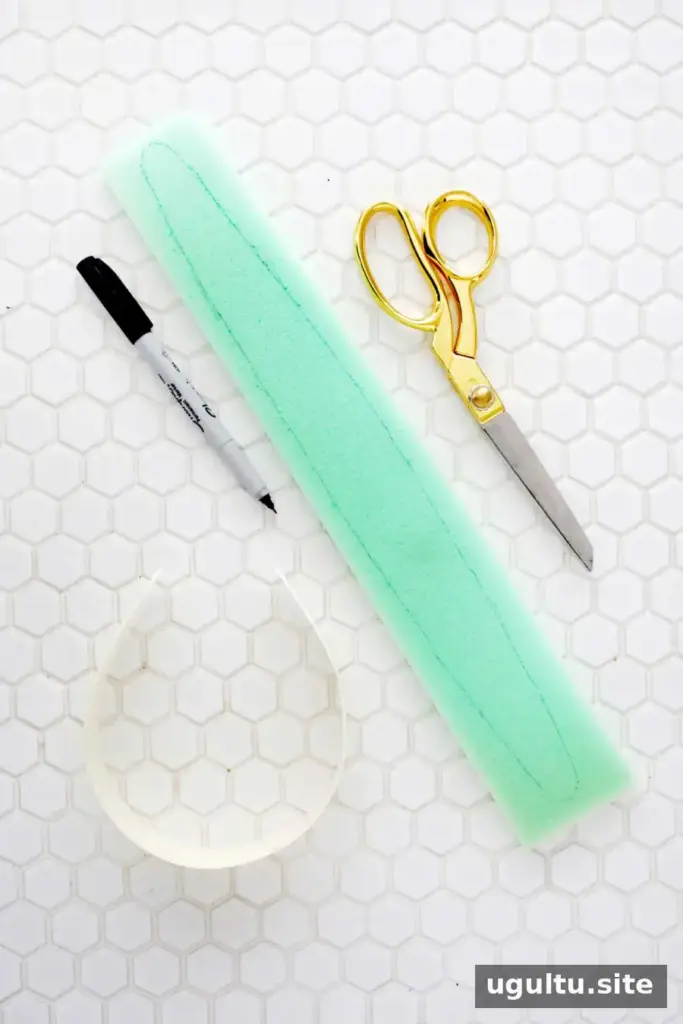
Supplies for this padded headband DIY
- 1/4 yard of fabric with at least a little stretch
- 1/2-inch upholstery foam
- Scrap paper for the template
- 1 1/2-inch plastic headband
- Fabric scissors and straight pins
- Sewing machine
- Hot glue gun
Before cutting, check that the fabric is long enough to cover the headband and has enough stretch to fit over the foam. Take care when using hot glue, as the glue and gun tip can cause burns.
Shape and attach the foam
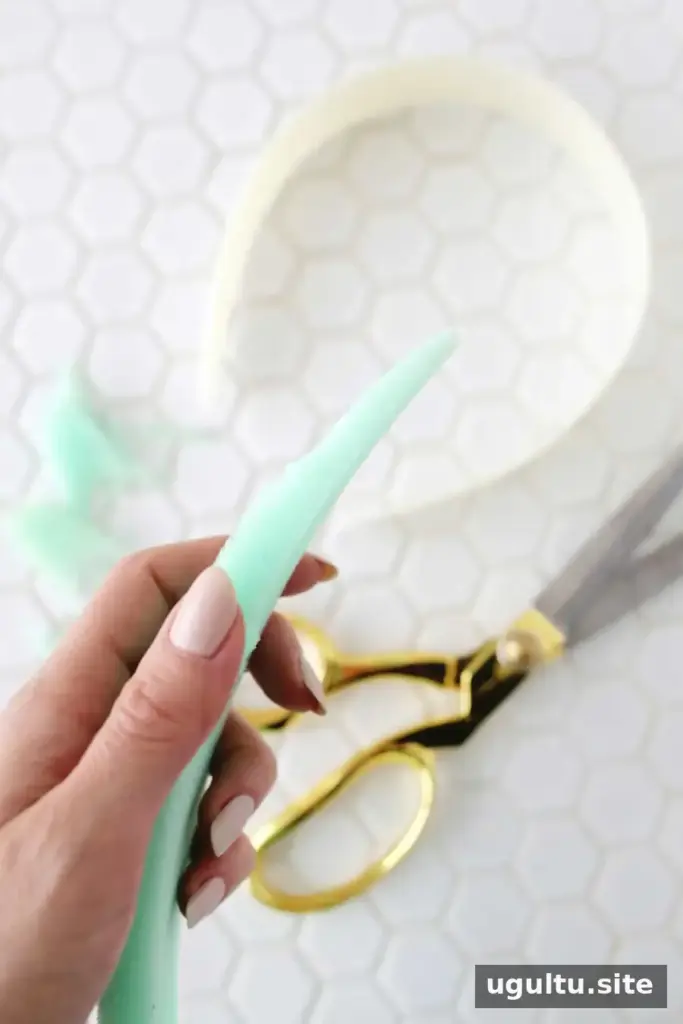
Trace the headband onto the upholstery foam and cut out the shape. Trim or shave down the last 3 inches at both ends so the foam tapers and sits thinner behind the ears. The cut edges do not need to be perfectly smooth because they will face down against the headband.
For a taller padded shape, cut a second piece of foam to cover the middle 6 inches of the headband. Taper its ends in the same way. This extra layer adds height at the center.
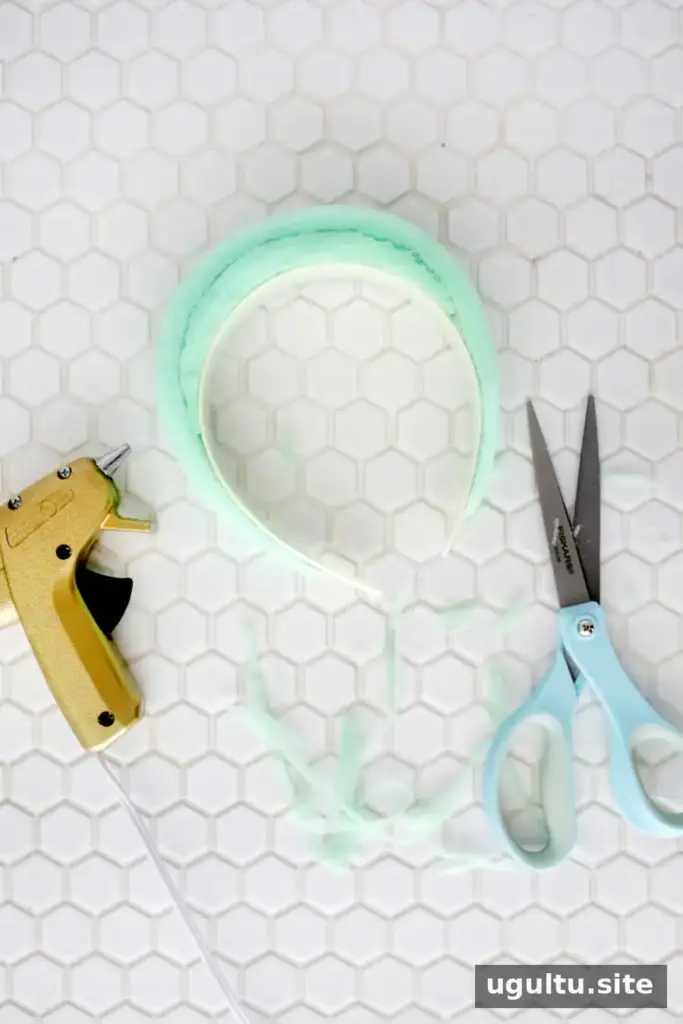
Use hot glue to attach the foam. Place the smaller piece in the middle first, with its cut side facing down, then position the larger piece on top, also with the cut side down. Let the glue set before moving on so the layers stay in place.
Make a fabric cover that fits
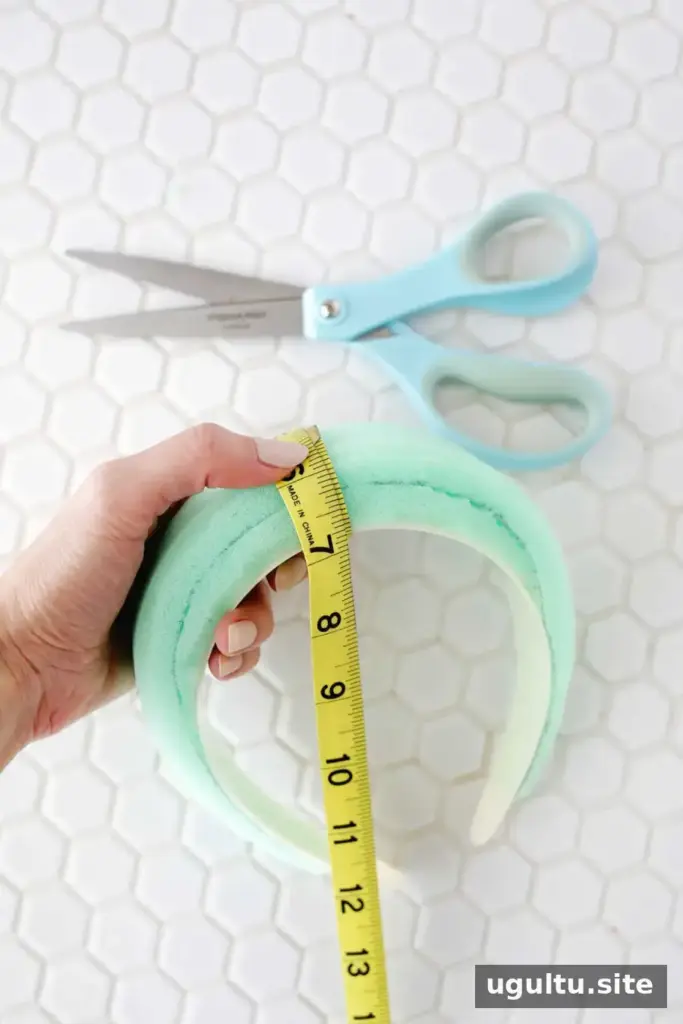
Measure the thickness at the center of the foam, the thickness at the ends, and the full length across the top of the padded headband. These measurements help you draft a cover with enough room for the foam without making the ends unnecessarily bulky.
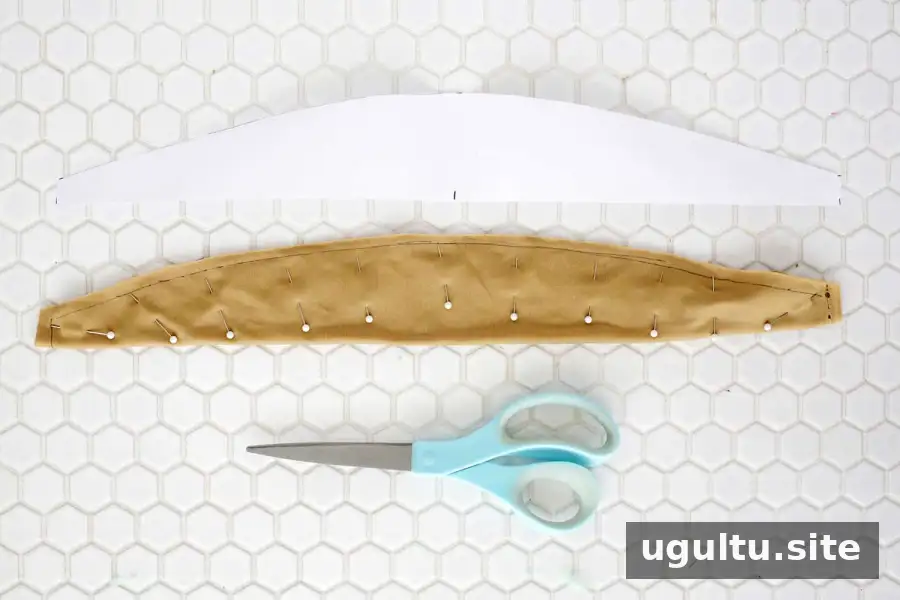
On scrap paper, mark the headband’s length. At the midpoint, mark half the center thickness; at each end, mark half the end thickness. Connect the marks with a gentle curve to form the template. Check that the template follows the shape of the foam before cutting your fabric.
Fold the fabric with its right sides together and place the template along the fold. Cut out the fabric, then pin the two layers together.
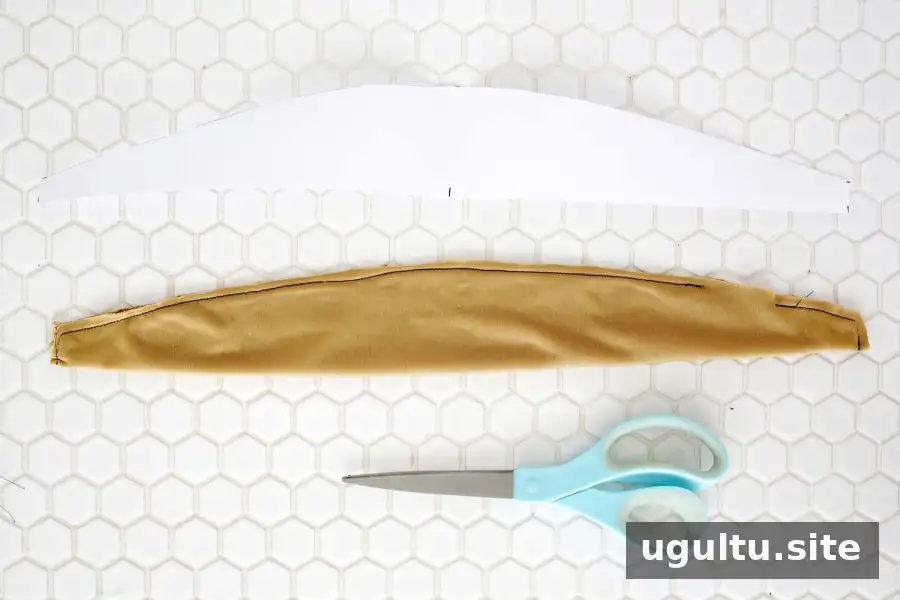
Sew around the open edges with a 1/4-inch seam allowance, leaving a 2-inch opening near one end. This gap is needed to turn the cover right side out.
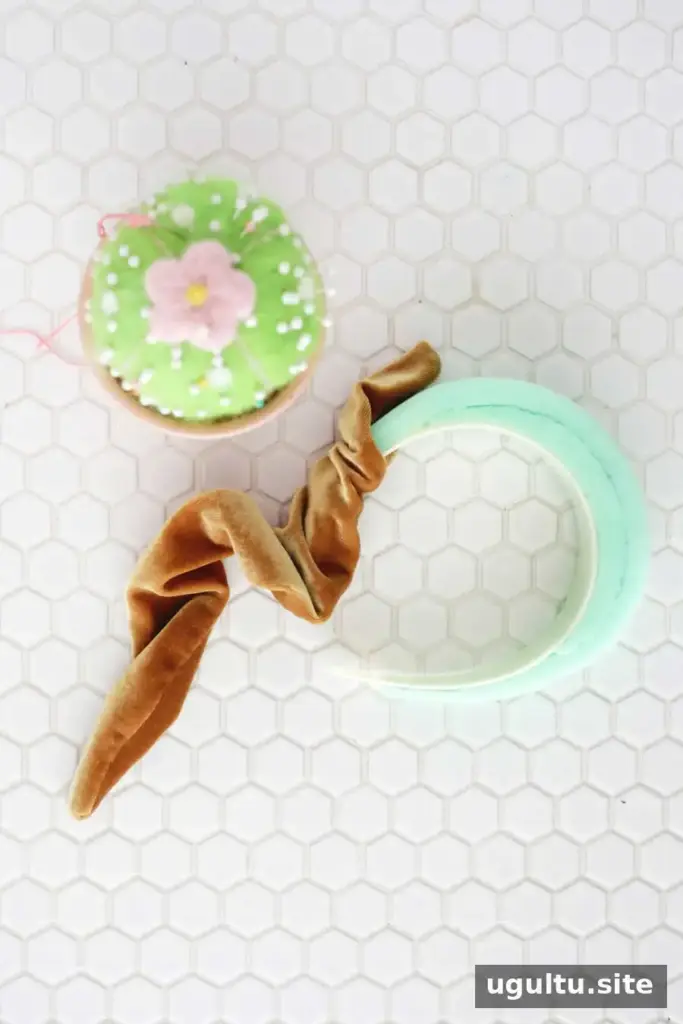
Turn the fabric through the opening. Slide one end of the headband into the cover and work it through until the band is fully inside; then fit the other end into place. Stretch fabric makes this step easier, so guide the material gently to avoid stressing the seam.
Adjust the cover if it is too loose
Center the cover on the headband and check how much fabric extends beyond each end. If it is too long, remove it and shorten the template while keeping the same thickness measurements. For example, if a 15-inch cover has 1.5 inches of excess at each end, try a 12-inch template. Cut and sew a new cover, then check the fit again.
If only one area feels loose, you can remove the cover and sew that section slightly narrower. Make small adjustments and test the fit before trimming away excess fabric.
Finish and wear your padded headband
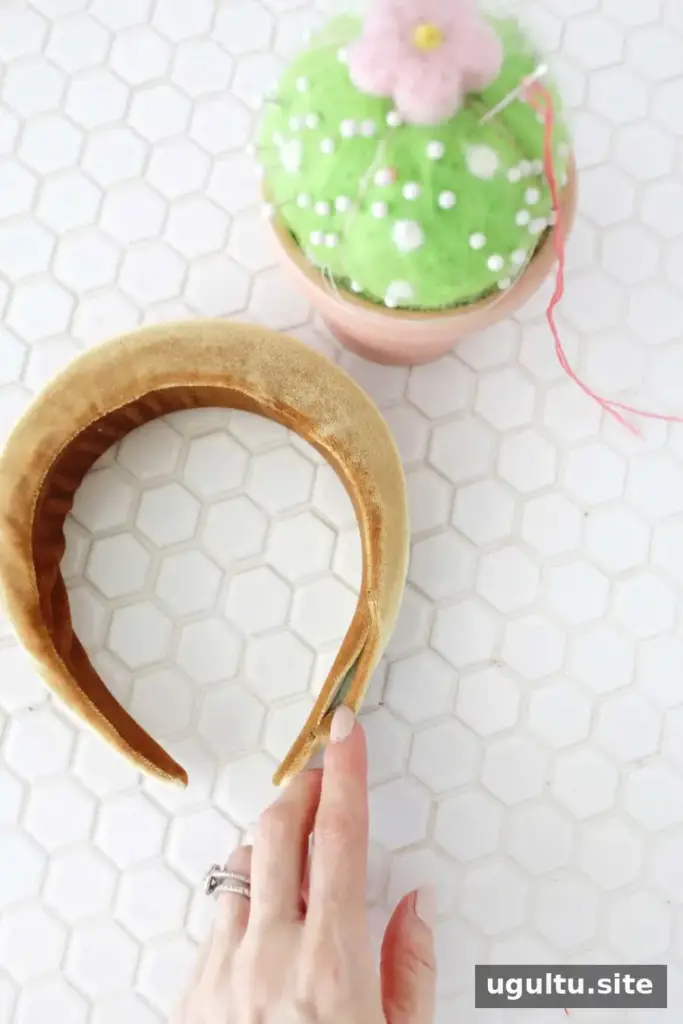
Once the cover fits as desired, hand-sew the 2-inch opening closed. Check that the seam is secure and that the fabric sits evenly over the foam before wearing the headband.
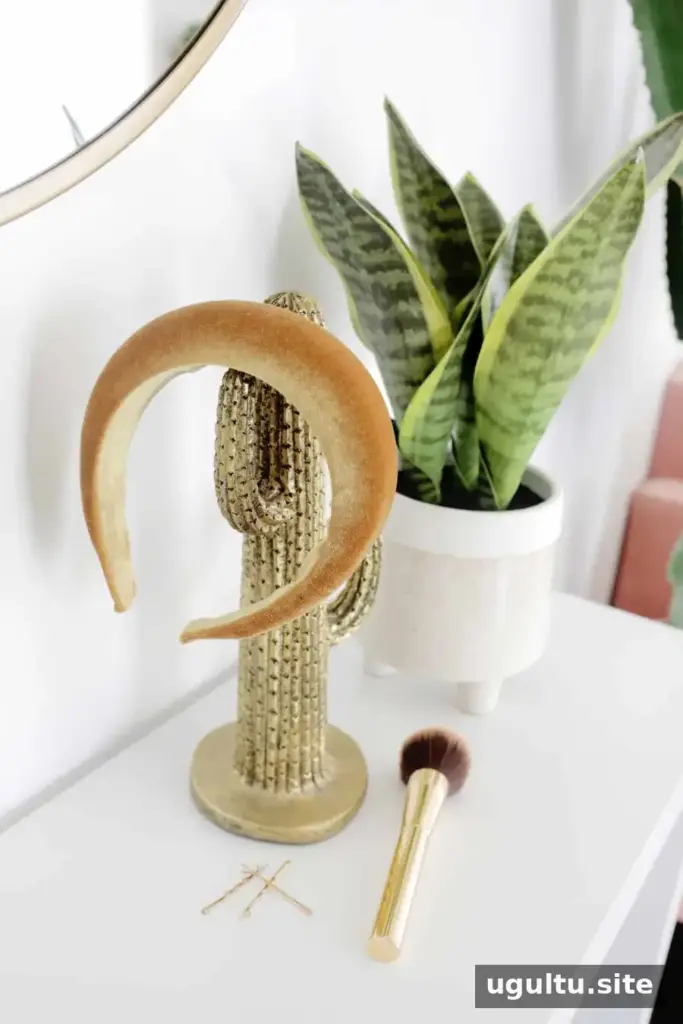


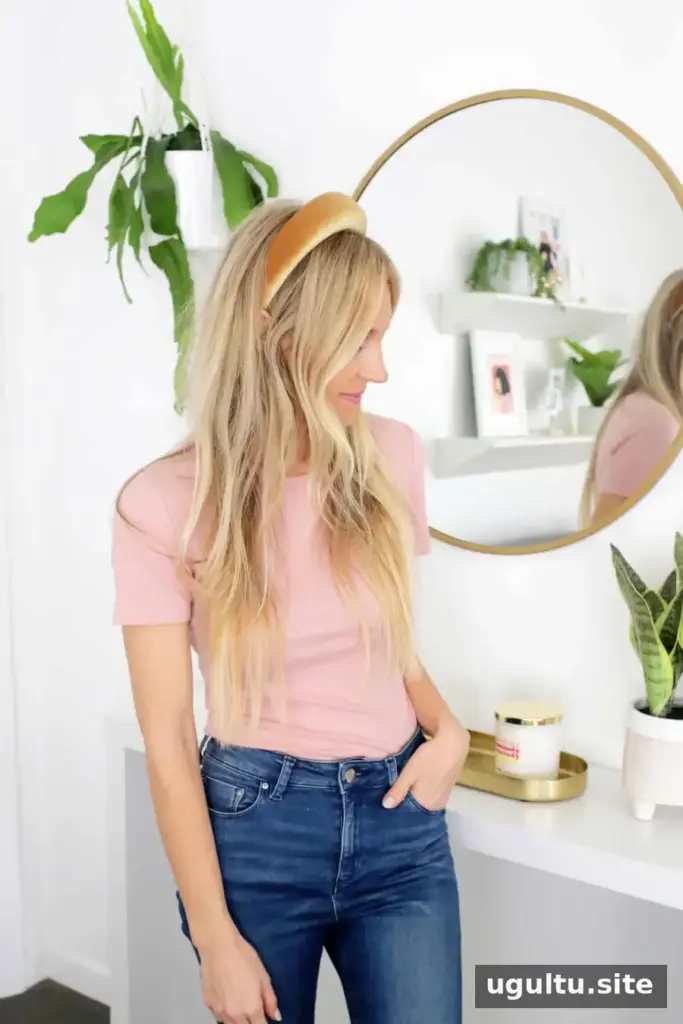
Velvet is a useful fabric choice for a padded headband because its texture may help it grip better than a slippery material. You can also make several covers in different colors or prints to suit different outfits.
This padded headband DIY is adaptable: the foam layers determine the height, while the fabric and fit can be adjusted to your preference. Laura
More headband craft ideas
- No-Sew Braided Velvet Headband
- Wooden O-Ring Headband DIY
- Make Your Own Spa Headband!


