
 admin
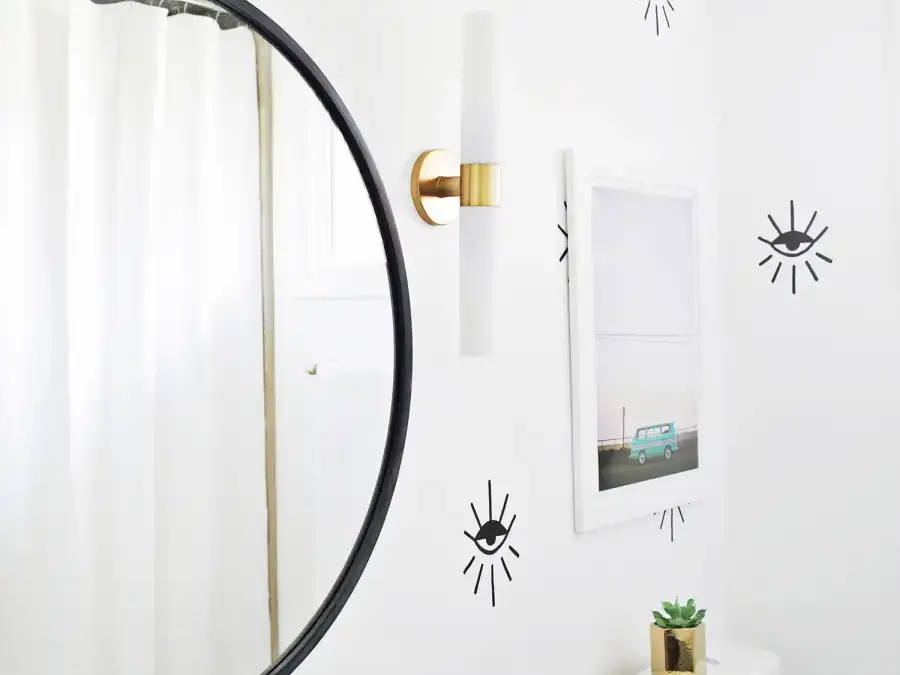
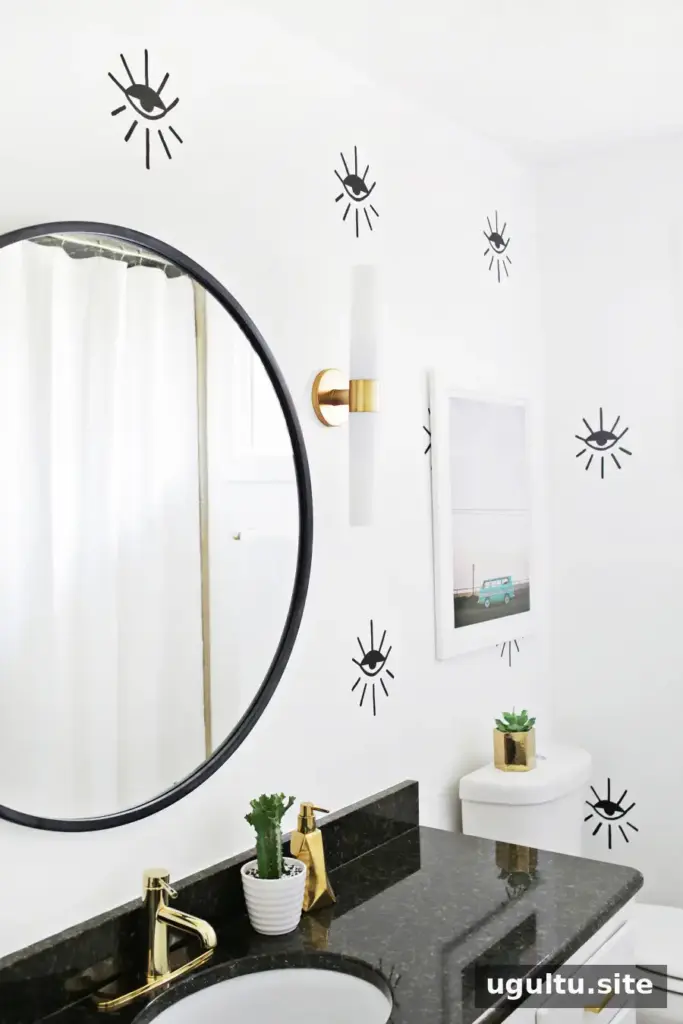
A painted eye statement wall can add a bold, playful feature to a bathroom without the cost of covering the room in wallpaper. This DIY approach uses a printed design as a guide, making it possible to repeat the pattern across a wall with basic tools. In a bathroom with a shower, consider the effects of humidity when choosing paint and preparing the surface. Follow the paint manufacturer’s directions, and keep the room well ventilated while the finish dries.
Plan the Painted Eye Statement Wall
Before painting, decide how large each eye should be and how much space to leave between designs. Printing the pattern at its intended wall size helps make the layout easier to judge. A few test printouts can also help confirm the scale before the full set is prepared.
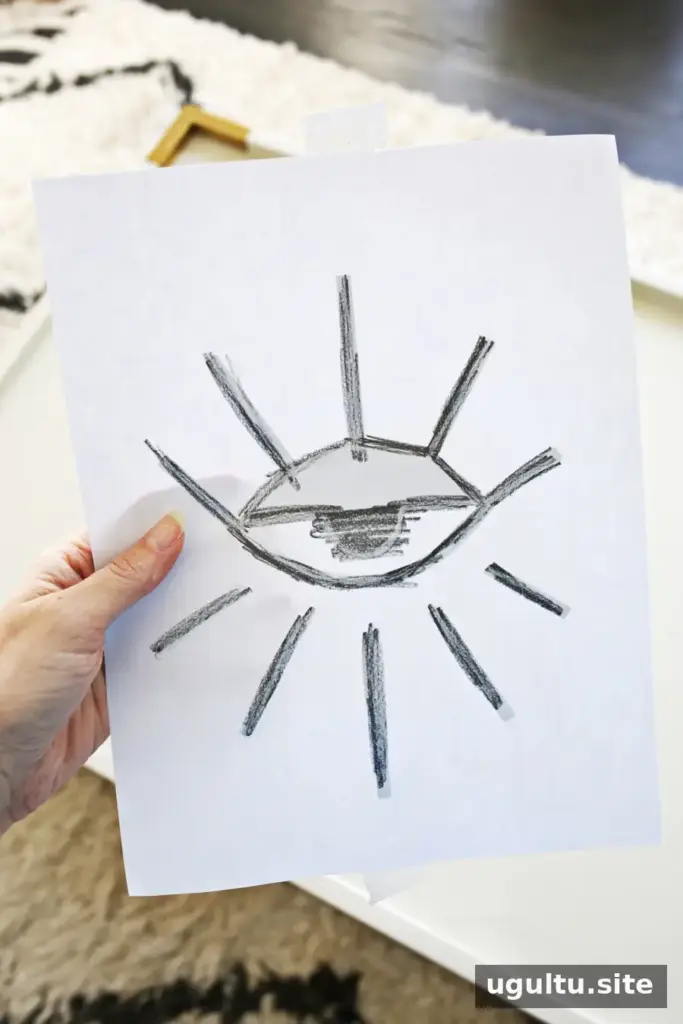
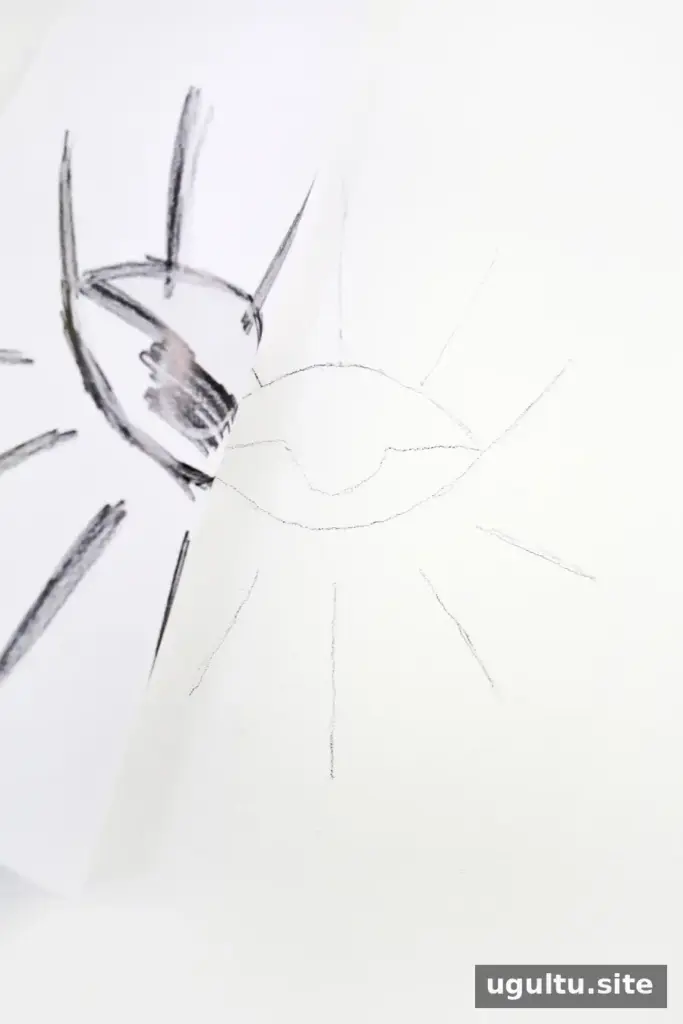
Print enough copies of the eye design to map out the wall. To transfer the outline, rub pencil over the back of each printed design, covering the lines. This creates a simple tracing template without requiring a separate stencil material.
Arrange and Transfer the Pattern
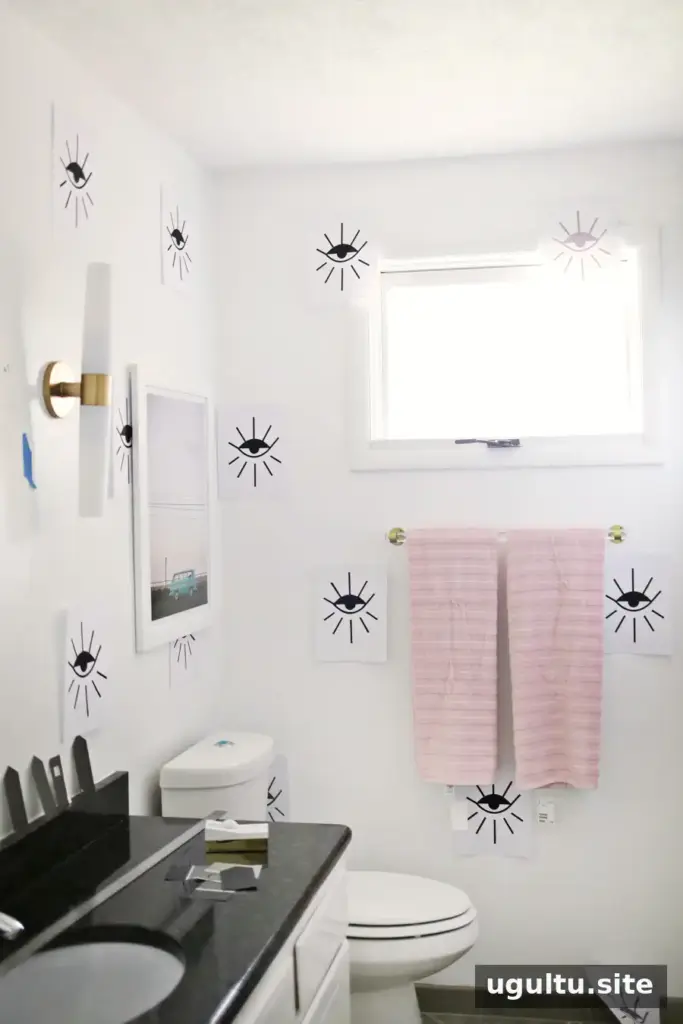
Tape the paper designs to the wall in the planned positions. Use a level and measuring tape to check spacing and alignment across the pattern. Taking time to adjust the layout now can prevent uneven rows or awkward gaps once the paint is applied. Step back regularly to view the overall arrangement from different parts of the room.
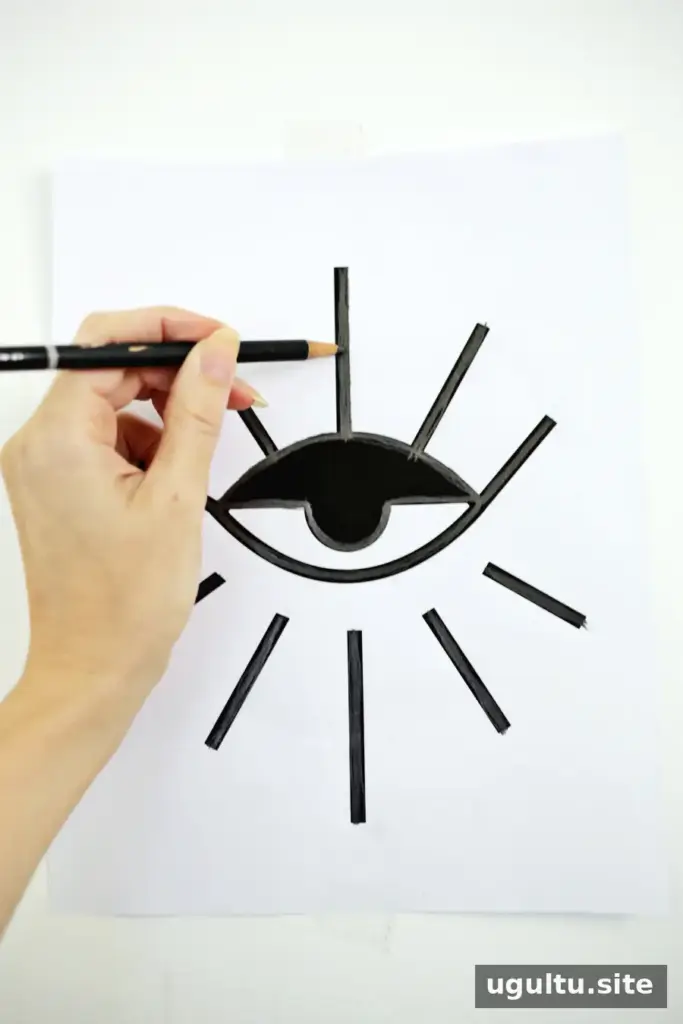
When the placement looks right, trace the design lines on the front of each sheet with a pencil. The graphite on the reverse transfers the outline onto the wall. Press firmly enough to leave a visible guide, but avoid pressing so hard that the paper shifts or the marks become difficult to cover.
Paint the Eye Designs
After transferring the outlines, use a brush and black craft paint to follow the pencil lines. Work carefully around curves and corners, and use a steady hand for consistent line weight. If the transferred marks are faint, check them in good lighting before painting. Allow the paint to dry according to its label before touching or cleaning the finished wall.
- Keep the printed guides and measuring tools nearby in case a section needs to be repositioned.
- Test the paint on an inconspicuous area first, especially if the wall has a textured or previously painted surface.
- For a bathroom, use products suited to the room’s conditions and follow their application and drying instructions.
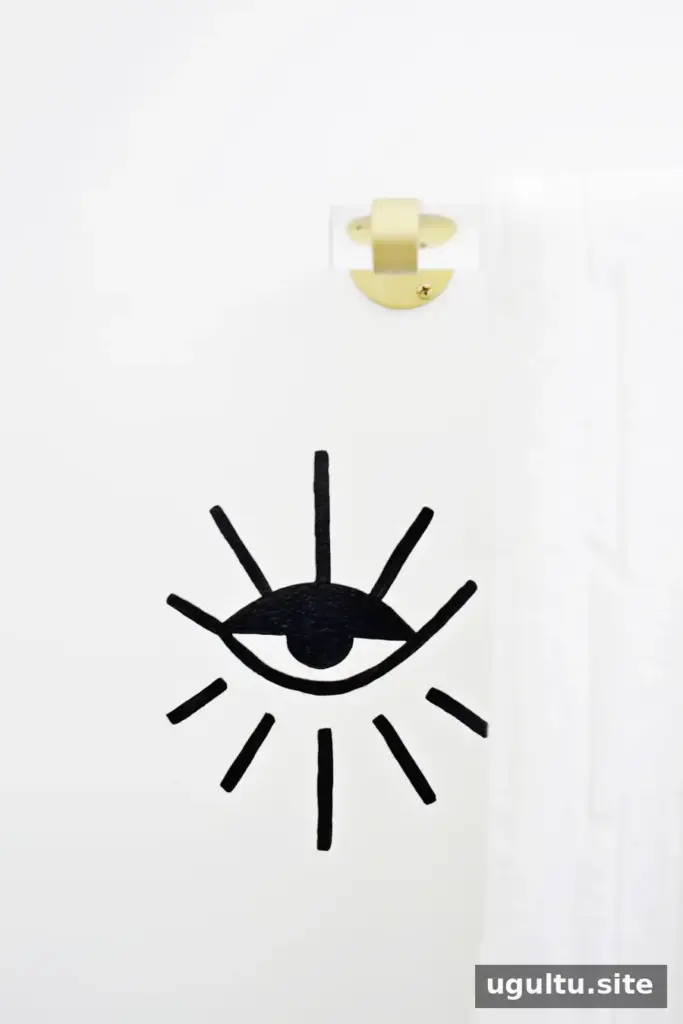
Finishing the Bathroom Feature Wall
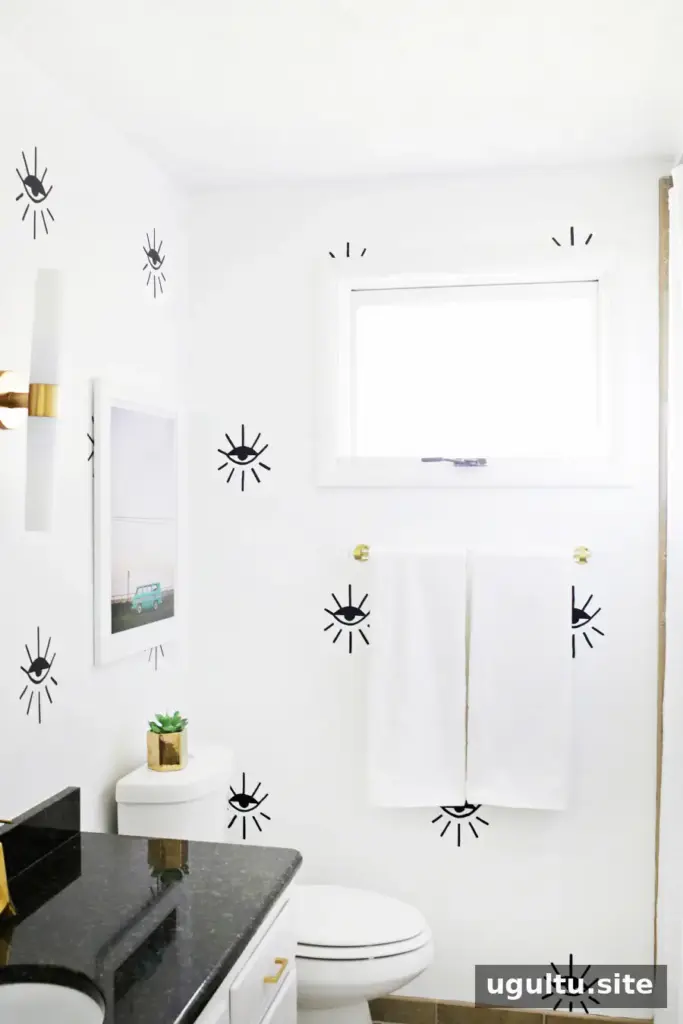
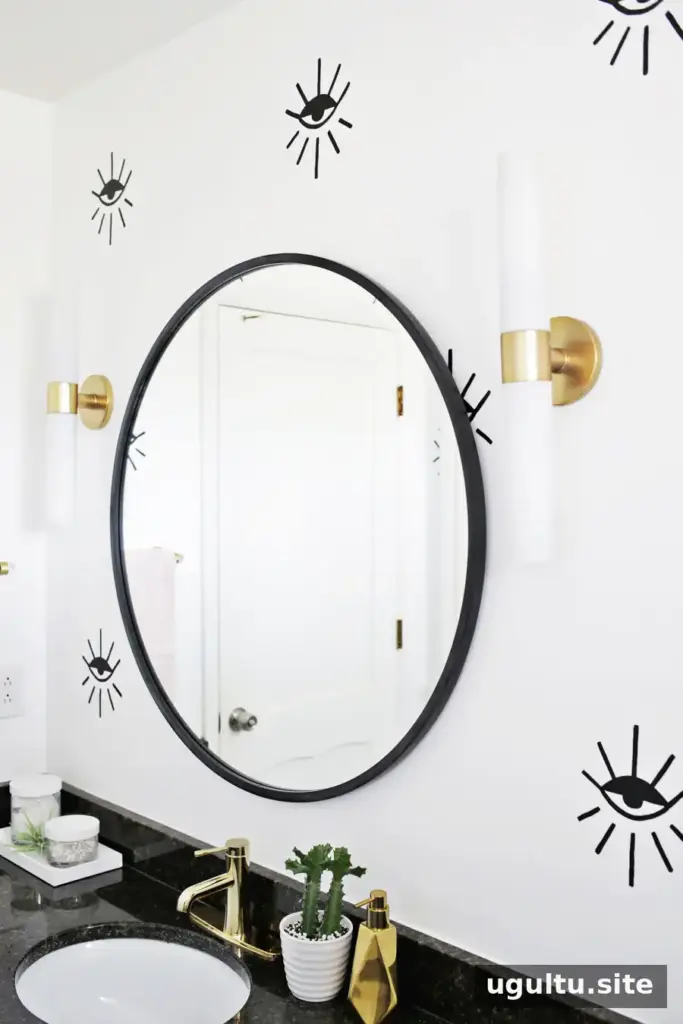
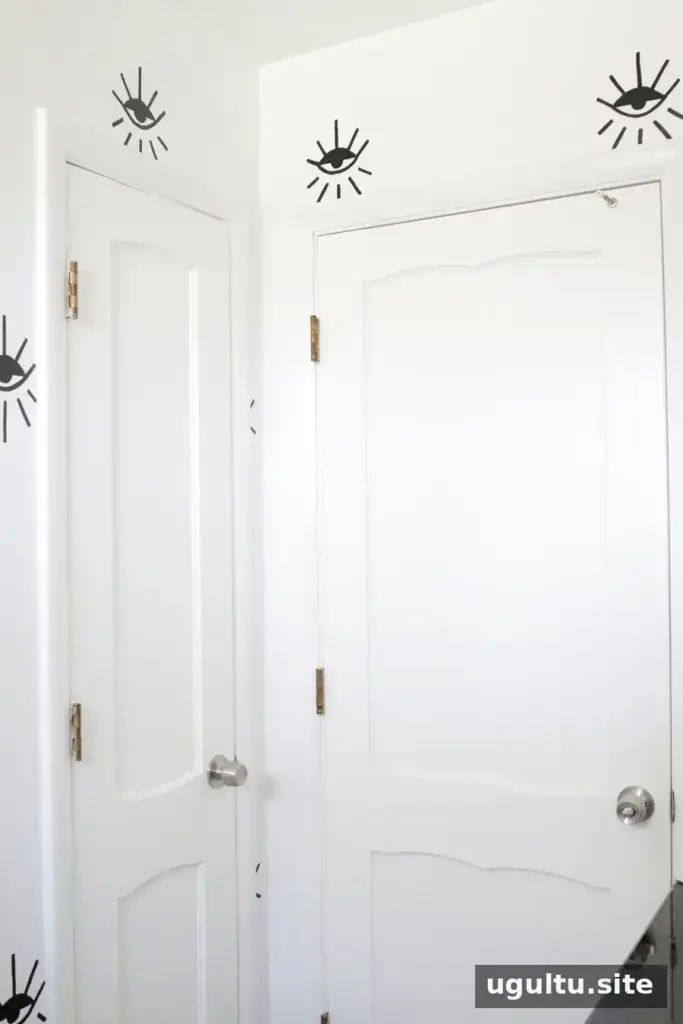
A black-and-white eye pattern creates strong contrast and can give a painted surface the visual impact of patterned wallpaper. The main cost in this project comes from the paint and the ink used for the printed templates, while the hand-painted outlines require patience and time. This approach is especially useful when a room needs a distinctive focal point but a full wallpaper installation is not part of the plan.
For a neat result, review the whole wall once the paint has dried and touch up any uneven sections. With thoughtful spacing and careful tracing, a painted eye statement wall can bring a fun, graphic look to a guest bathroom. Project credit: Laura.


