
 admin
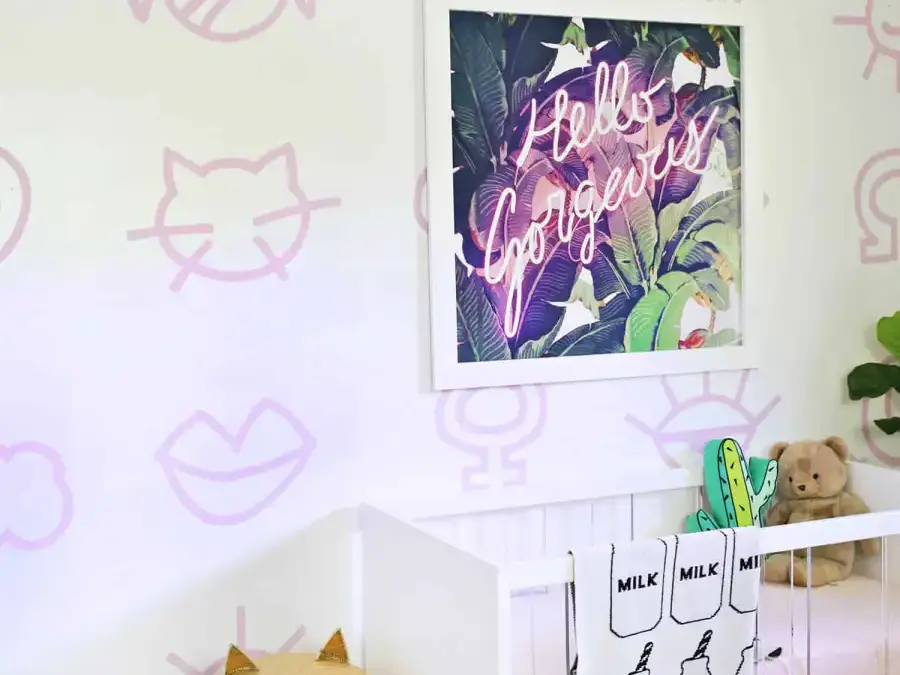
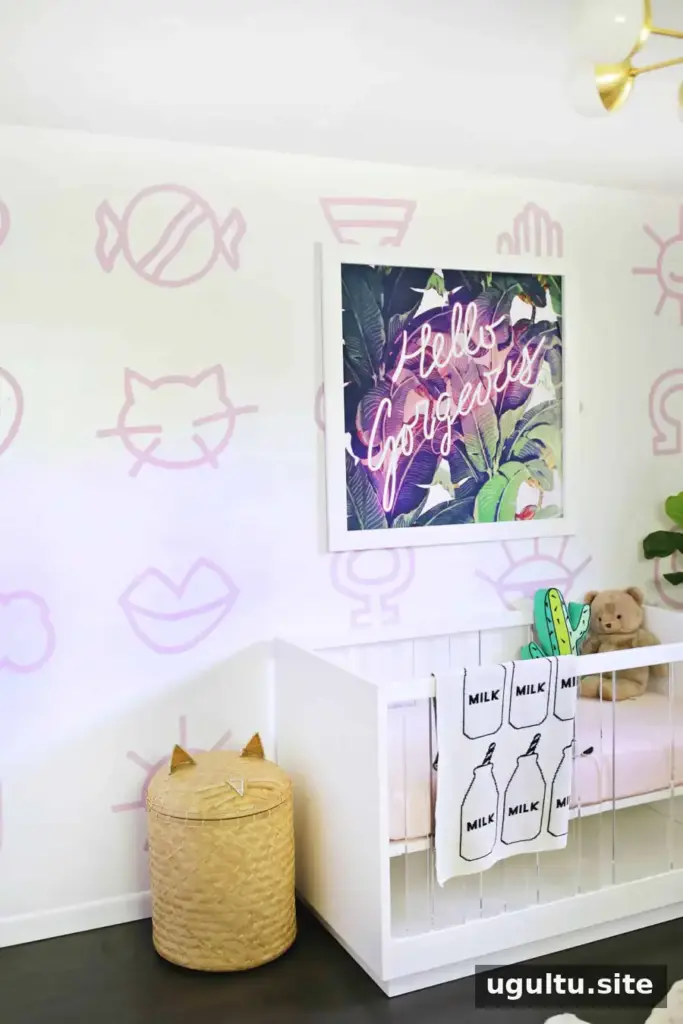
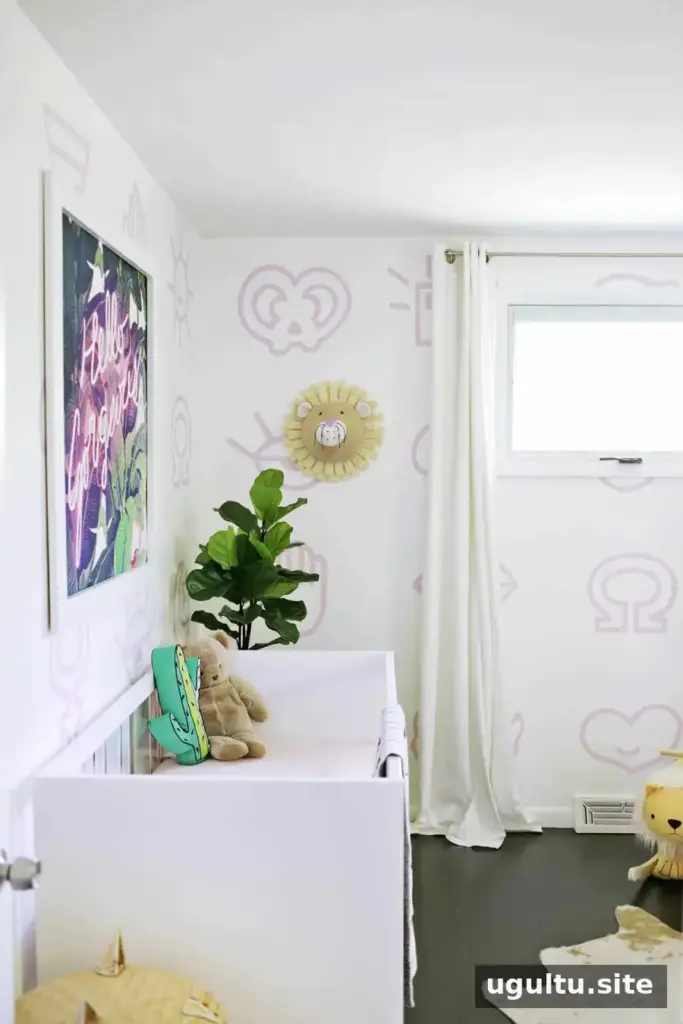
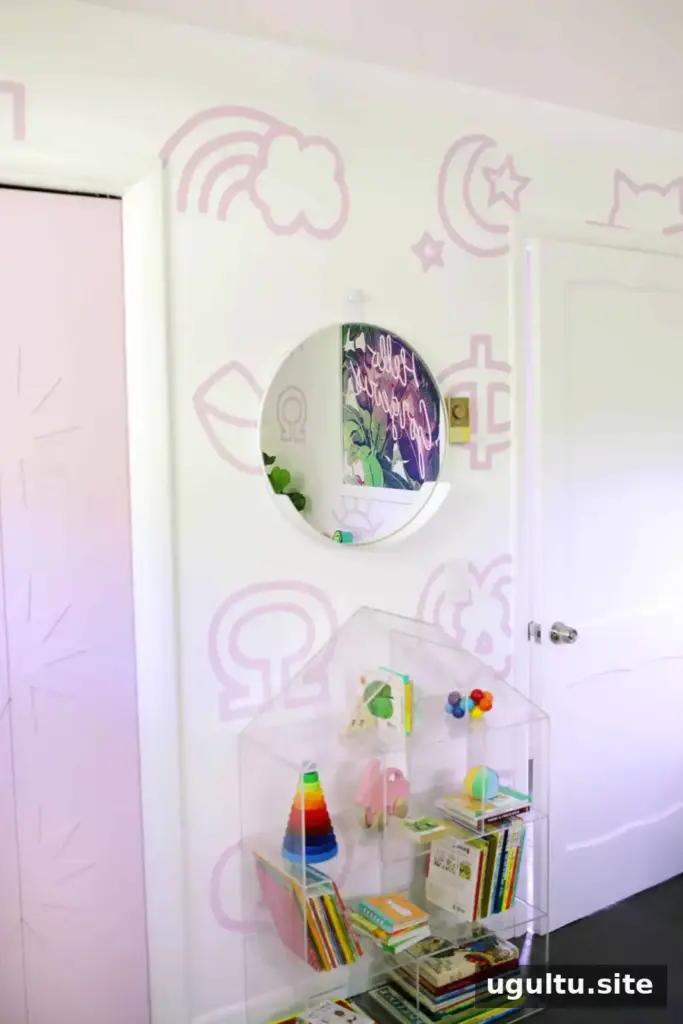
Painted nursery wallpaper is a creative way to give a baby’s room a personal look without installing traditional wallpaper. A repeating pattern of hand-painted symbols can combine playful shapes, meaningful details, and a soft accent color. With a little planning, you can make a design that feels coordinated while still allowing room for your own ideas.
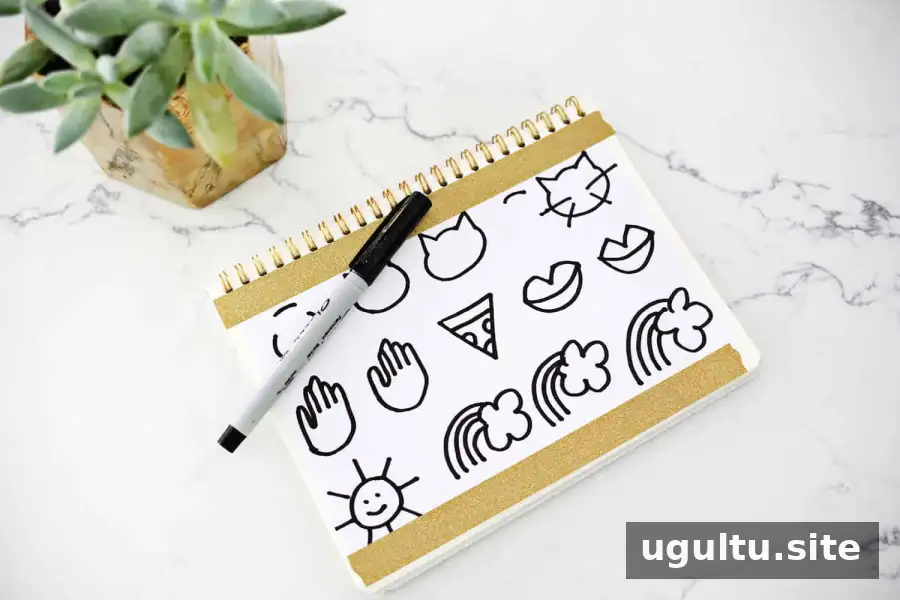
Plan a painted nursery wallpaper design
Start by choosing a mix of shapes that suit the room. Combining nature, food, objects, and simple symbols can make the pattern feel varied rather than repetitive. Personal details can make the design especially distinctive; for example, this pattern included a pizza and a soft pretzel. Sketch several options with a marker, then refine each shape until the linework is clear enough to transfer to the wall.
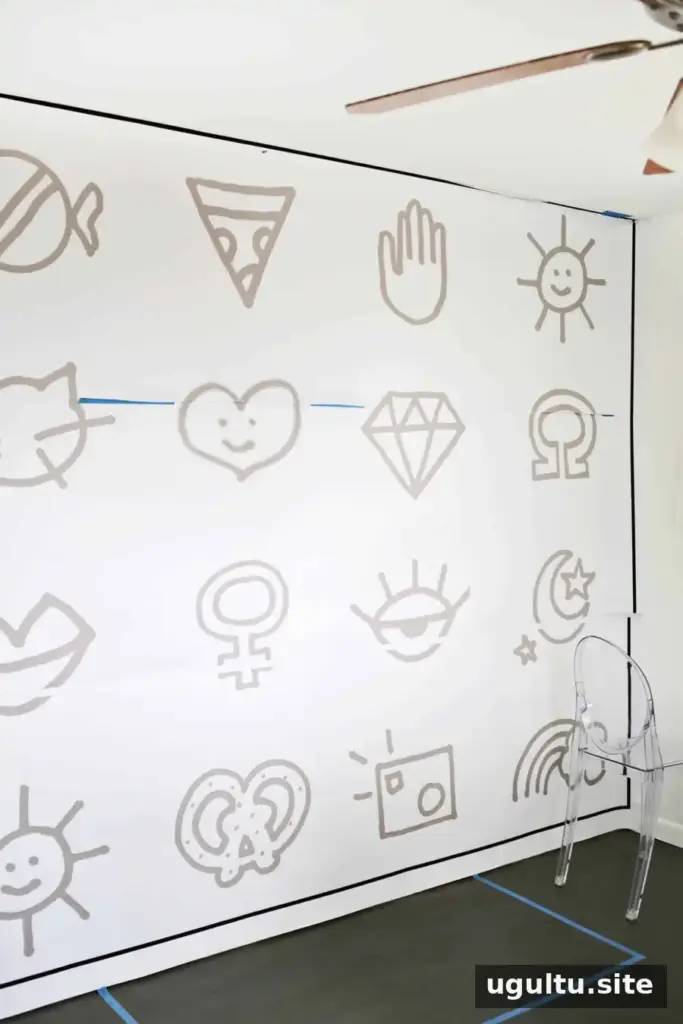
Scan or photograph the finished sketches and arrange them digitally to plan their size, spacing, and order. Measure the wall before laying out the pattern so the design fits its height and length. Repeating the same arrangement on opposite walls can also simplify the process: prepare one layout for each different wall and reuse it on the matching wall.
Choose a color and prepare a wall template
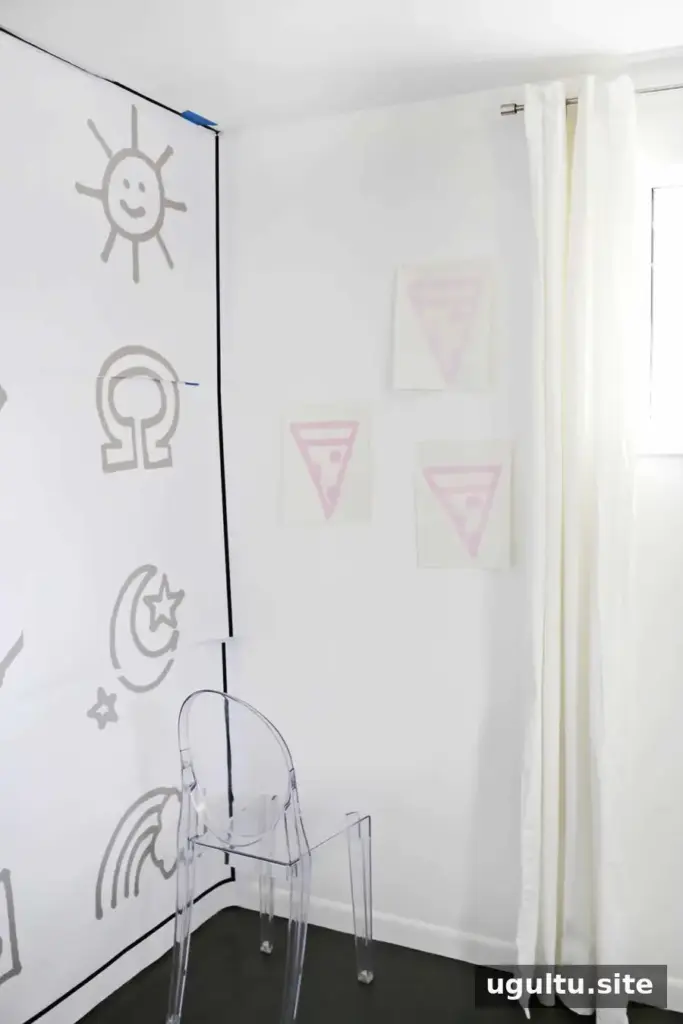
A pale lavender with a hint of pink was selected for this project. Before painting, test a few color options on paper and place the samples against the wall. This makes it easier to compare shades in the room’s lighting and alongside the existing wall color.
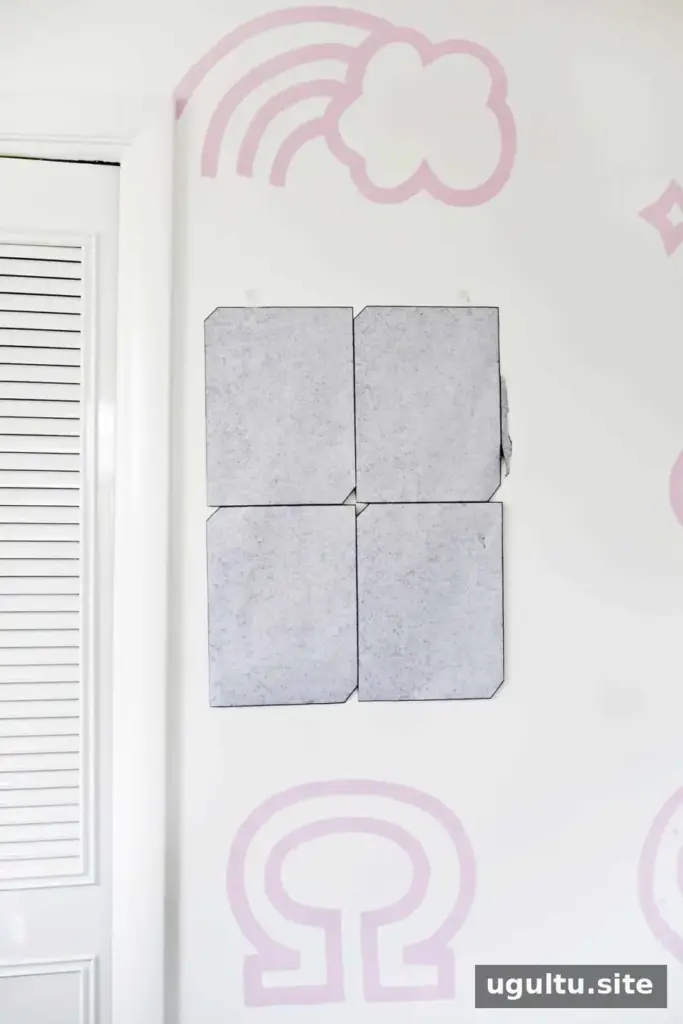
An overhead projector may be difficult to position at the right distance and angle for a large wall, which can distort projected shapes. A full-size printed template is another option. Divide the digital layout into large strips, print them at full scale, and attach the sheets temporarily to the wall with tacks. Check that the edges line up and the pattern is positioned as intended before transferring any shapes.
Transfer the pattern with carbon paper
Place carbon paper between the printed template and the wall, joining sheets with tape if needed to cover a larger area. Use the rounded end of a small paintbrush or another blunt tool to trace each design gently. Making several large carbon-paper sections can help transfer multiple symbols before moving the template to the next part of the wall. Keep the paper in place while tracing to avoid smudged or doubled outlines.

Paint and finish the symbols
Once the outlines are transferred, fill them in with a one-inch paintbrush. A smaller brush can help with fine details, such as facial features or the lines on a pretzel. Work carefully around the edges and use a steady hand for consistent shapes.
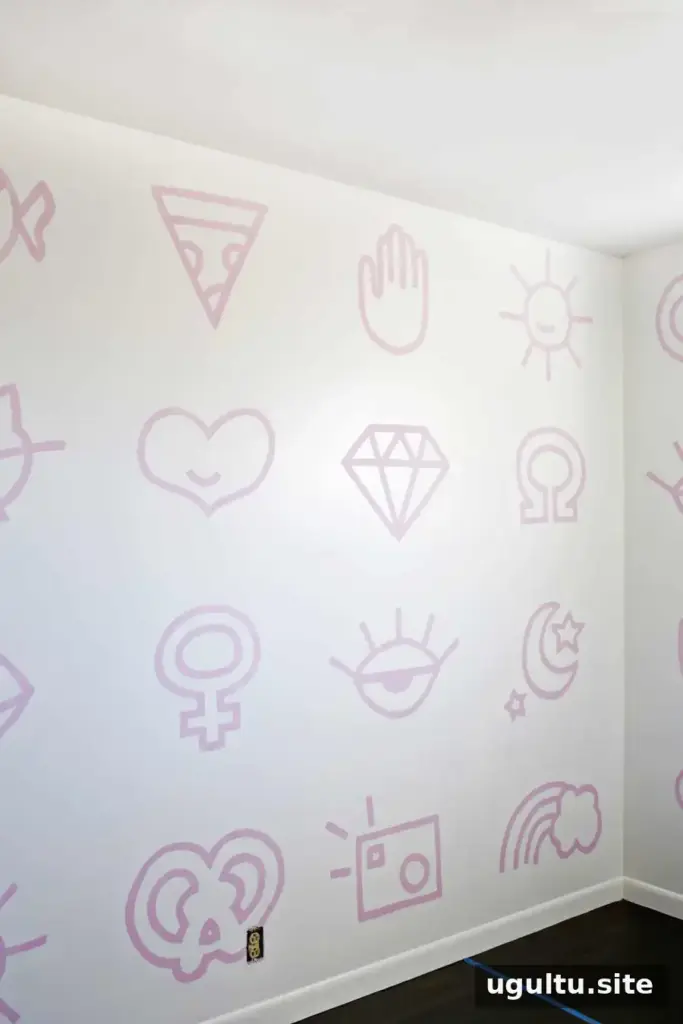
Light-colored paint may need two coats to create an even, solid line. Let the first coat dry according to the paint instructions before adding another. Carbon paper can sometimes leave marks or rub off while the template is being moved, so keep the original wall paint available for small touch-ups.
Make the project fit your style
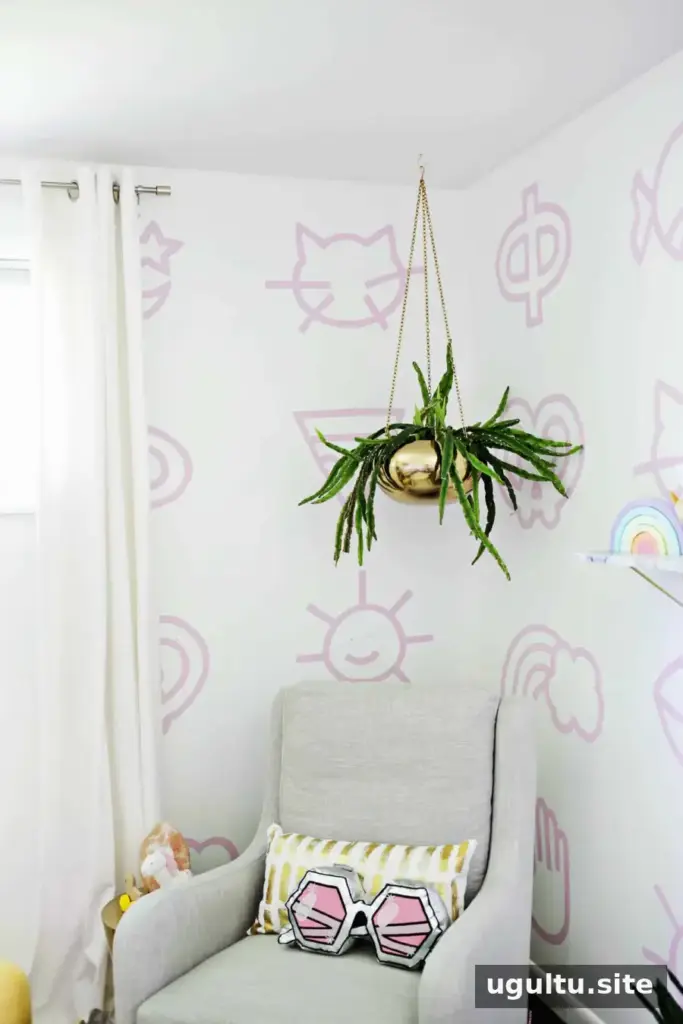
For a quicker approach, draw the shapes directly on the wall by hand. Painter’s tape can be used to mark a loose grid and help keep the symbols evenly spaced. The printed-template method offers more control over size and placement, while freehand drawing leaves more room for variation. Choose the approach that best matches the look you want and the amount of time you have.
This painted nursery wallpaper design brings together a custom collection of family-related and playful symbols. Whether you use a precise repeating layout or a more relaxed arrangement, testing the color, spacing, and shapes before painting will help the finished wall feel intentional. Allow the paint to dry fully and follow the product instructions before using the room. Design by Laura.


