
 admin
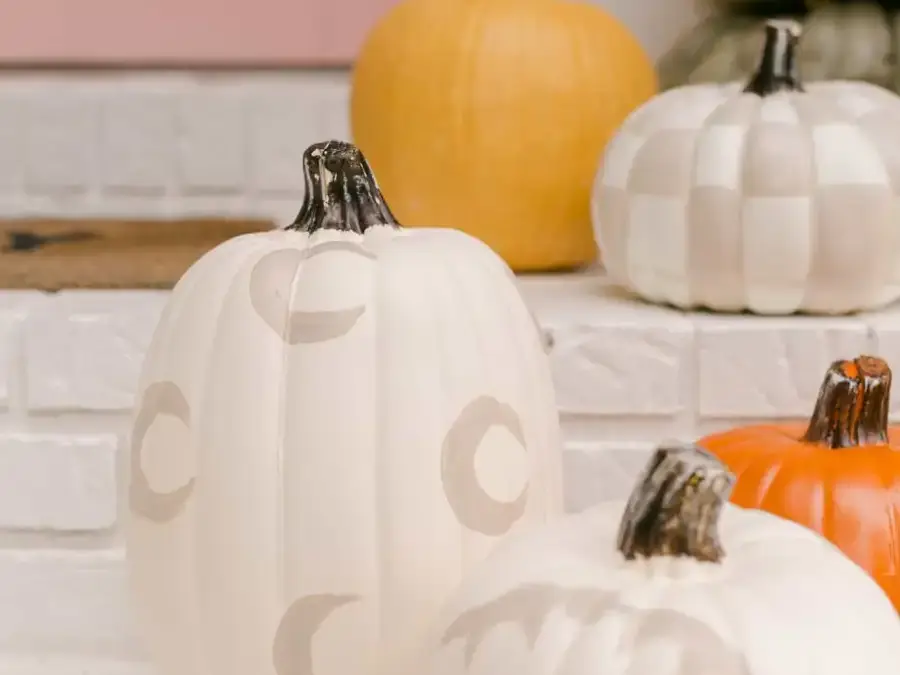
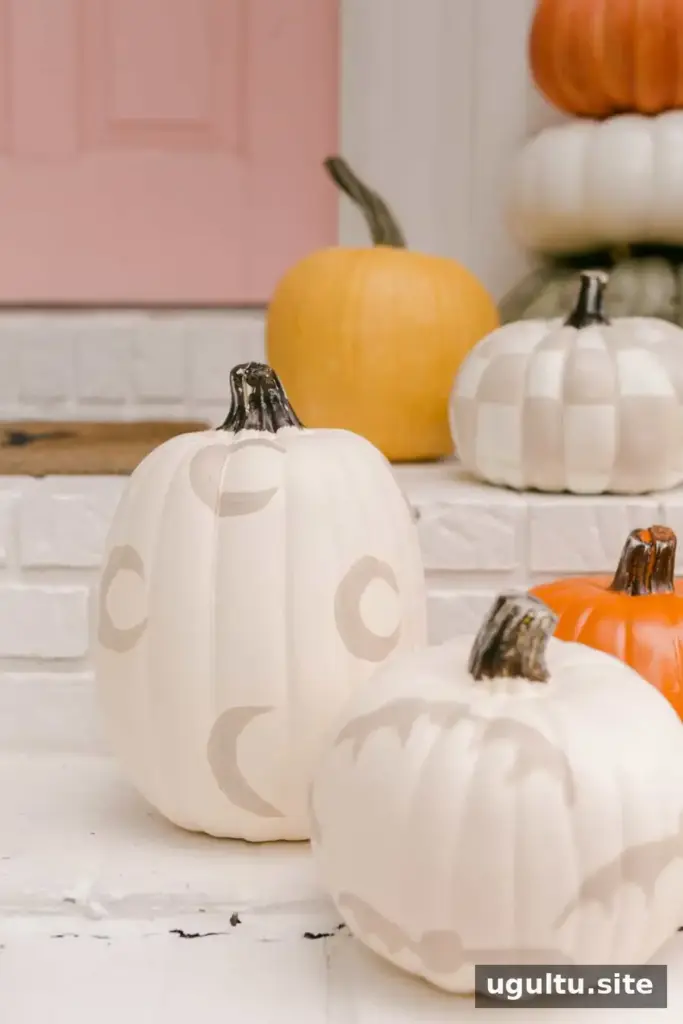
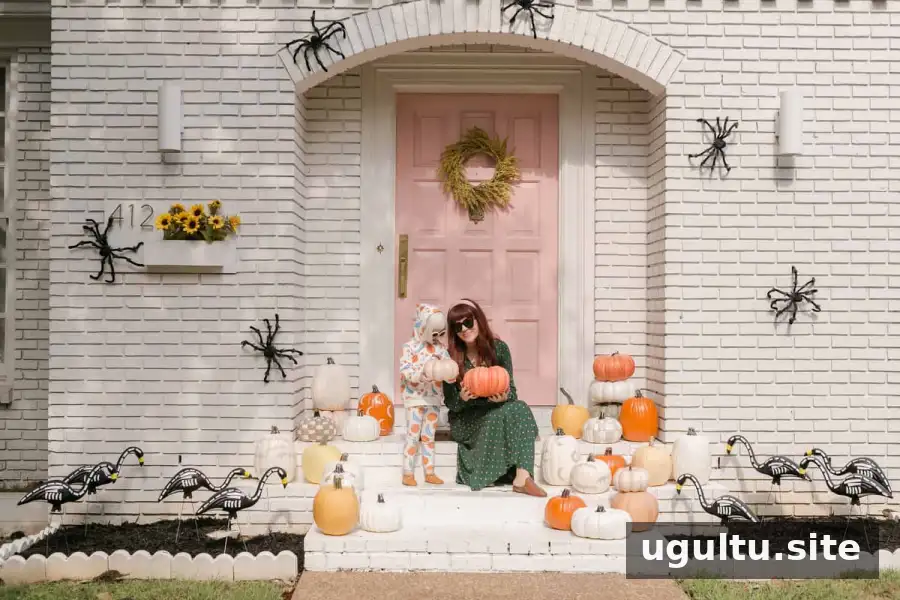
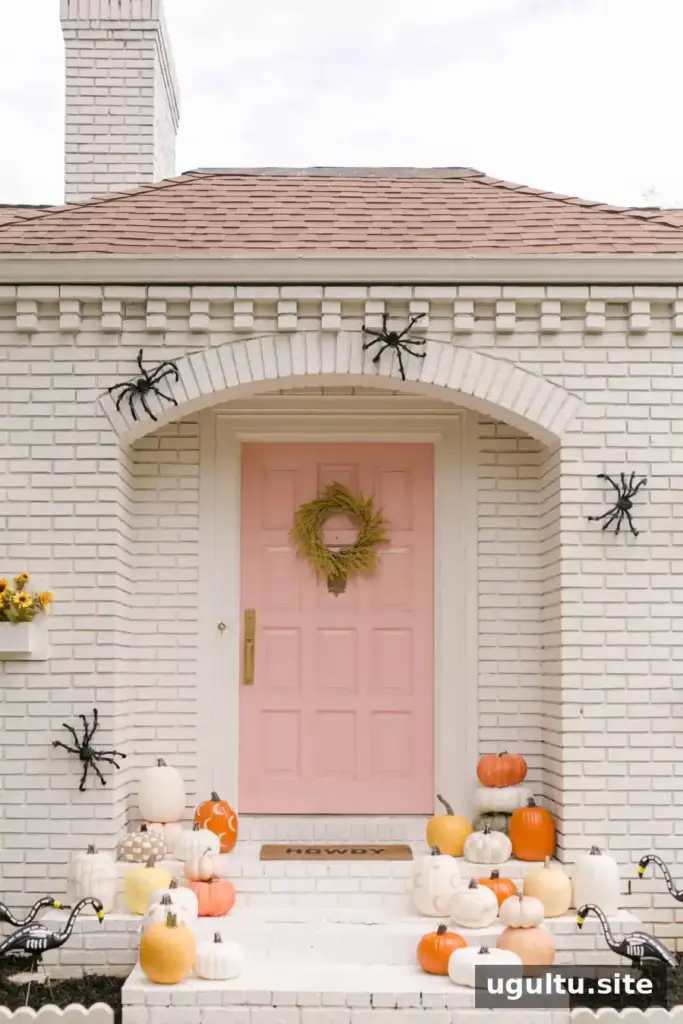
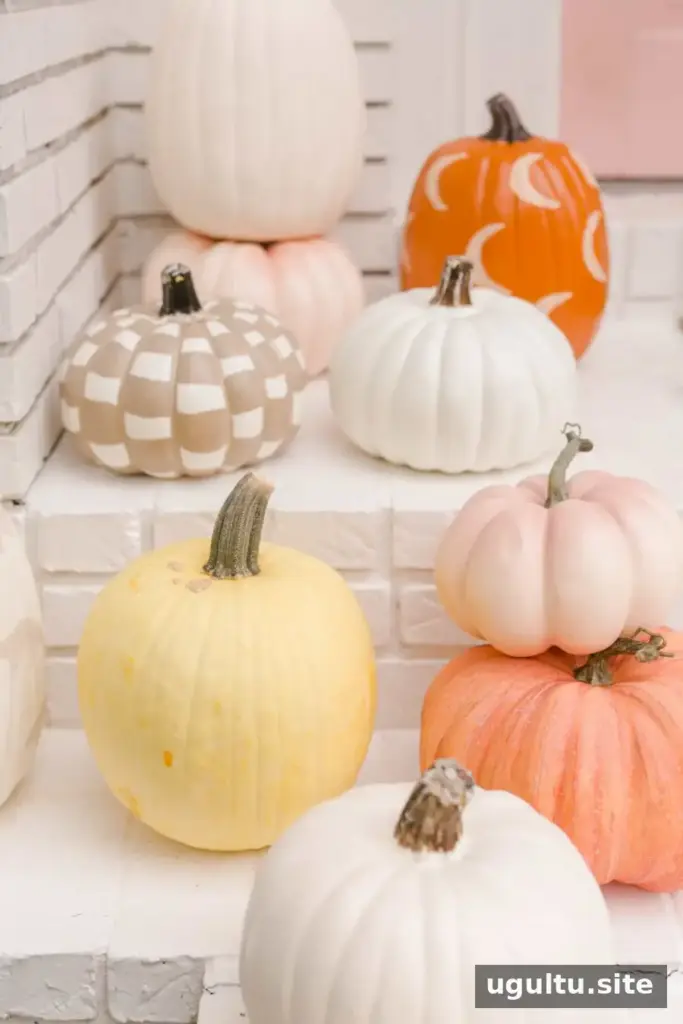
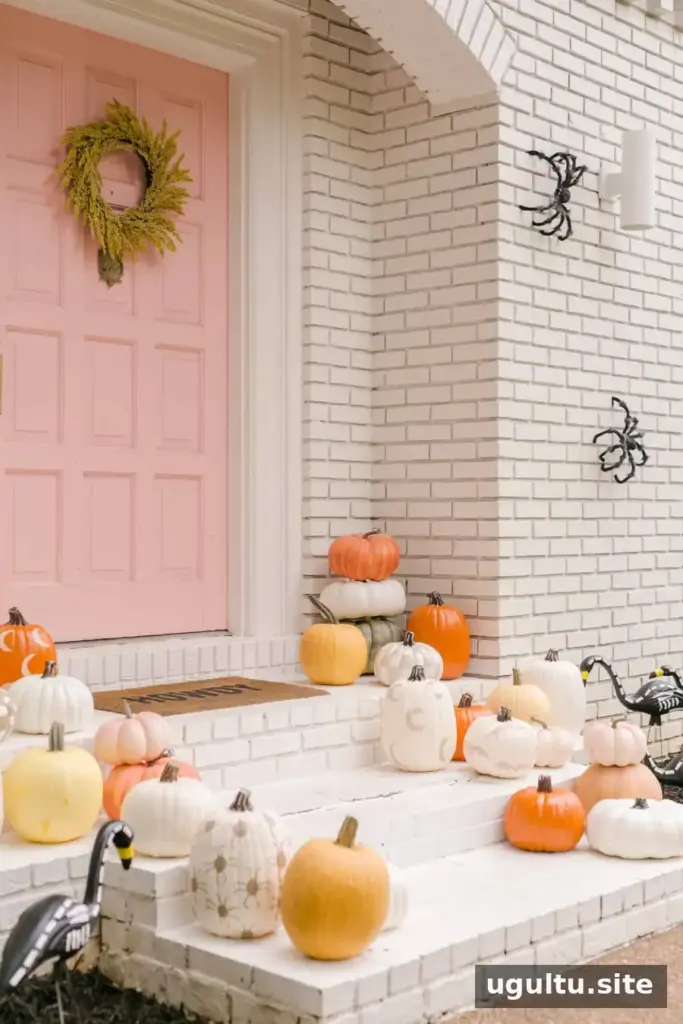
A painted pumpkins DIY is an easy way to create reusable fall decorations without carving. Faux pumpkins can be displayed alongside real ones on a porch, and soft patterns make them feel seasonal without being limited to Halloween.
Painted Pumpkins DIY: Choose Patterns for Fall
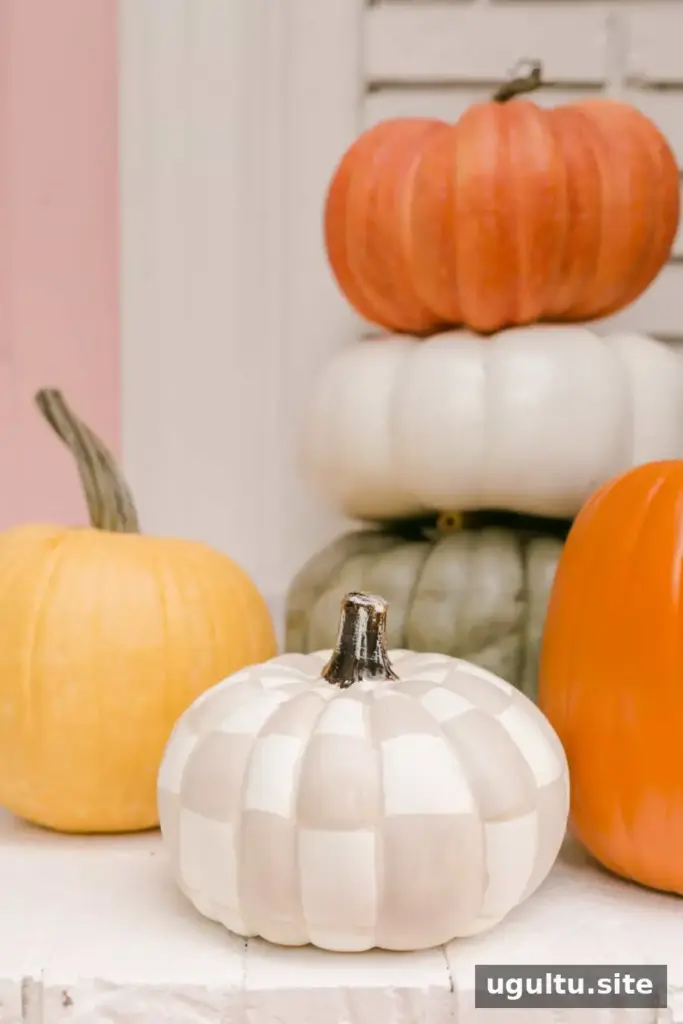
For a coordinated display, pick a small group of repeating designs rather than trying to make every pumpkin look completely different. Moon shapes, spiders and checkered patterns are options that work well together. You can also adjust the colors and motifs to suit your existing outdoor decor.
Subtle designs can help the display transition from Halloween into the rest of fall. If you want to keep the pumpkins out through Thanksgiving, consider using mostly autumn-inspired patterns and adding only a few details that are specifically Halloween-themed.
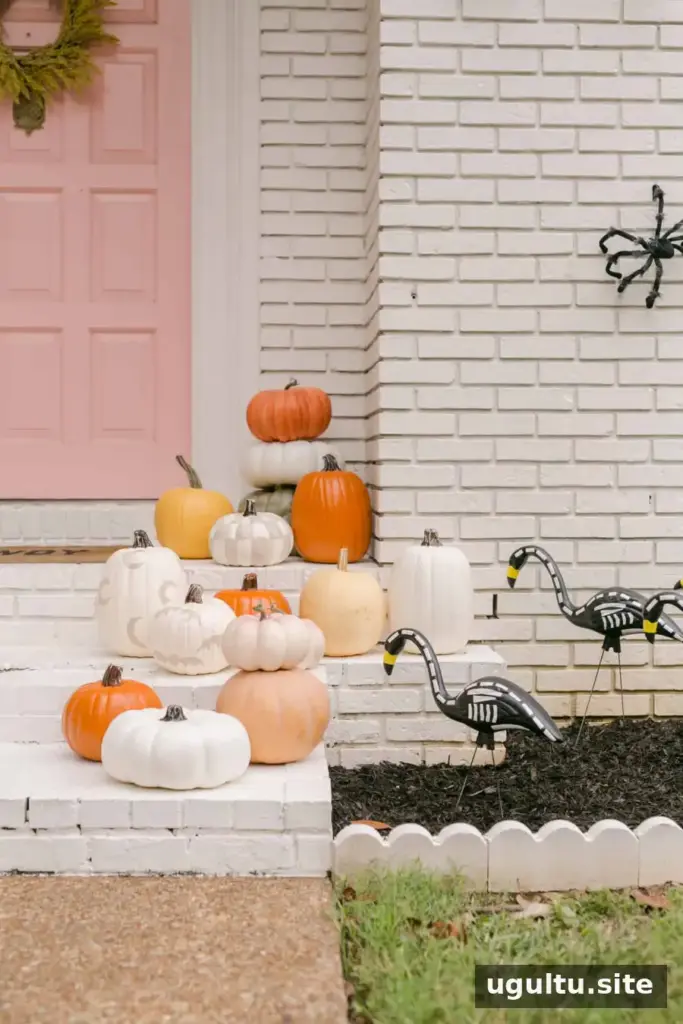
Before painting, arrange the pumpkins where you plan to display them. This makes it easier to see how their sizes, colors and patterns work as a group. Keep the layout simple if the porch already has other seasonal decorations.
Paint and Prepare the Pumpkins
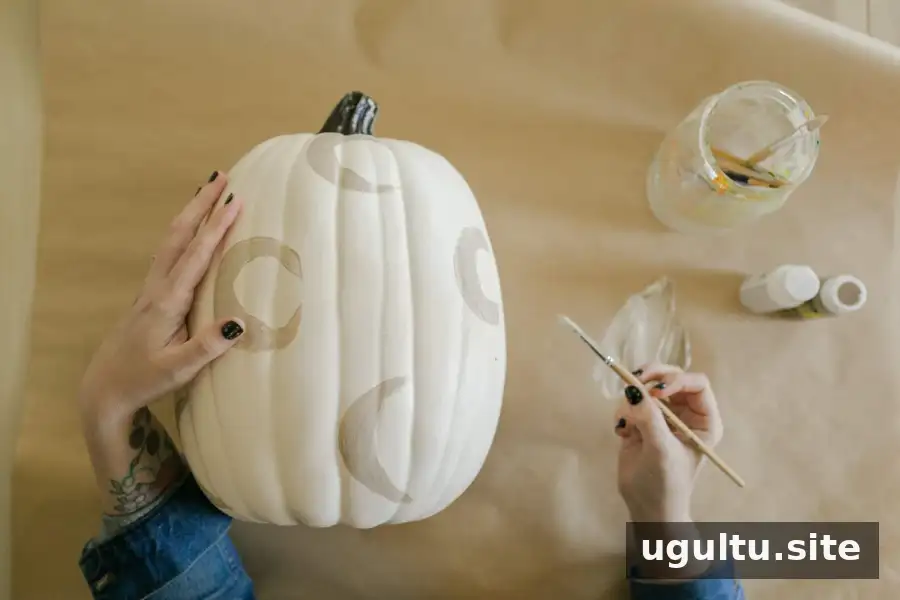
Use craft paint labeled for indoor and outdoor use if the finished pumpkins will sit outside. Paint formulations and faux pumpkin surfaces can vary, so check the product label and test the paint on a small, inconspicuous area first. Make sure the pumpkin surface is clean and dry before starting.
Plan for two to three coats of paint, as needed for the coverage and finish you want. Let each coat dry completely before adding the next one. Rushing between coats can make the finish uneven, so use the drying time to work on another pumpkin or prepare your next pattern.
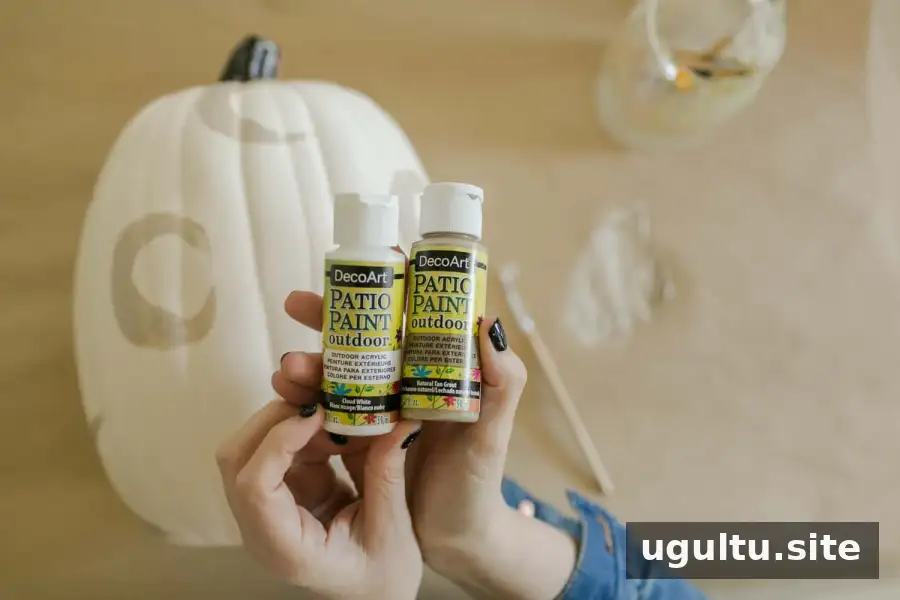
A few basic supplies are enough for this project:
- Reusable faux pumpkins
- Indoor/outdoor craft paint in your chosen colors
- Paintbrushes suitable for both larger areas and small details
- A protected work surface
Painting Tips and Project Timeline
Work in short sessions and allow enough time for the paint to dry between coats. The project can take about two afternoons, or roughly three to four hours of active time in total, with the schedule spread out to accommodate drying. Keep the pumpkins in a dry, well-ventilated place while the paint cures, and follow the paint label for any additional drying instructions.
For neater repeating designs, lightly plan the pattern before painting and use a smaller brush for fine details. If a design does not come out as intended, let the paint dry before touching it up; working over wet paint can smudge the pattern. Adapt the colors and motifs to your own style while keeping the overall display cohesive.
Conclusion
This painted pumpkins DIY offers a customizable, no-carve option for fall decorating. With reusable faux pumpkins, outdoor-rated craft paint and enough drying time between coats, you can create a porch display that suits your home and can be enjoyed across more than one part of the season.


