
 admin
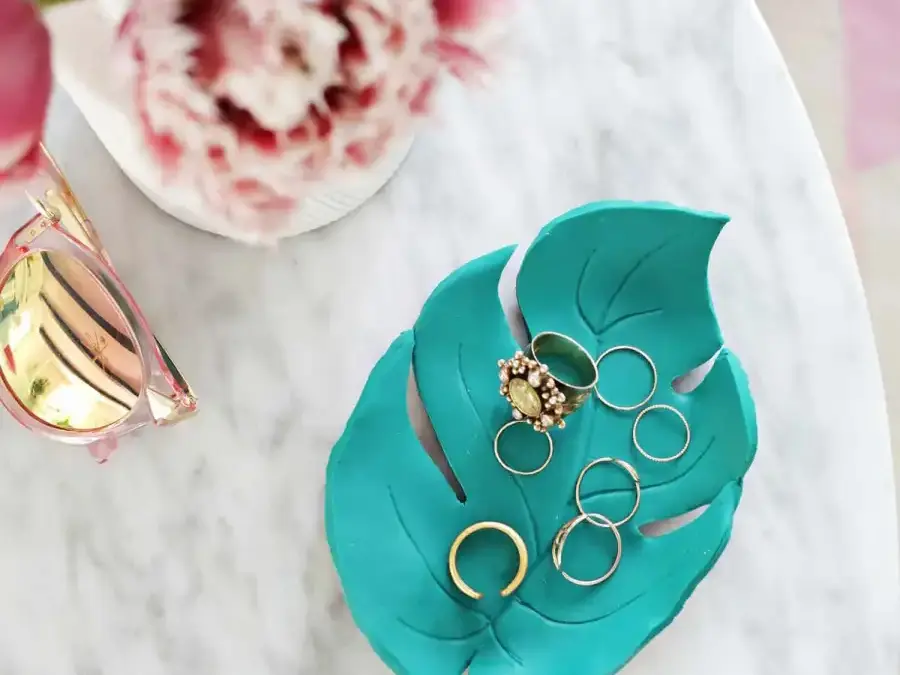
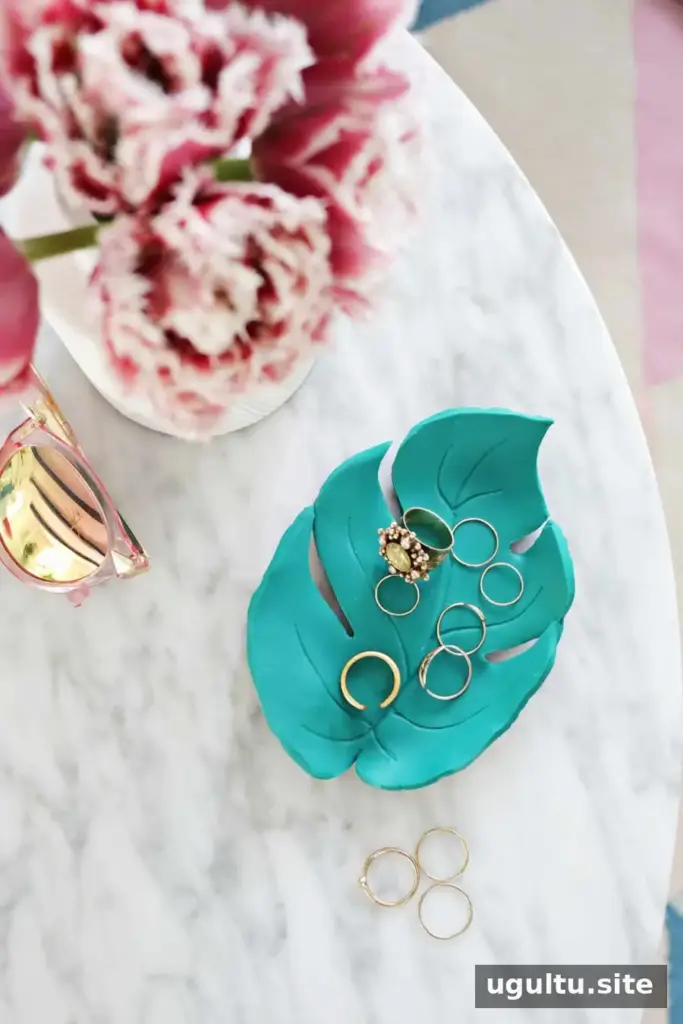
A DIY palm leaf ring dish is a simple way to give loose rings a dedicated place while adding a touch of botanical style to a dresser or counter. This small clay project uses a leaf-inspired shape and a gentle curve to create a handy catchall. Choose a bright or muted green to suit your space, or leave the finished piece unglazed for a matte look.
Supplies for a DIY Palm Leaf Ring Dish
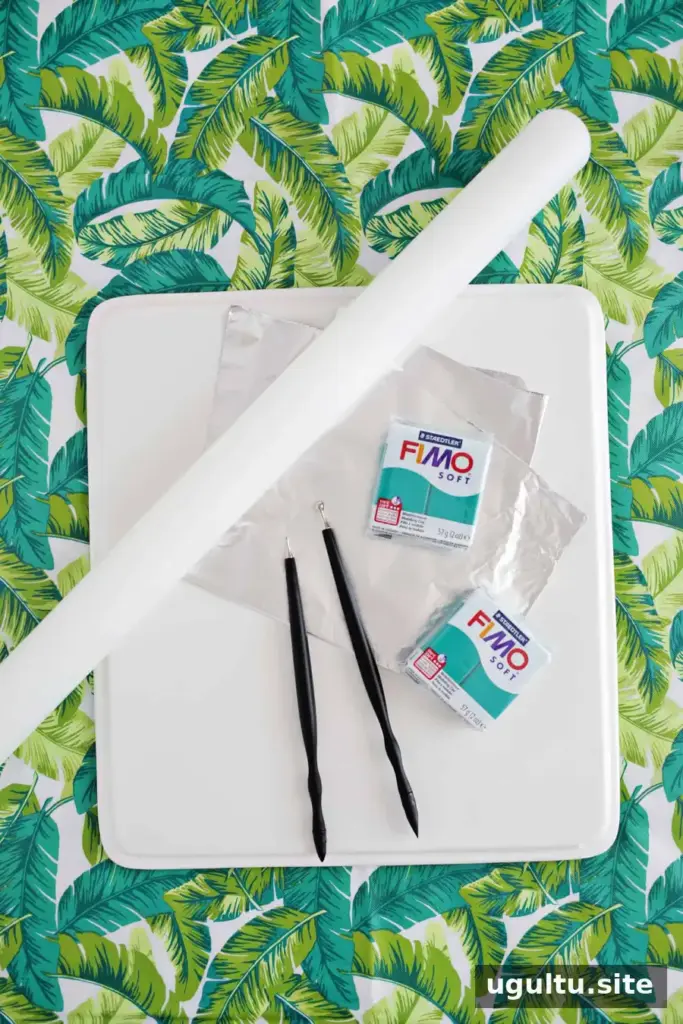
Gather these materials before you begin. Preparing your work surface first makes it easier to move the delicate clay shape without stretching it.
- Green clay suitable for oven baking
- Plastic rolling pin
- Silicone mat
- Clay tools
- Clay glaze, optional
- Aluminum foil
- Parchment paper
Check the clay packaging for its baking instructions and use a dish that is safe for the required oven temperature. Keep craft tools separate from tools used to prepare food.
How to Make the Leaf Shape
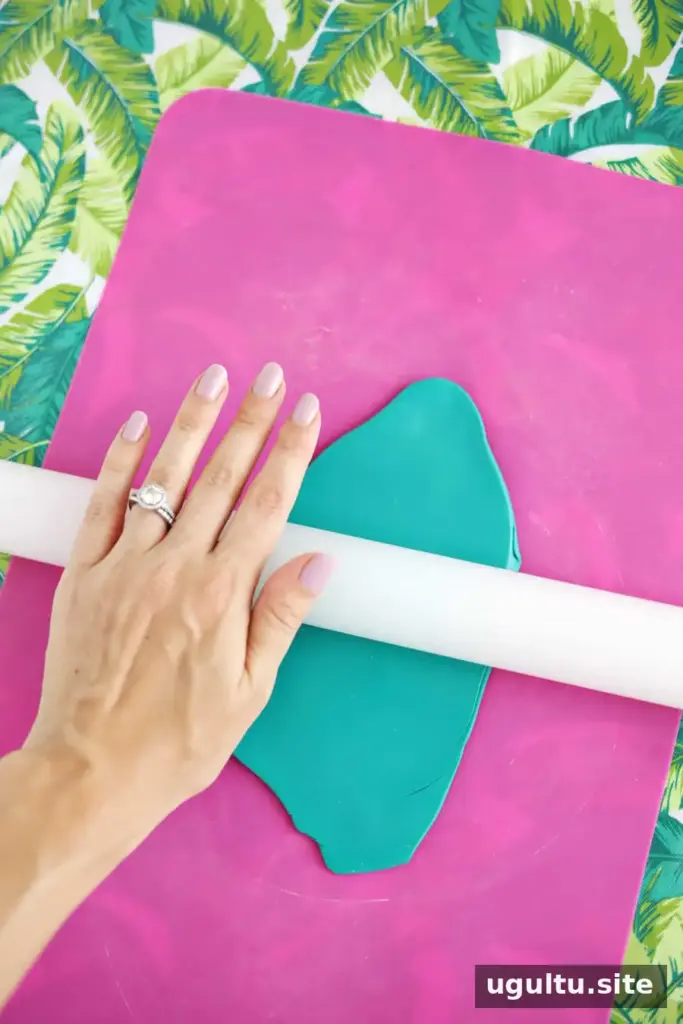
Roll the clay into a rectangle measuring 5 × 7 inches and about ¼ inch thick. Aim for an even thickness so the piece bakes consistently. Transfer the clay onto parchment paper before cutting the design.
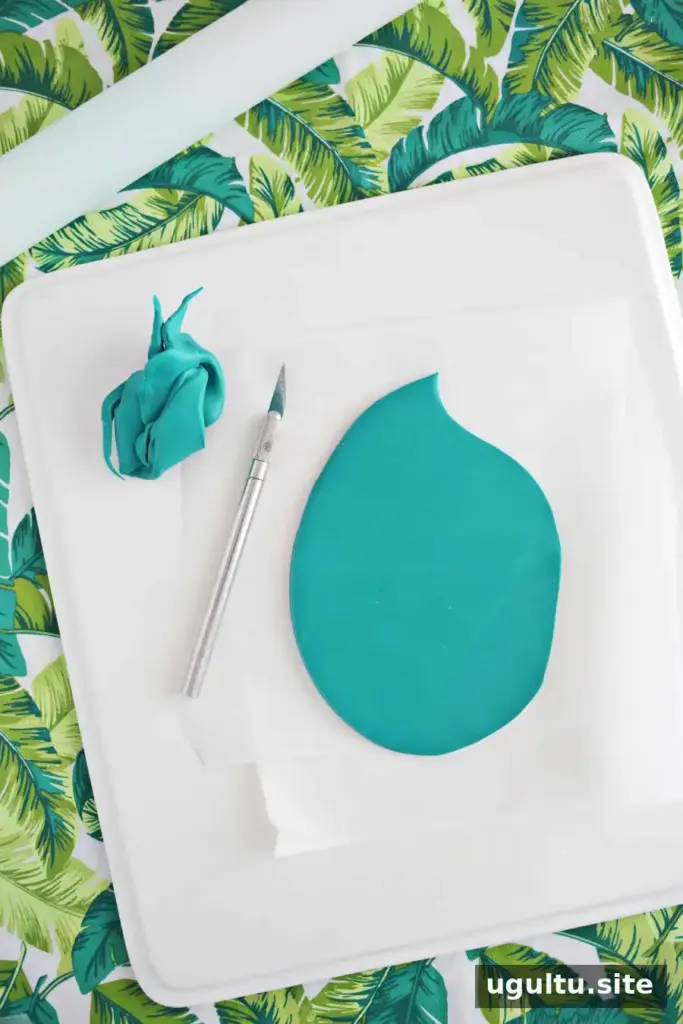
Cut a large teardrop shape from the clay to form the main body of the leaf. A clay-cutting tool can help create a smooth outline. Work slowly around the edges to avoid pulling or distorting the clay.
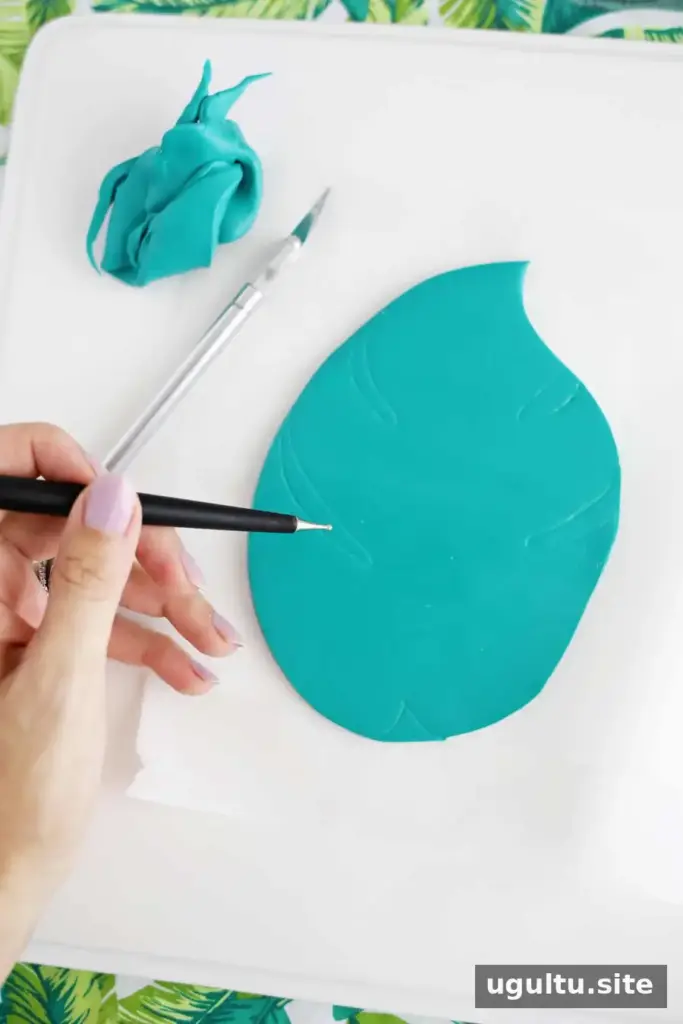
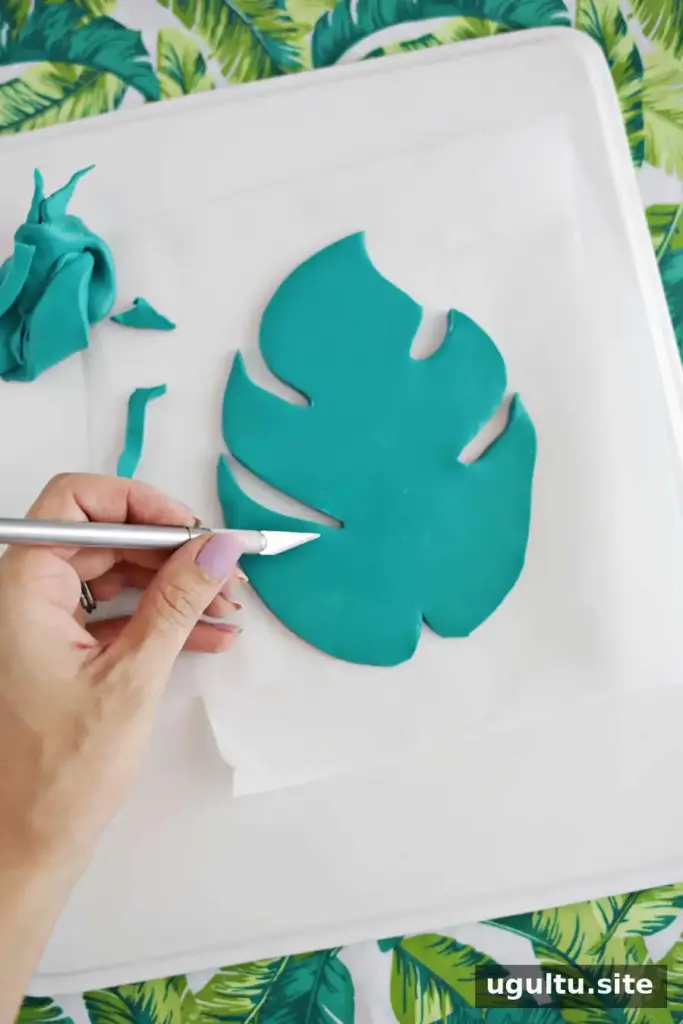
Lightly mark the leaf details with a clay tool. Make two indents on each side, then add a small upside-down “V” near the bottom to suggest the shape of a monstera leaf. Carefully cut out the marked indents with a suitable clay tool.
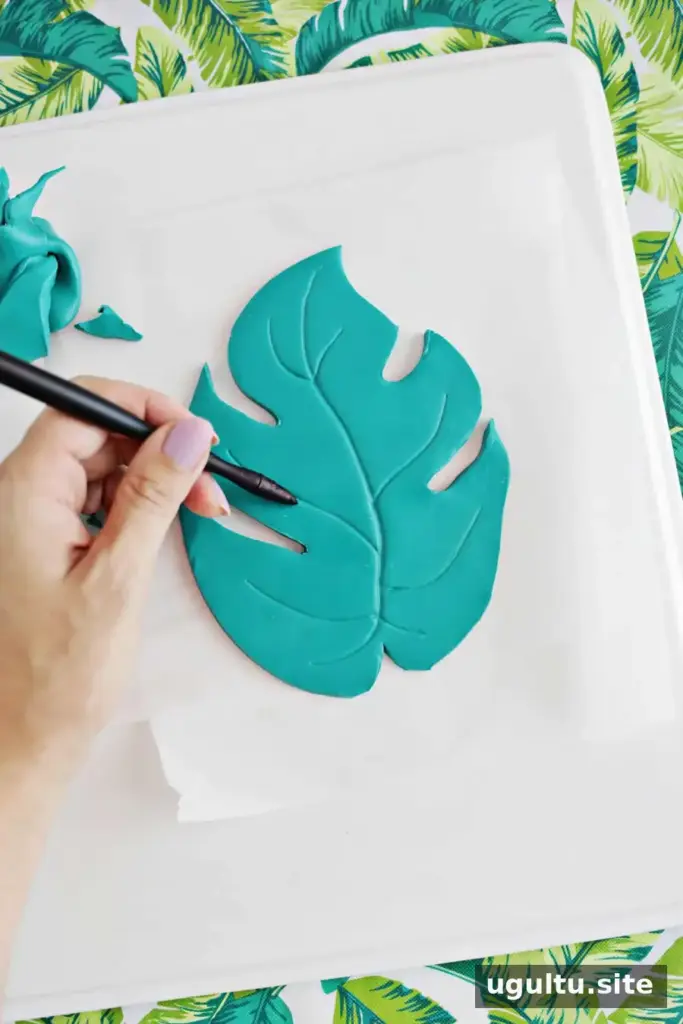
Use a blunt, pencil-shaped clay tool to press in the central vein and smaller lines. Keep the grooves shallow and consistent; deep cuts may make the clay more fragile after baking.
Shape and Bake the Ring Dish
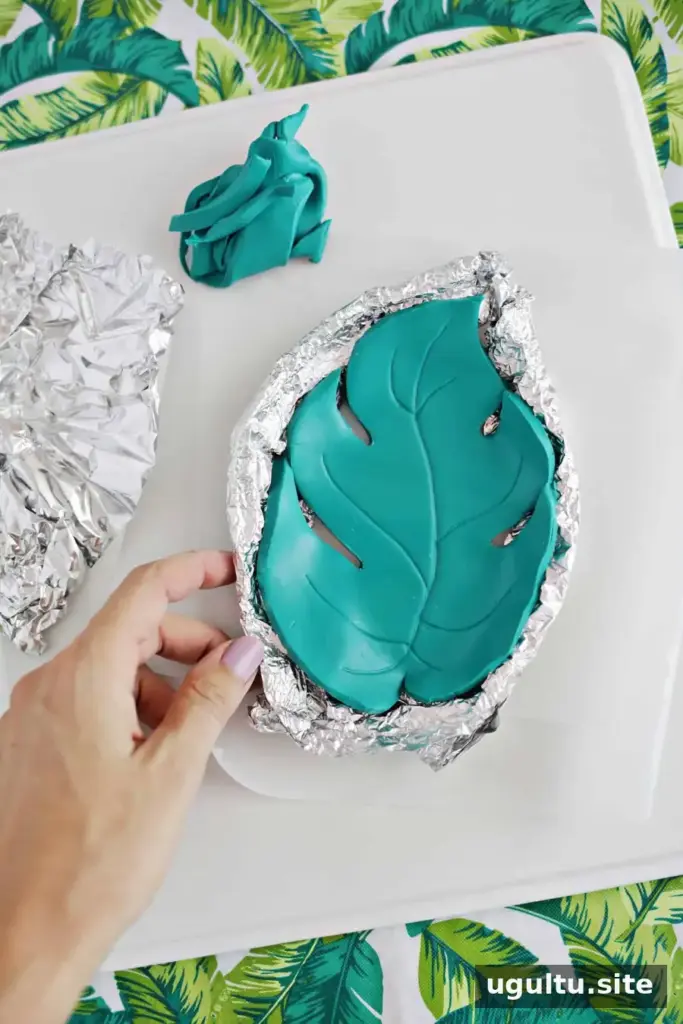
Build a small support under the sides of the leaf using aluminum foil. This gently lifts the edges and creates a shallow bowl shape that can keep rings from sliding off. Adjust the foil supports before baking, while the clay is still easy to shape.
Place the clay and foil supports in an oven-safe dish. Bake the piece for the time and at the temperature specified on the clay package, since instructions can vary by product. Let the dish cool completely before handling or applying glaze. If you want a glossy finish, add a clay glaze according to its directions; for a simple matte finish, leave the cooled clay unglazed.
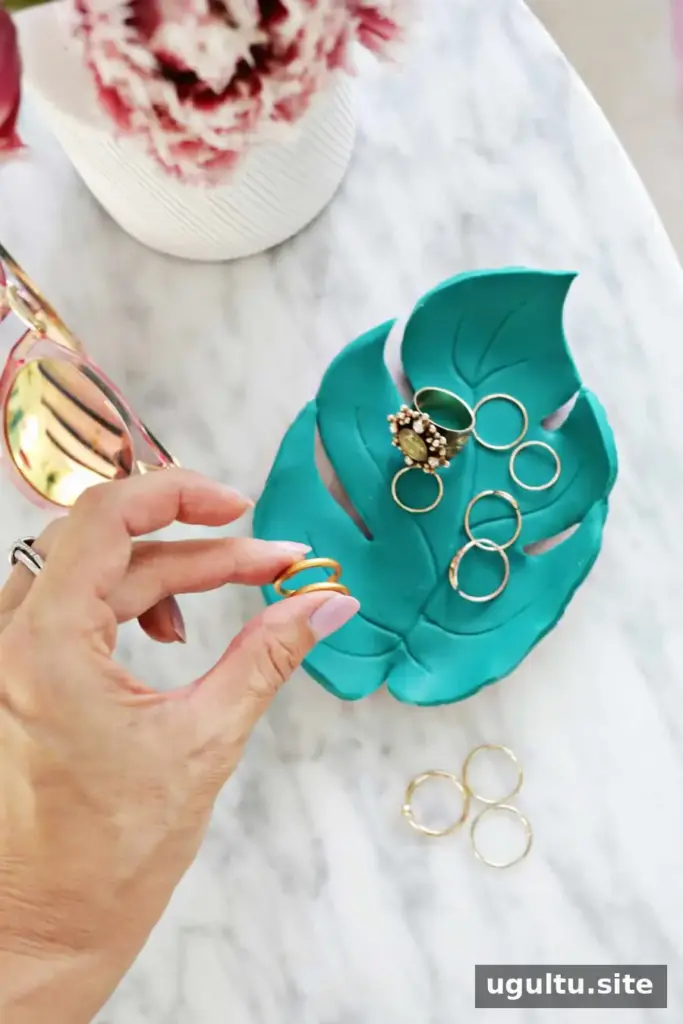
Finishing and Using Your Palm Leaf Ring Dish
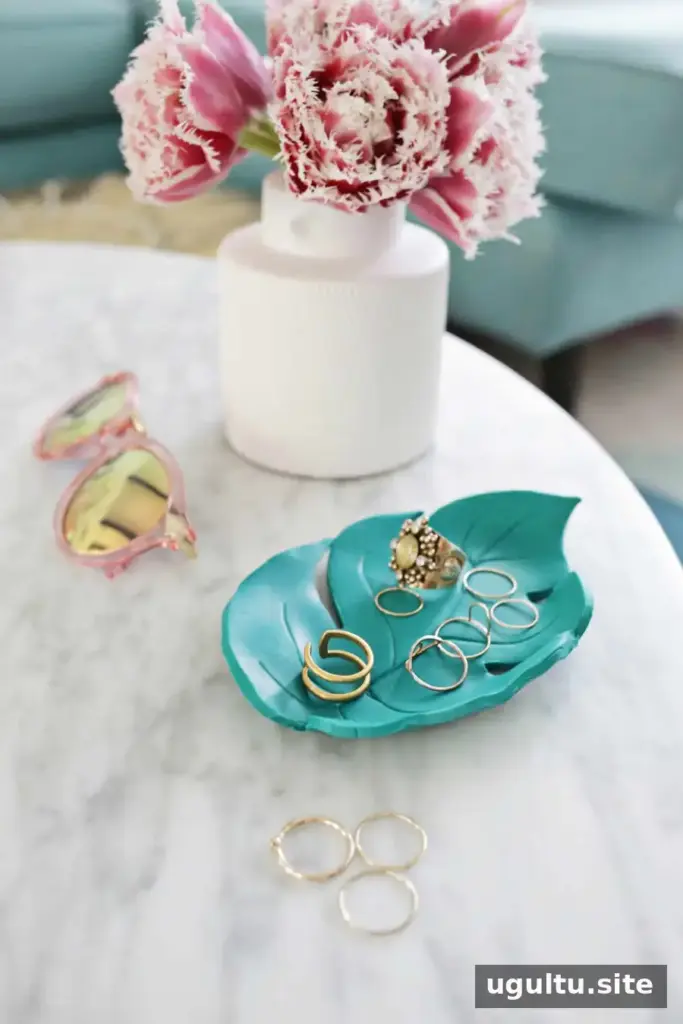
Once finished, place the dish on a dresser, bedside table, or counter as a small landing spot for rings. A colorful green adds a noticeable accent, while a softer shade can blend more quietly with the room. You can also experiment with marbled greens, making sure the clay remains evenly shaped before baking.
A ring dish is most useful when it is placed where rings are commonly taken off. Keep it on a stable, dry surface and use it for jewelry storage rather than as a food-serving dish. This handmade project offers a practical way to gather small items in one place while bringing a leaf-inspired detail into your home.
—Laura
Conclusion
This DIY palm leaf ring dish combines a straightforward clay project with a useful everyday purpose. Roll and cut the leaf, add the vein details, shape the edges with foil, and follow the clay package’s baking directions. A carefully chosen spot will make the finished dish an easy place to keep rings together.


